

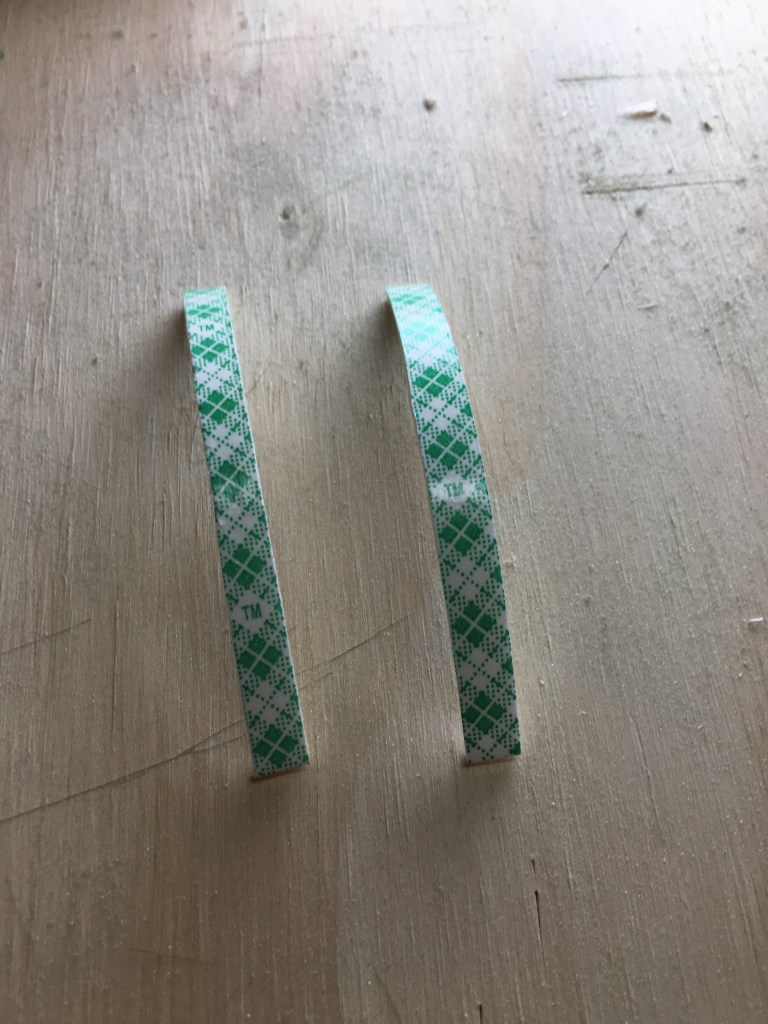
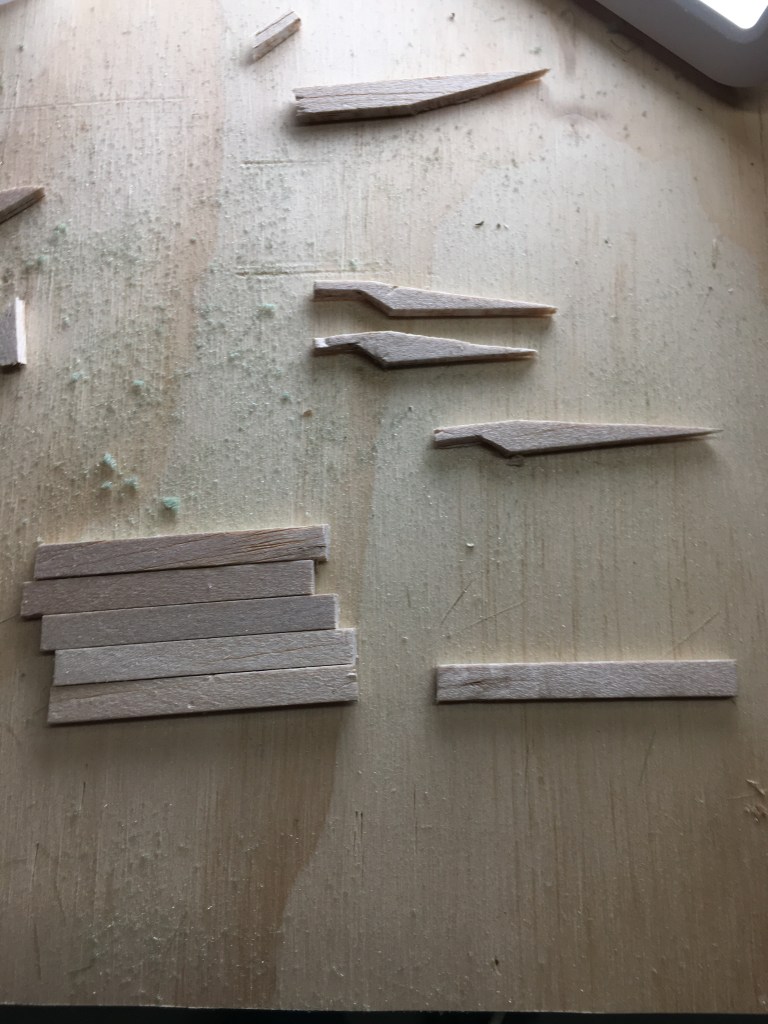
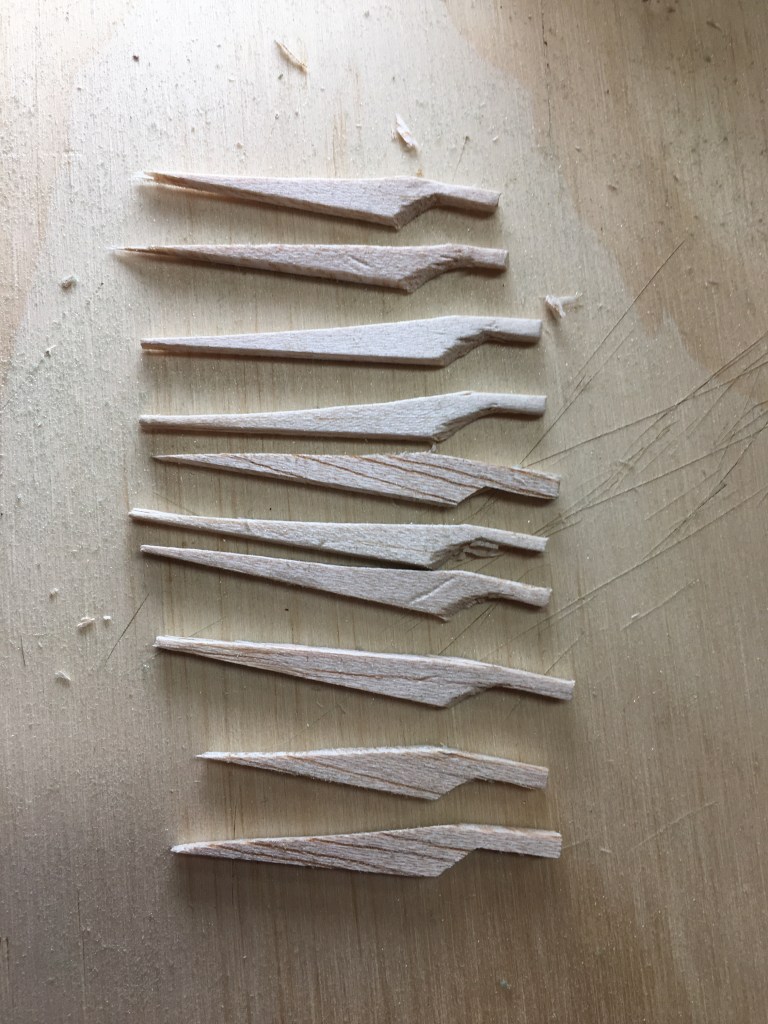
In Part One, I gave the details about cutting balsa pieces to make forms for a grade crossing using plaster. The photo shows foam two-faced tape in place on both sides of the track. I pressed the balsa form onto the tape against the roadbed and track.
You can read part one by clicking this title: How to Build a Grade Crossing on an HO Scale Model Railroad.
I mixed some acrylic paint to get the pavement color I wanted. It was a little bit too dark when it dried, so I added another coat with a lighter mixture.
I also wasn’t happy with the dark color of the pavement tape I purchased at the hobby shop. I added some of the paint I used on the crossings to lighten the streets.


I allowed the plaster between the rails to dry completely before cutting it away from the inside to allow space for the wheel flanges.
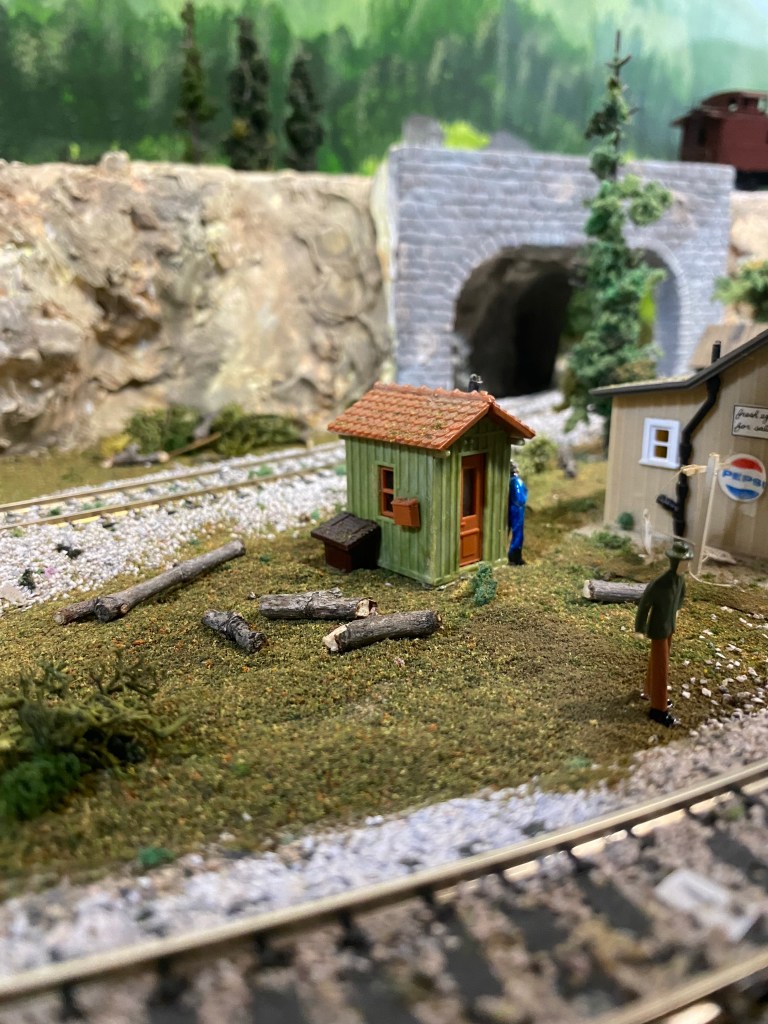
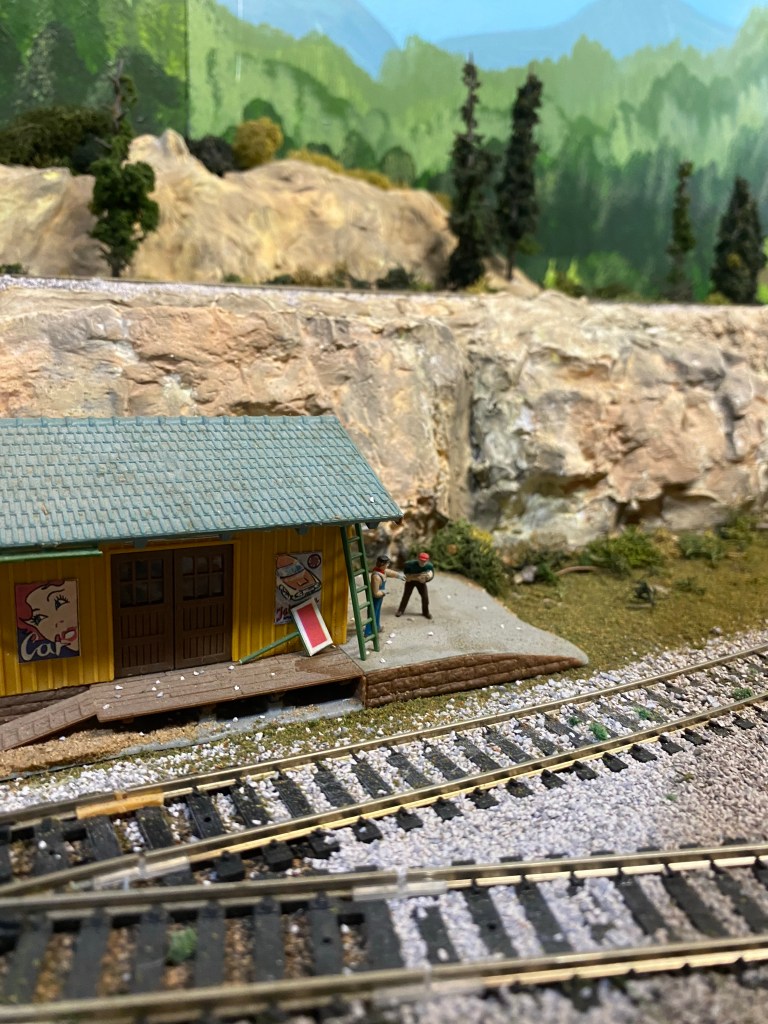
I have been working on more detailed scenery around the Maple Valley Short Line Model Railroad. I had a thought last night while I was looking at pictures of another railroad. “Every square inch of the railroad should tell a story.” The story is in the details. If there is a broken window, how did it happen? If there is a rusty wheel in the weeds, how did it get there?
I love the scene in the photo at the side of the grade crossing with the railroad trucks in the weeds. To me, it’s just about perfect. I’ll be planting some more grass around the trucks soon.
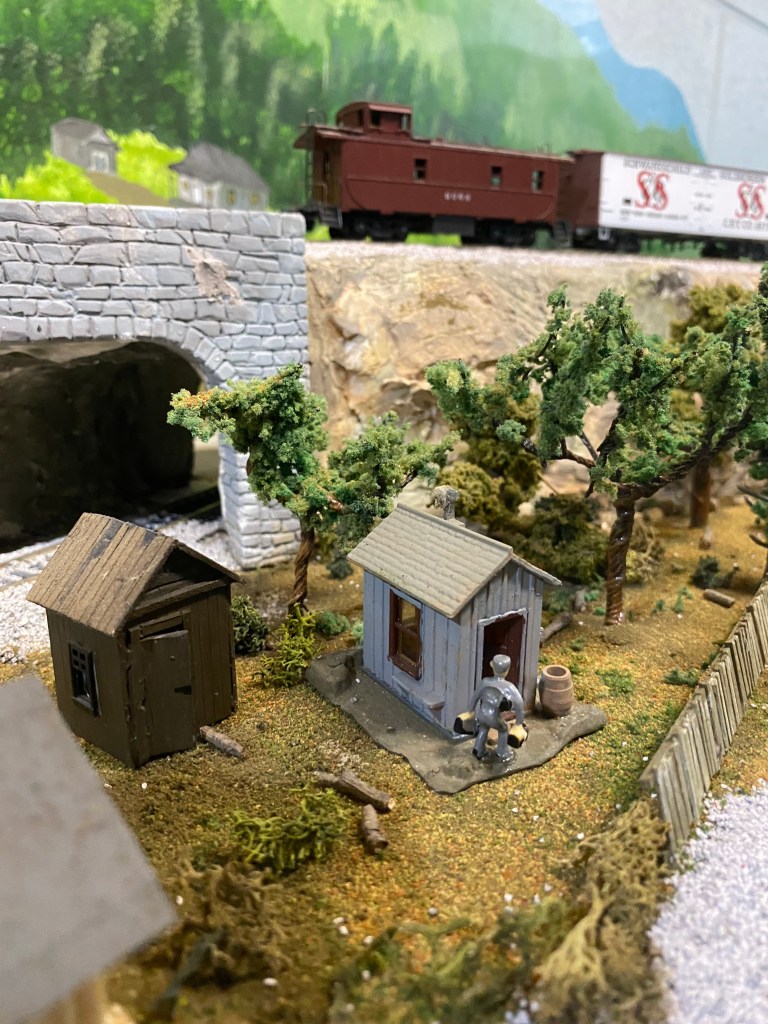
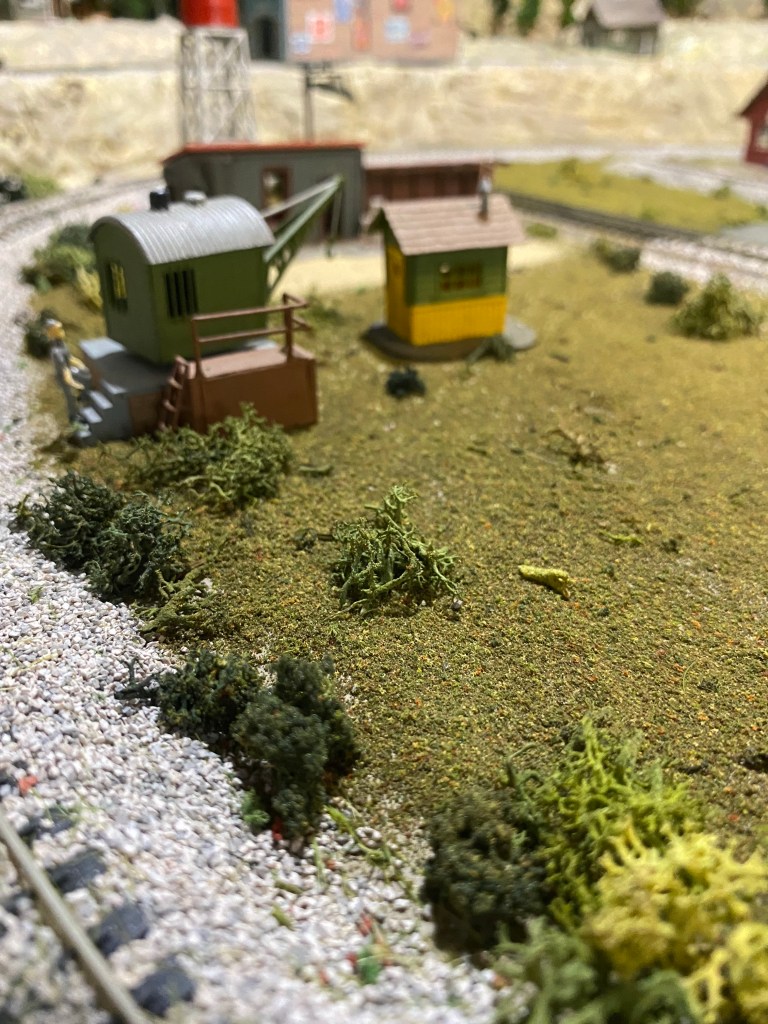
Shrubs and weeds have proven to be a challenge. I have used lichen for many years and finally realized the clumps are way too big. I’ve tried pulling them apart but they’re still too big. I’m going to rework them again, reducing their size until I’m satisfied.
Another detail I have to work on is at the edge of buildings that have a plastic base surrounding them. Blending the edge of the plastic into the ground cover is sometimes overlooked.
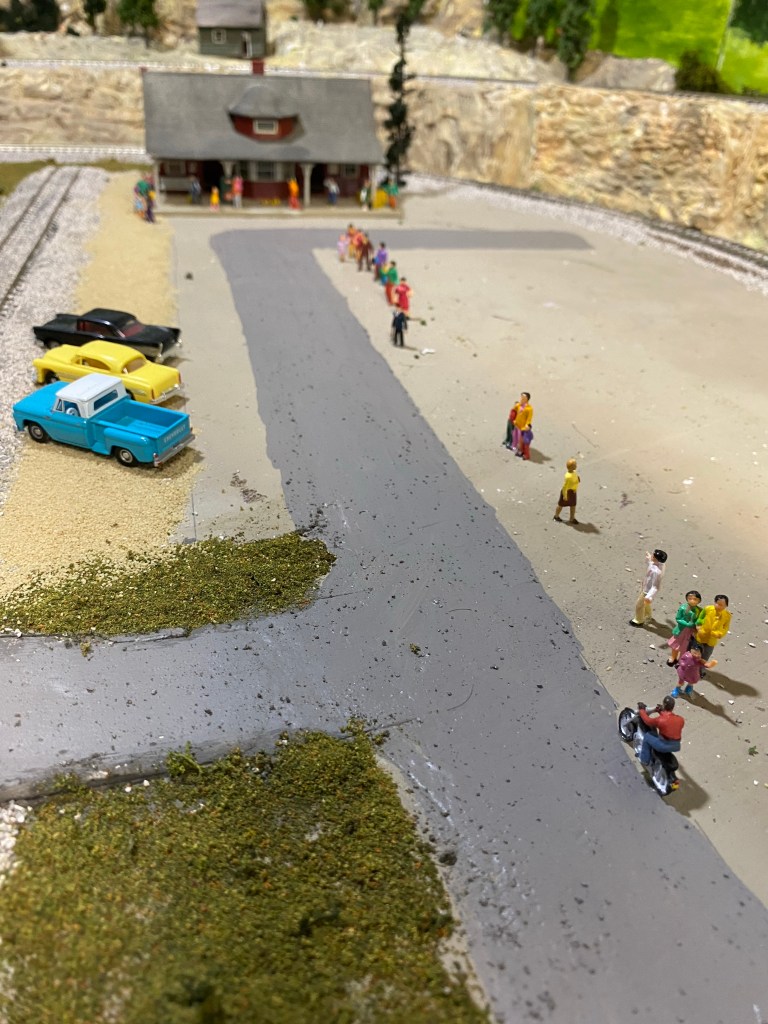
I just painted the street in Newtown, where all the people standing near it are confused because the buildings behind them have disappeared. No worries, they’ll be back soon. The train station in the distance is where tourists buy tickets to ride The Old General into Maple Valley.
The three vehicles parked along the track are on sand. I wasn’t really sure I liked it, but the more I use the sand at different places on the layout, the happier I am with it. I may darken it just a little with some fine brown turf.
I have to keep reminding myself that scenery work is never done. I also have to remember to look at my railroad in small sections so the task is not overwhelming. Every square inch should tell a story. What is it saying?

Very nice “class” on making a grade crossing. I’m almost to that point. I removed the lichen from my lay out and won’t use it again. Blended tuffs and horse hair grass cut to size is working so far.
LikeLiked by 1 person
Thanks, Mike. I’m not sure what to do about the lichen, except trying to pull it apart even more. We’ll see. What are blended tuffs you mentioned? What is horse hair grass? Thanks!
LikeLike
The blended tuffs are by woodland scenics. You can het various colors depending on the time of year you are modeling. I believe scenic express has them as well. As far as the grass, it was just called horse hair. It came in 3 to 4 inch lengths. You would bunch a clump of the hair together, glue it down and when it dried you cut the hair the desired length. I did it years ago on a friends layout and it looked great. I wanna say woodland scenics had the horse hair as well.
LikeLiked by 1 person
Awesome, thanks! I’ll try it.
LikeLike