My Maple Valley Short Line Model Railroad is looking really good, if I do say so myself. In previous posts I wrote about making printed buildings with cardstock and balsa. I have many of them. I decided to try scratch building.
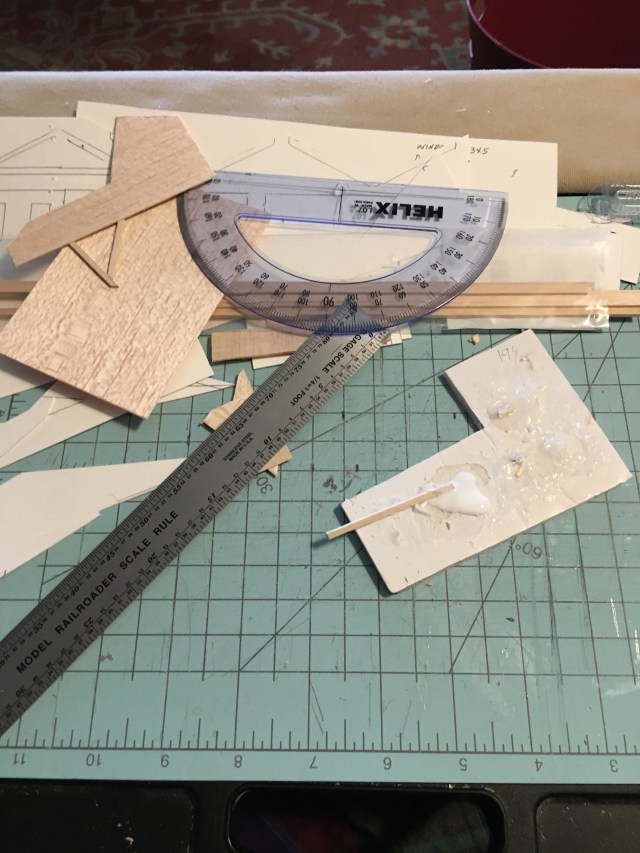
The first thing required is a dedicated work space. Mine is a lap-desk and a piece of foam where I can measure, draw, cut, pin, and glue while binge-watching “The Mentalist.”
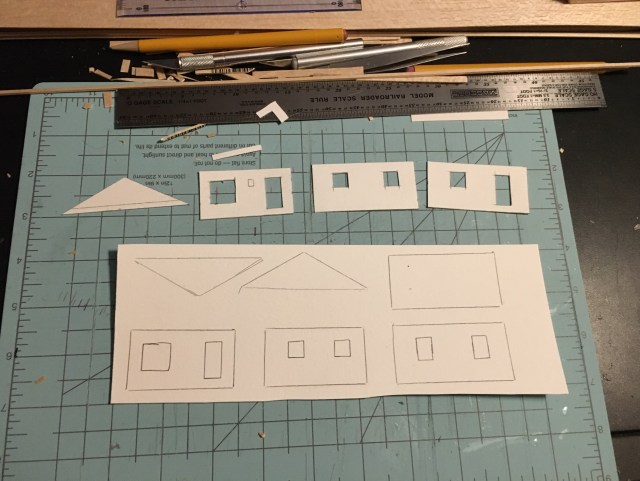
I used my scale ruler to measure some of the structures on my model railroad to be sure my plans for new buildings are accurate. I use the ruler and a protractor to draw pencil outlines on cardstock.
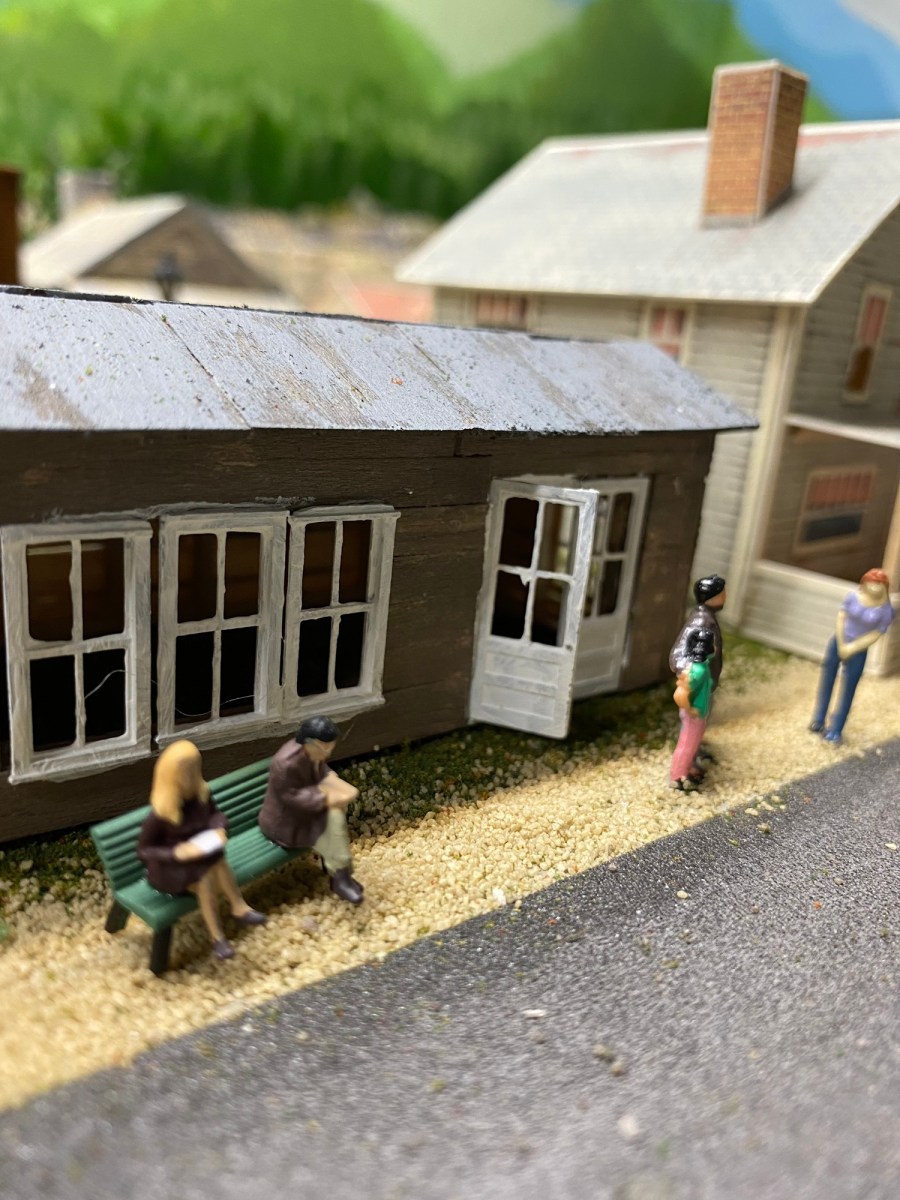
I like all the printed buildings I have, but they don’t look as convincing in mountainous areas surrounded by pine trees. I need small rustic cabins.
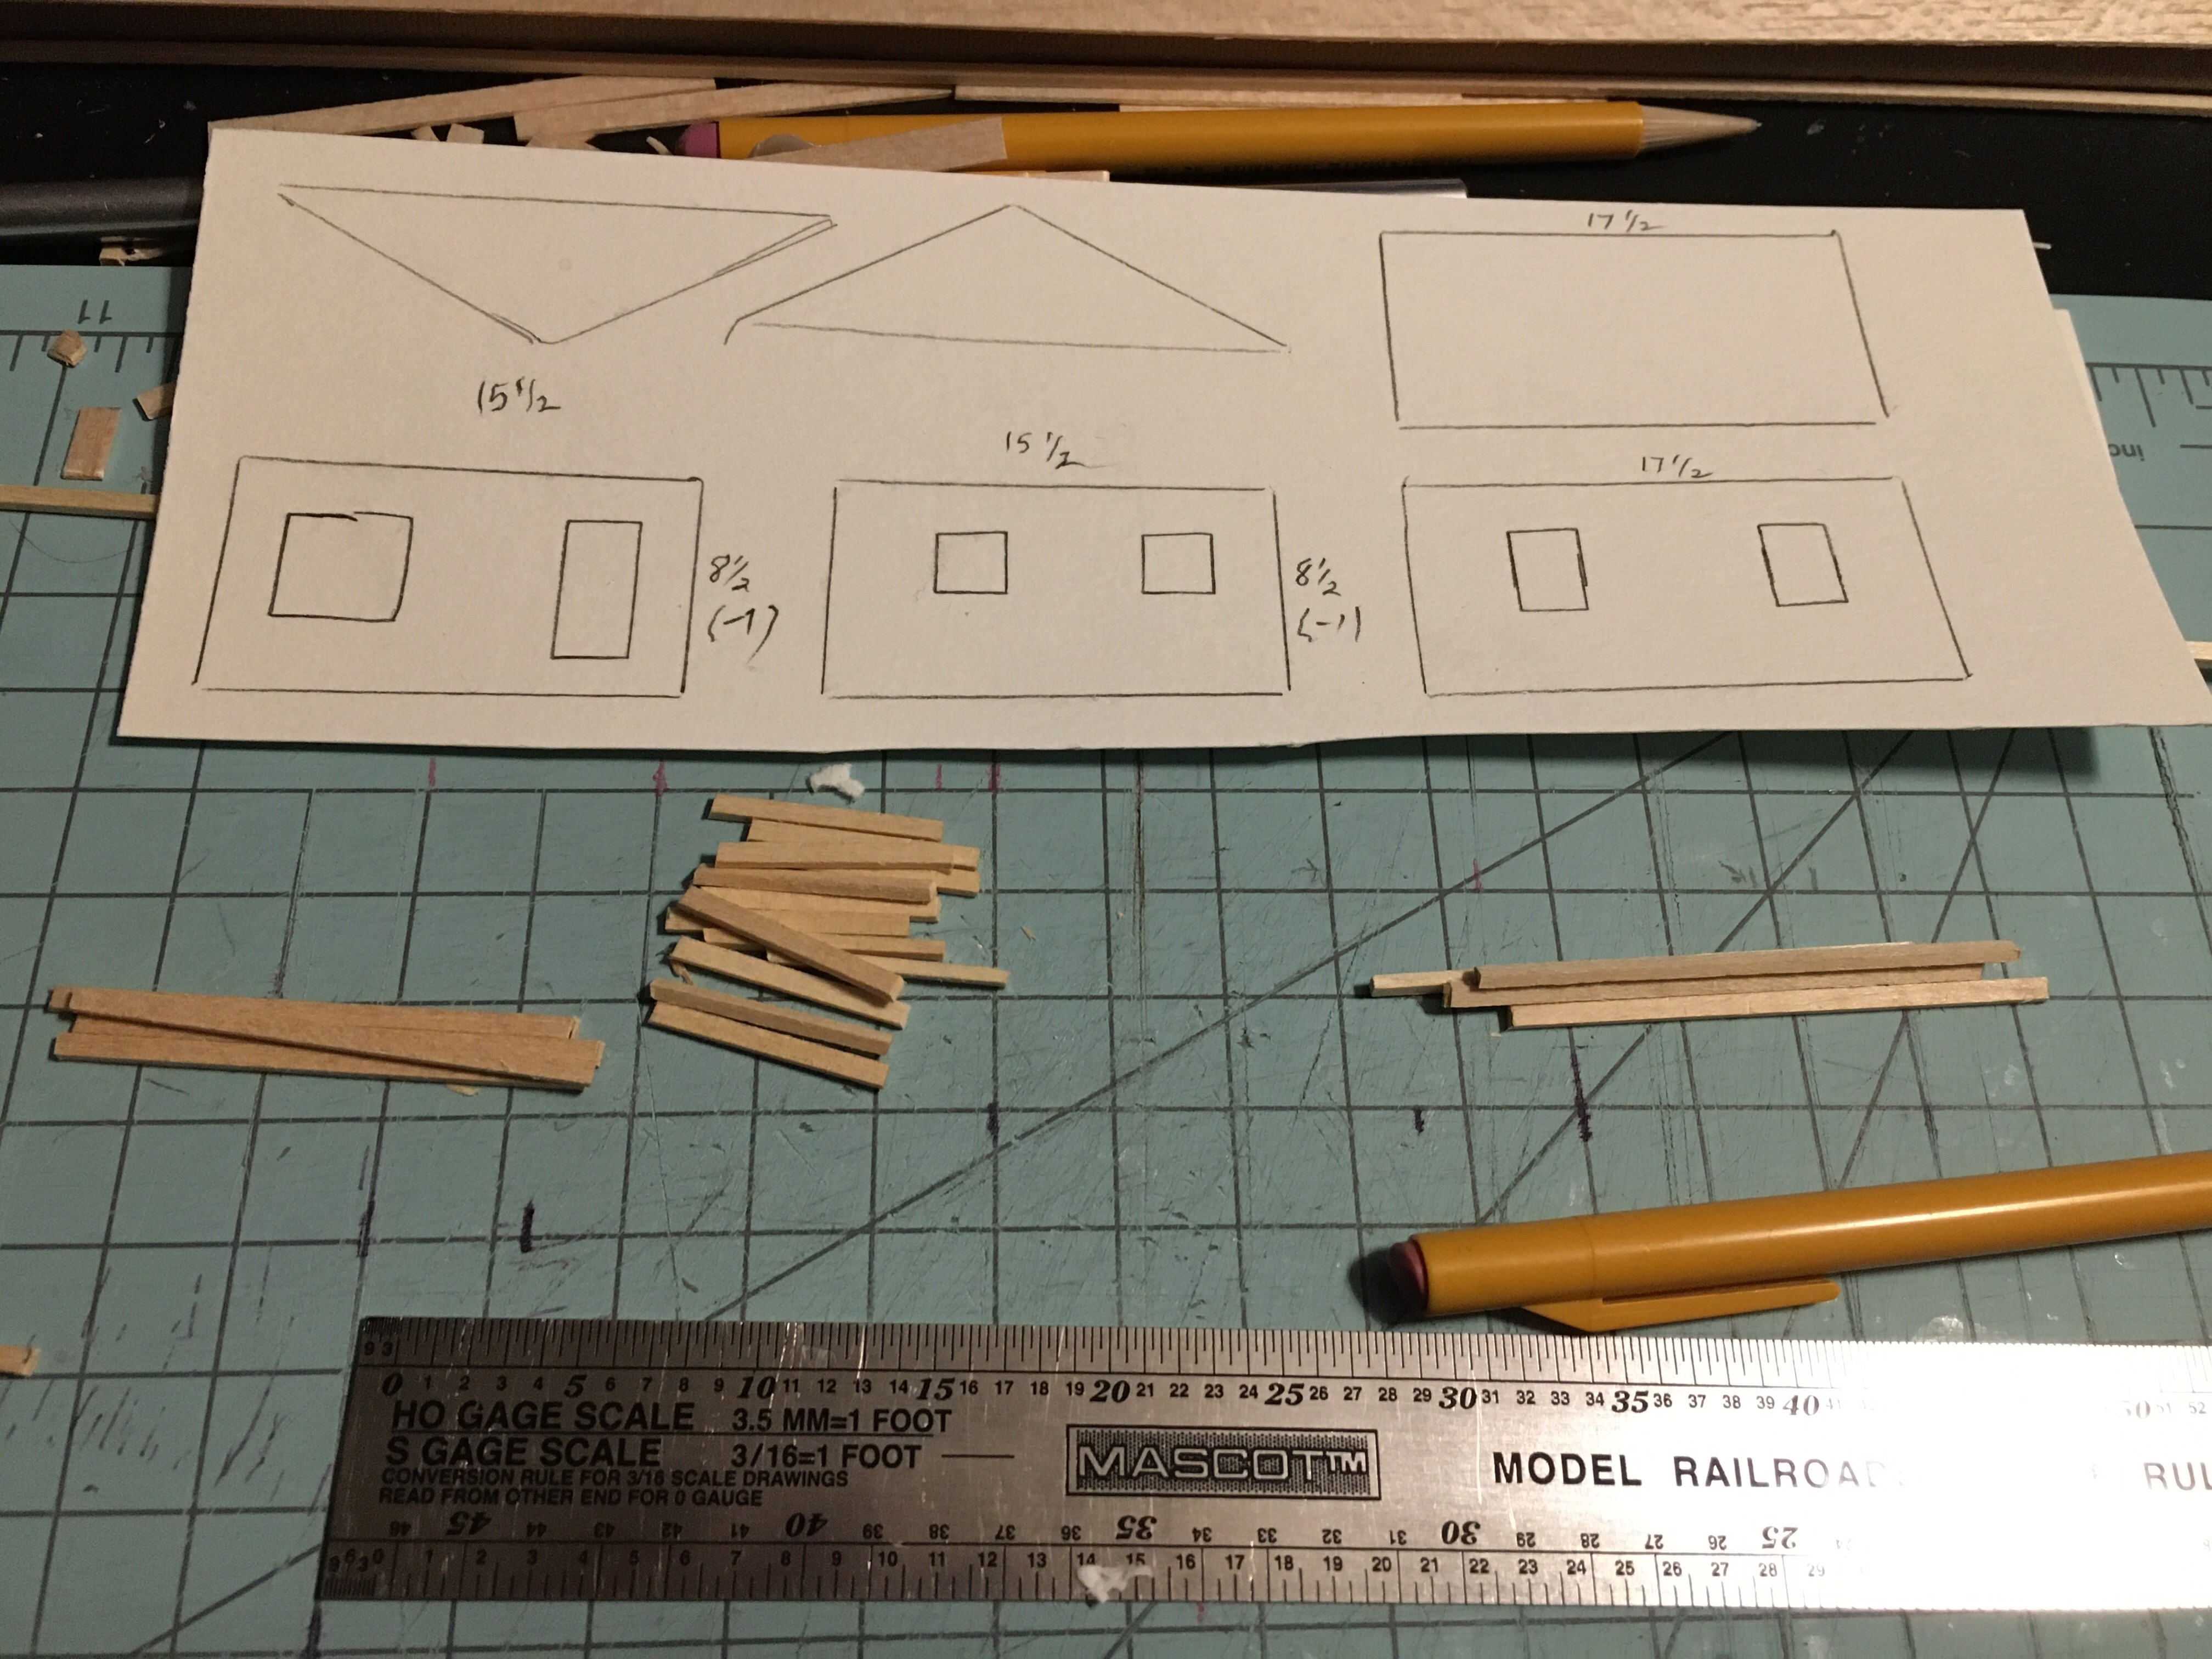
On the HO scale ruler, 3.5 mm equals one foot, so the 10 mark on the ruler is approximately ten feet. I cut the stud pieces at 9 so that when glued to the top and bottom plates, the wall is a scale 10 feet. I cut all the balsa pieces first.
Balsa wood is very light and easy to work with. Art supply stores and hobby shops have great supplies of balsa wood in many different sizes, making it easy to create terrific structures.
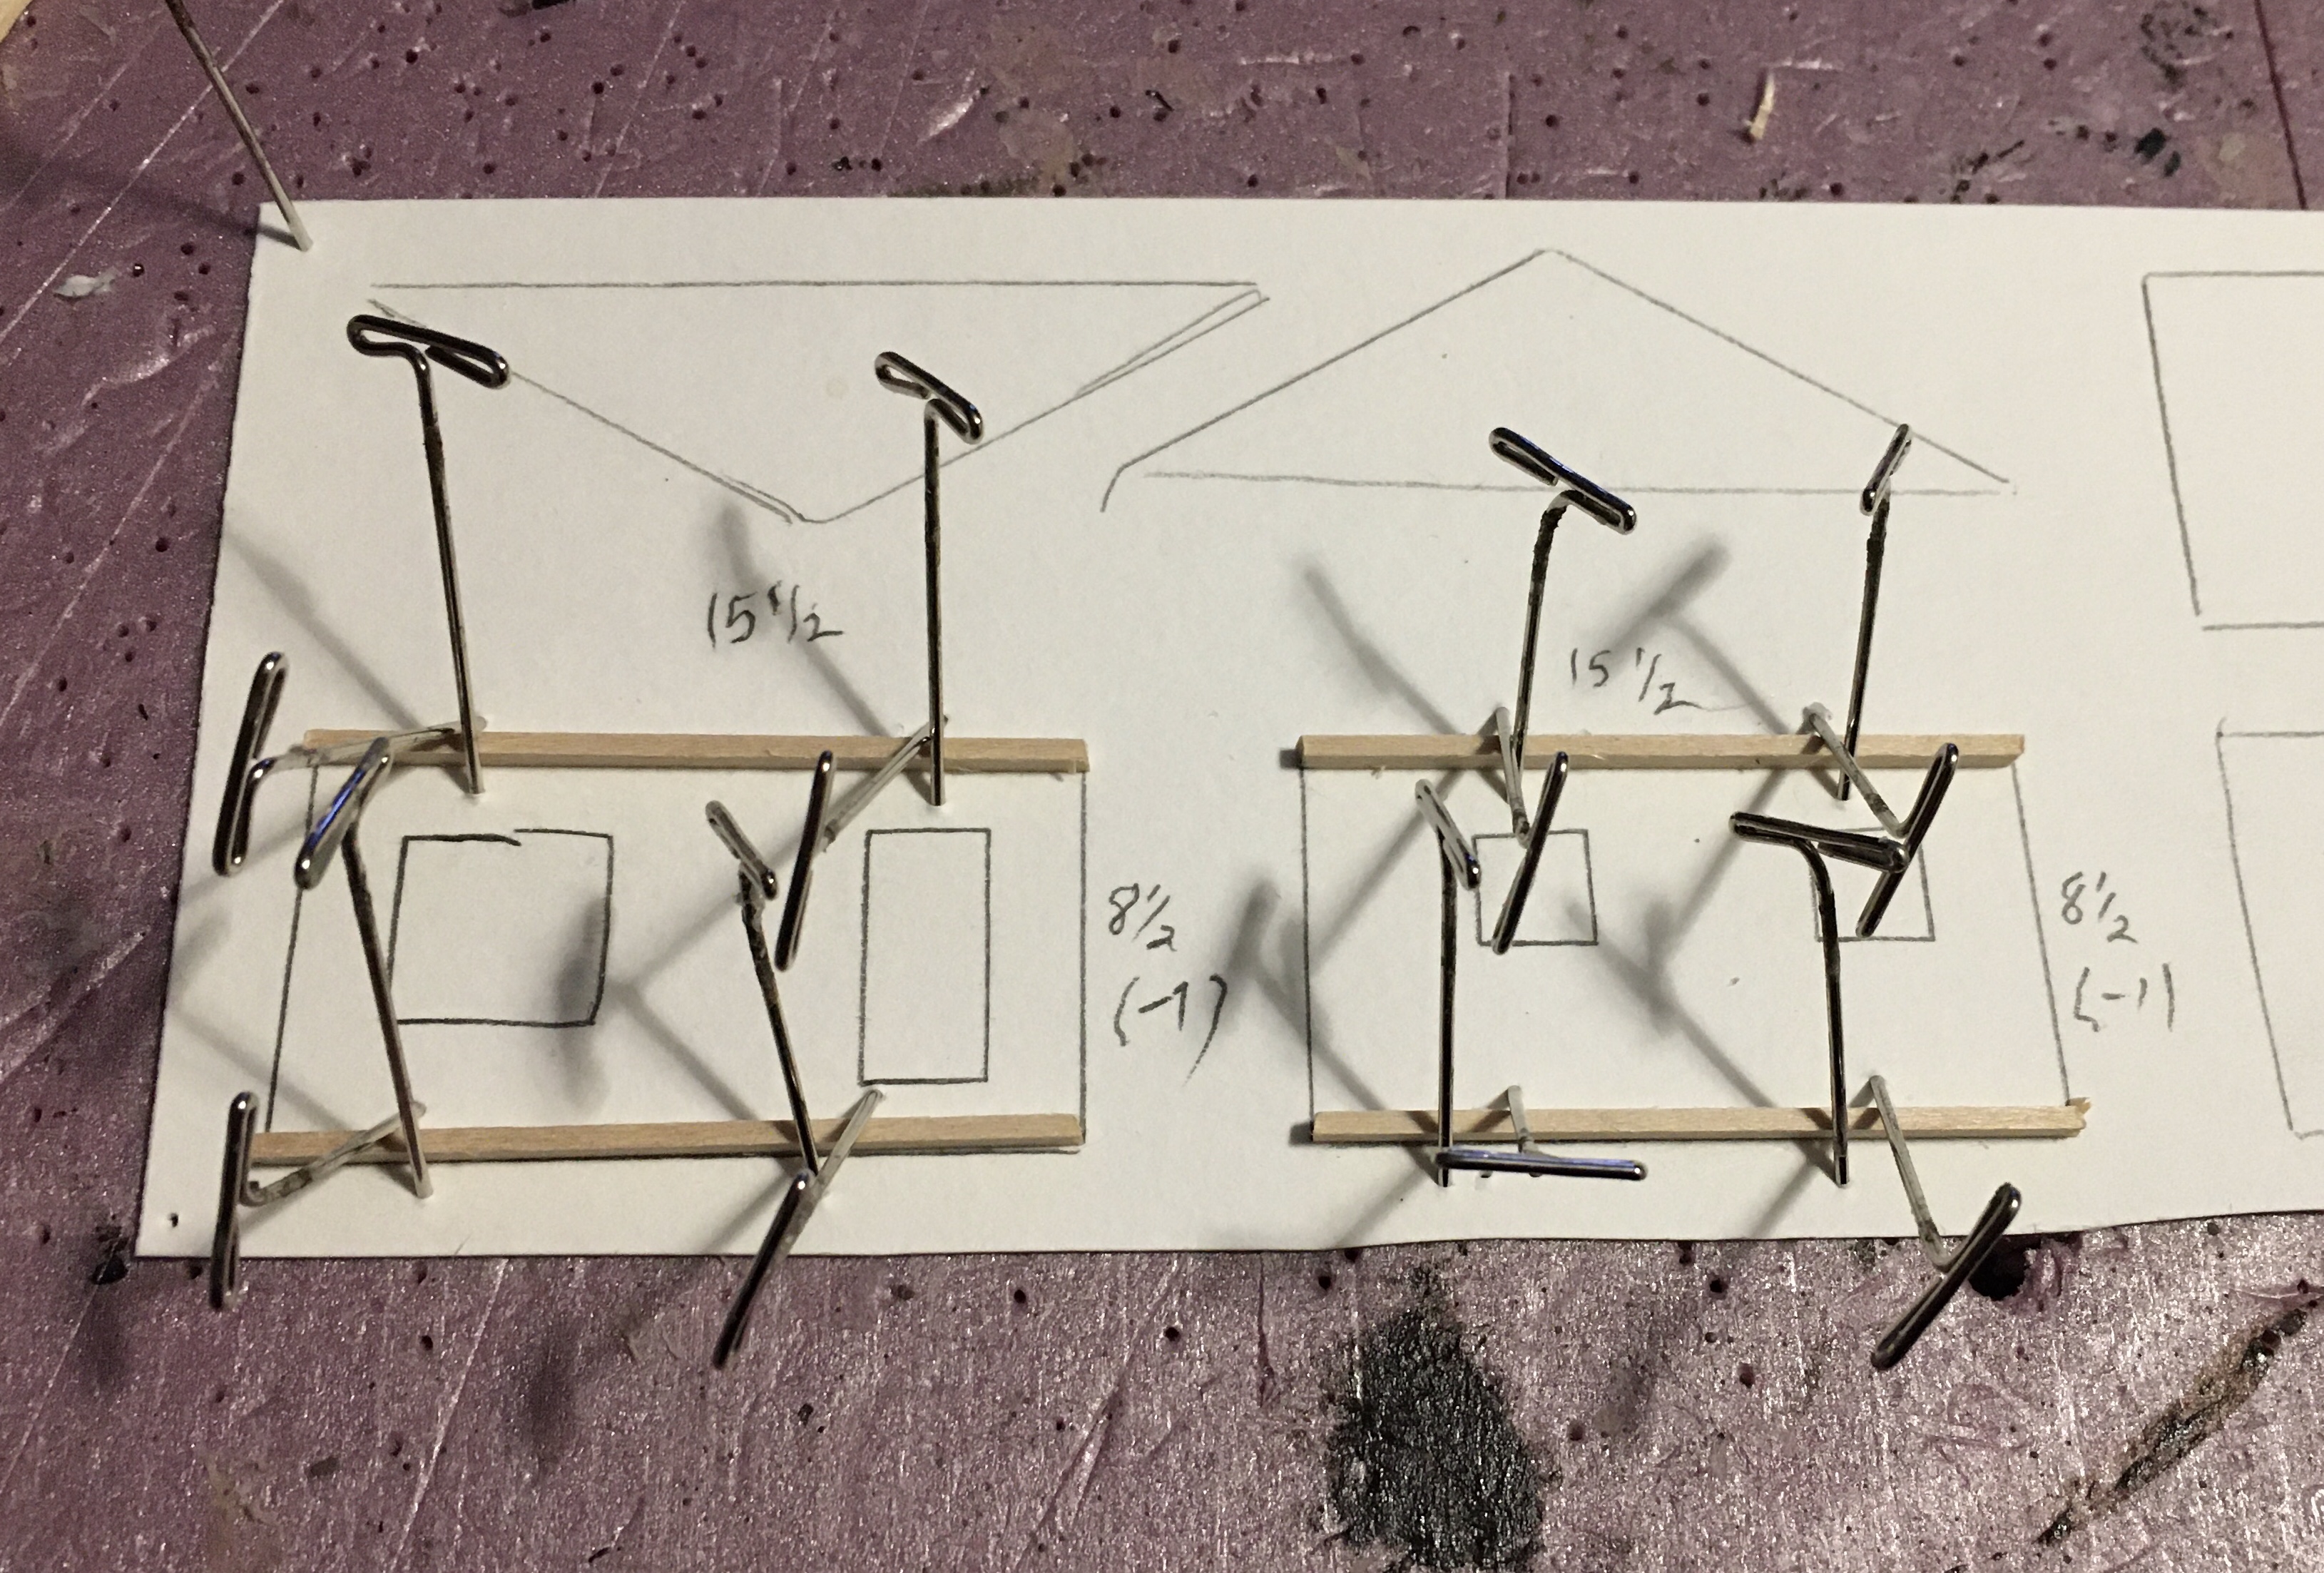
I pin the wall plates to the drawing on edge, then glue the first and last studs to the plates and allow them to dry. Placing pins on an angle from both sides of the scale 2 x 4 holds it in place.
This cabin has longer walls so I glued a middle stud in place to be sure the plates stay true while the glue is drying.
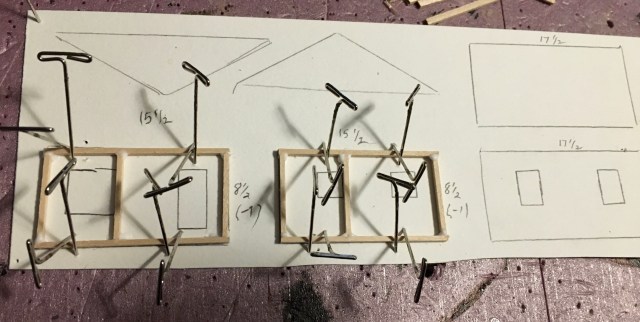
When the outer frames are dry, I then begin gluing the remaining studs in place. I make my windows 3 x 5, doors are 3 x 7 on the HO scale ruler. When all the studs are dry, I glue the window and door upper and lower frames in place.
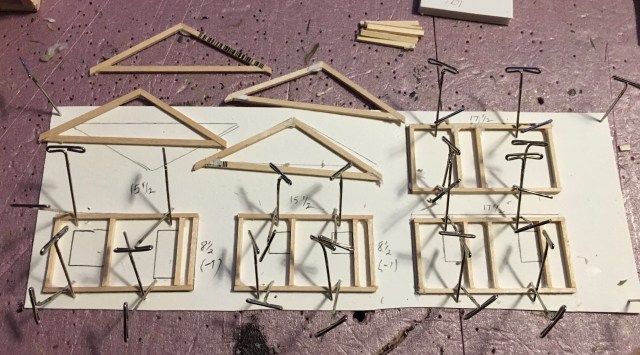
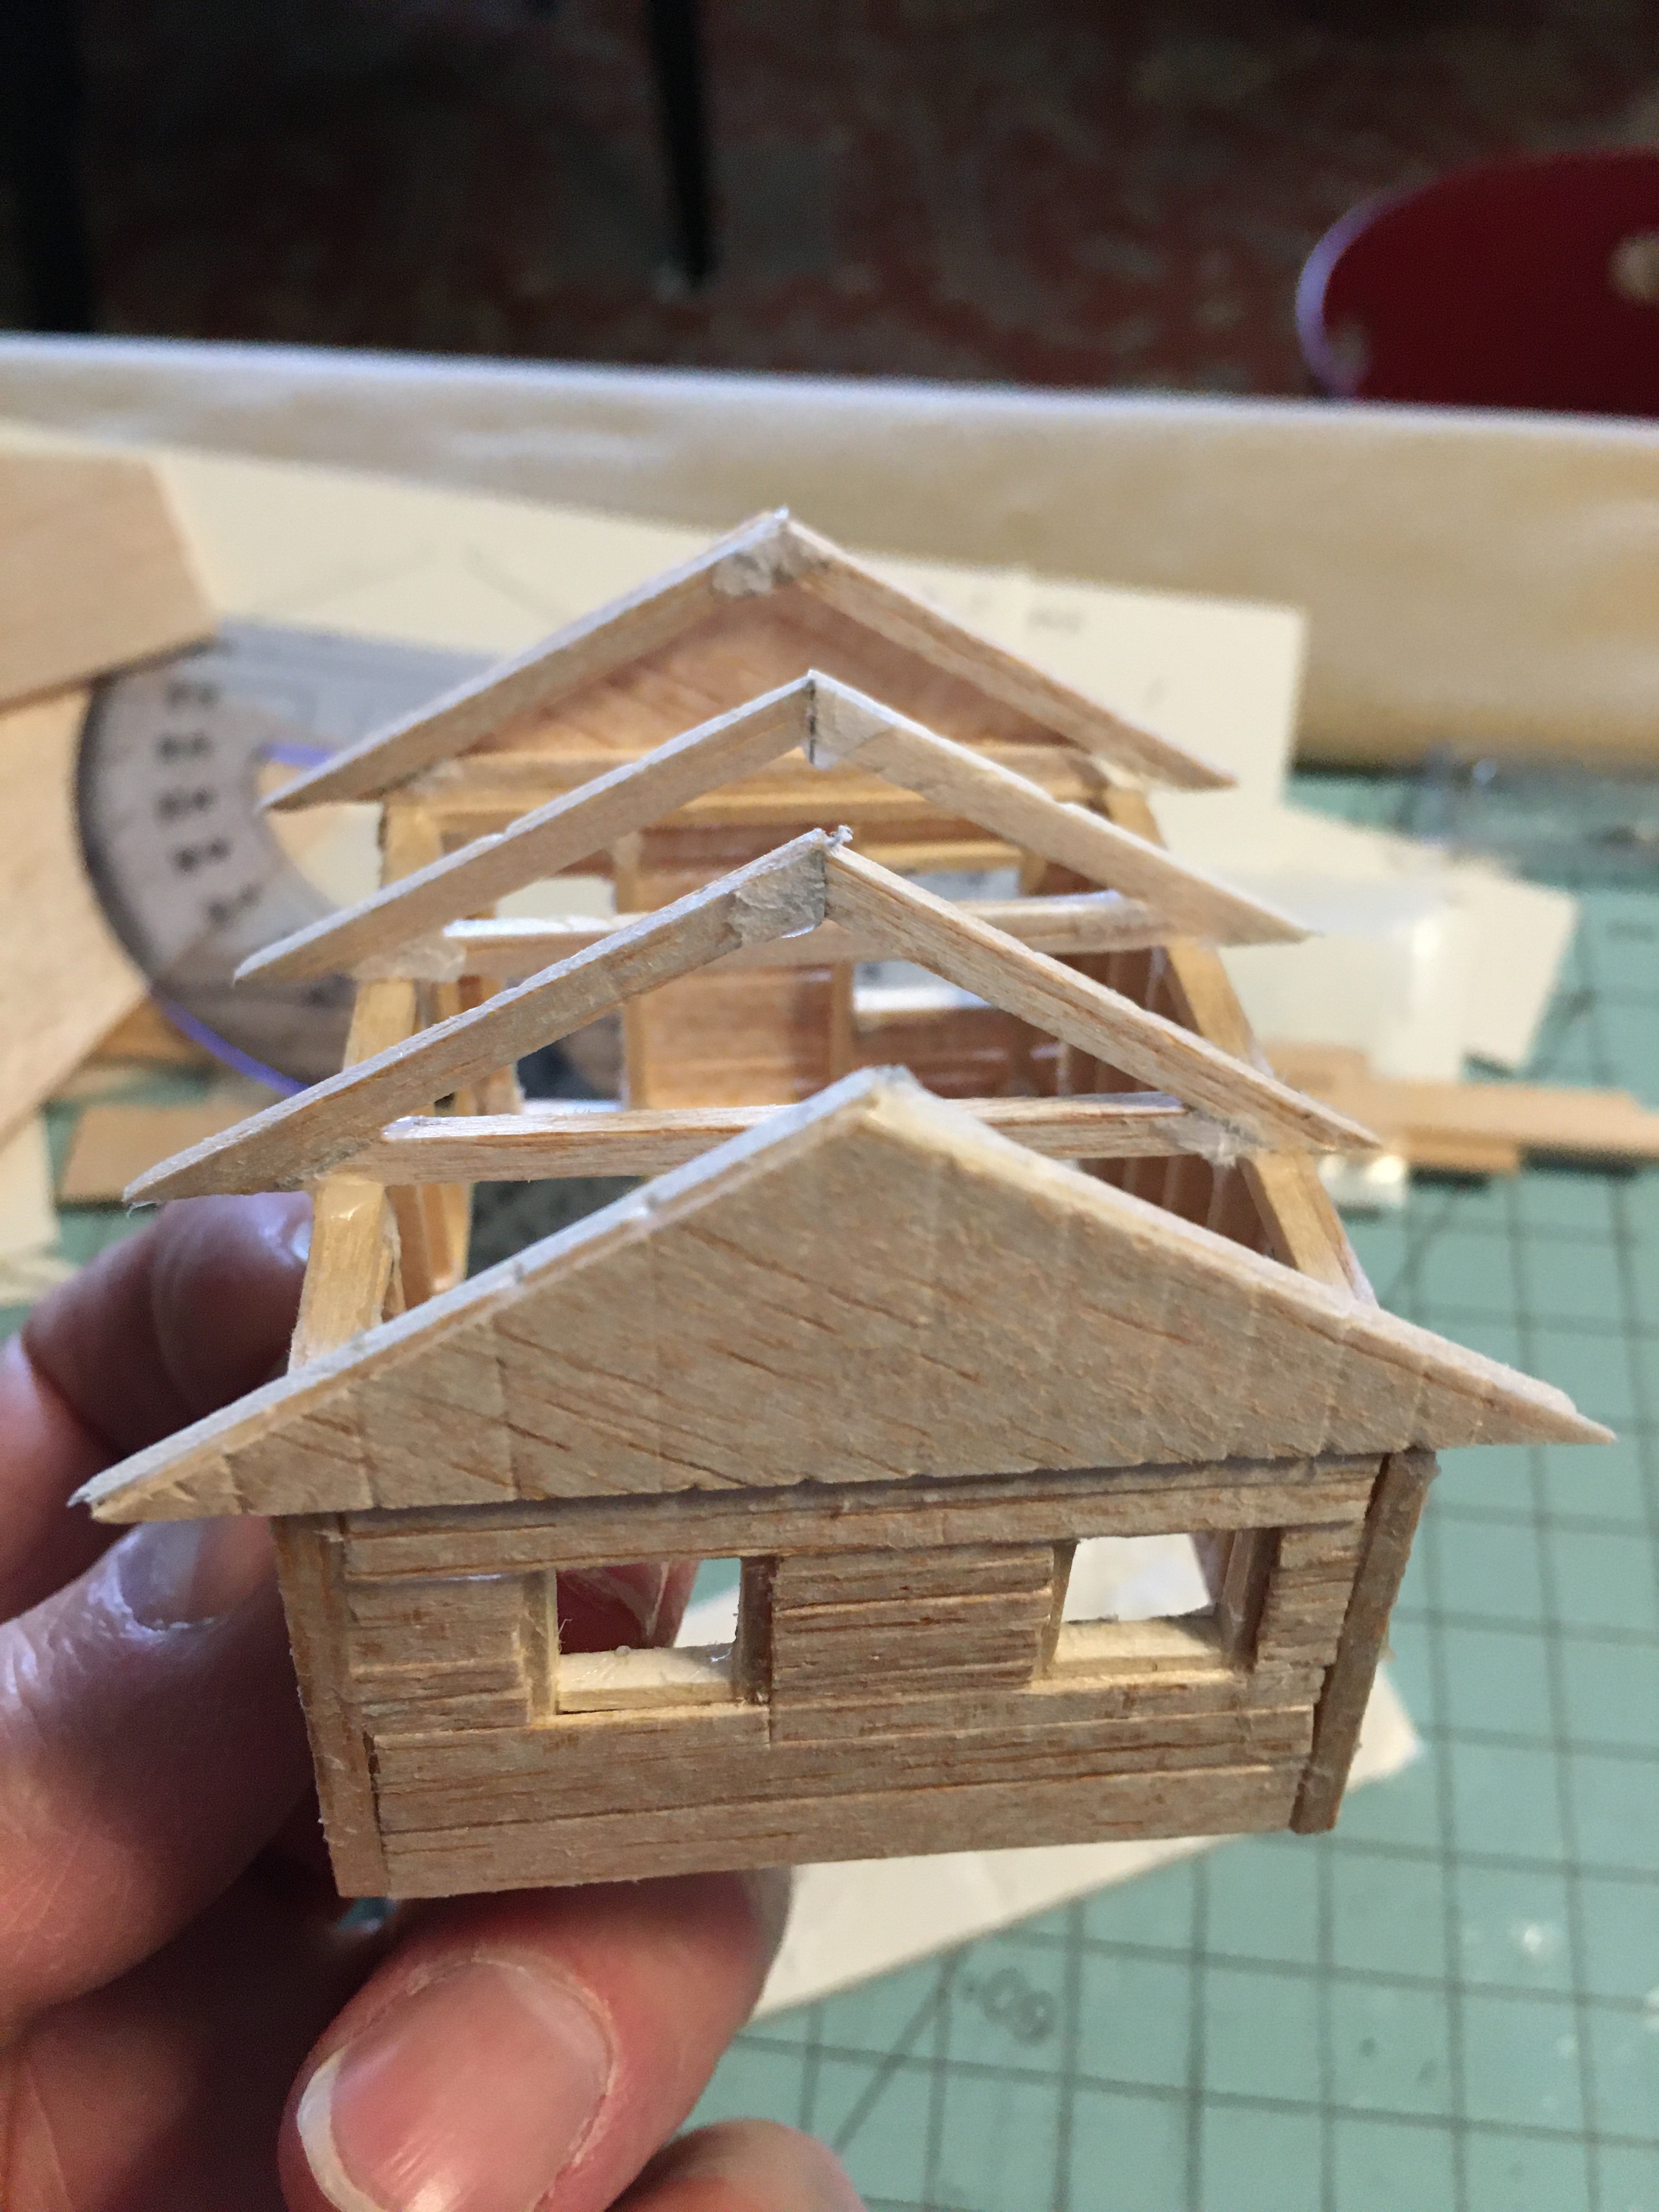
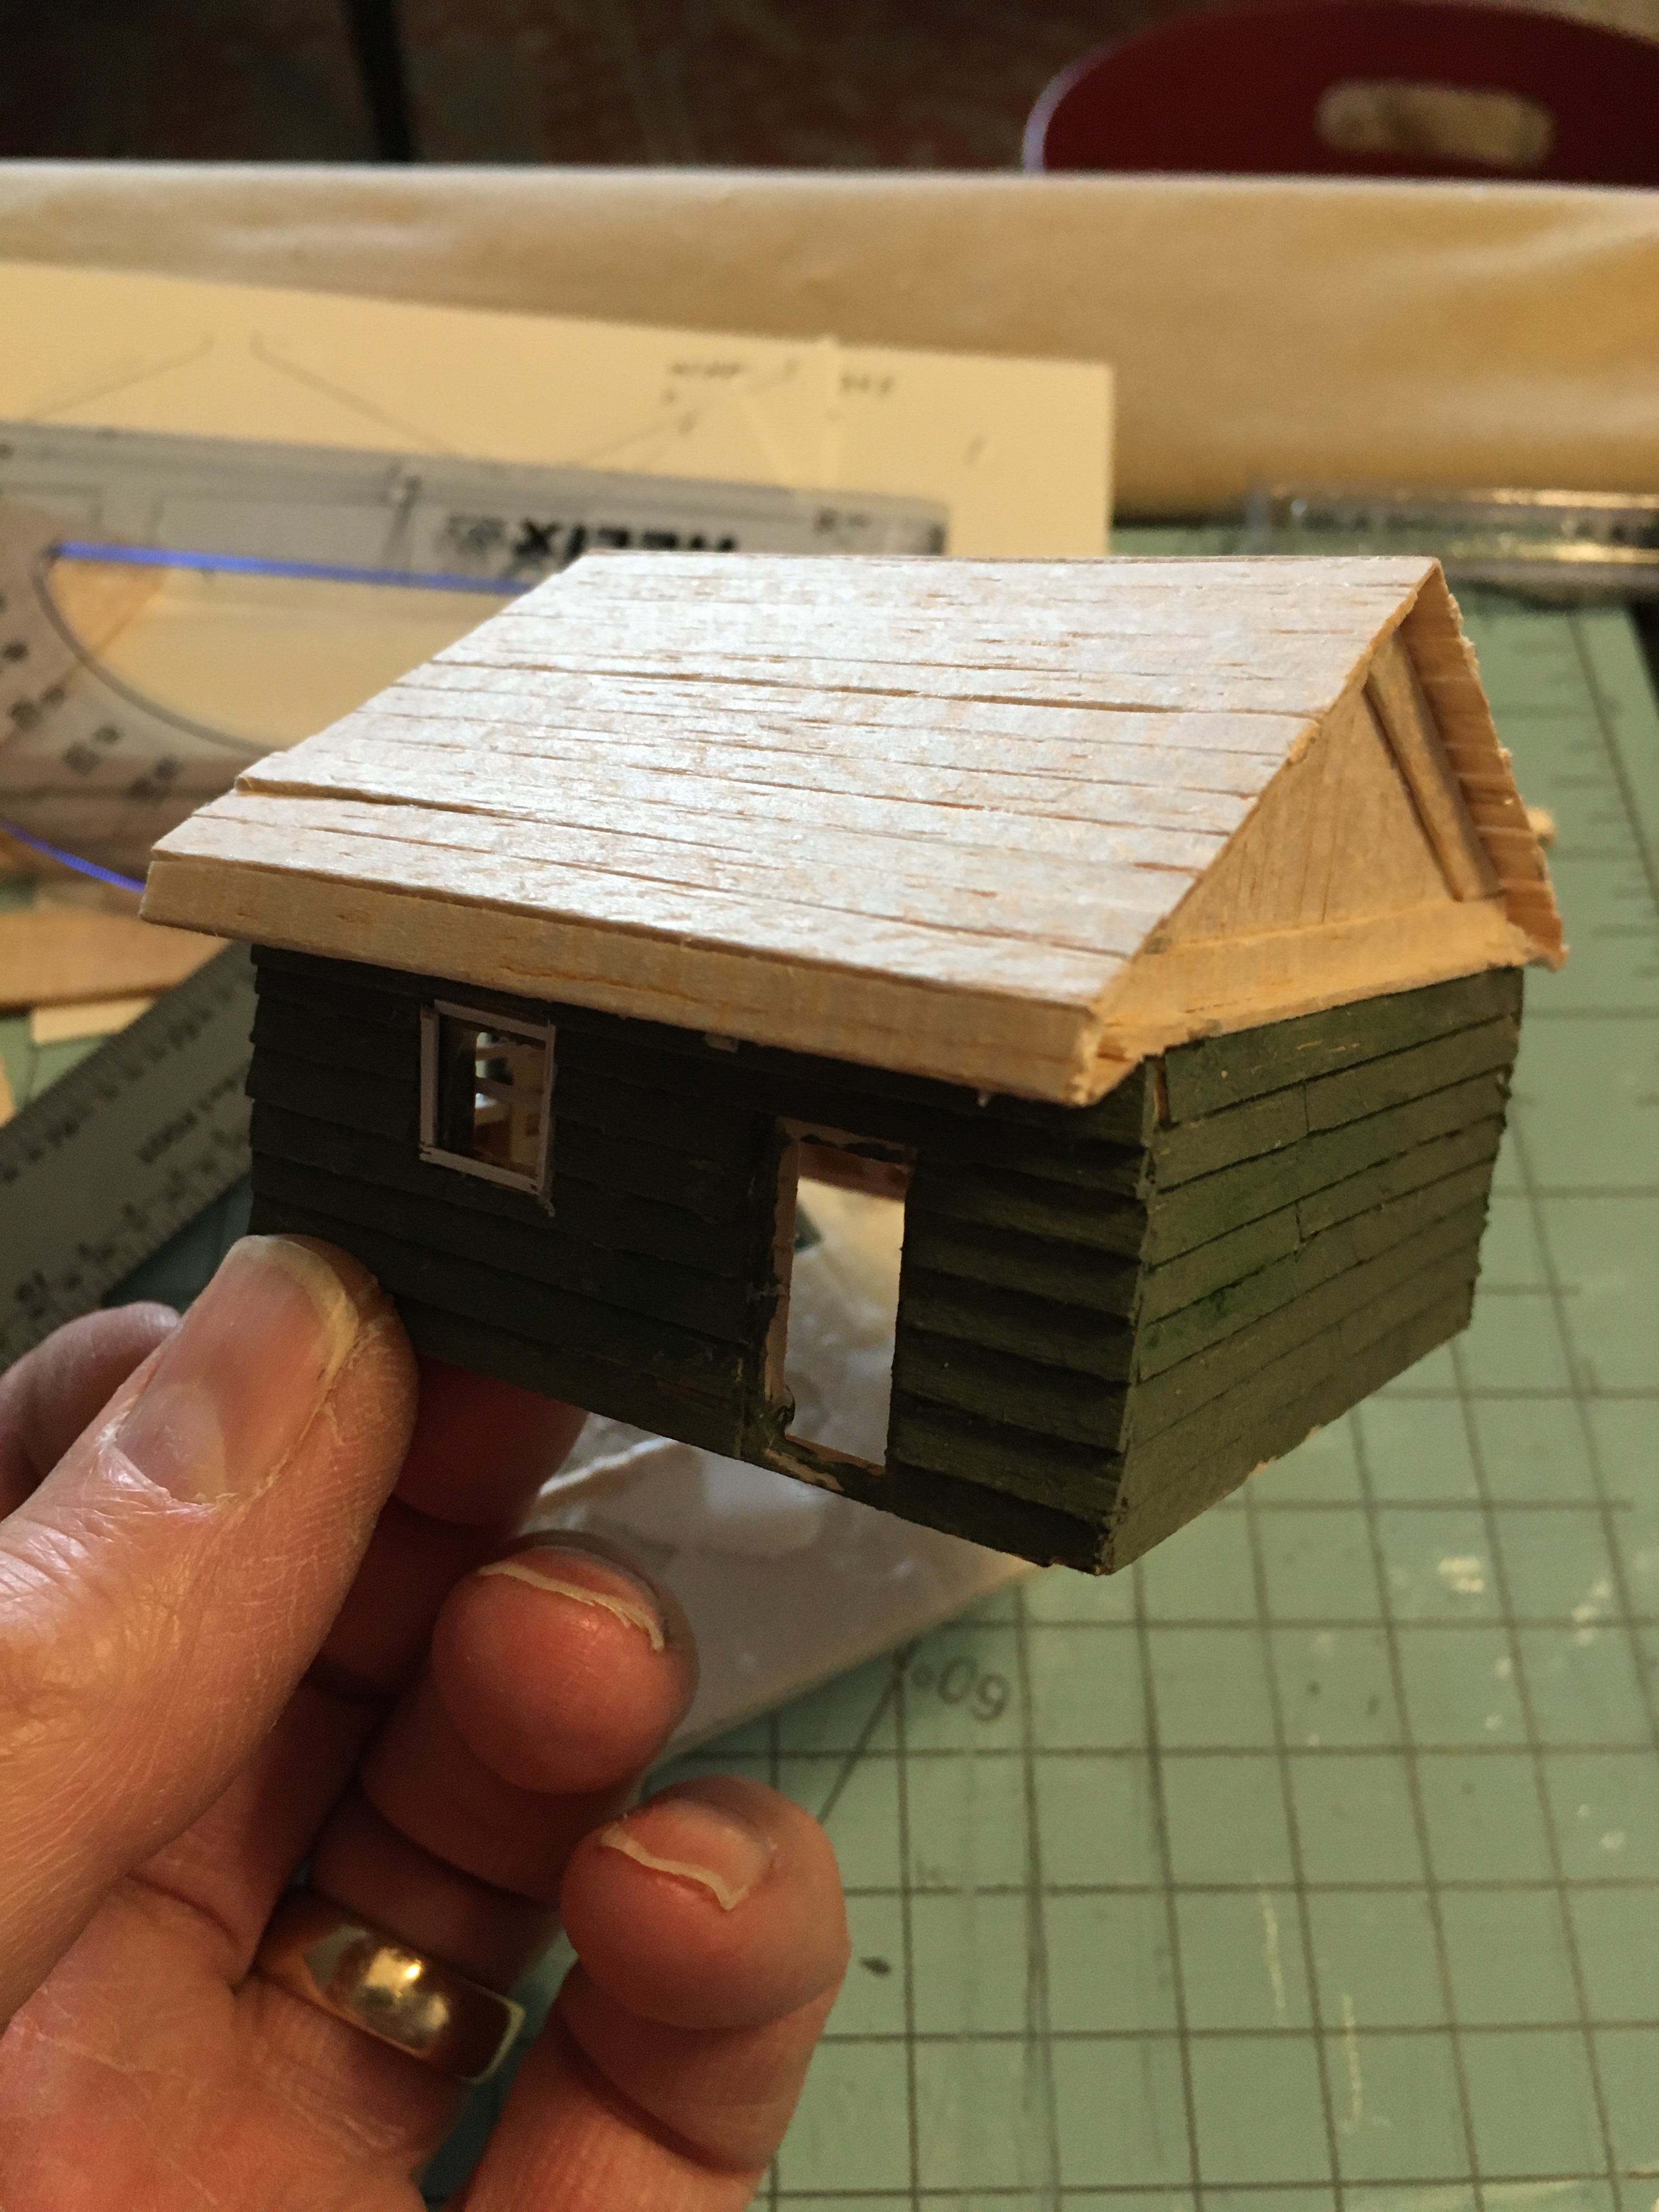
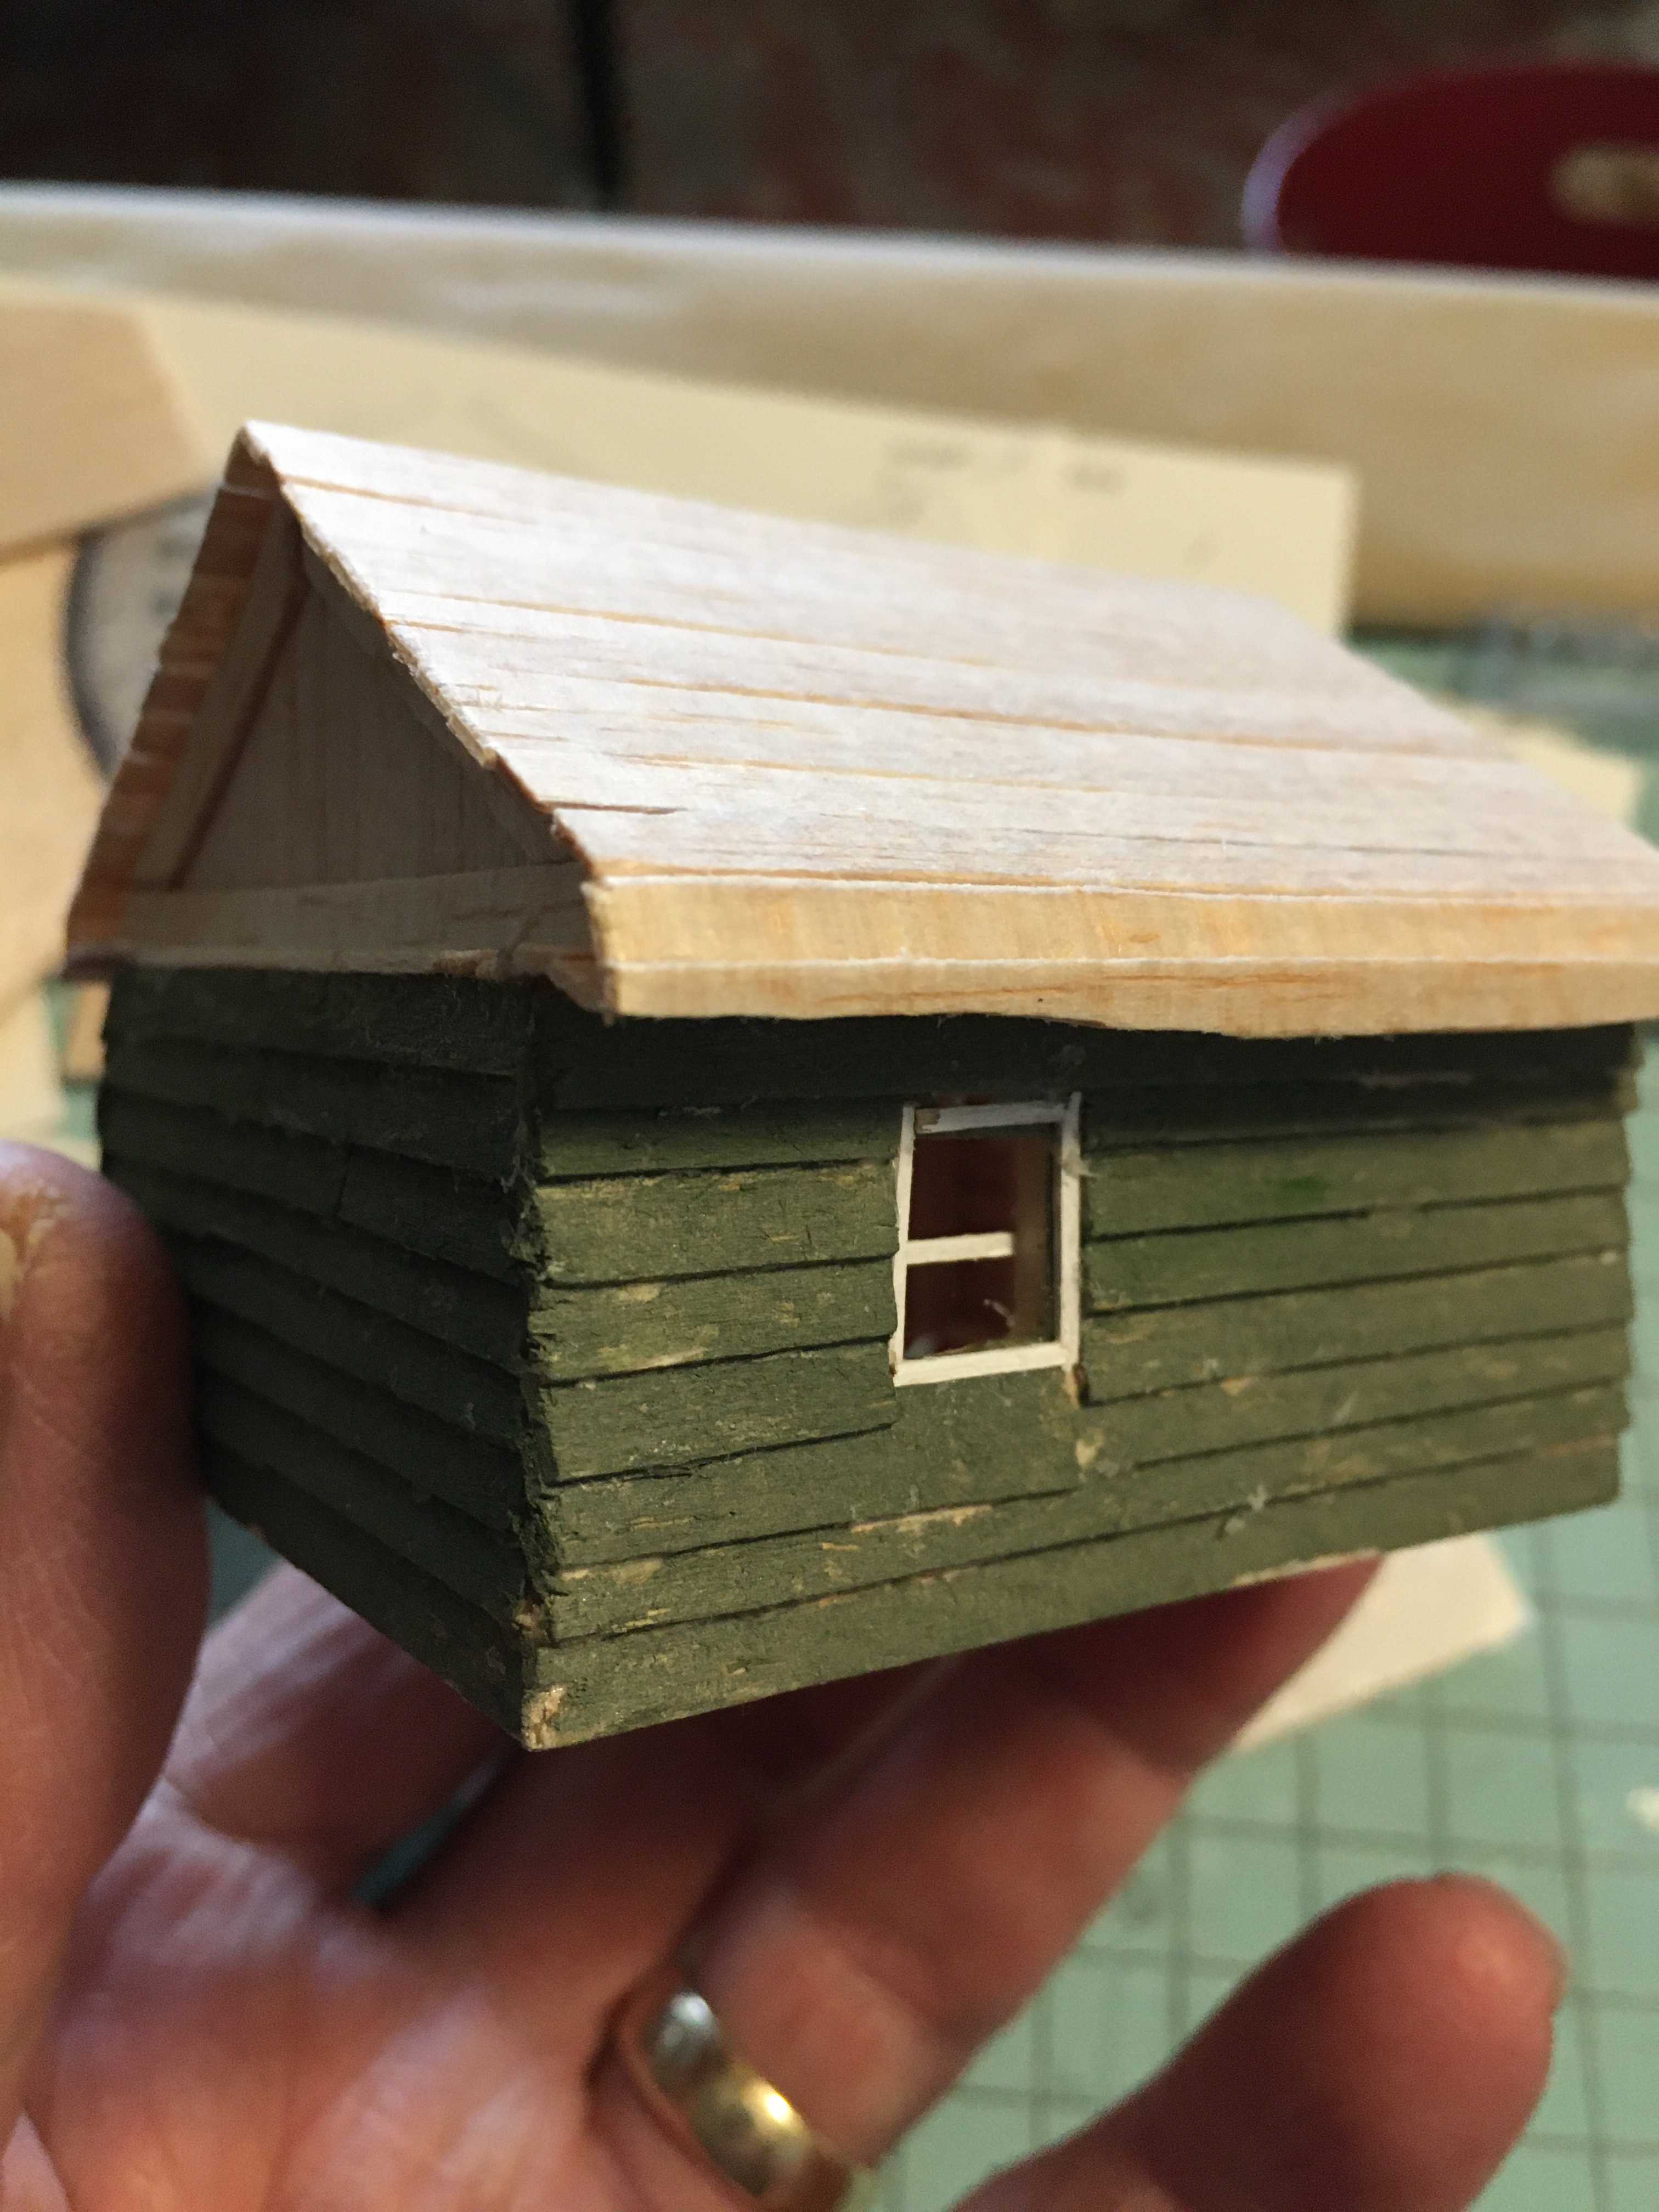
My roof trusses are a “trial-and-error” exercize. After gluing trusses on a small cabin frame, I decided it looked goofy so I cut the roof off and started over. A lower pitch looks better on a small structure.
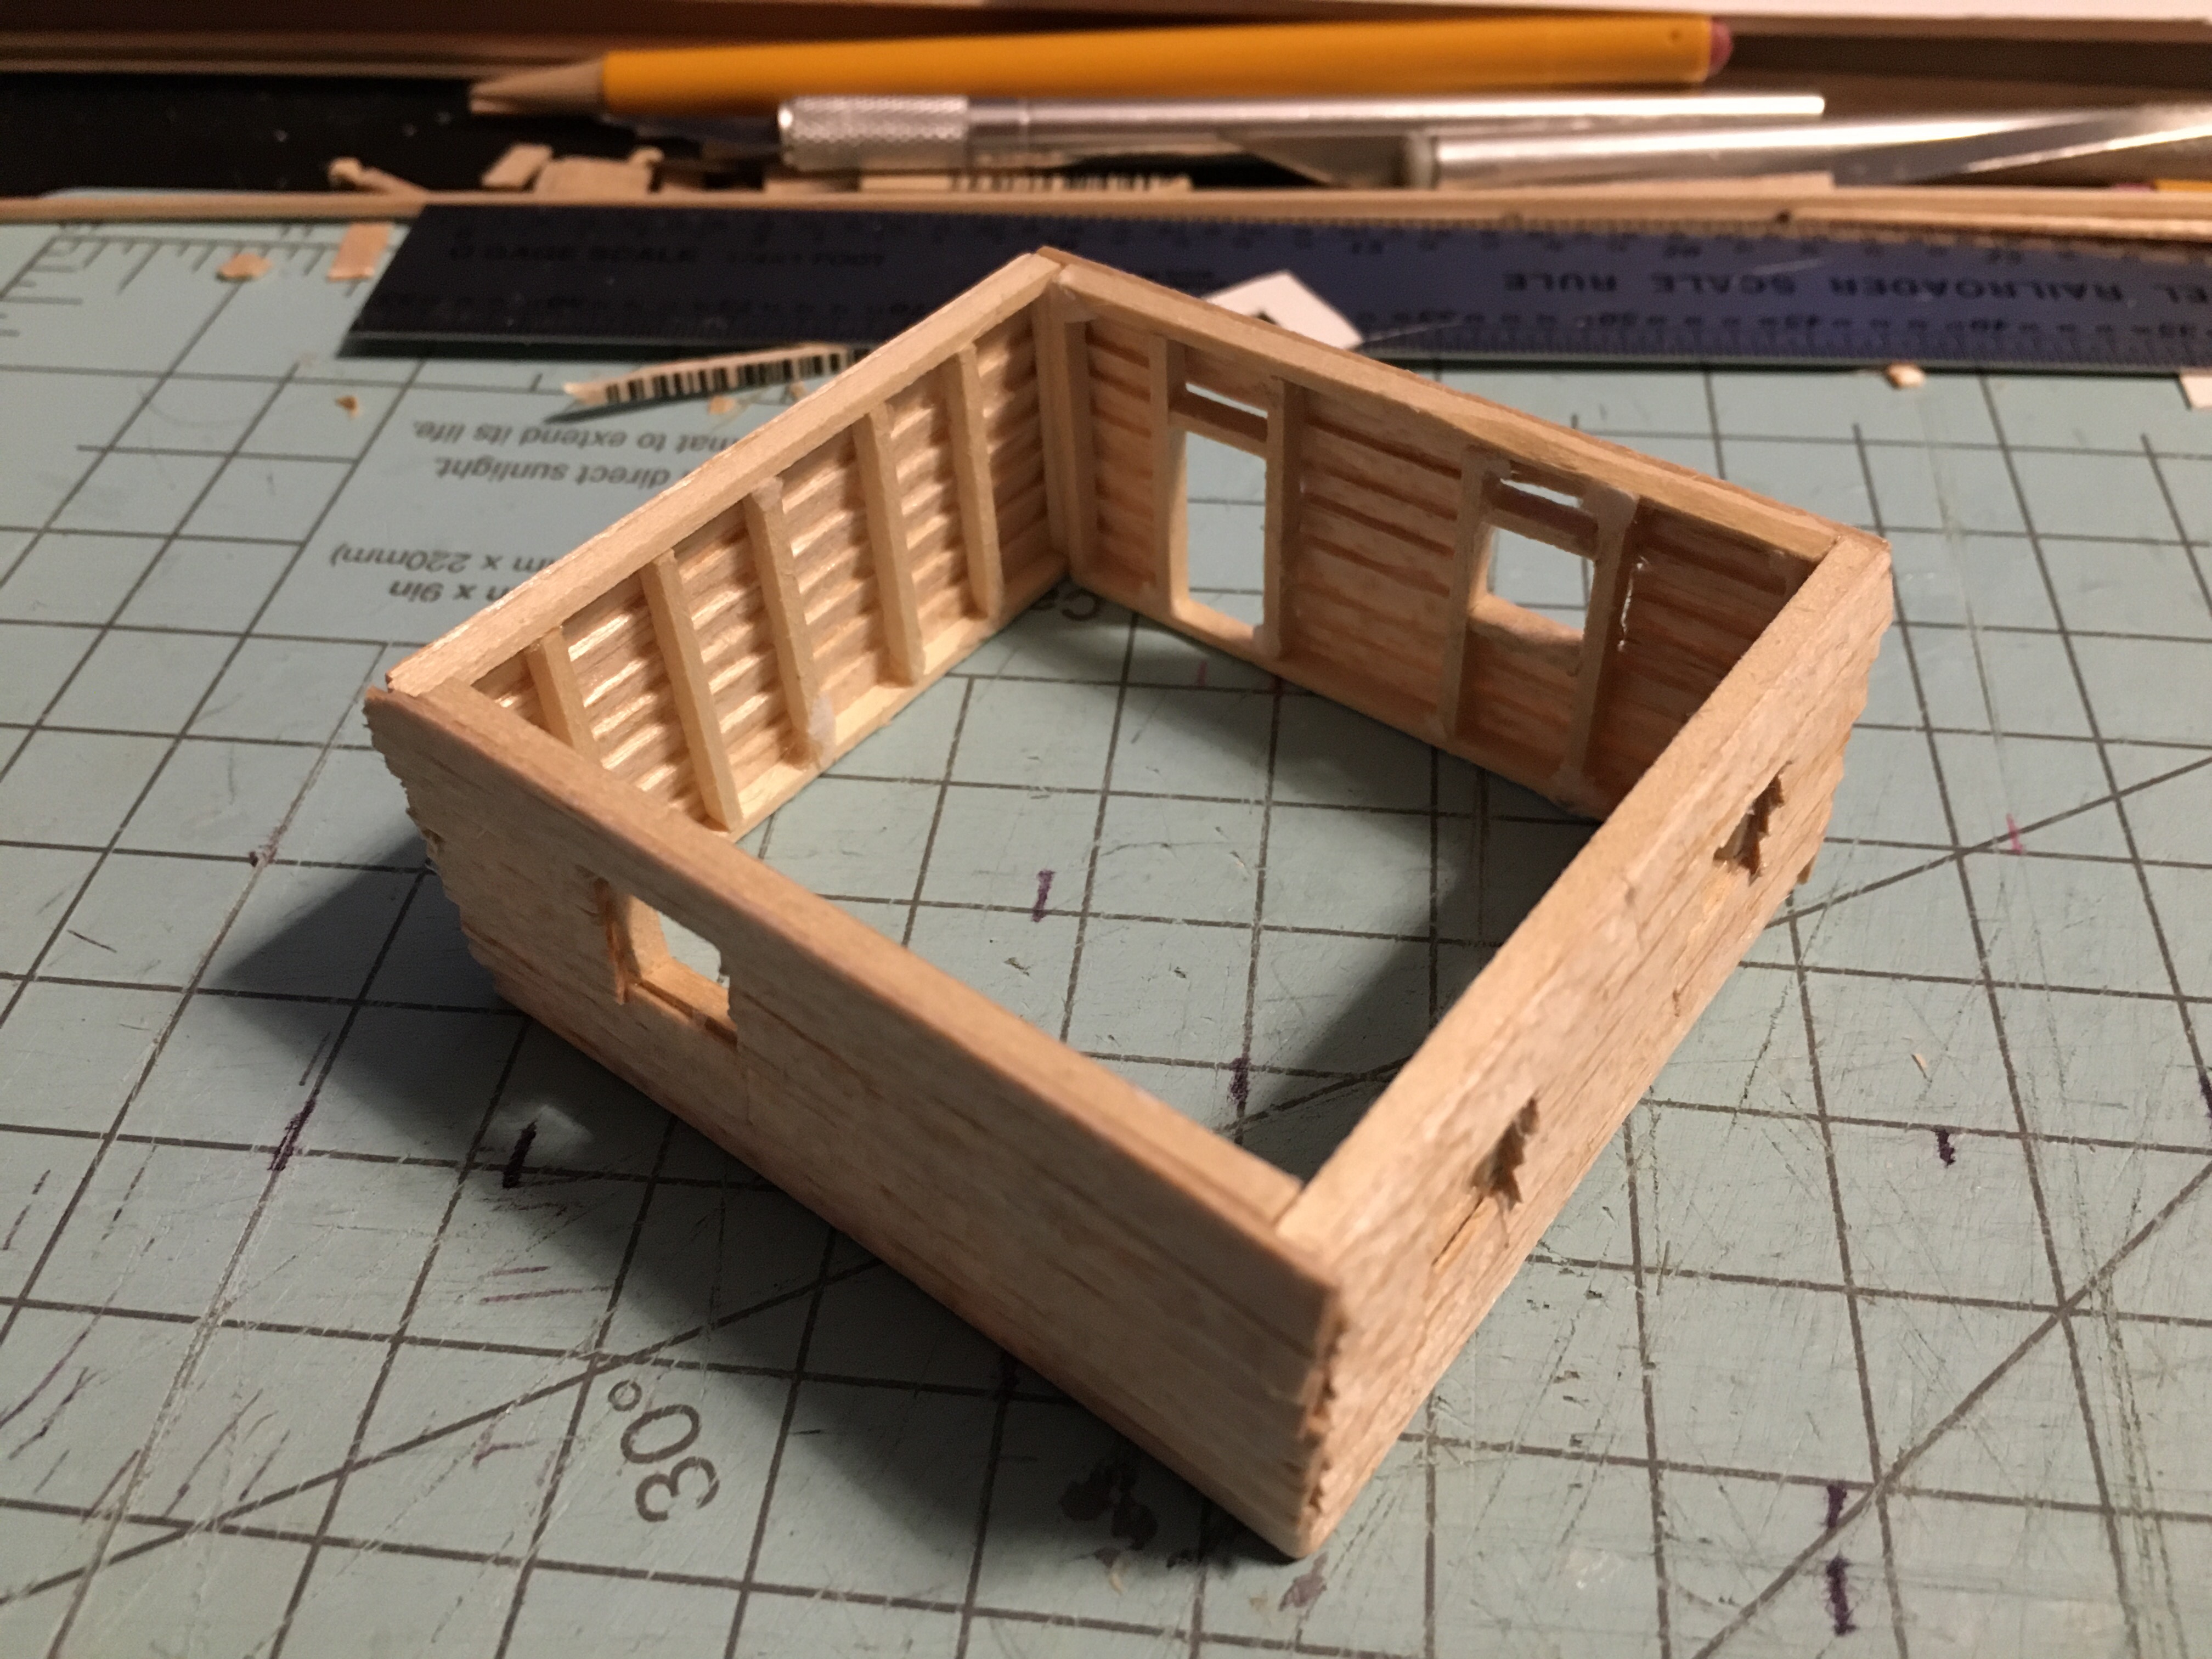
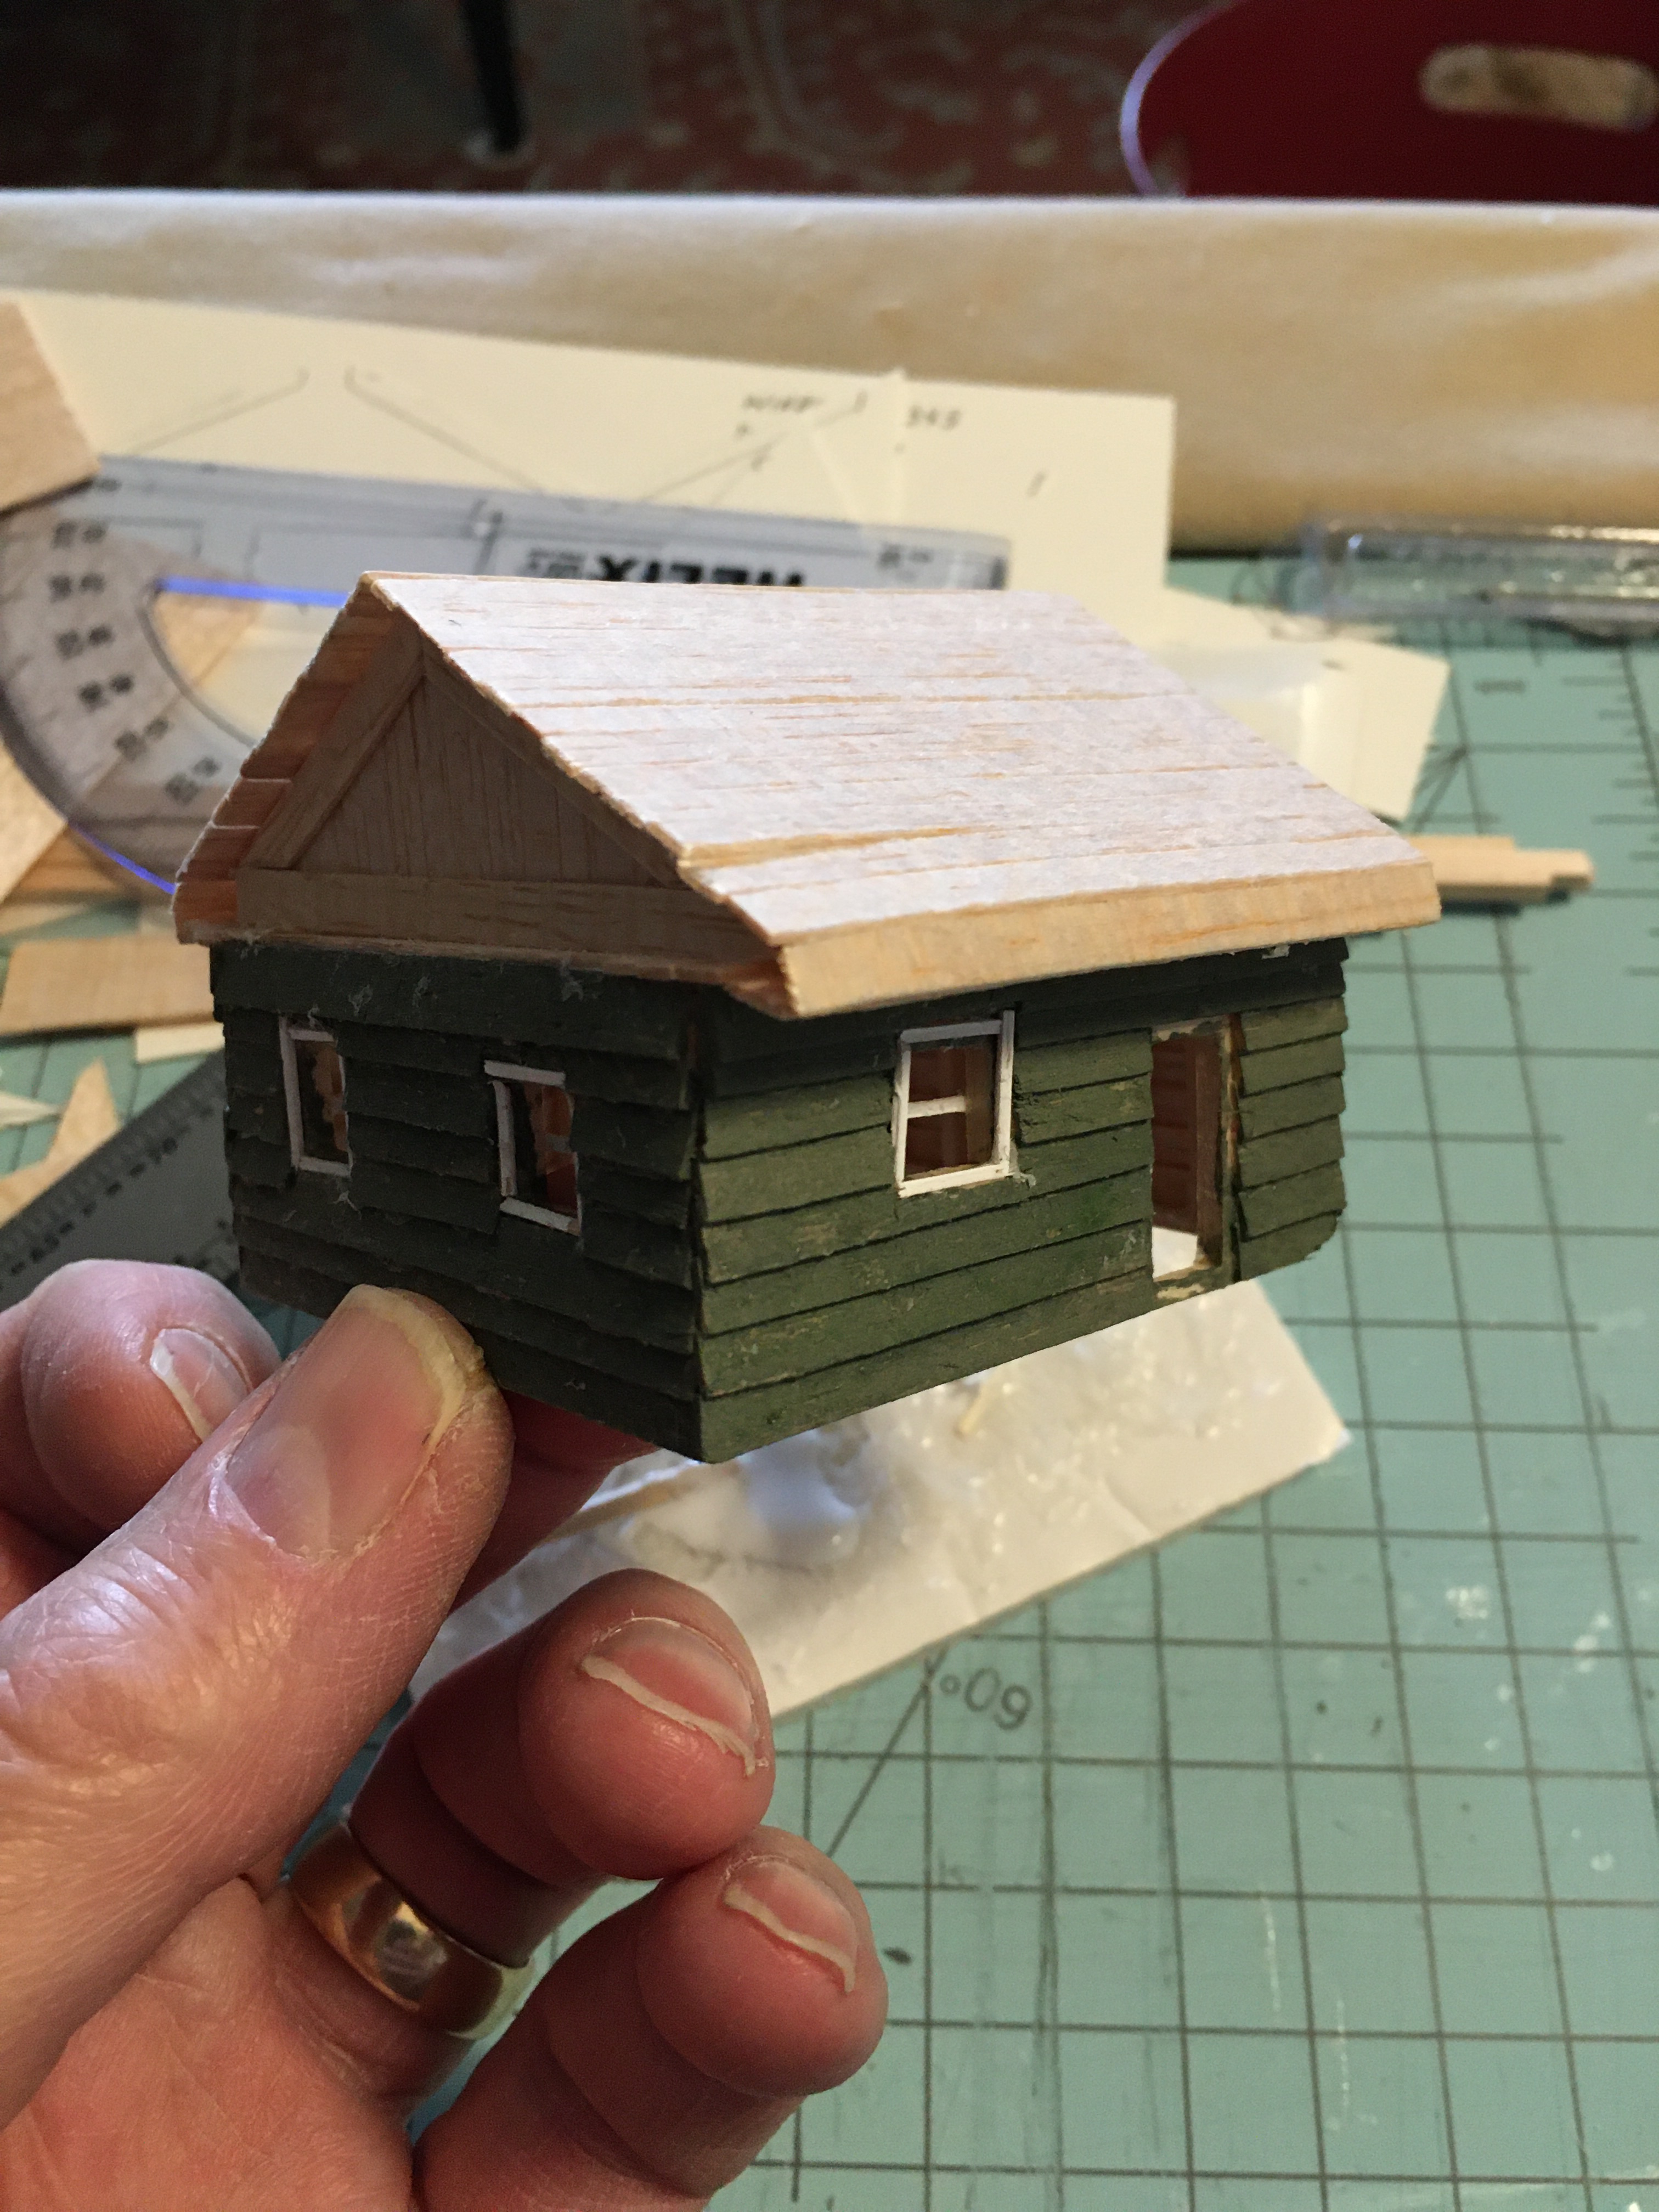
I decided to try using overlap siding because I like the way it looks. I cut strips from very thin balsa sheets. Starting at the bottom of the wall, I glued each one in place, overlapping the next piece above it. To frame the windows, I glued short pieces from the wall ends and between the windows. I left a small edge of the frame to allow window trim to be added later.
To create finished corners, on opposite walls the siding pieces are 3mm longer at each end. This also allows for much stronger gluing surfaces.
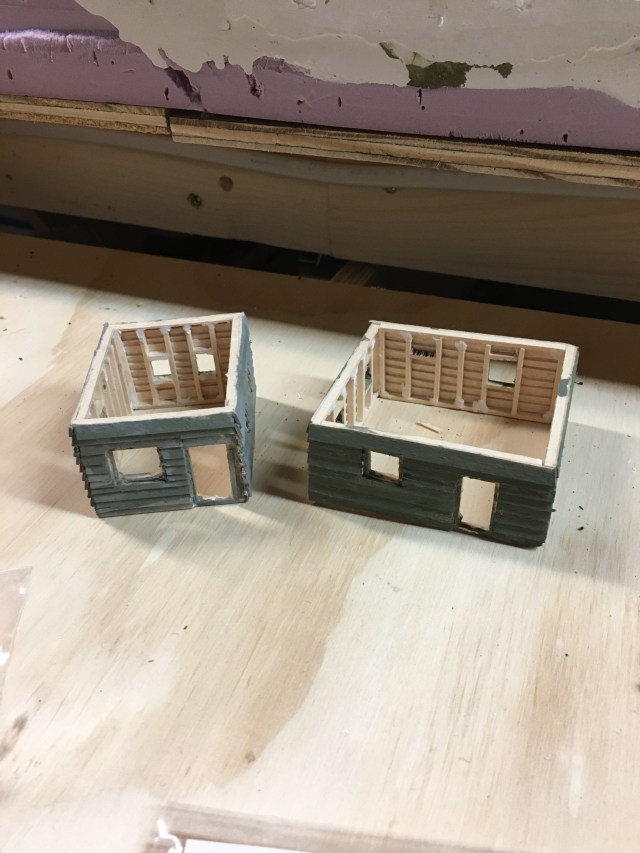
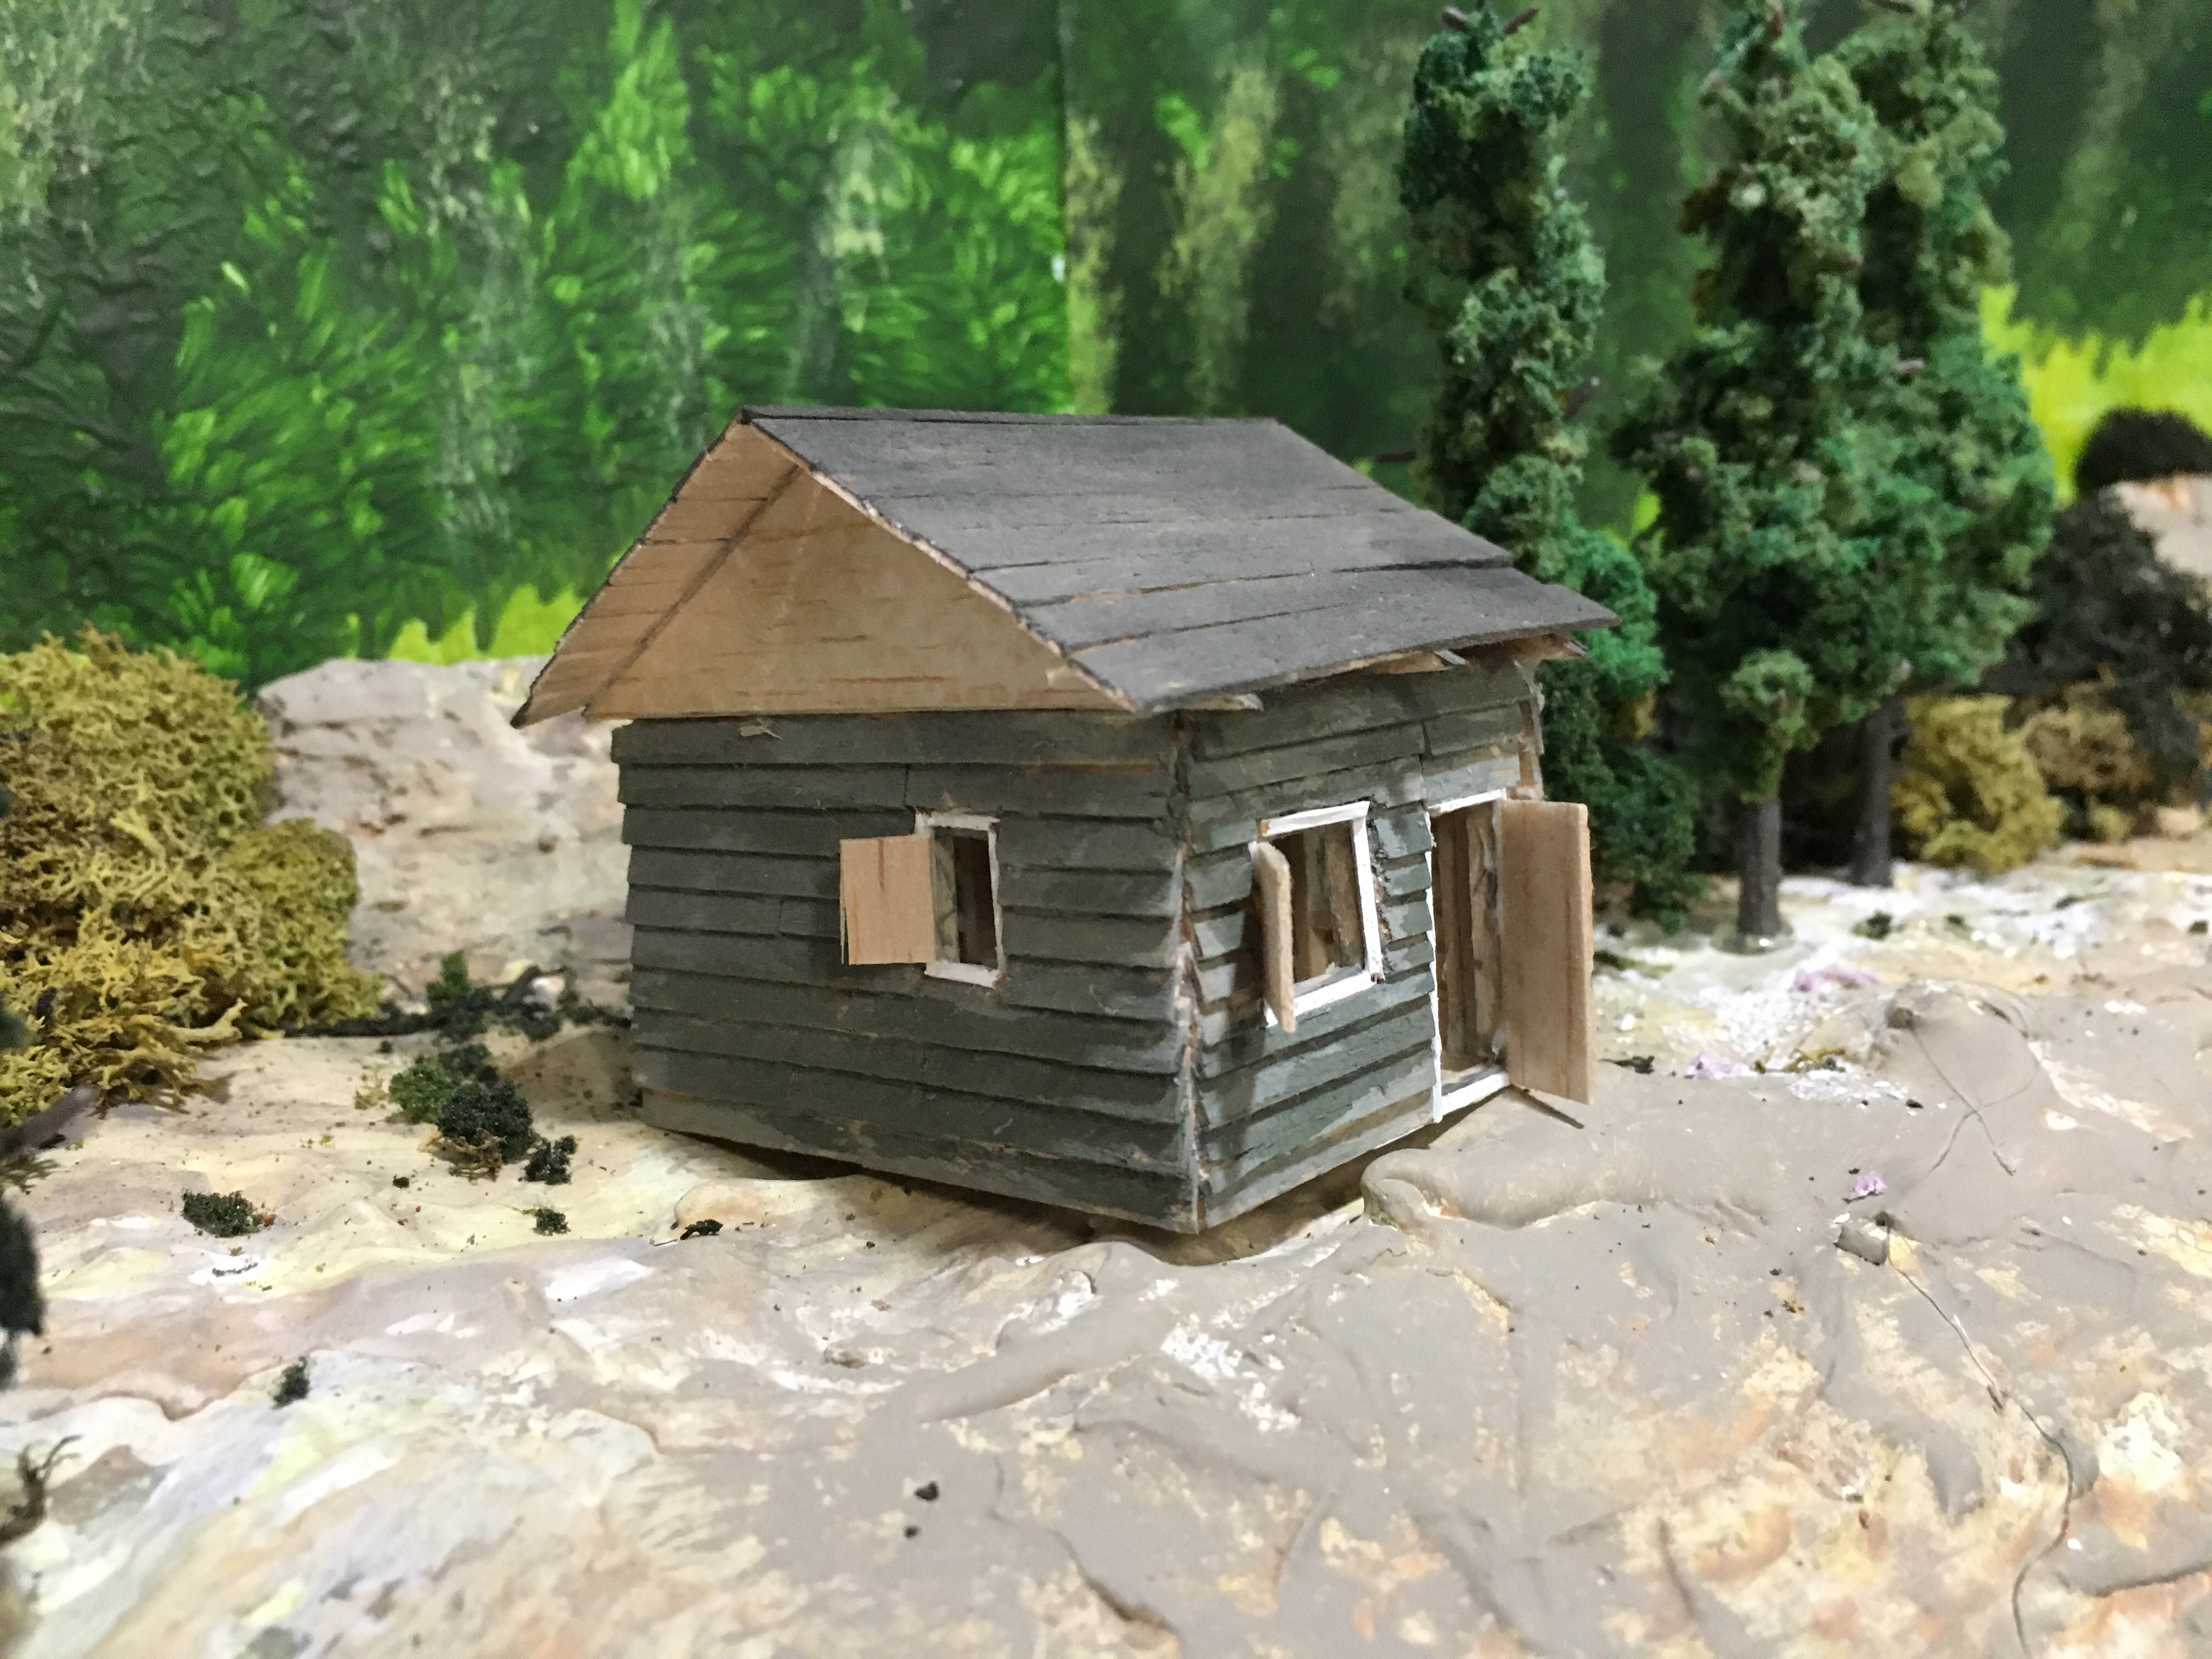
These are my first two attempts at making scratch-built balsa cabins. I really like the way the walls look on the inside. The siding looks great, but doing the overlap is a lot of work. These will look terrific nestled into the pines on my model railroad.
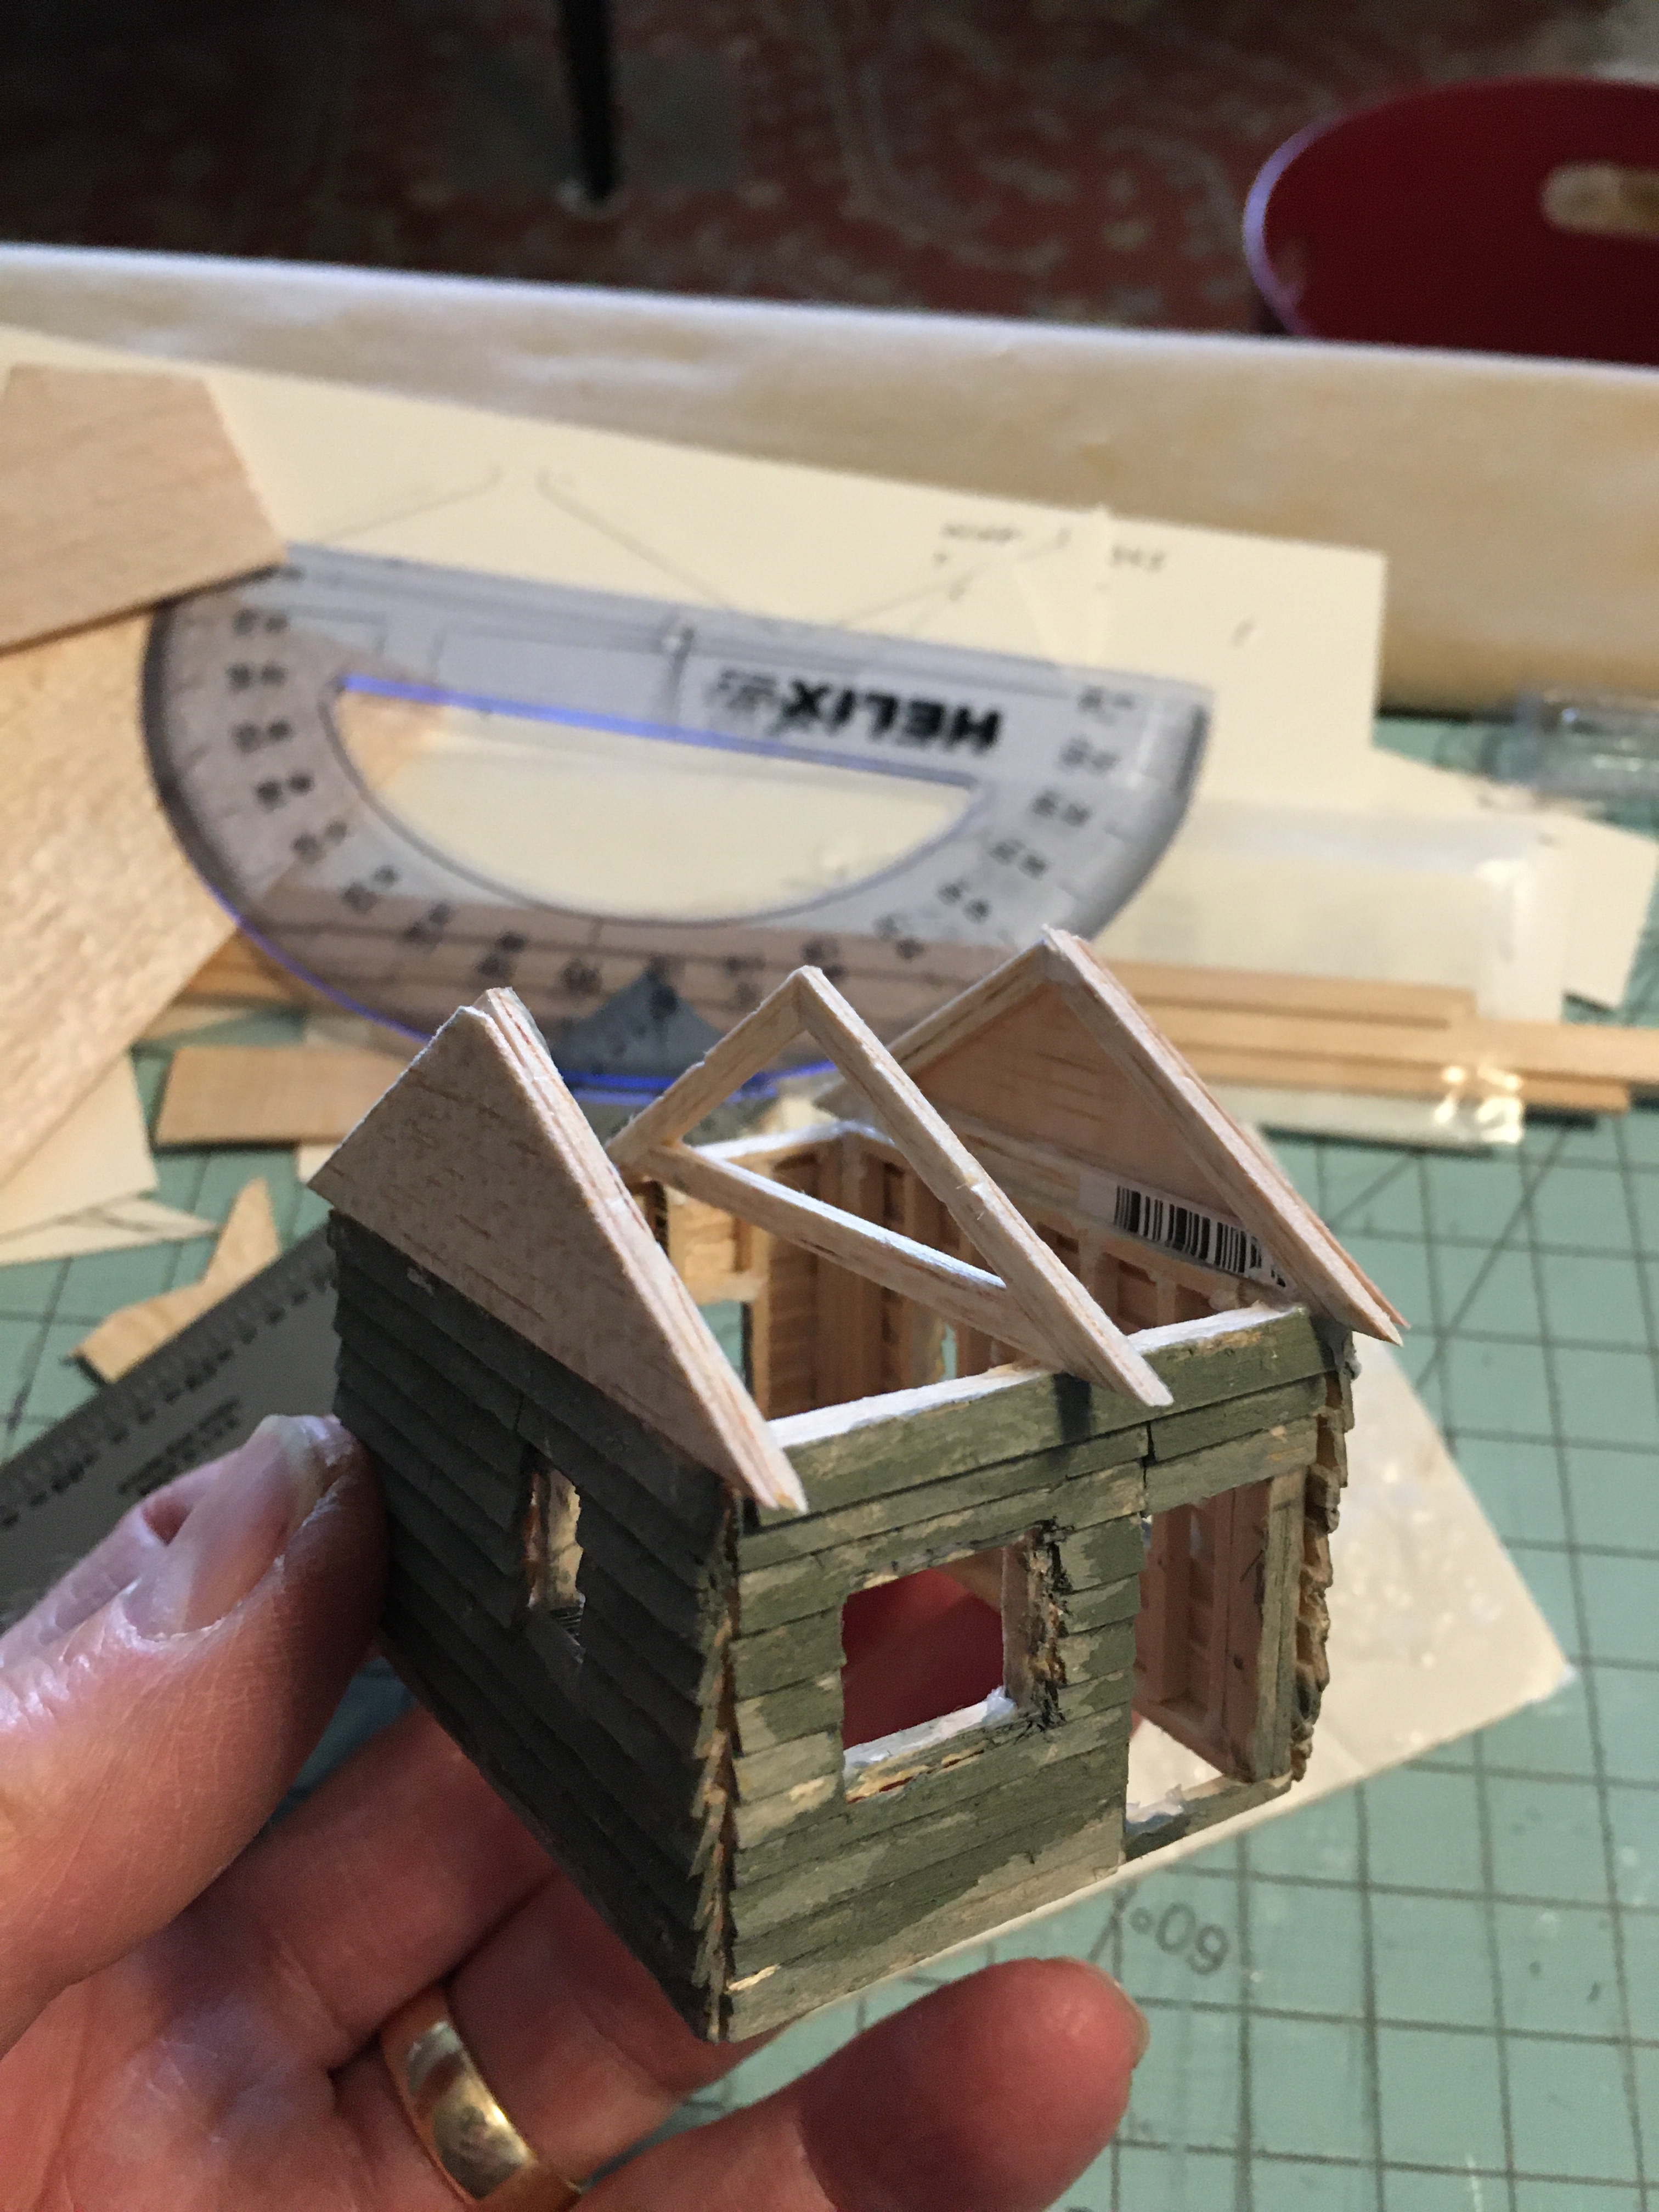
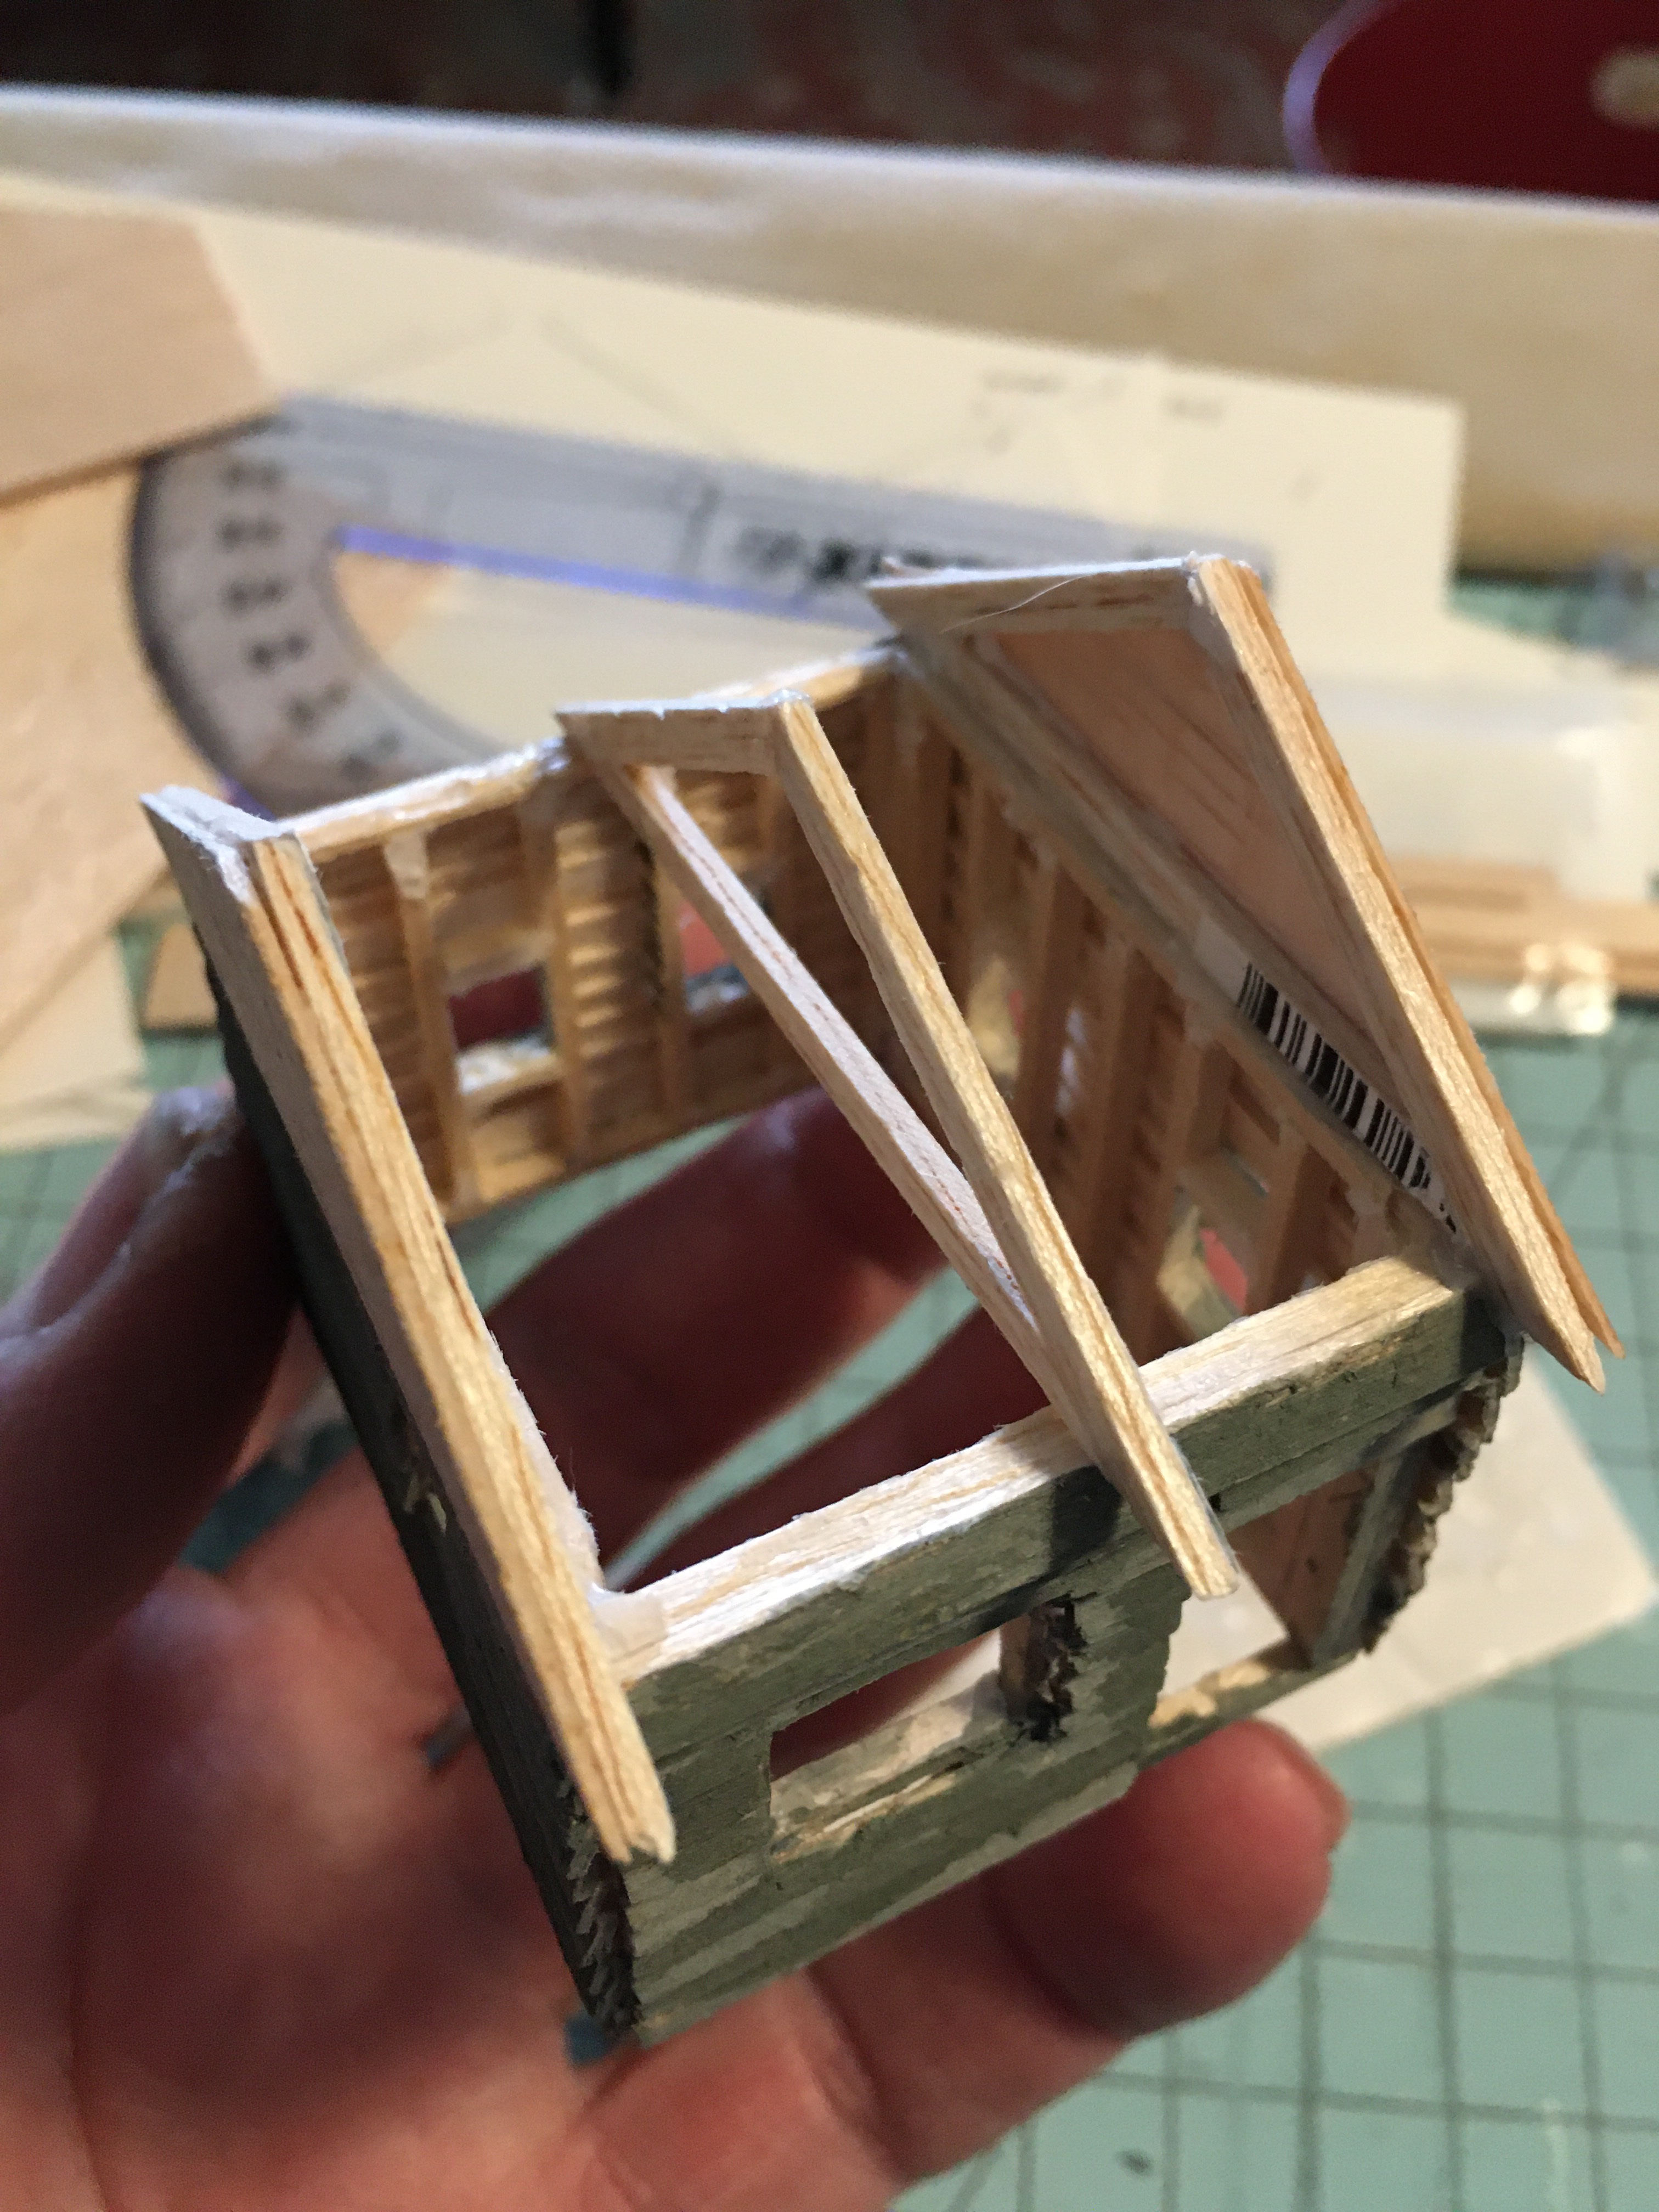
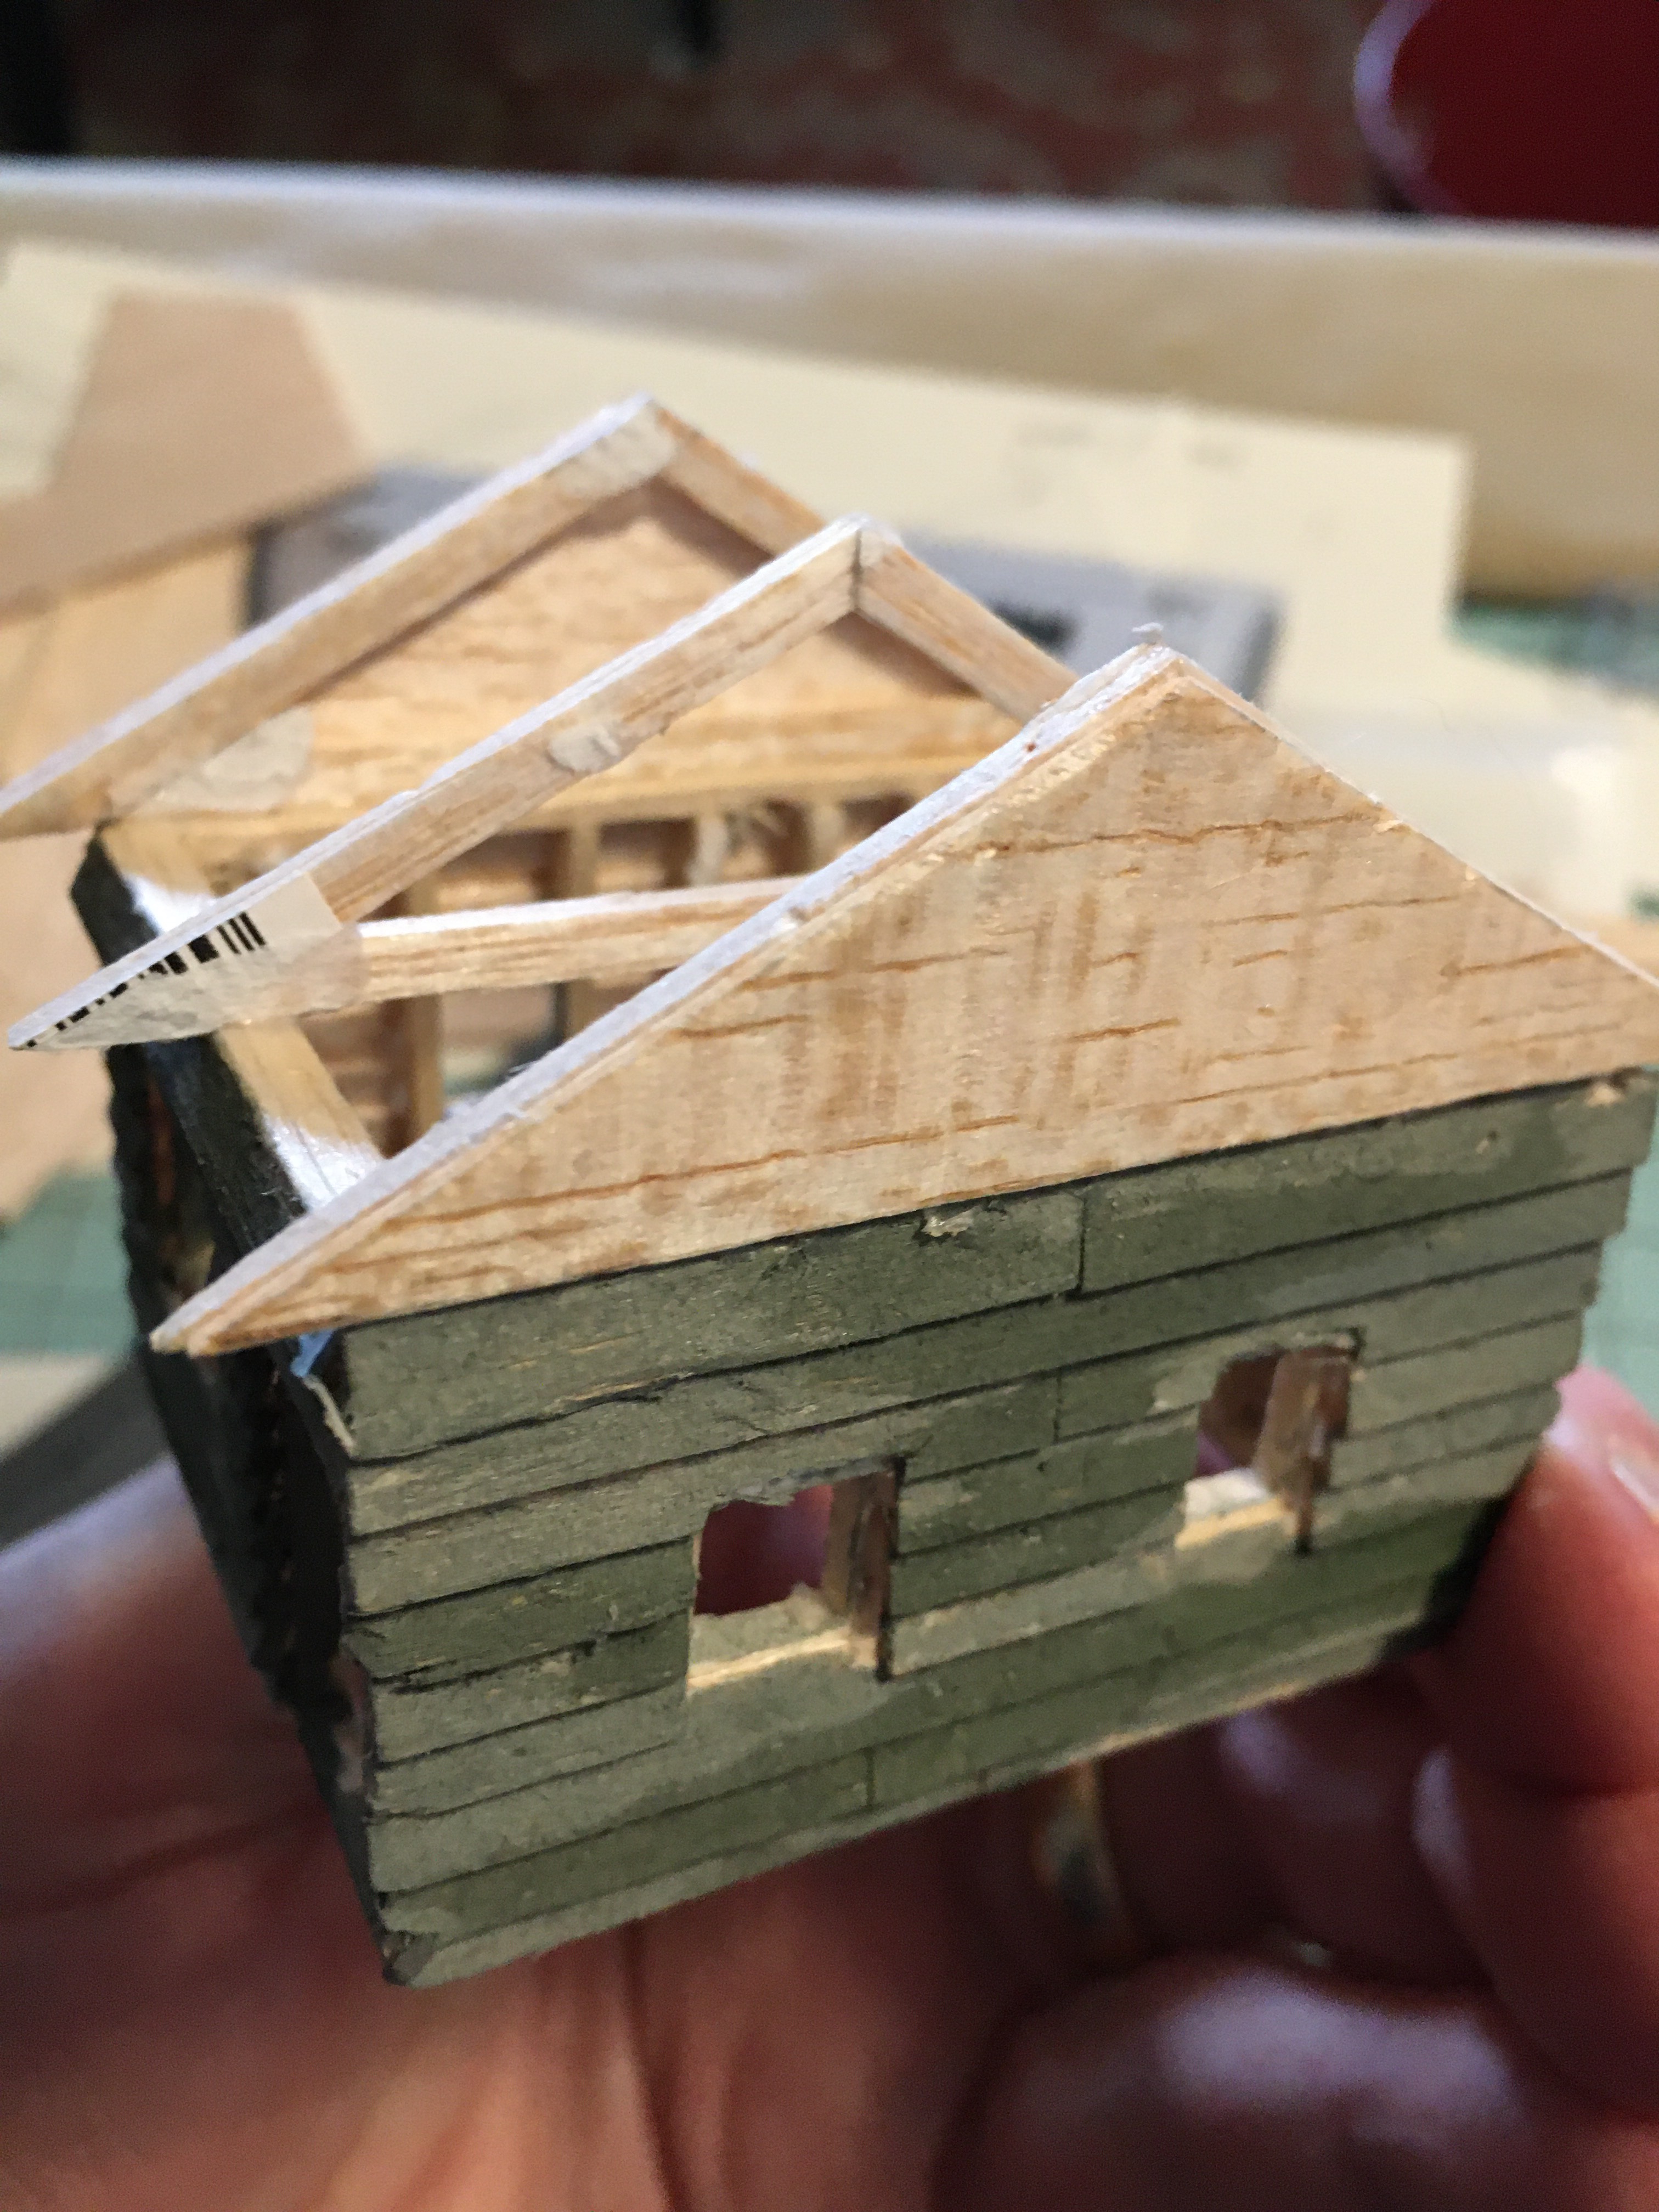
This is the small cabin with the second roof attempt. The lower pitch is much better. I used the same process to make roof trusses as with the walls. I measured, drew the outline on card stock, cut the pieces with the appropriate angles for the pitch, then pinned and glued the scale 2 x 4s in place.
Obviously, the glued pieces are stuck to the cardstock after the glue dries. I use an X-acto knife to carefully cut the balsa pieces away from the cardstock.
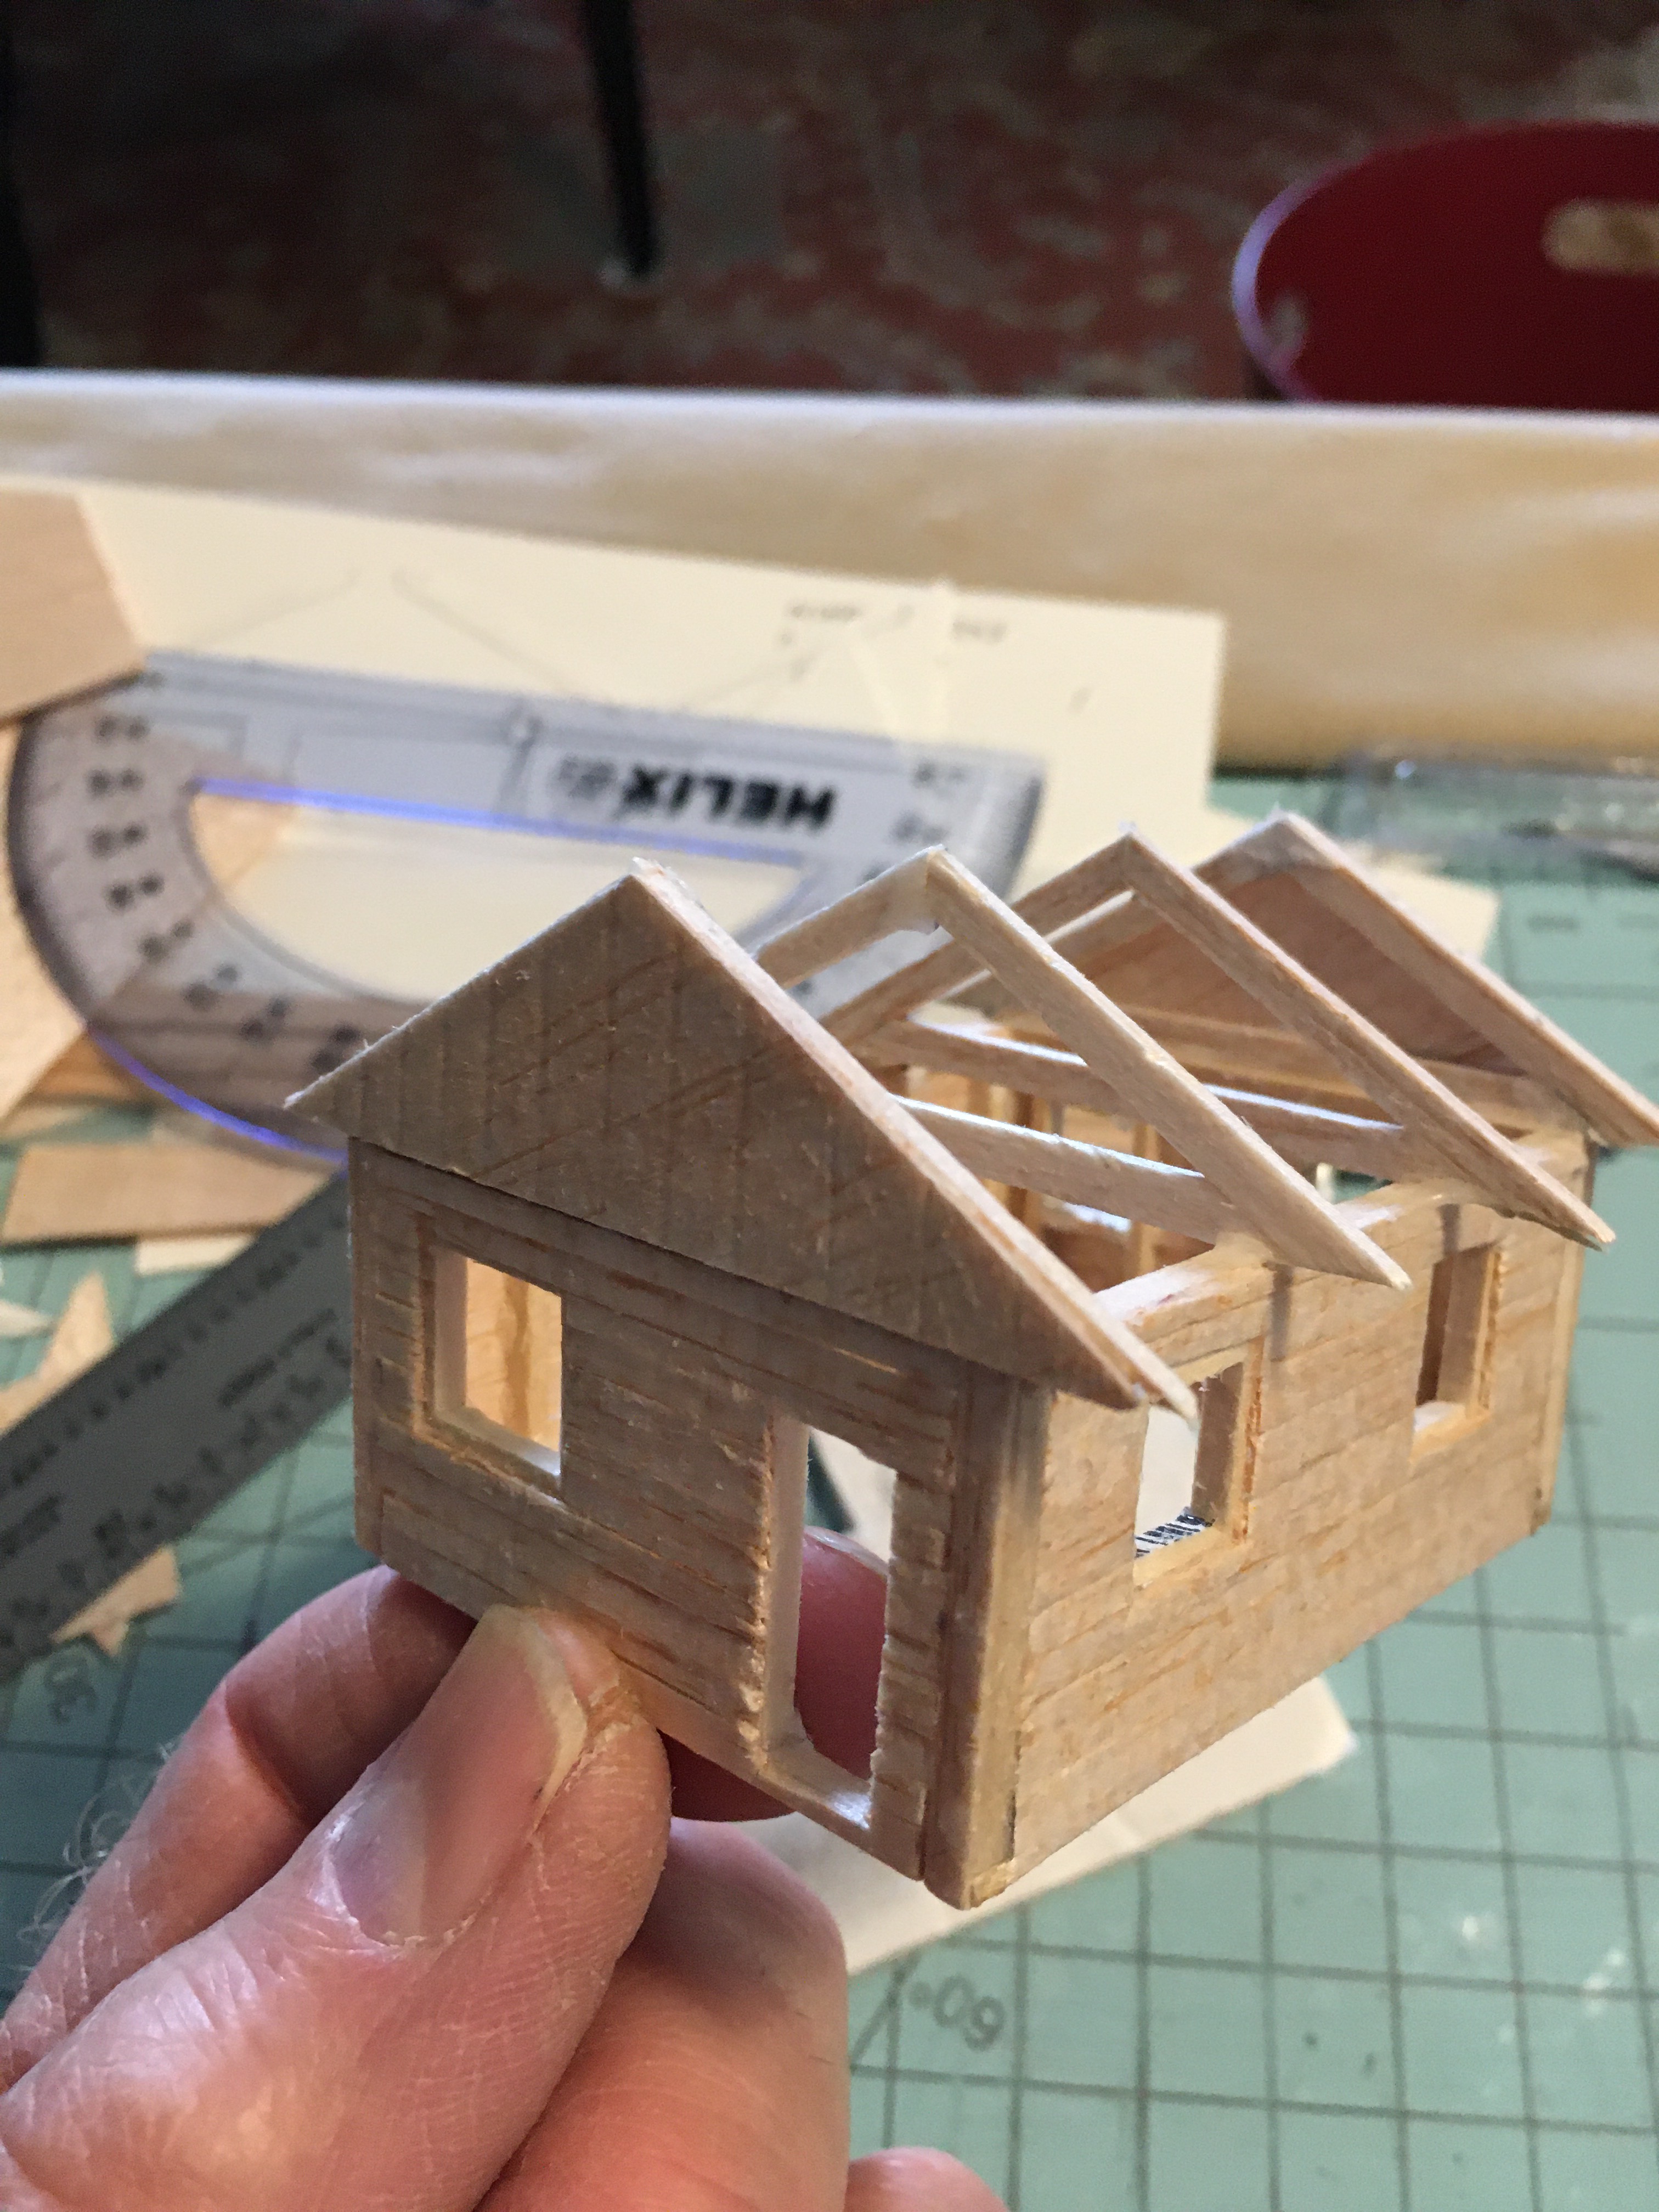
Scratch building is a learning curve. On this cabin I used flat siding. It was much easier to frame the windows and allow plenty of space for trim pieces. I started these walls by placing a vertical board on the ends and then measured between them for the siding.
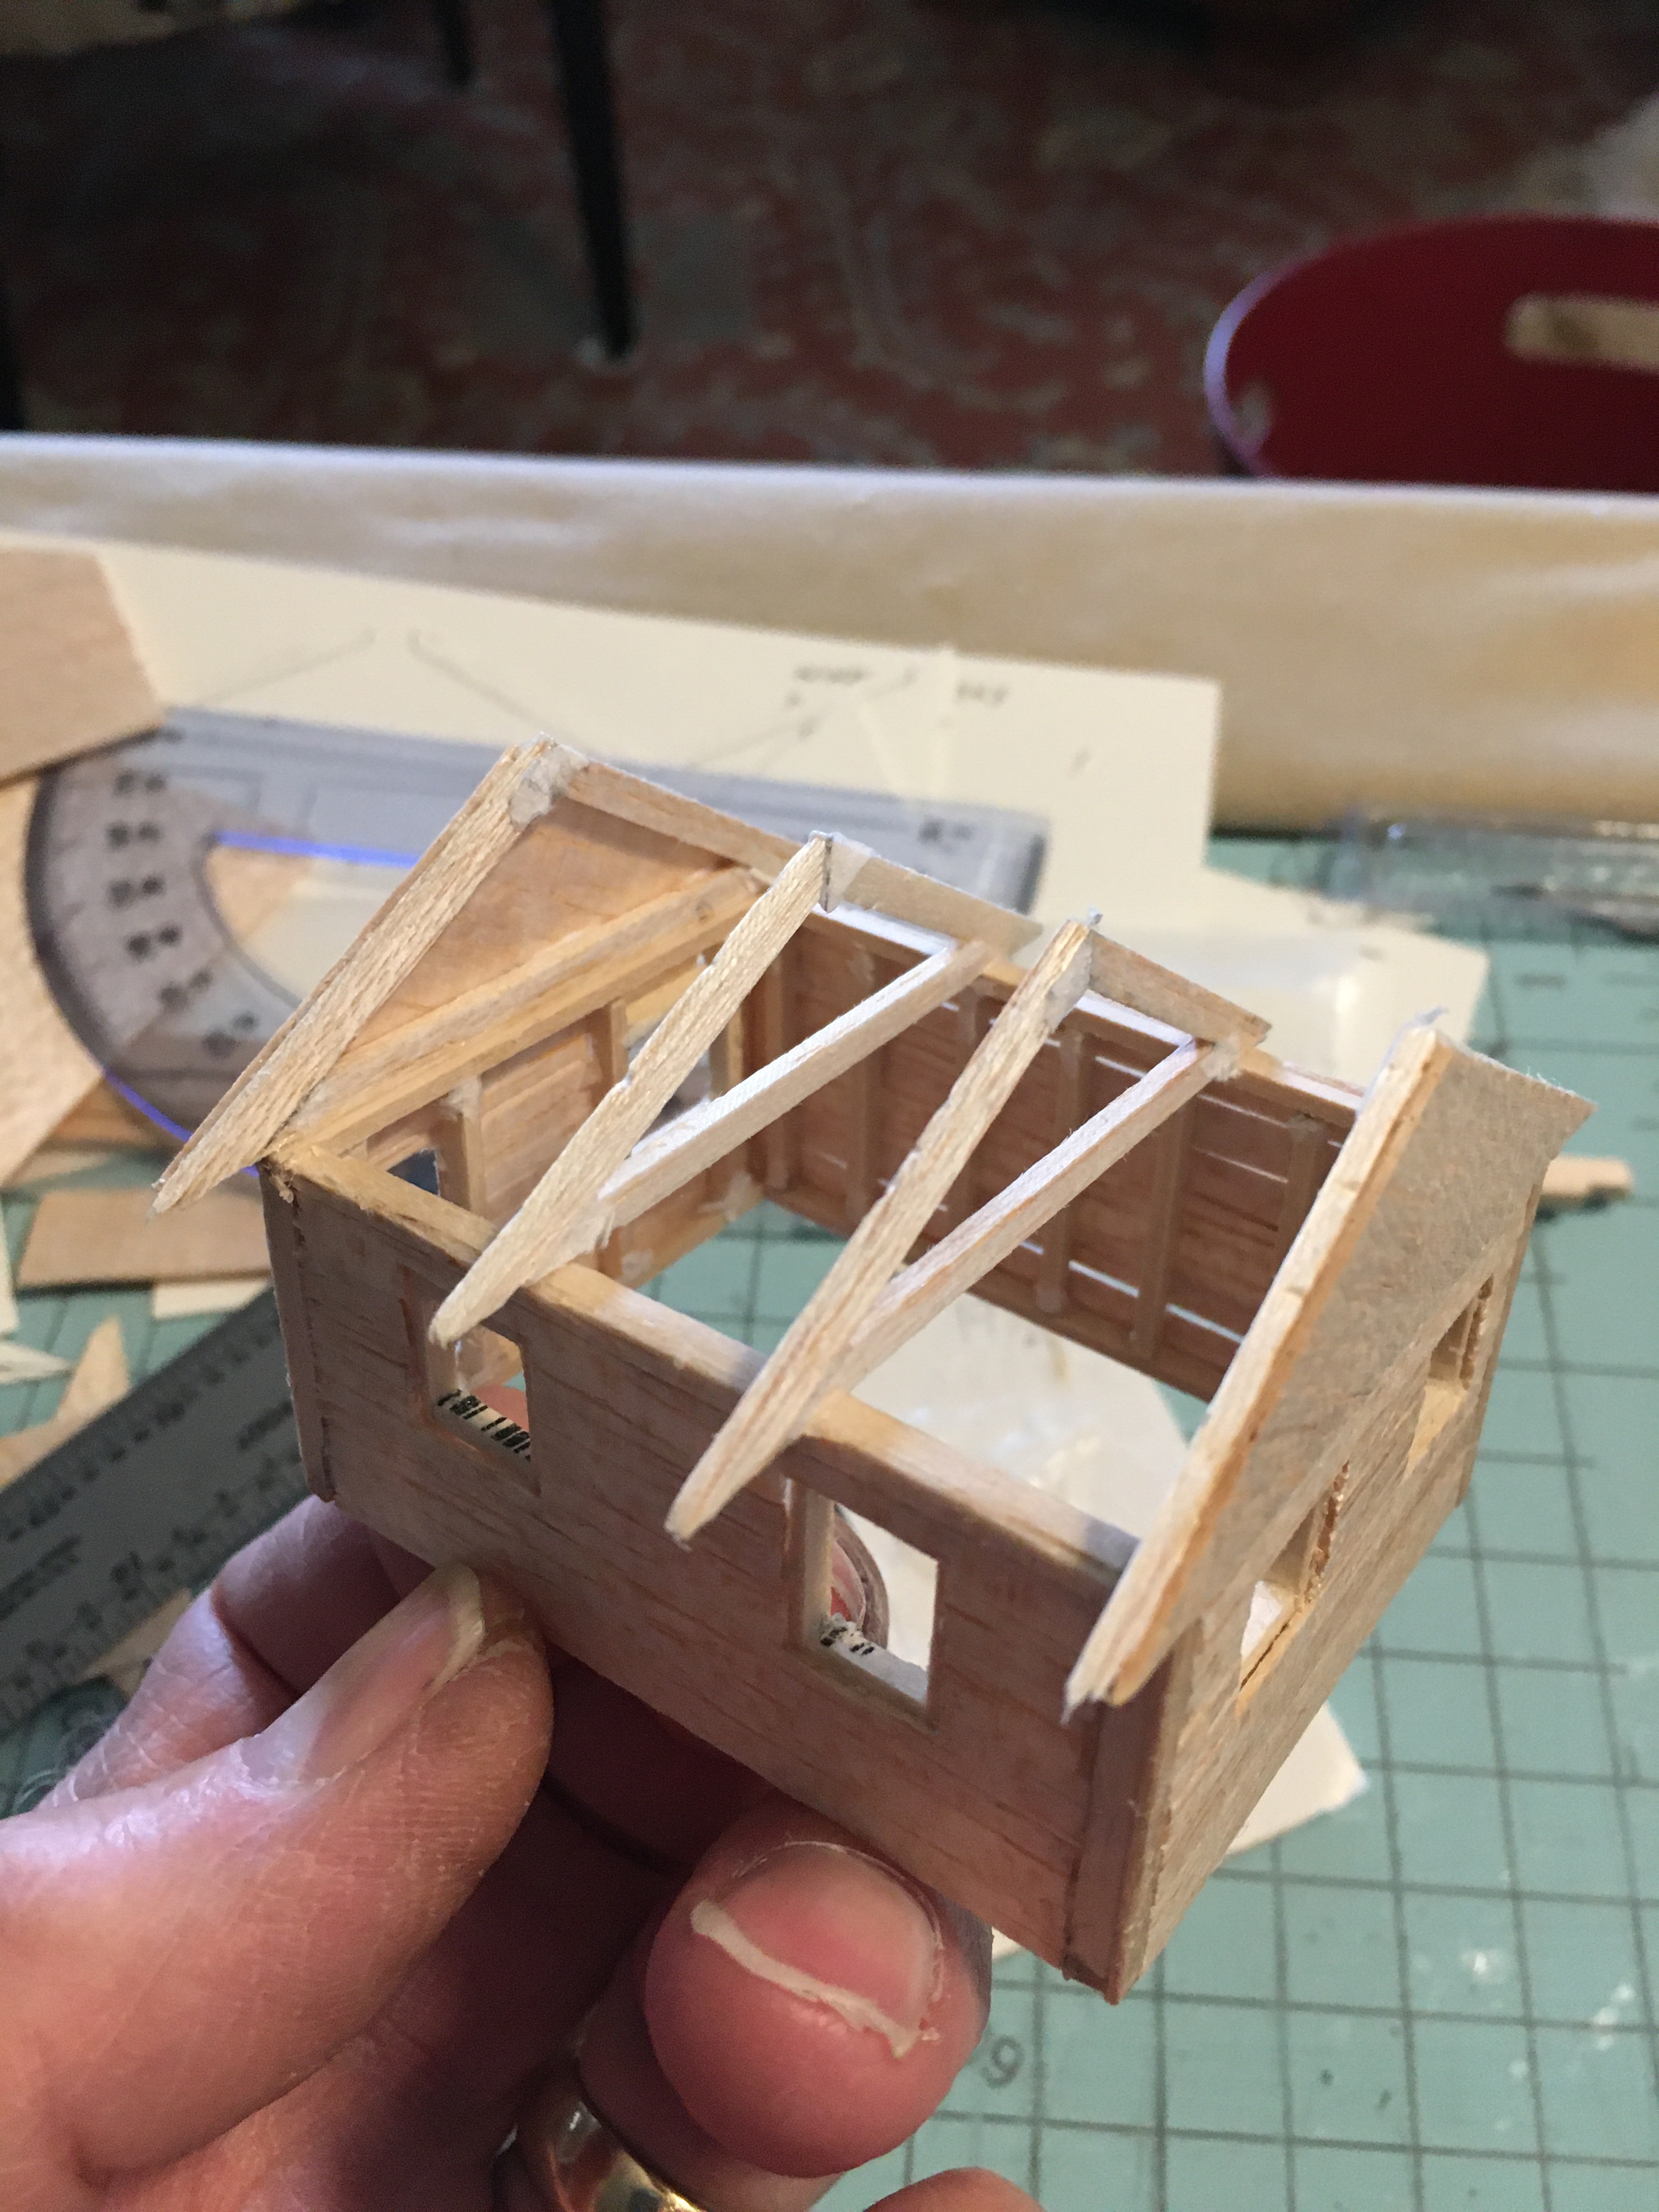
I cut the gables out of balsa flat stock then made grooves indicating wood slats using a small piece of basswood.
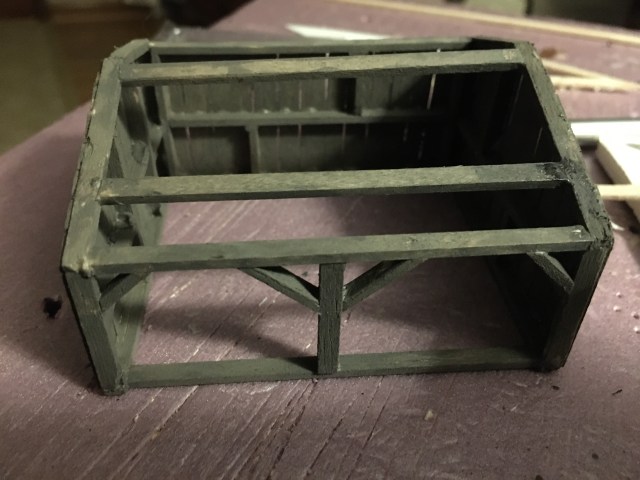
This will be a workshop in Maple Valley. I used vertical slat siding glued to the balsa wall frames. After gluing the three solid walls together, I added the roof support beams and the front post with the angle pieces.
Trimming the windows was actually easier than it looks. I painted very small pieces of balsa with white acrylic. I put a little glue along the window frame, then held the painted strip in place and cut the end off. For the window pane I cut a piece of balsa and glued it on the inside of the window frame.
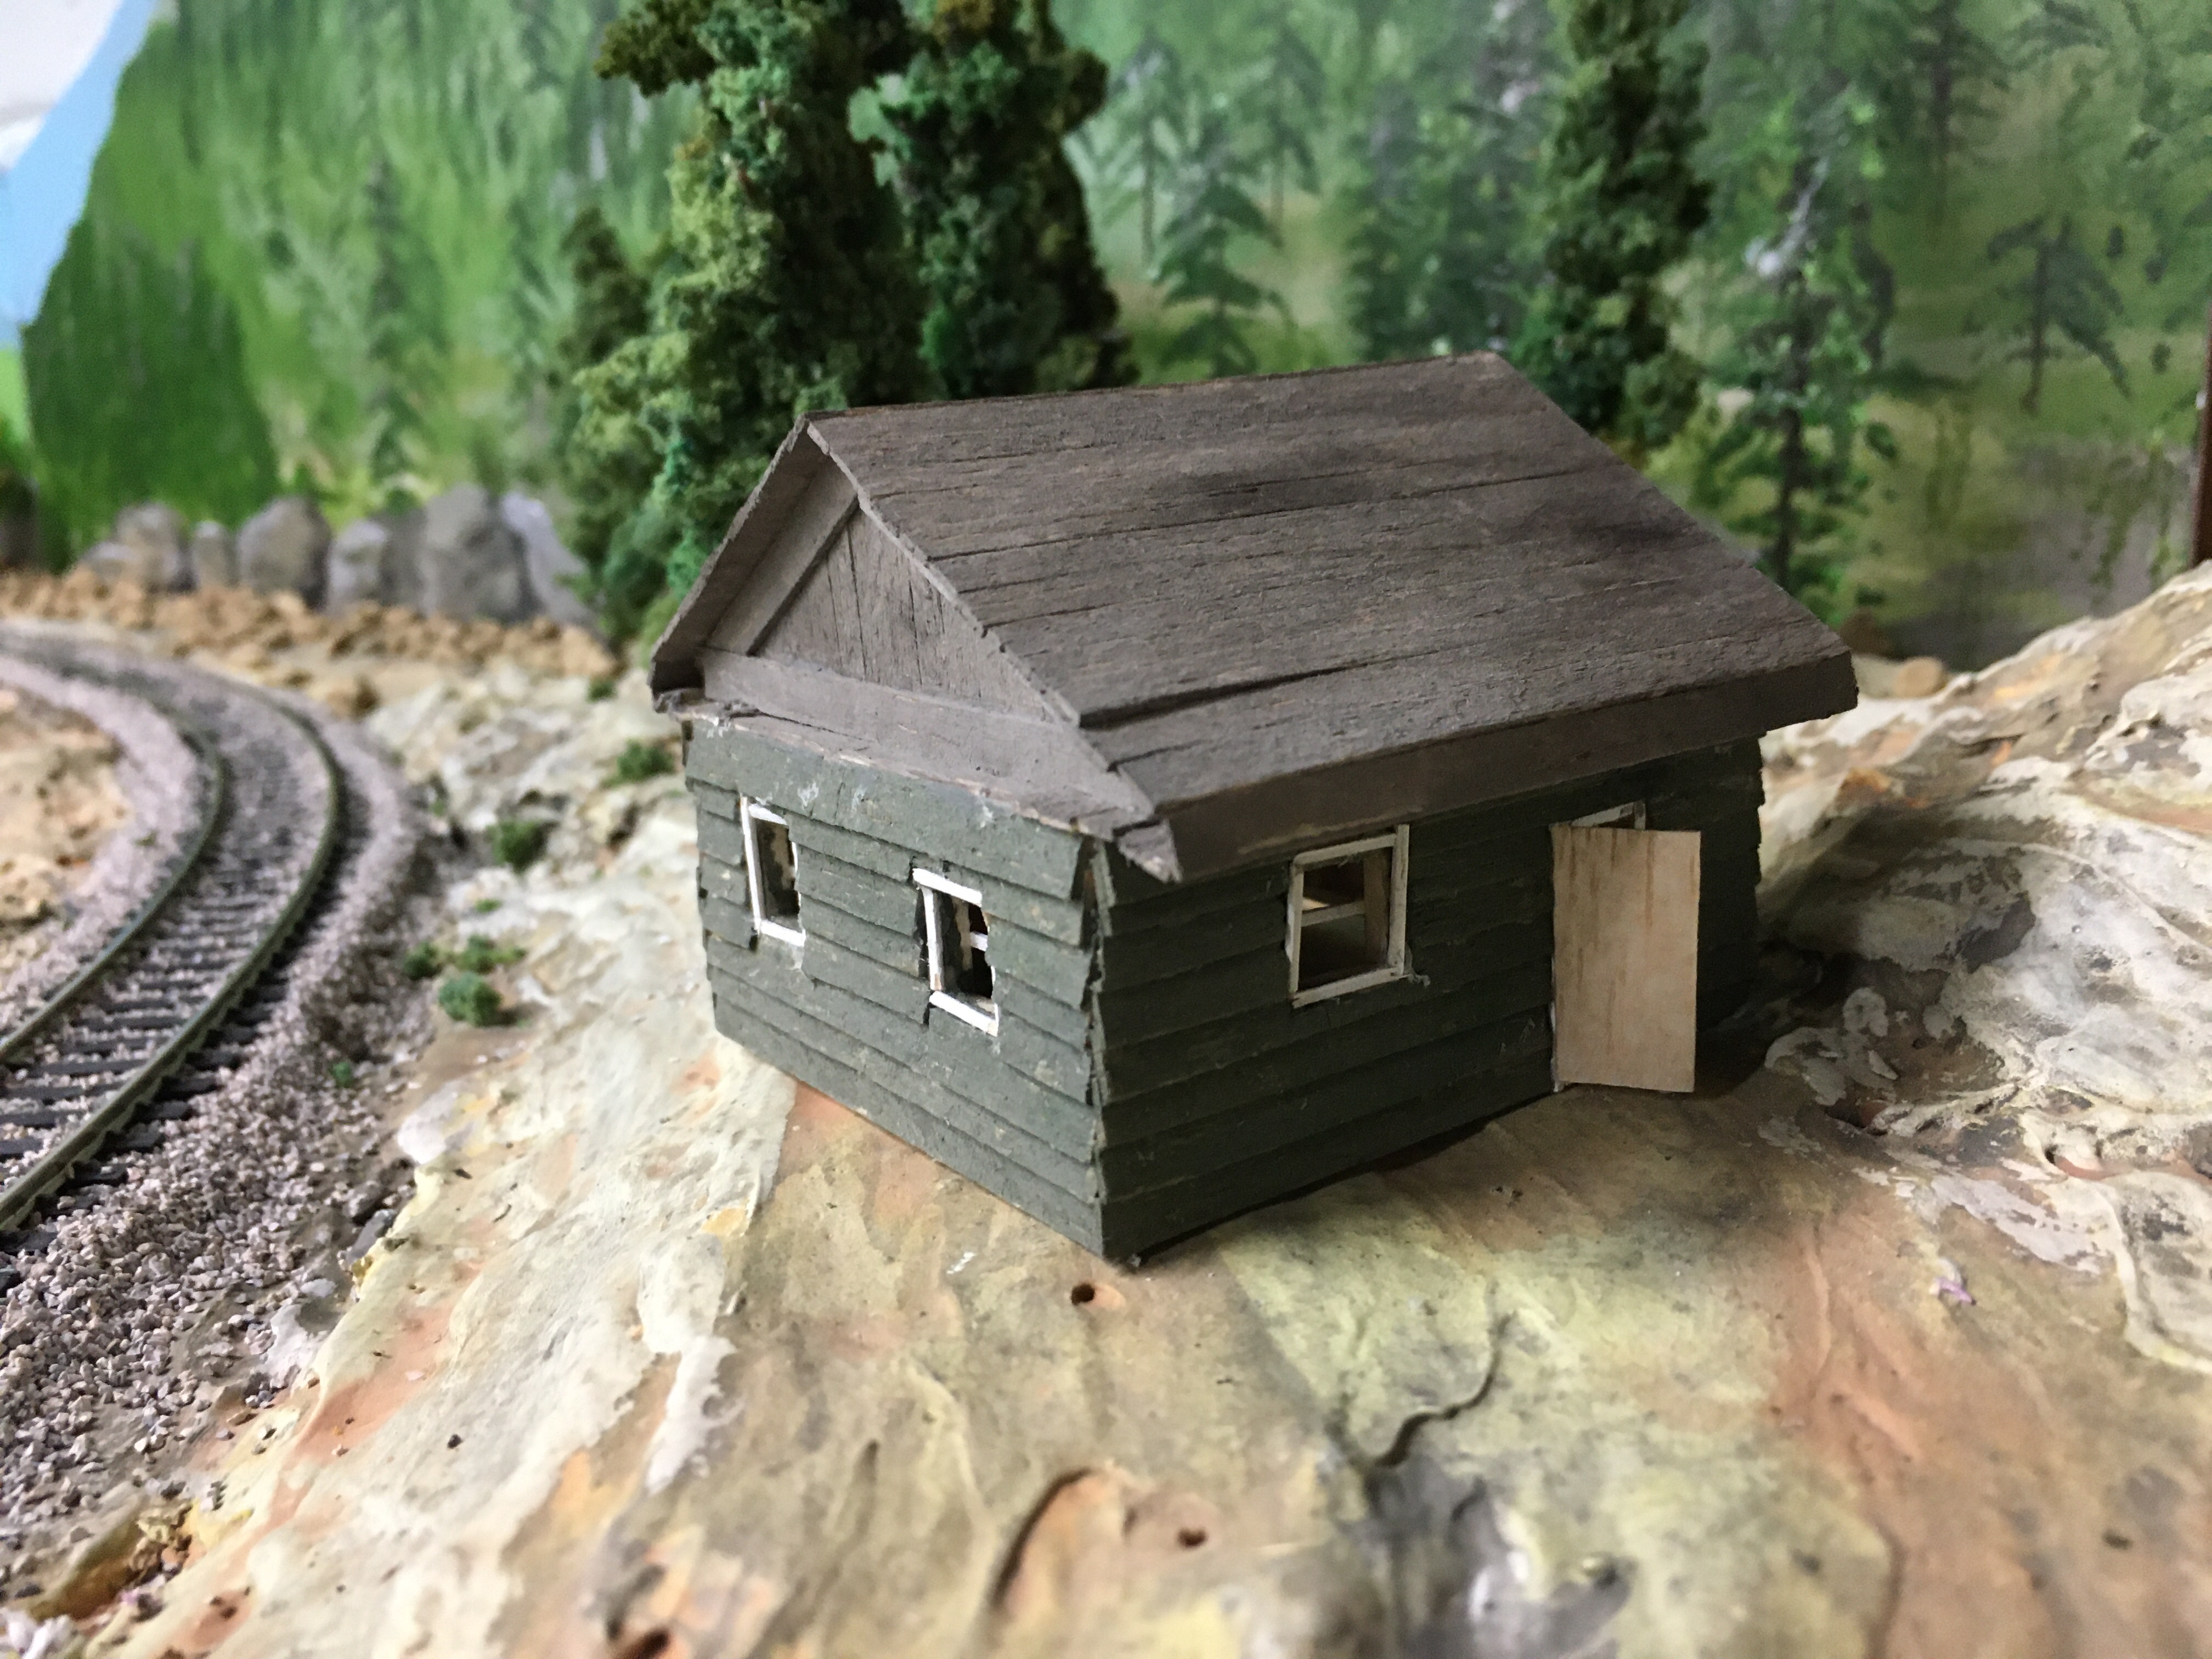
As my work continues on the Maple Valley Short Line Model Railroad, I am convinced more scratch built cabins will be perfect for blending in among the pines. These little cabins are sturdy and good looking. I have a little more painting to do, and I have several more structures under construction on my laptop workbench.
I don’t consider myself a master modeler by any stretch. Learning is the key to model railroading that provides years of enjoyment. Before the days of the internet, modelers had to rely on hobby magazines, and there are still many good ones. Today, with YouTube and innumerable websites, model railroaders of all scales can find help with any project.
Why go to all the trouble of scratch building? There is something very satisfying about making my own buildings, one small piece of balsa at a time.
