Building a convincing grade crossing on my HO scale model railroad was something I really wasn’t looking forward to. I debated whether to buy a crossing kit at the hobby shop and be done with it, but I decided they were too expensive.
I turned to YouTube, the model railroader’s best friend. Who am I kidding? YouTube is anyone who wants to learn how to do something’s best friend.
If you are not familiar with Luke Towan’s work, I encourage you to take advantage of his expertise, just like I did. He is a master modeler and offers many tutorials for just about any project you want to complete on your model railroad. I decided to follow his advice on how to model railroad crossings.
Since I used cork roadbed, building a grade crossing requires a little more work.


I first made a form with balsa wood. The balsa form is 1/8 inch wide, 1/4 inch high, about three inches long. I cut the end of the form to the shape of the cork roadbed. I cut the top edge on an angle to the end of the balsa to approximate the proper road grade.
Rather than using the road tape offered at the hobby shop, I made my own. A roll of two-faced foam tape works just as well. Cut a three-inch piece, then cut it in half lengthwise. Press it into place on the road at the crossing. Peel off the paper cover, then press the balsa form in place on the foam tape with the end against the rail. Repeat on the other side of the road. Do the same process with the forms on the other side of the track.
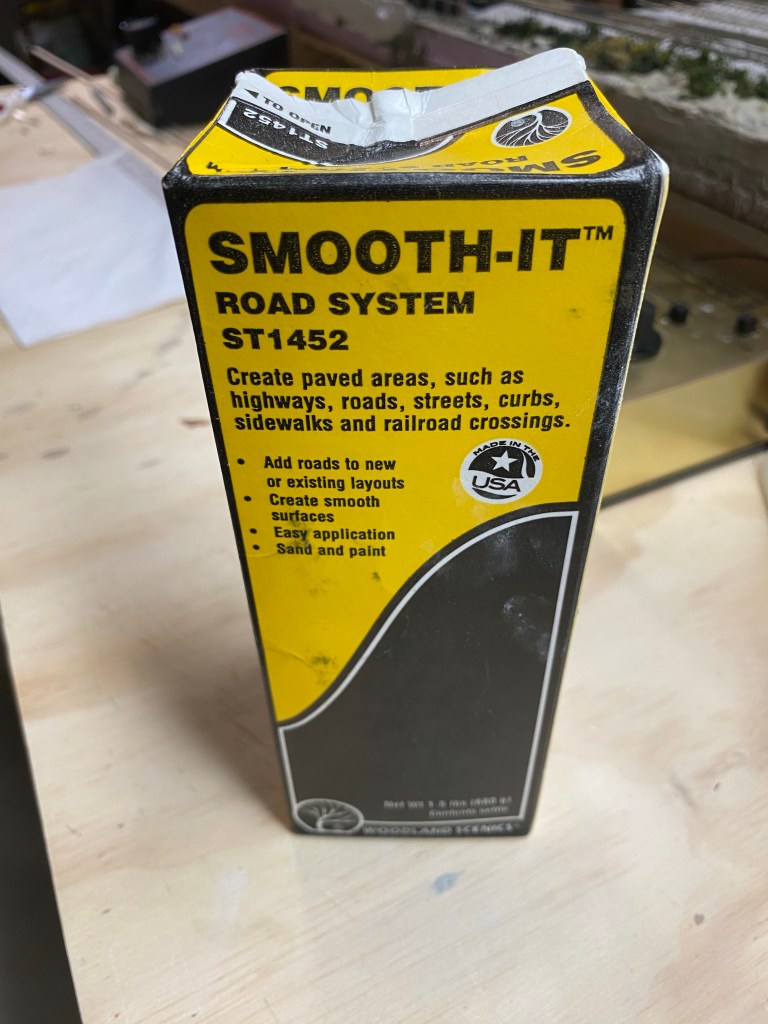

I did purchase the Smooth-It Road System plaster powder. I don’t know if it’s just regular plaster in a fancy box or not. I suspect that any plaster, as long as it’s mixed well, would work fine. I mixed the plaster according to the instructions on the box, by half. Even then, I had too much plaster for the two crossings I made.
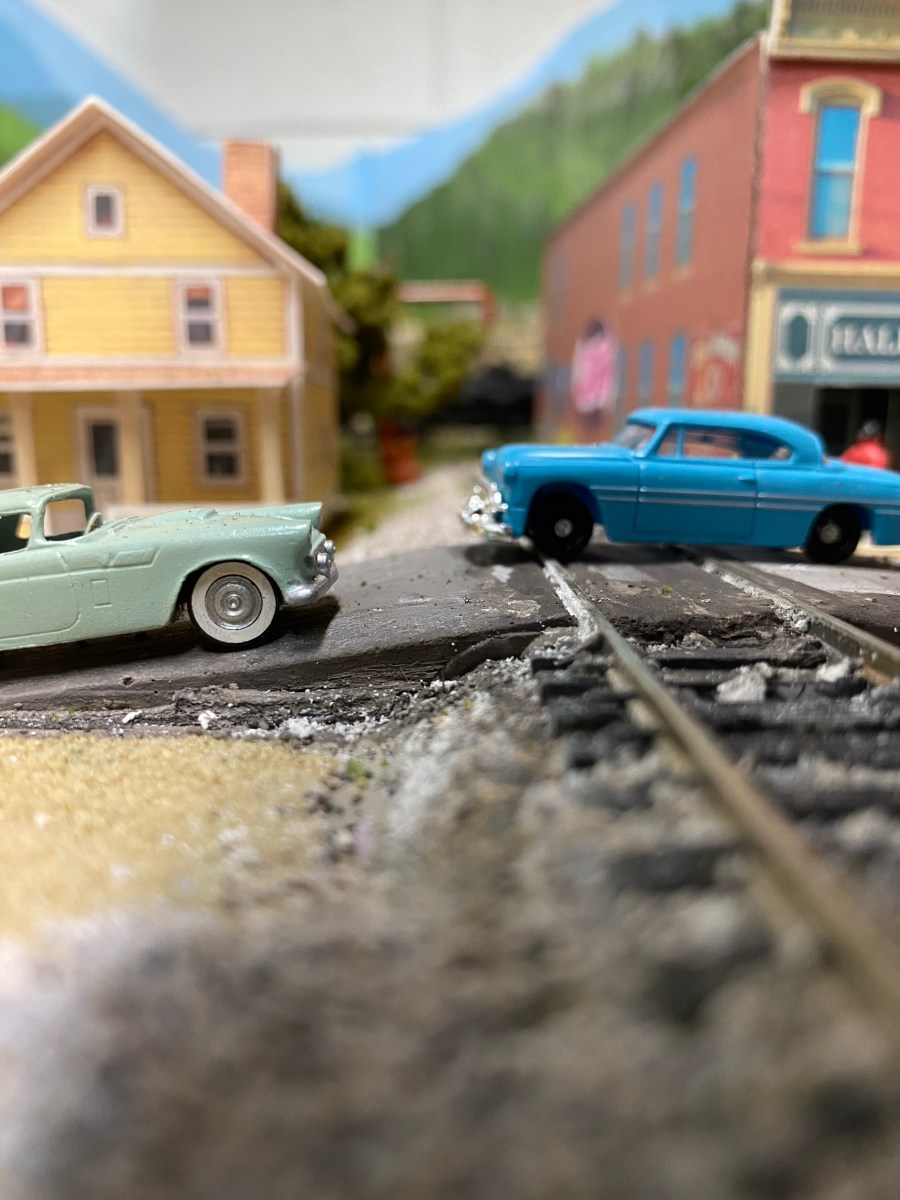
The first crossing is on Main Street in the town of Maple Valley. The second crossing is in Newtown, including two tracks with a wide space in the middle. I had to make a flat balsa form between the two tracks, so the road is level between them.
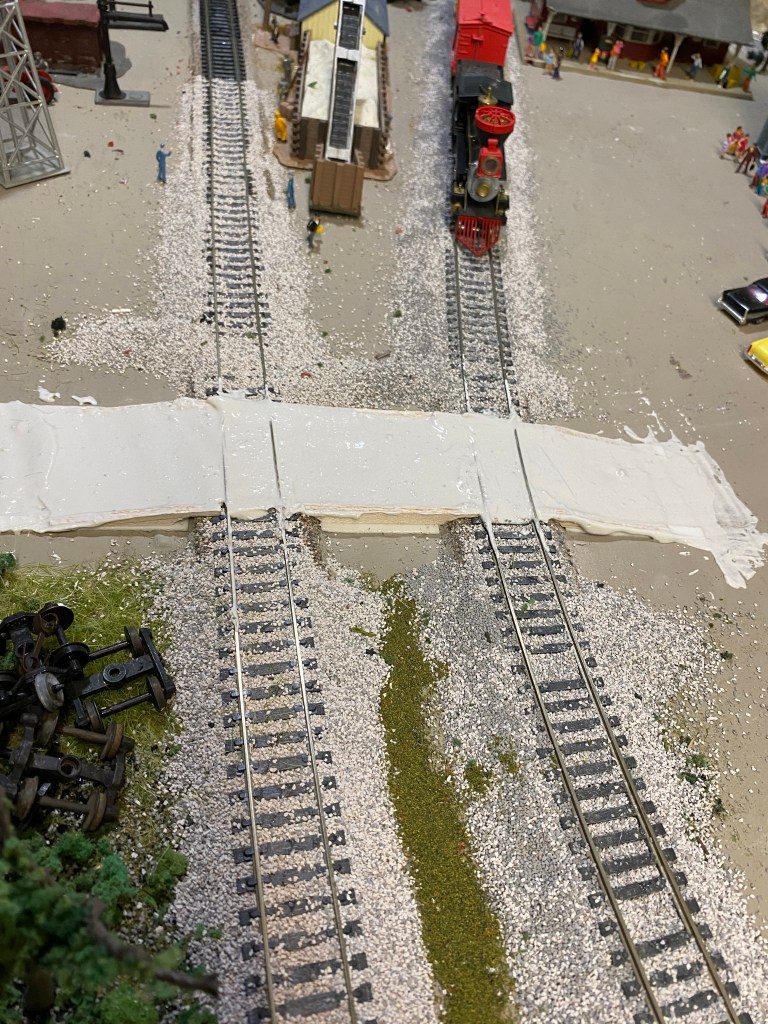

I spooned the plaster between the forms and the track rails. I then smoothed it out with a wooden stir stick. When I was satisfied with the plaster pour, I left it alone overnight.


I used a razor knife blade to carefully cut away the forms and the tape. The balsa easily came away from the plaster, leaving a perfectly shaped grade crossing.
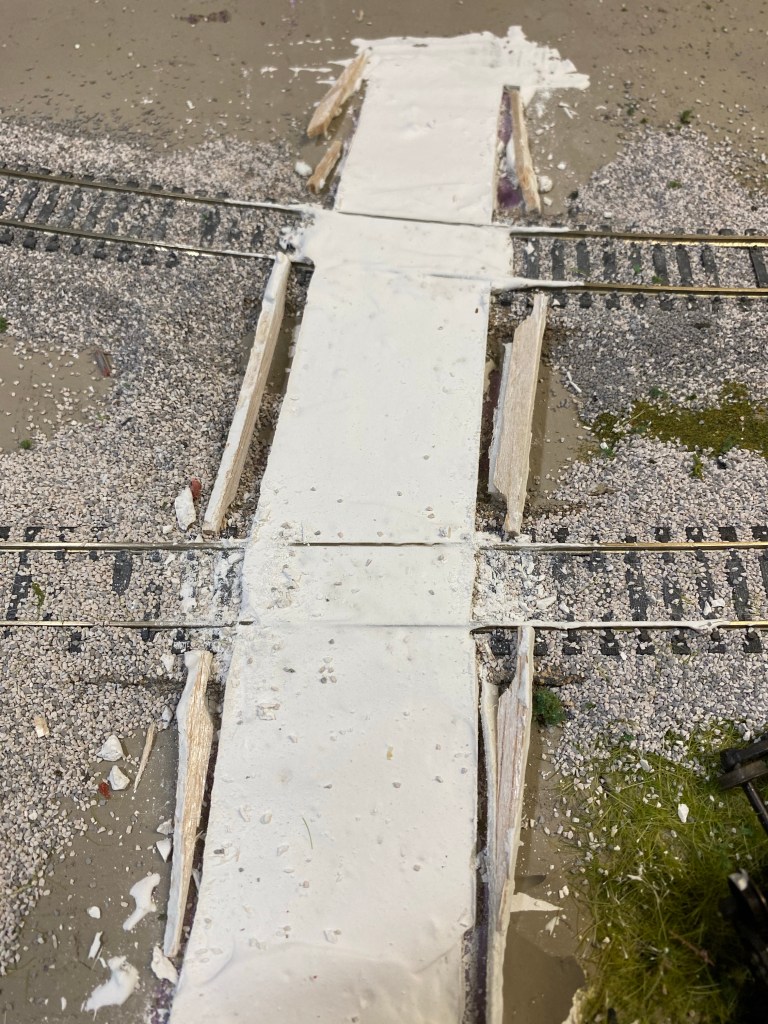
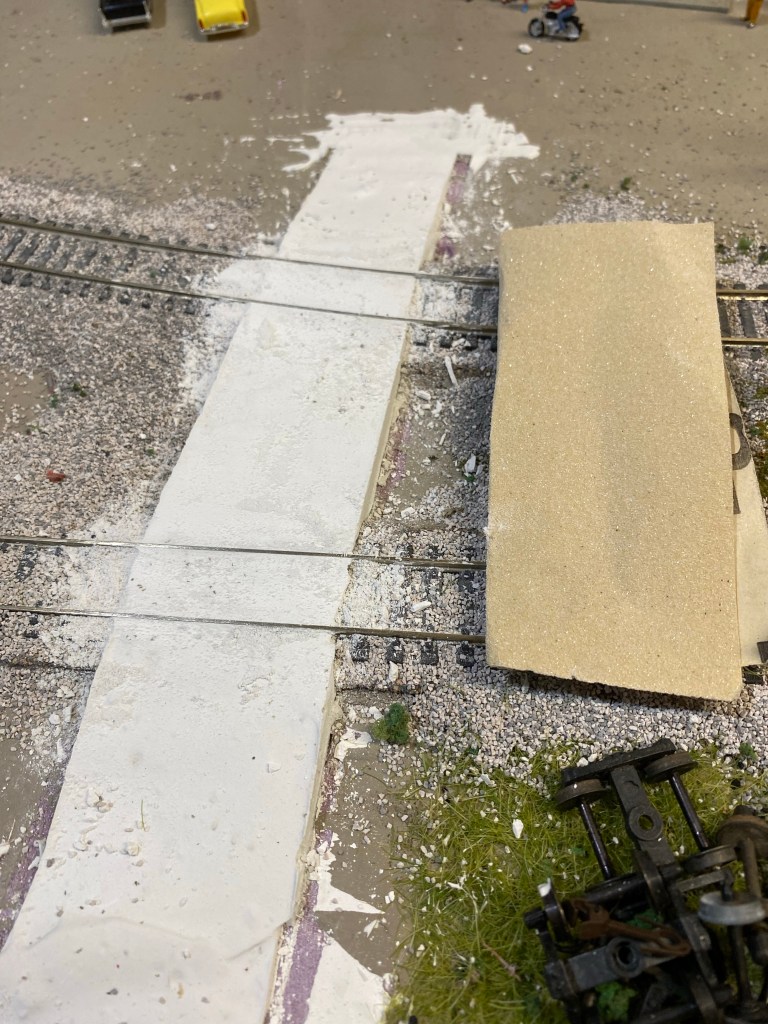
I used a piece of sandpaper to smooth the plaster from end to end and rounded the edges.
In part two of How to Build a Grade Crossing on an HO Scale Model Railroad, I will include photos of the finished project and a video showing trains rolling across the new grade crossing.
Happy model railroading everyone!

Pingback: Part Two: How to Build a Grade Crossing on an HO Scale Model Railroad – Project Completed! – A Coffee State of Mind