I don’t know anything more frustrating than having a beautiful model railroad but not being able to keep train cars on the track long enough to enjoy it. Face it, you can have glorious scenery with incredible detail down to the smallest blade of grass. Your livestock looks like it could stampede at any moment. Your factory workers almost move by themselves, in fact, you had to look twice because you were sure one of them just stepped outside for a breath of fresh air! Your signals are all up and running. Crossing gates work flawlessly. Your street and building lights add a glow to night operations that leave you speechless. Your grades are a perfect two percent and your locomotives have no problem, when they stay on the track, that is.
Nothing is more important on your HO scale model railroad than perfect curves. If you can’t move trains through your curves over and over again without any problems, you are going to spend a lot of angry moments just staring. There are ways to lay flex-track, and then there are fool-proof ways to lay flex-track for perfect curves.
If you are one of those ultra-serious model railroaders who use tie strips (or individual basswood ties – ultra-ultra-serious), and bundles of rails you fasten with scale spikes, I salute you, you are worthy of much honor for maintaining the foundations of model railroading. I can’t imagine going through that, I’m too impatient, and I would be even more concerned about inconsistencies leading to derailments. On the other hand are those who use pre-fab track sections with the plastic ballast. While pre-packaged track sections are great for quick set-up on the floor or under the Christmas tree, I wouldn’t recommend it for a permanent layout. No disrespect intended, honest. (If you used this kind of track on your layout, I would love to hear about it!)
I am a life-long flex-track user. The Atlas Company has made it super easy to lay beautiful track sections three feet at a time. If you are unfamiliar, the track sections are exactly what the name implies. If you pick up a three-foot piece you will immediately understand. It’s like holding one of those plastic snakes from the county fair that wiggle all over, but that is the key to its effectiveness. Looking on the backside, you will see one side of the tie strip is secure the entire length of the piece. The other side is secured two ties at a time. That’s where the flexibility comes from. It also makes laying perfect curves a sure thing, if you know how to do it.
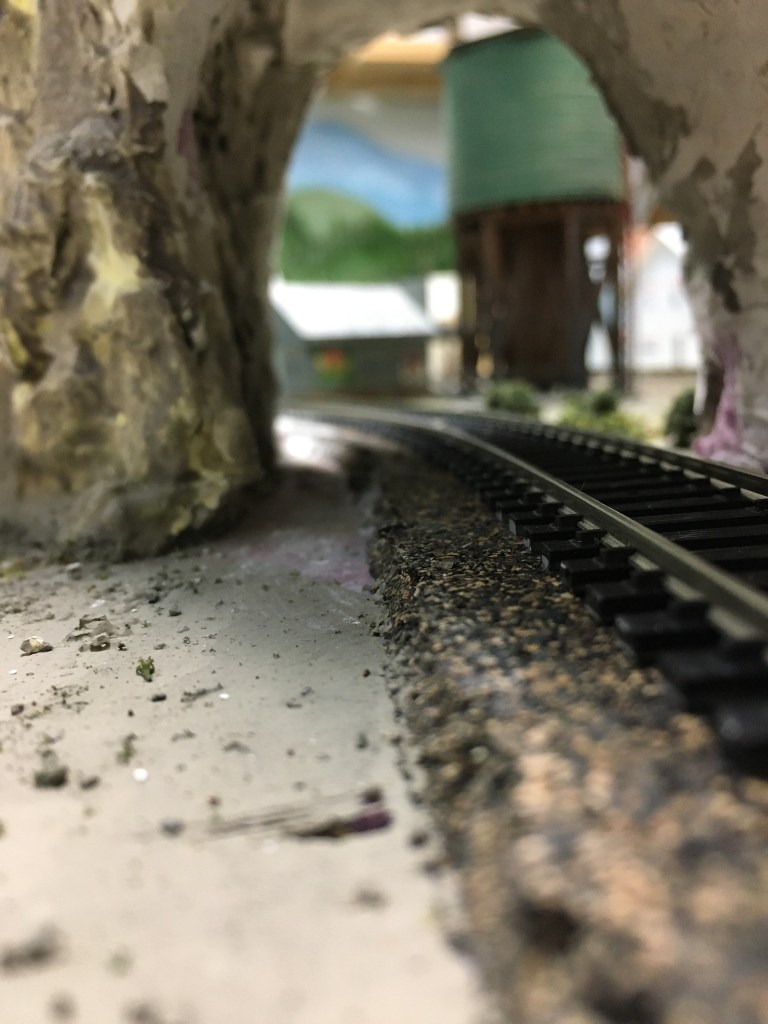
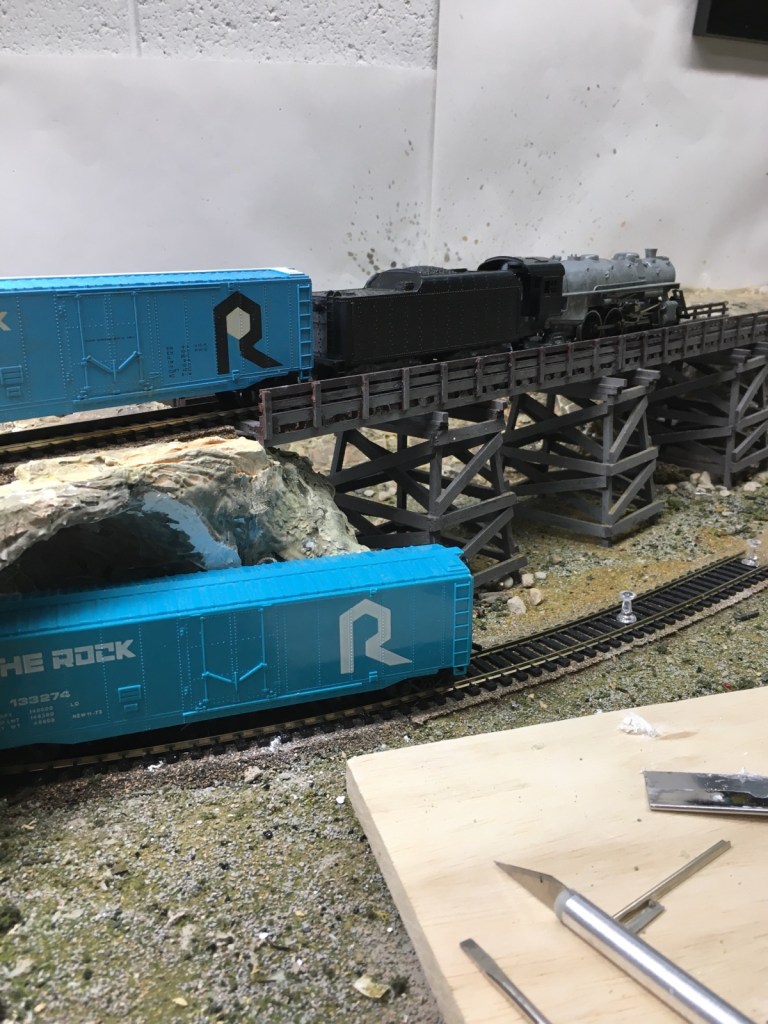
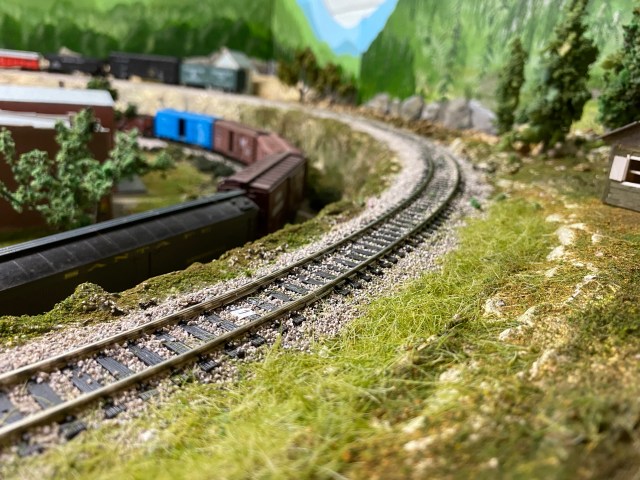
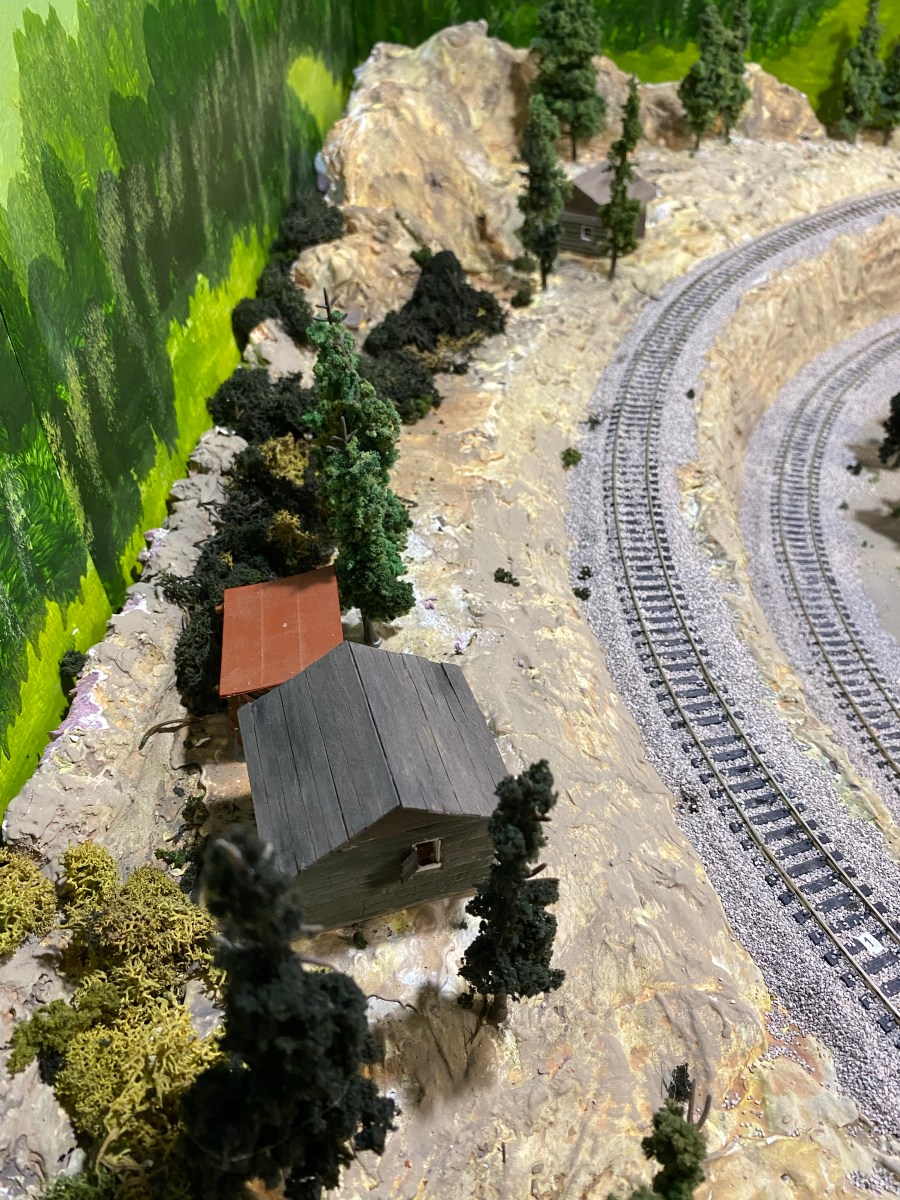
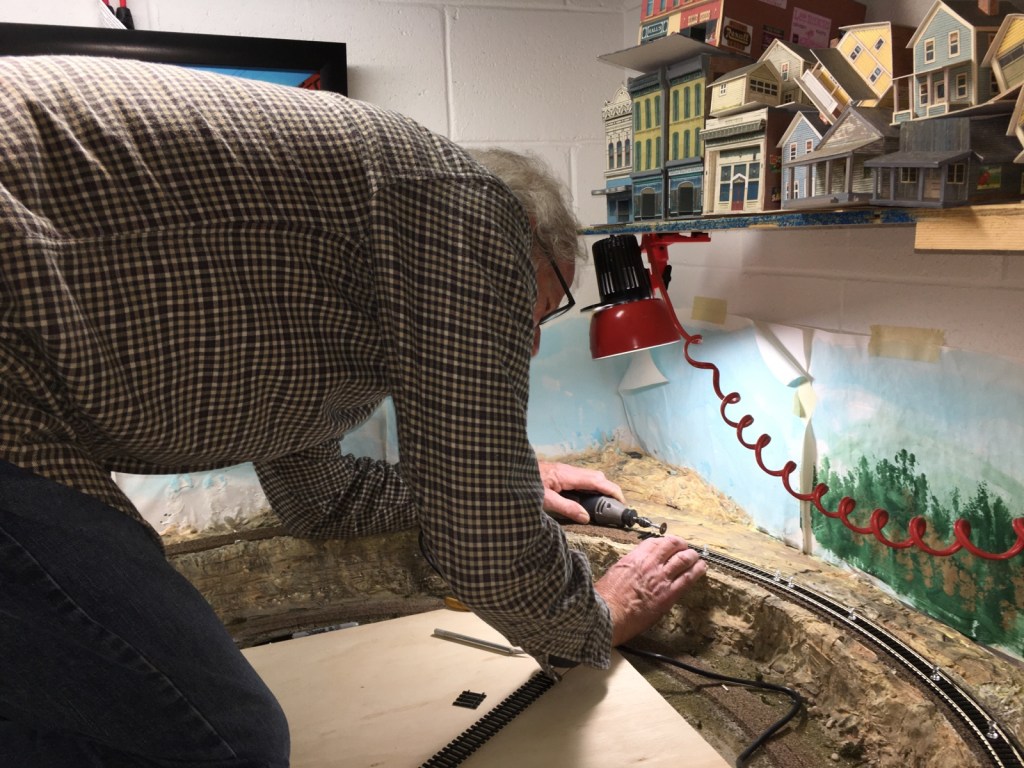
STEP ONE. Obviously, you’re going to need a completed track plan before you start laying flex-track. My twenty-one foot layout has two long loops for continuous two-train operation. My outside line contains a 2% grade from base level to four inches, which requires sixteen feet of track. The line continues over Three Tower Bridge at Maple Valley, across the river at Maple Valley Trestle, then begins the downward grade at 2%, finally reaching the east side of the layout. The two lines wind around, the inner loop crossing under the upper loop through two mountain tunnels.
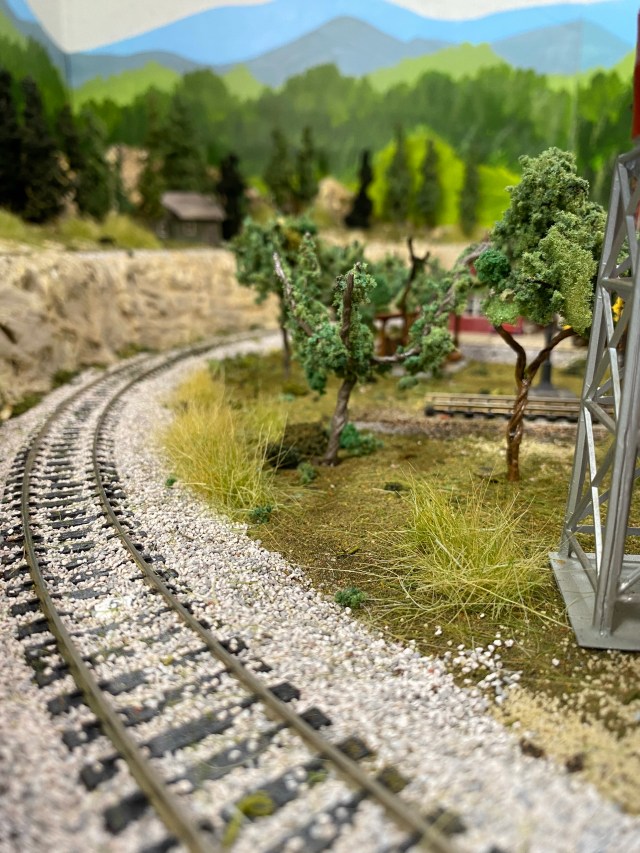
STEP TWO. Make sure your curve radius is consistent throughout the curve. When my track plan was completed and 1 1/2 inch extruded foam secure, I used foam board to make curve templates that were the exact radius I needed. I cut the foam pieces the exact width of the HO scale cork roadbed. I then lay the foam board piece, (the outer loop is a 26-inch radius), marked along the edges with a Sharpie pen, then moved the foam board to the next section and continued marking until the entire curve was complete. I always start by marking all the curves first, then it’s easy to mark the rest of the layout.
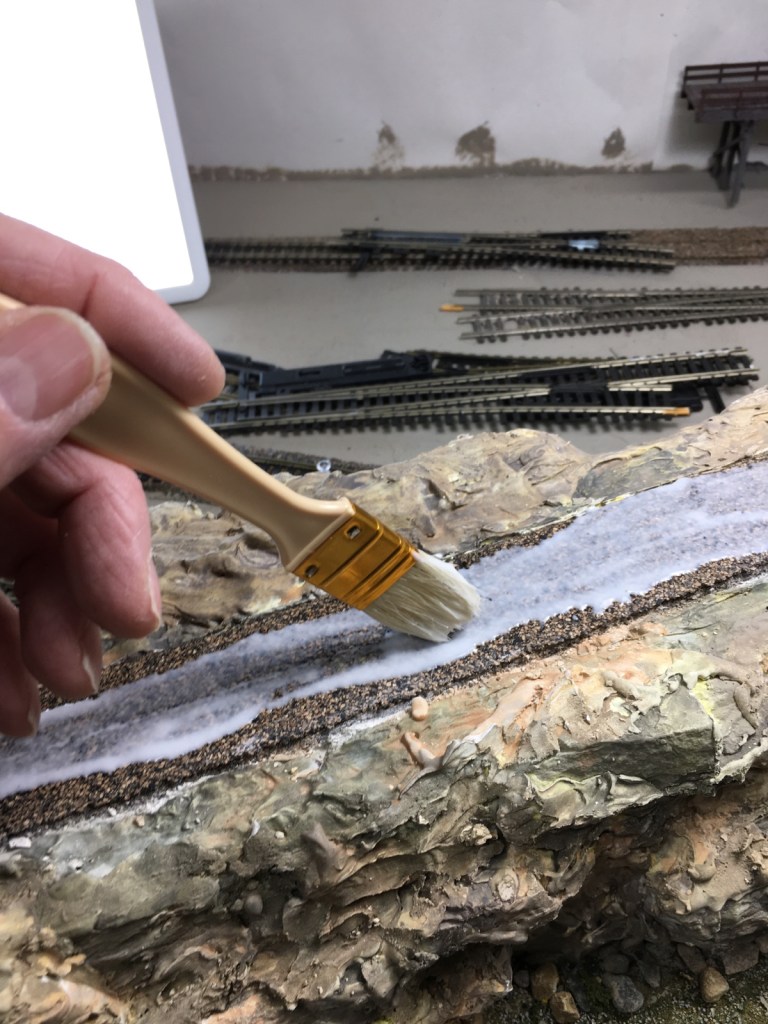
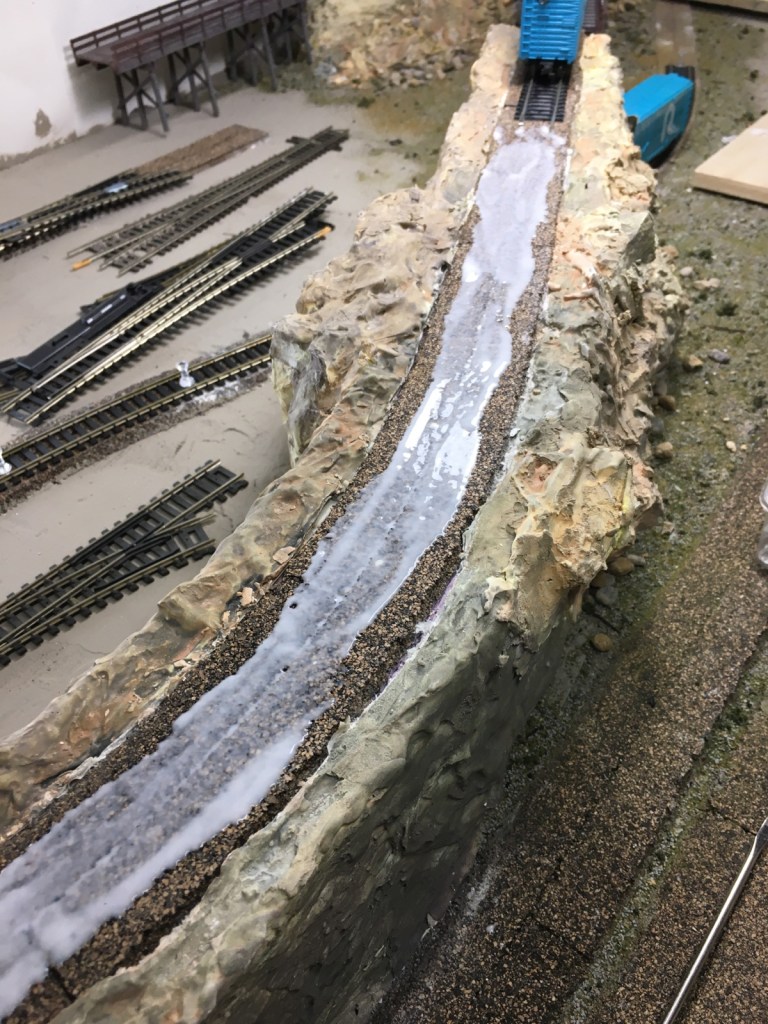
STEP THREE. Glue your cork roadbed in place. I follow the two marks I made in STEP TWO, “paint” white glue inside the lines on the foam base, then pin the cork roadbed in place and weight it down.
STEP FOUR. Repeat this after me: “Kinks are my enemy. Kinks are my enemy. Kinks are my enemy” If you do not imprint that phrase on your brain and cling to it during your entire track-laying process, you are going to have problems that will be tough to fix once your track is in place. Rail ends must meet perfectly on curves (and everywhere else for that matter!) If you start feeling frustrated, stop! If you’re tired, stop! Don’t risk smooth operation later by hurrying now!
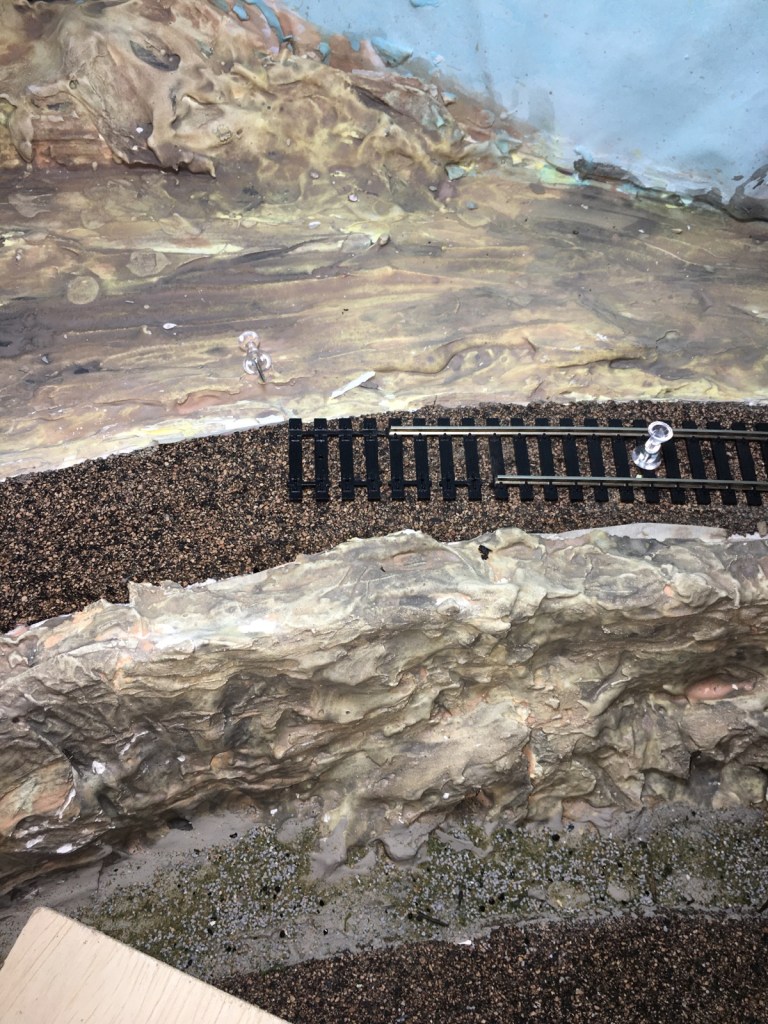
This is important, so follow carefully. Make sure the flex-track moveable rail remains consistent throughout. (The moveable rail is the one with the broken tie-connection on the back. Just pull on the rail, you’ll see it moves easily. Make sure that rail is on the outside of your curves throughout your layout. Lay a new piece of flex-track on your curve and mark the beginning and end of the piece with a Sharpie. Remove the track and paint the cork with white glue. Replace the flex-track, pin, and weight. If you keep the moveable rail on the outside of the curve, you notice it is now shorter than the non-moving inside rail. That’s perfect! STOP! It’s important that your first piece of flex-track is solid and the glue has dried. Then you will be ready to move on and finish your curve.
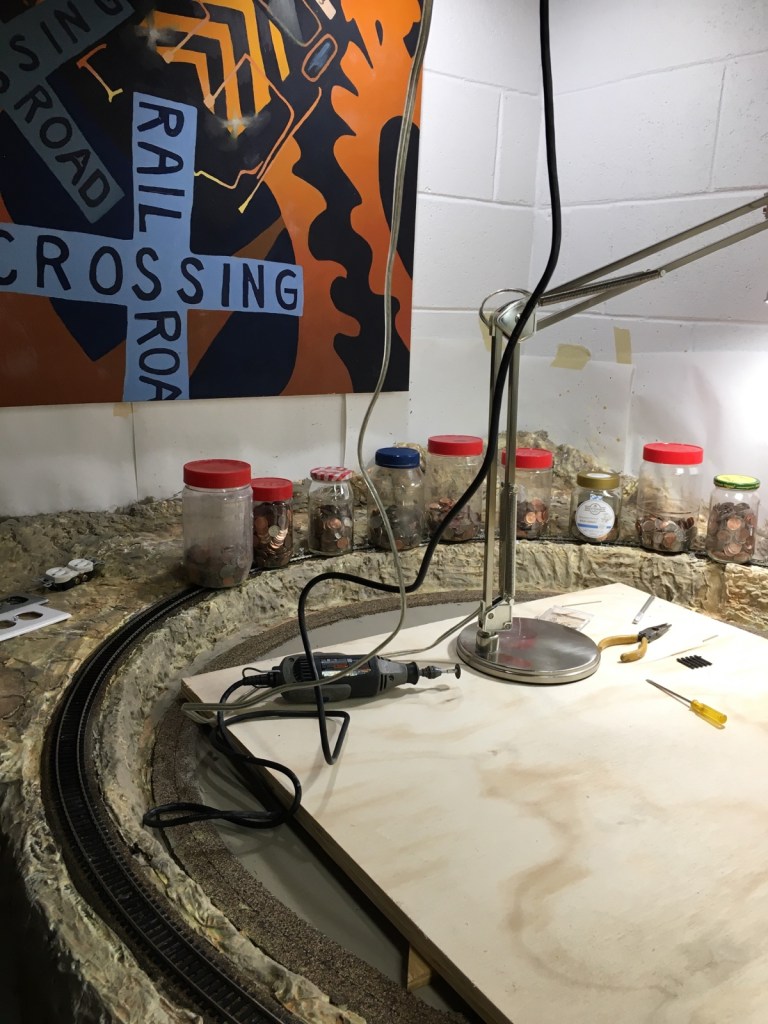
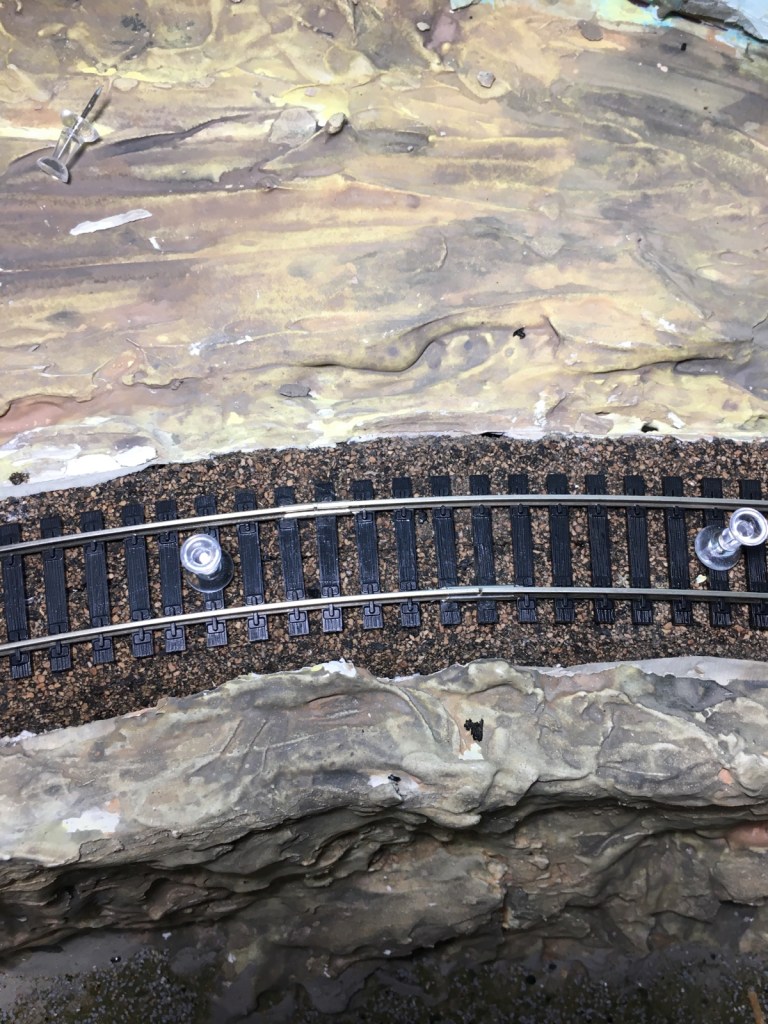
STEP FIVE. This is the most important step, and the one easiest to get wrong. I know from experience! Turn a new piece of flex-track over. Carefully remove eight ties by cutting the plastic holding the ties in place. DO NOT CUT THE RAILS! LEAVING THEM EXTENDING PAST THE TIES. On your flex-track already glued in place, your moveable rail is shorter than the inner rail. Using a Dremel tool with a sanding disk attached, carefully cut the inner stationary rail so that there are about five ties separating the ends of the inner and outer rail. Using a pair of needle-nose pliers, very carefully, and while holding the ties in place, pull the small piece of stationary rail out the end. Now lay your new piece of track over the glued piece and note where the ends meet. You will remove one “spike” (the small plastic flange holding the rail in place on the tie) on either side of the rail ends. If you use the Dremel tool this is a very easy job. (I used to use an X-Acto knife and it was a pain!)
STEP SIX. Place a nickel-silver rail joiner on the end of a small piece of rail. Now slide the rail joiner onto the end of the rail on the glued flex-track. Repeat for the other rail. Now, very carefully, thread the rails of the new track through the plastic spikes on the glued track until the rail ends meet in the rail joiners. Pin the new piece of flex-track in place, using the center of the cork roadbed pieces as a guide. Now, using (and this is NEW! I just started using this!) Beacon 3-in-1 Advanced Craft Glue, lay a bead of glue along every-other tie between the rails. Now place weights on the track, and let it dry thoroughly.
I discovered the Beacon 3-in-1 Glue when I was trying to think of a way to keep from removing the new flex-track curve piece to glue and then replace it. Every time you move or remove a piece of track it’s another opportunity for something to go wrong. Beacon 3-in-1 Glue has a needle-nose tip so it’s perfect for gluing track in place, and it dries fast!

There you have it, model railroading friends! This is a sure-fire way to lay perfect curves using Atlas flex-track on your HO scale model railroad. You’ll be so glad you did it right the first time. You don’t want your railroading operations in front of spectators interrupted by derailments! It’s so embarrassing! Happy railroading everyone!

Pingback: Before and After on The Maple Valley Model Railroad – A Coffee State of Mind