I can’t stress enough that you can do this. Believe me, if I can paint backdrops and have them turn out half-way decent, you can do it too.
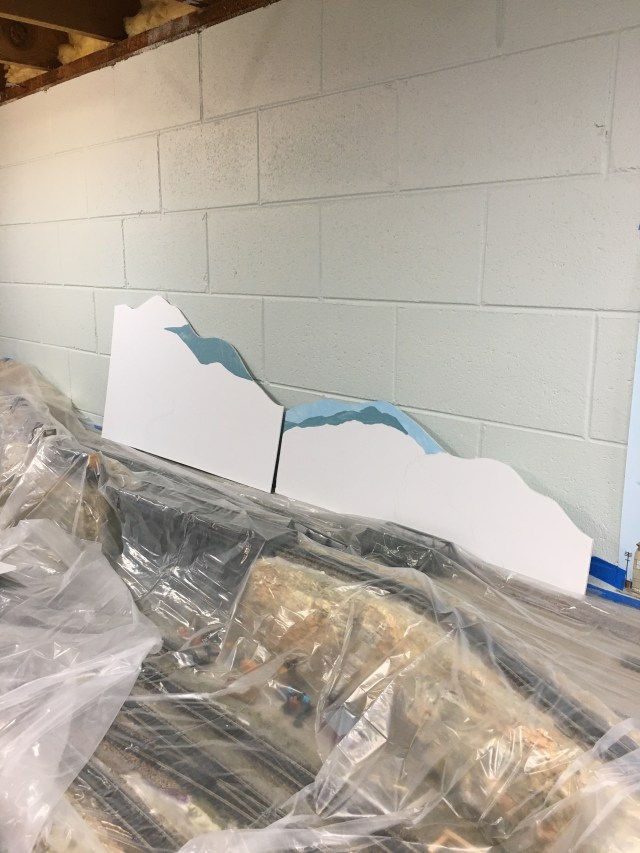
In Part 1, I included a list of the paint colors most often used for painting backdrops. All of the paint is acrylic, which cleans up easily with water. When you start painting your backdrops, you will start by using light colors on the highest parts of your canvas (whatever your canvas material may be. I chose to use foam board.)
Obviously, not being an artist, I’m not including mixtures that will give you exact shades of colors for your backdrops. With me, it was trial and error. If you are an artist I don’t think you’ll be spending time reading this anyway.
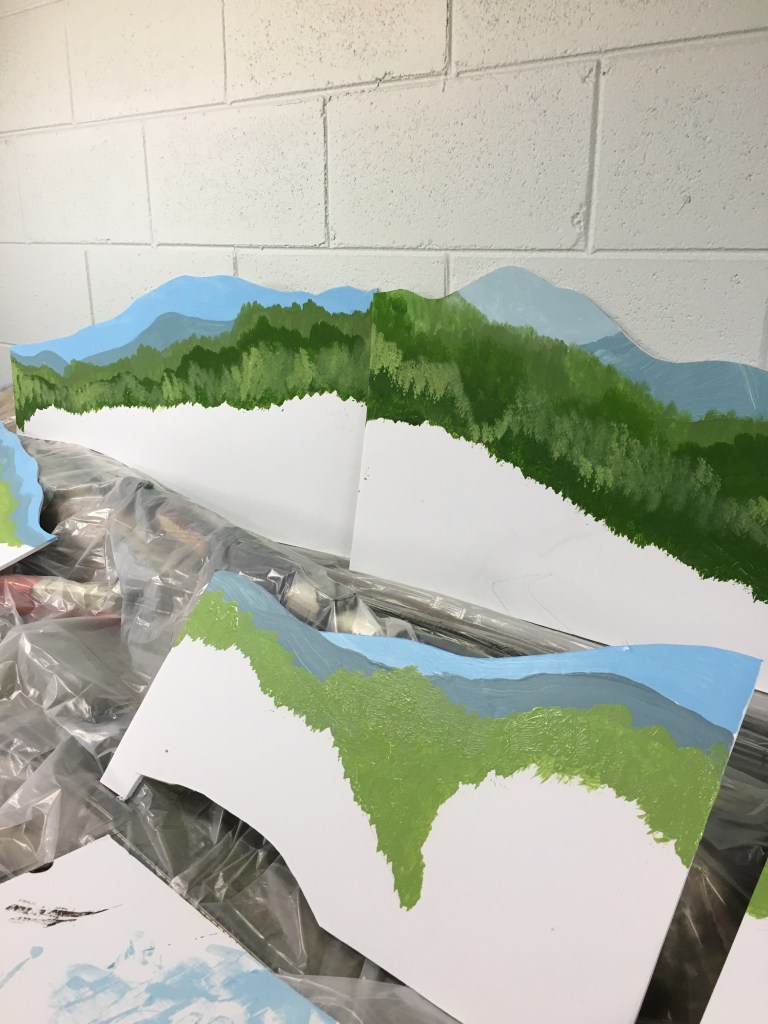

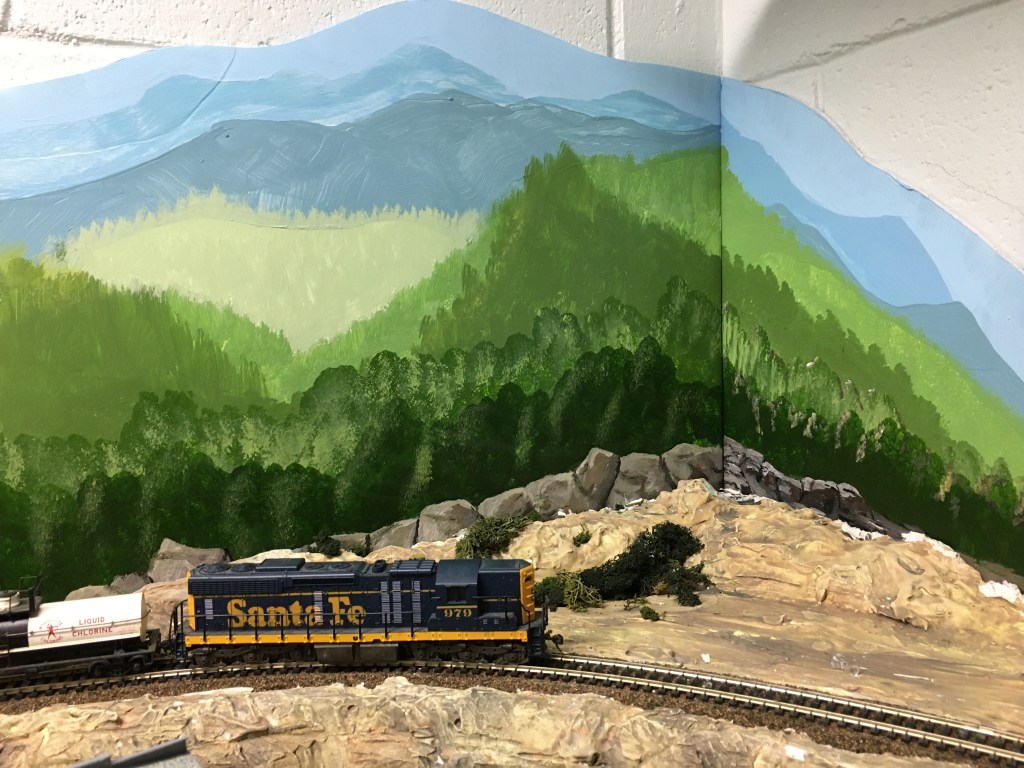
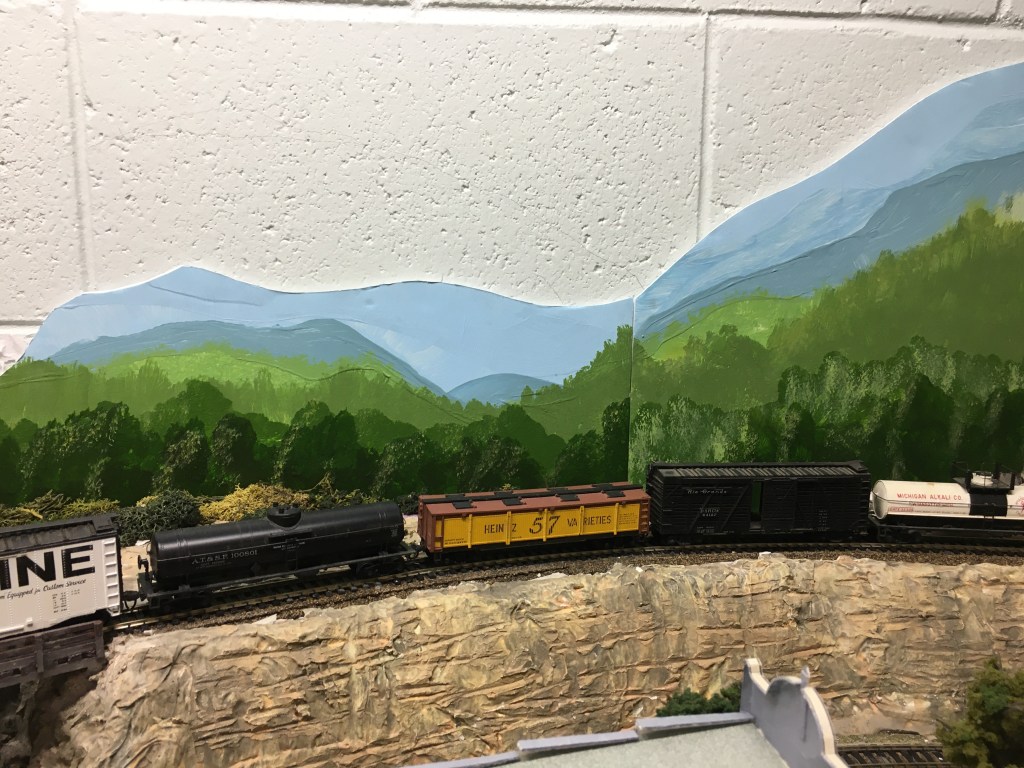
In the photos you can see the mountainous look beginning to take shape. I used a mixture of blue and grey to paint mountains furthest away, the lightest blue is sky. The light shade of green below the blue is the first layer indicating the next mountain range.
The beautiful thing about painting in layers is that you can really mess up the first layer, (like I did many times fighting with my shaking hands), and totally fix and change it with the next layer. You don’t want perfect tree tops anyway. To me, a great amount of variation is best, just like you would see in a real photo or in person. Let your brush go and find your way as you dab the paint on.
I allowed each layer to dry before starting the next layer. If you lay wet paint on wet paint, the colors will begin to mix on the canvas and on your brush. Maybe that will work for you, but I didn’t want to take the chance.


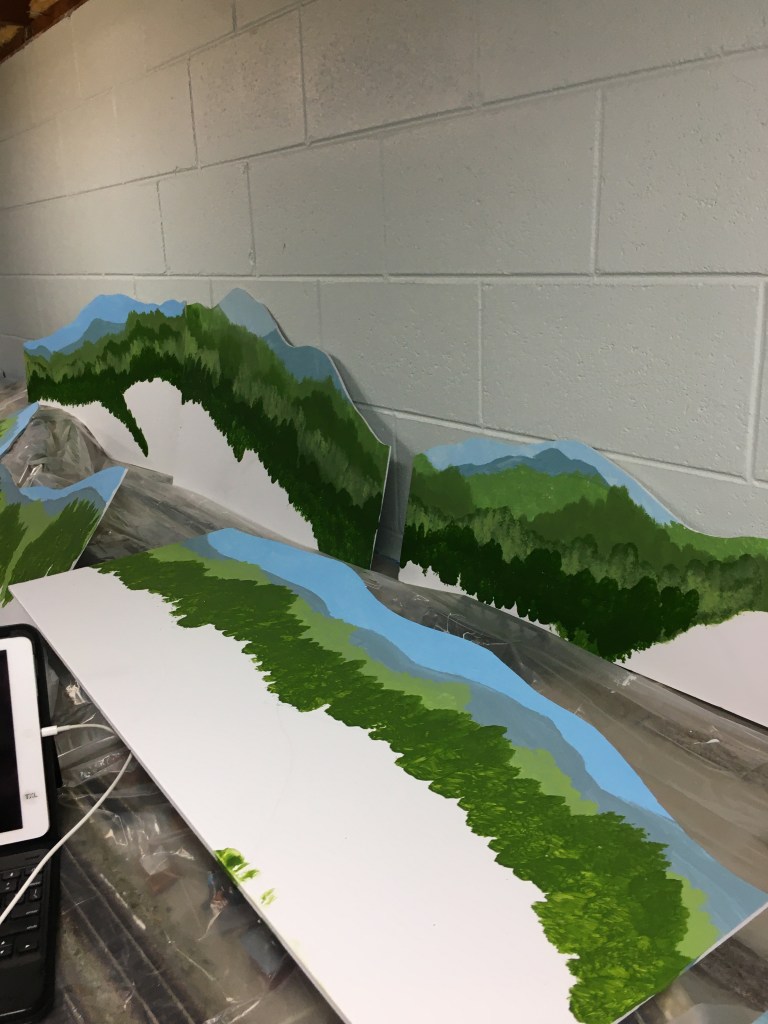
With each layer of tree-covered mountains, the colors get darker, indicating the mountains are closer. In the middle photo is the beginning of a river, indicated by the white curved triangle, giving the appearance of the river coming toward you.
I definitely made mistakes, but was able to manage them pretty well. In the photo on the left, there is a light area that doesn’t look great, but I can live with it. I also left some large grassy-appearing areas in the foreground that I will make smaller by placing 3D trees on the layout in front of them. Placing trees on the layout is my next big project.


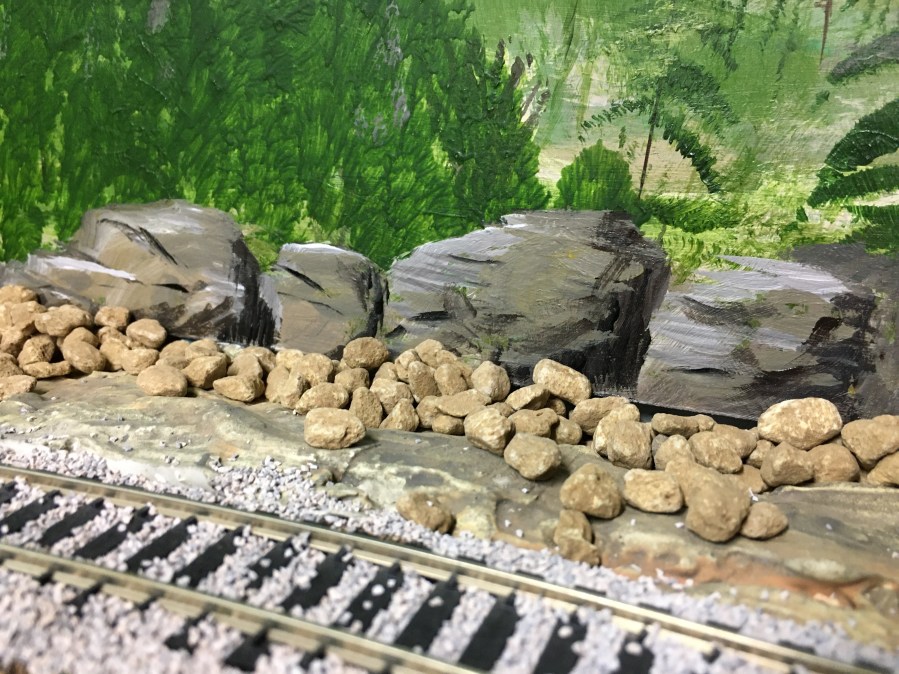
The section of backdrop in the photo on the left is my first attempt. It’s not great, and I changed it a little by painting pine trees in that appear closer, and adding rocks at the bottom. This one will again be doctored by placing trees and foliage in front of it. This one is on the right end of the layout, so it isn’t in a prominent spot. I’m happy with the other backdrops, and to me, there is an illusion of distance to the horizon. Structures, trees, and ground cover will blend the contrast between the rocky areas and the green backdrops.

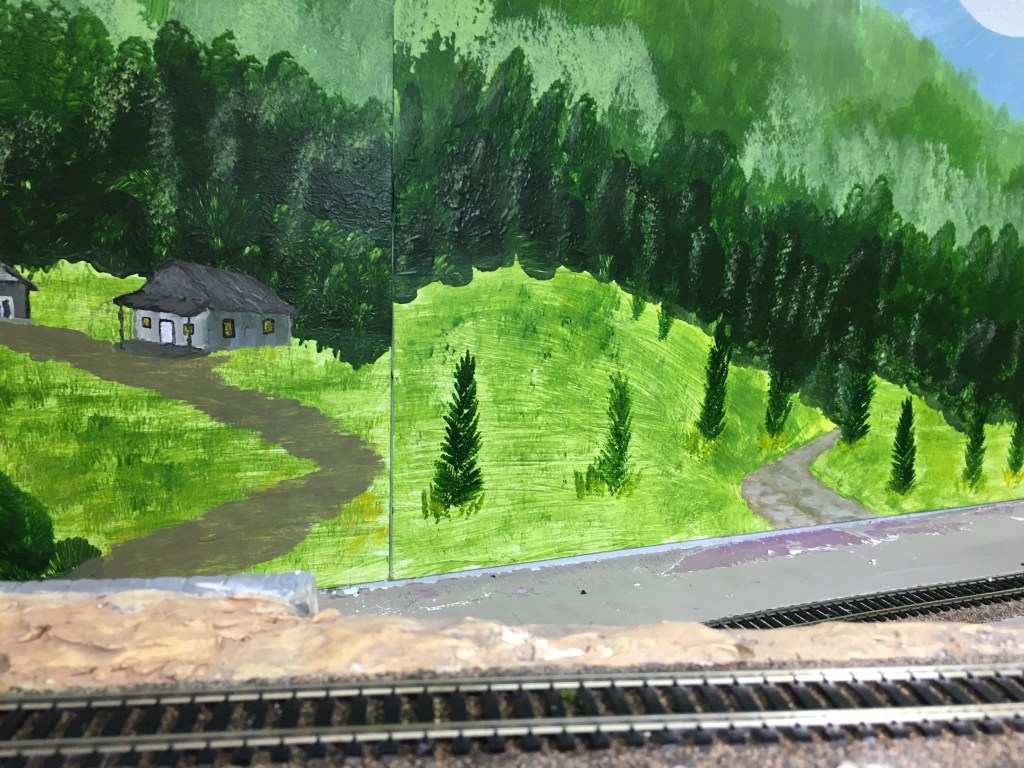

Shading is an important part of painting backdrops. In any scene, whether in a photograph or a painting of landscapes, there is a source of light so there are light and shaded areas. As you can see on the painted pines, the left side is lighter, indicating light coming from the left. It also appears to give the tree a rounded shape. I used a small paint brush to blot the pine trees into existence. The individual pine trees in the center photo were made with a fan brush. The important thing to remember about indicating a light source is that it must be consistent throughout your backdrop paintings. You don’t want some areas appearing as if the sun is on the left, and others on the right.
Including roads and rivers in a backdrop is another challenge because, somehow, you have to make them appear they are coming toward you. This is accomplished by the use of a magical vanishing point. Perspective in drawing or painting is how objects are made to appear closer or more distant and still remain in proper size relation with each other. A road, for example, seems to disappear at the vanishing point, (which is why it’s called a vanishing point!), and comes toward you where it is widest, closest to you. You are looking at a flat painting, yet you see a road or river coming toward you. Magic!
I used perspective to paint a small cabin and a shed on the backdrop section in the left and center photos. The shed is smaller than the cabin. Vanishing points and shades of color were used on both structures, so instead of looking like flat squares, they appear to be 3D structures. Painting a curved road is a little tricky. You’re still moving it toward the vanishing point but adding a curve while still creating the illusion of distance away from you.
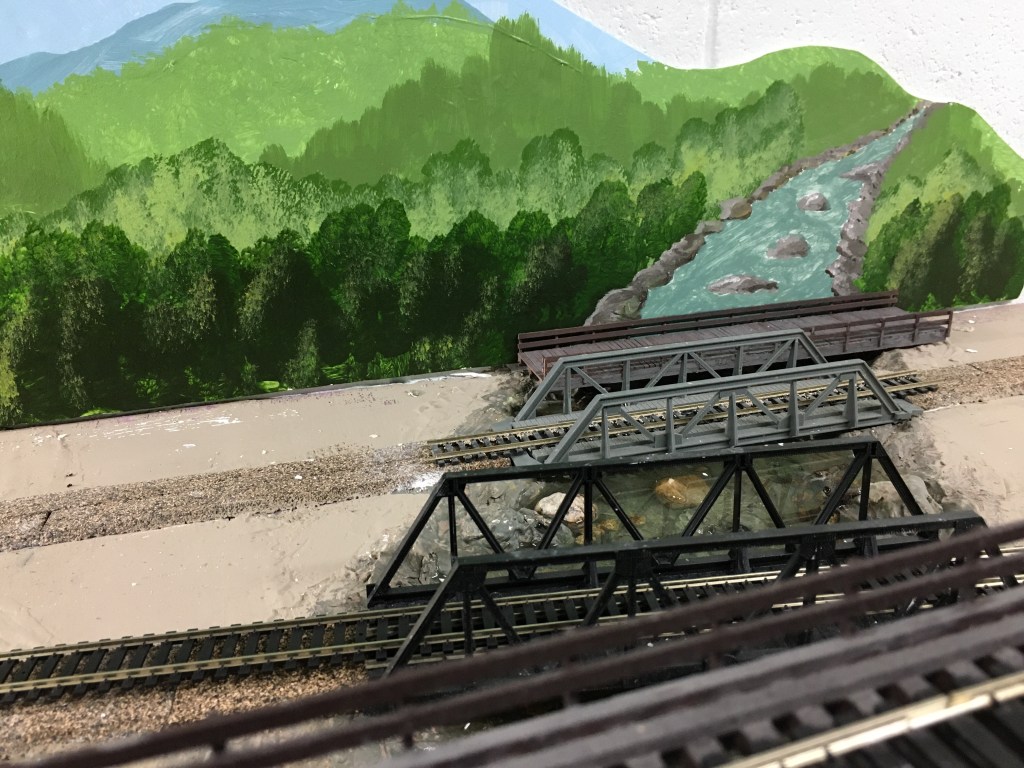
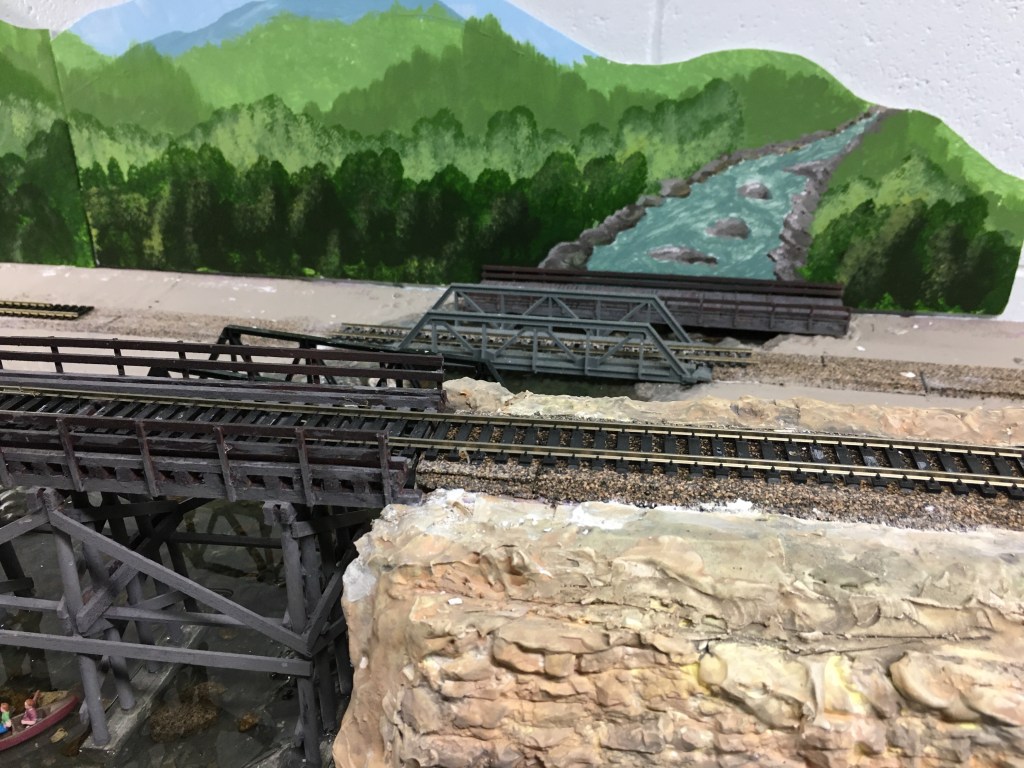
I didn’t want the Maple Valley river to end at the backdrop, so I had to paint the river, allowing it to vanish somewhere in the distance. For a rank amateur, I think it turned out pretty well! The wooden bridge nearest the backdrop will be a road connecting industries on either side of the river.


When all the painting was finished, the foam boards curved as a result of the paint drying and constricting. Ughhh! I didn’t want to just glue them on the wall because I was afraid they would come loose. So, lacking any other solution, I held each foam board, painted/curved toward me, put pressure on the back side and pushed until the foam board buckled. I did that about every two inches the entire length of the board. Result? The foam board was straight and the paint did not crack, miraculously. I was at the point of either total disaster, or breakthrough results. Luckily, the end result was great. I used hot glue to fasten the foam boards to the cinder block wall, and they are secured tightly.
Finally, as I mentioned in Part 1, there are several YouTube videos demonstrating backdrop painting that were very helpful. I am including a list, and I encourage you to watch them if you are considering painting your own backdrops.
How To Paint Model Railroad Backdrops with Rob Spangler – YouTube
Model Railroad Adventures with Bill E103 – The Joys of Painting (A Backdrop 😄) by Request – YouTube
Painting a Model Railroad Backdrop – YouTube
Learn How to Paint Mountains – Acrylic Painting Lesson by JM Lisondra – YouTube
Paint Basic Rocks by Stream – YouTube (I watched this one over and over again!)
If you search “Painting Model Railroad Backdrops” you will find dozens of examples.
I wish you luck in your efforts to paint your own model railroad backdrops!

I’m sorry. I read this entire post in Bob Ross’s voice.
LikeLiked by 1 person
Hahahaha!!!
LikeLike
Pingback: More Trees for the Maple Valley HO Scale Model Railroad – A Coffee State of Mind
Pingback: Mastering Scenery Techniques for Model Railroads - A Coffee State of Mind