
Blog and Photos by Dale Parsons

Strong model railroad benchwork will guarantee stress-free HO scale, or your favorite scale, railroading for years to come.
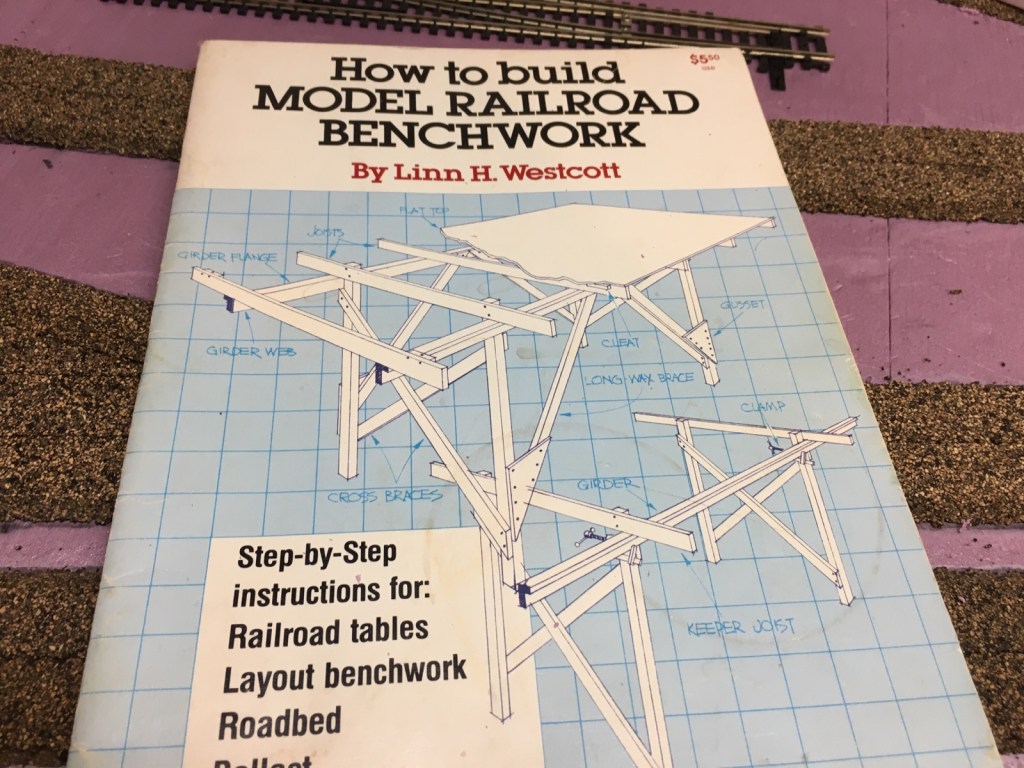
Linn Westcott’s magazine-style book, “How to Build Model Railroad Benchwork” is a great resource for information about a solid structure for your trains and scenery. Whether you plan to use an open-grid style, or a table-top layout, Westcott’s book will be helpful to you.

Since my plywood sub-roadbed was only about a 1/4 inch wider on either side of my cork roadbed, it didn’t leave enough room for attaching the strips of cardboard for the foundation of my ground and rock scenery. I made it work, but I wished I had built it differently. I have not used open grid since then.
In my opinion, no model railroad is ever finished. At least not for me. There is always something more to do. I find that scenery and detail is just as fun as running trains. On this my third layout, I plan to use more detail than I ever have before.
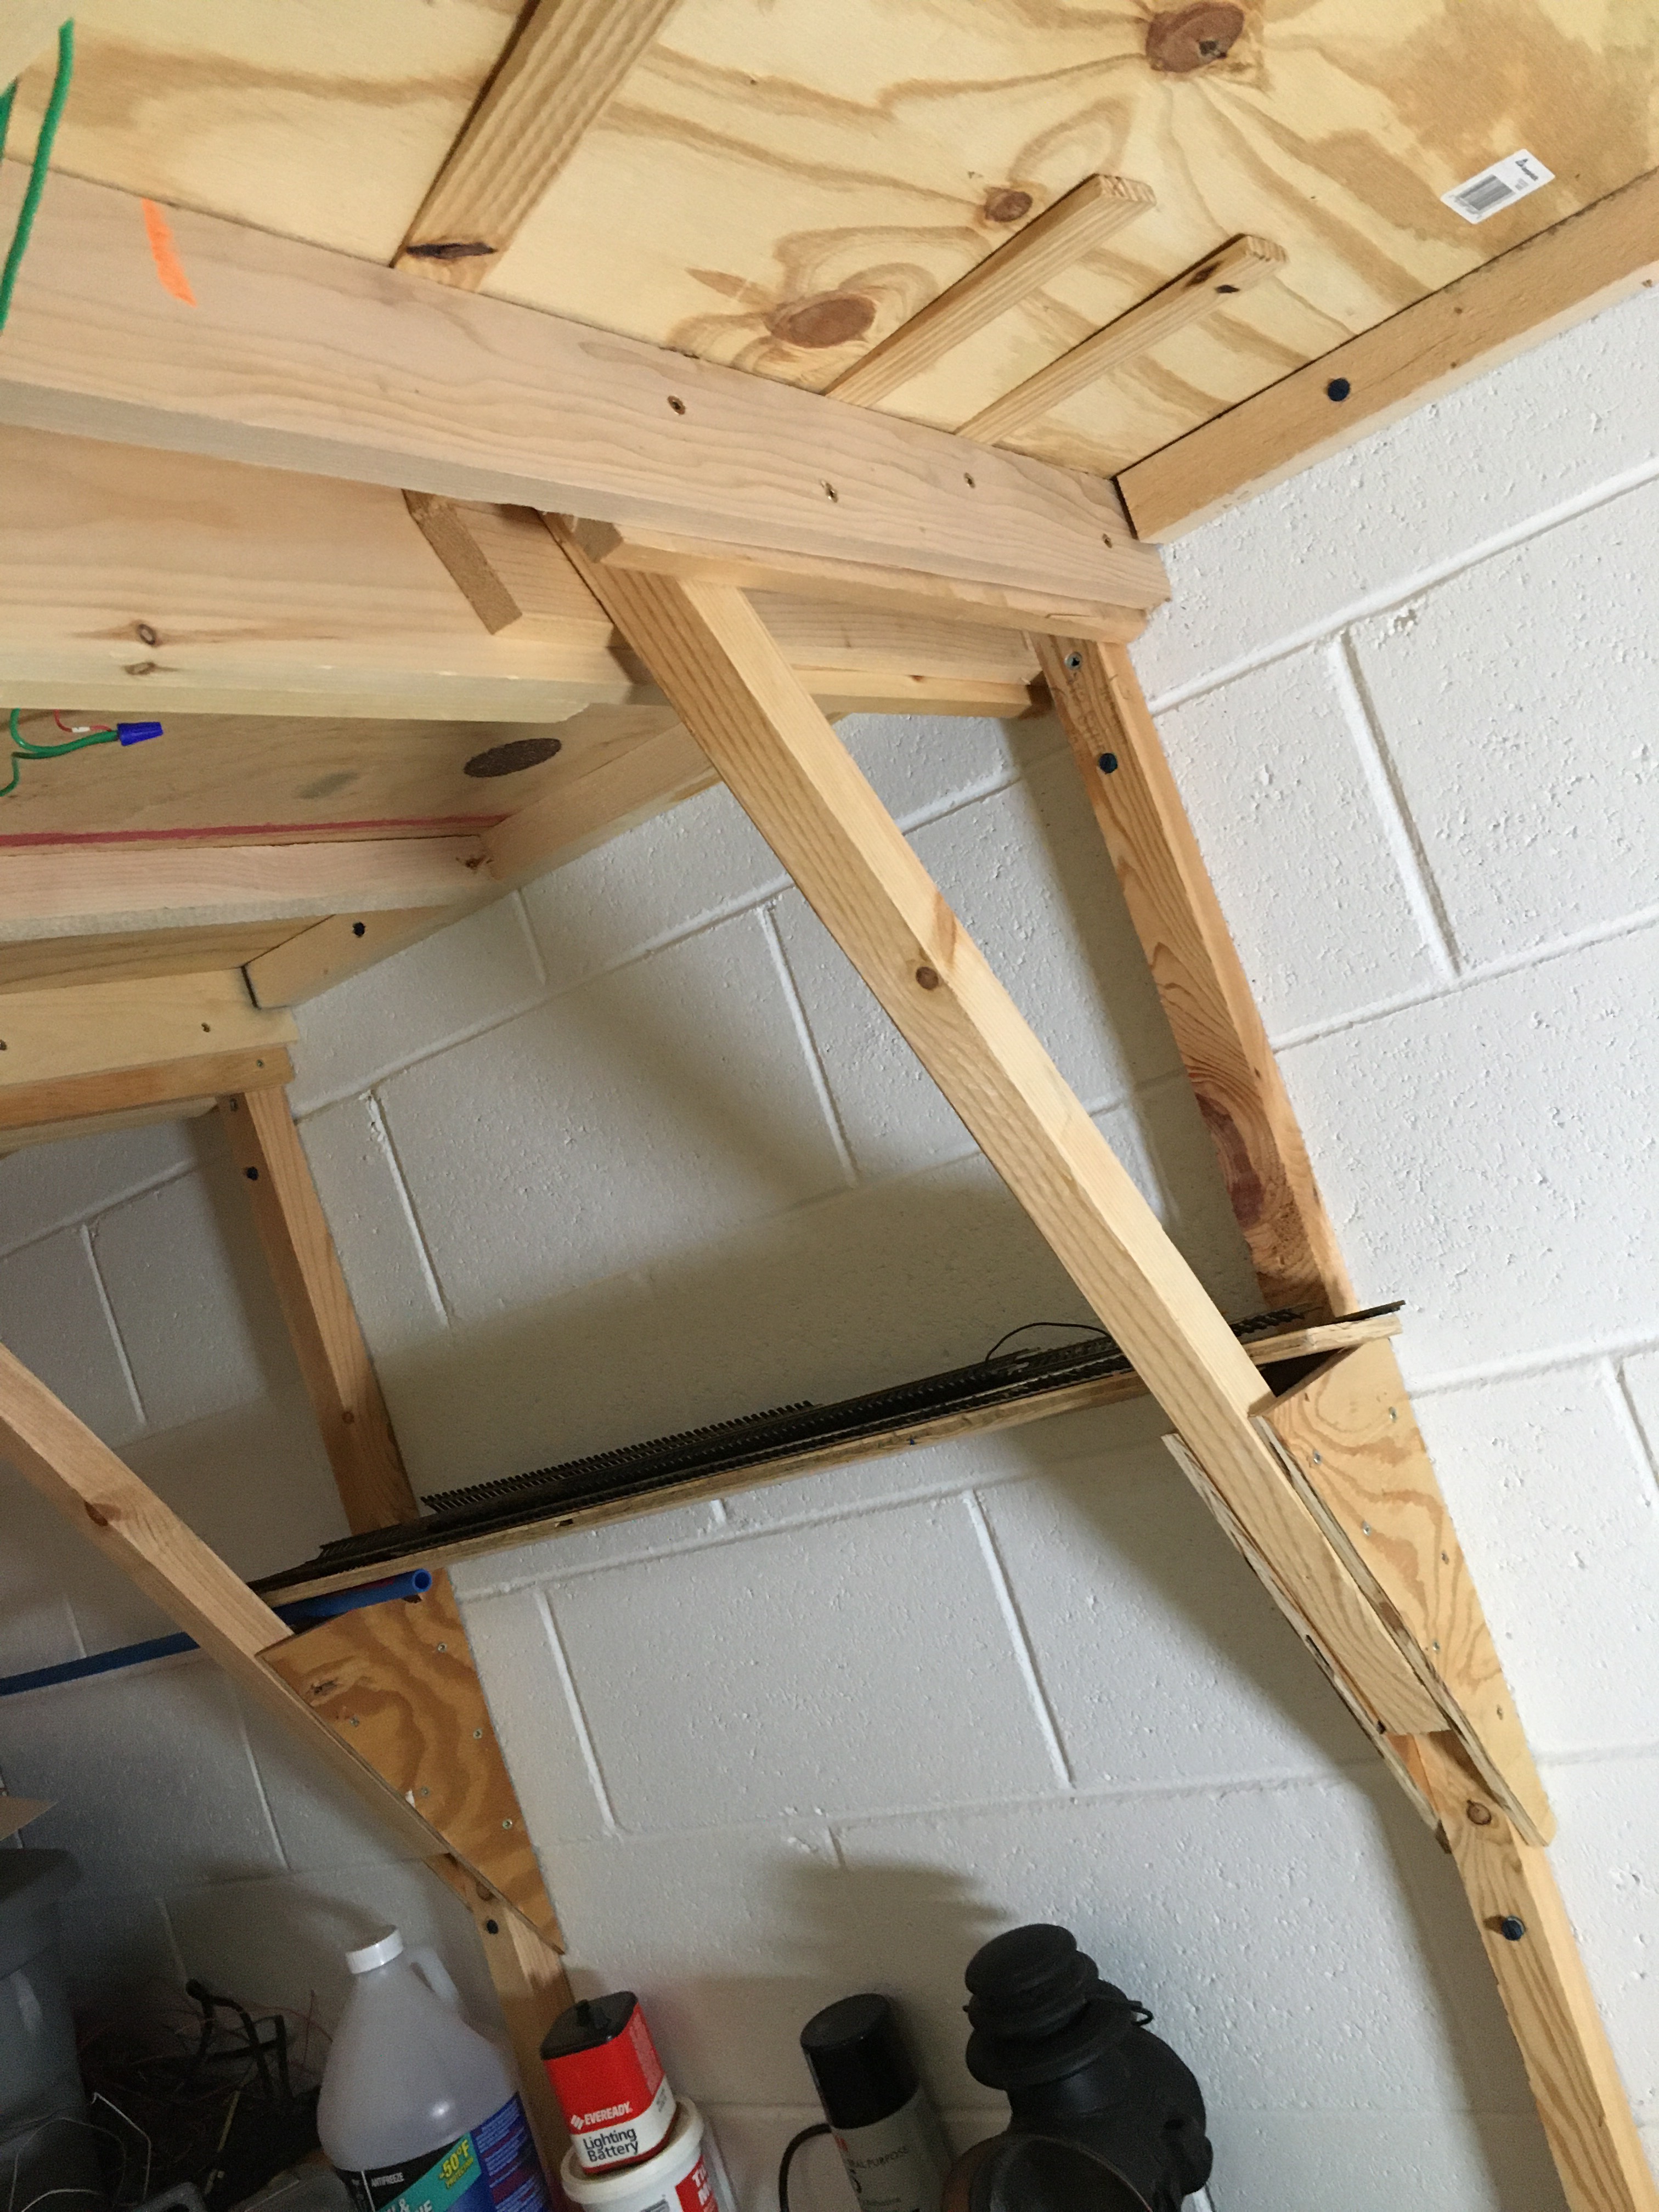

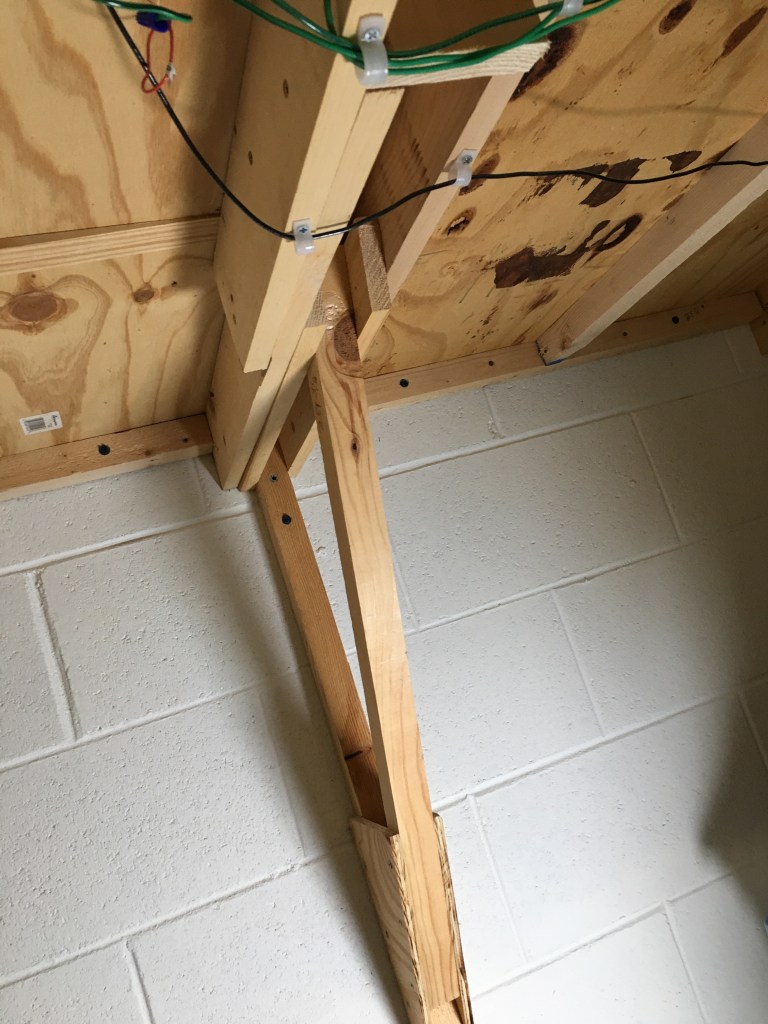
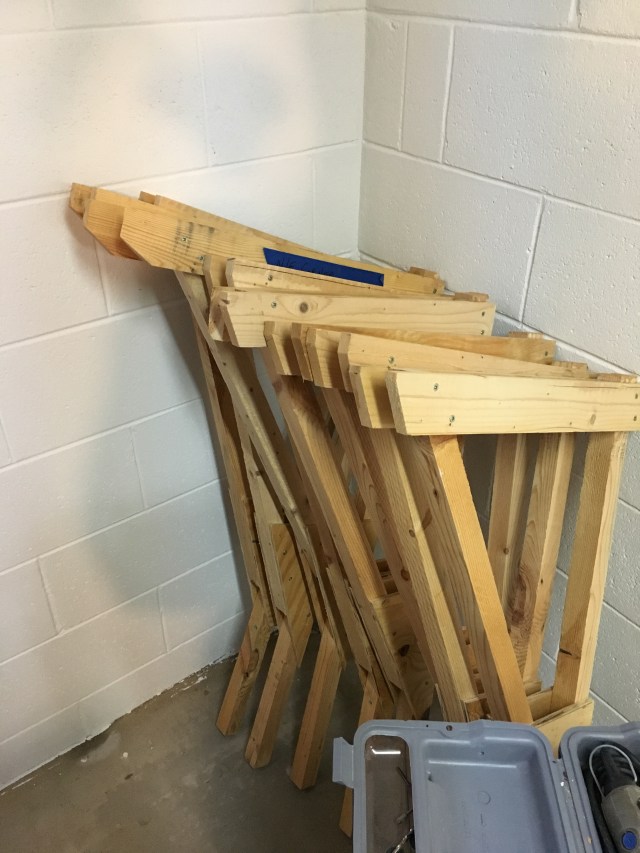
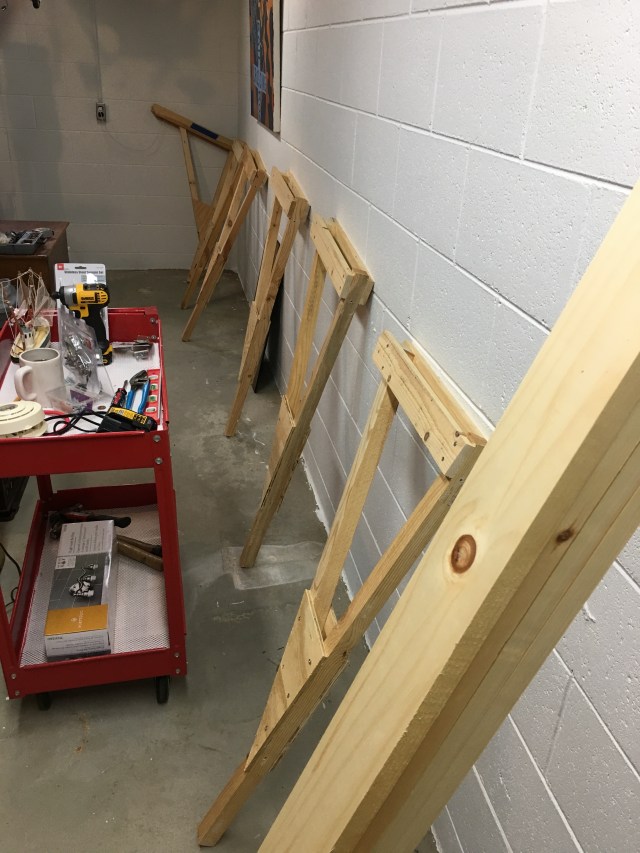
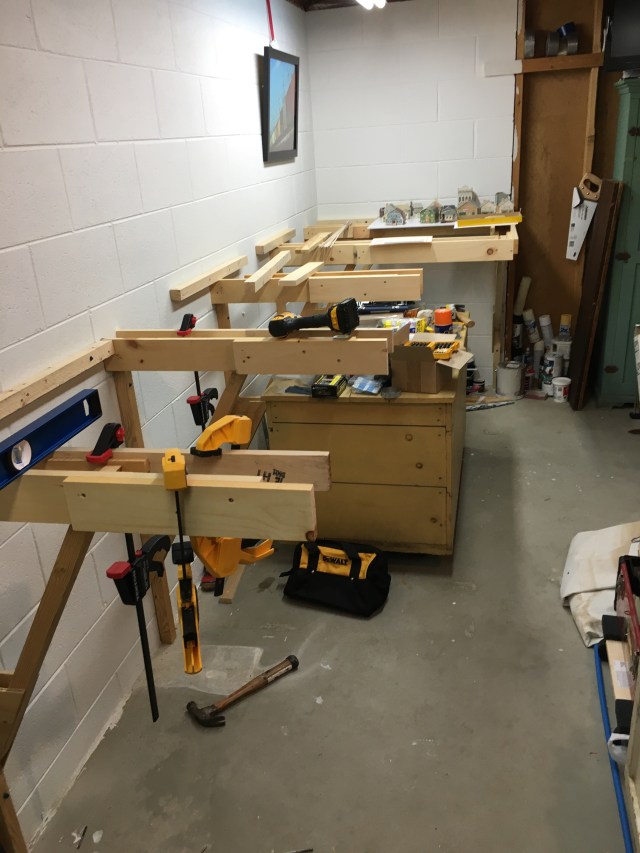
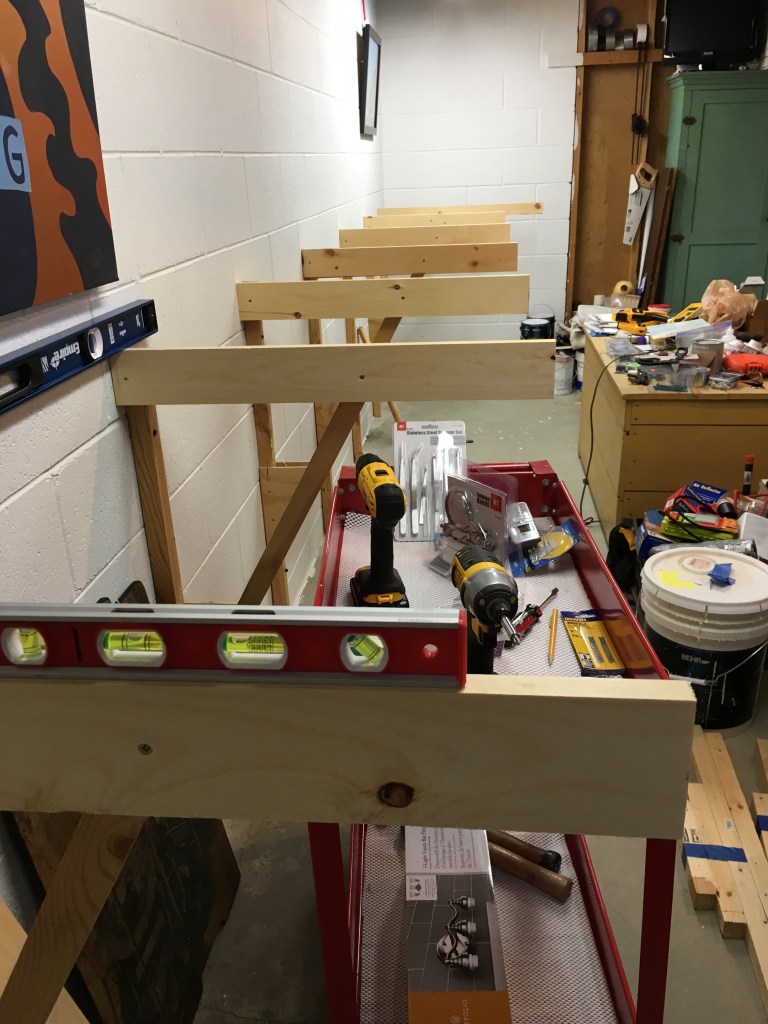
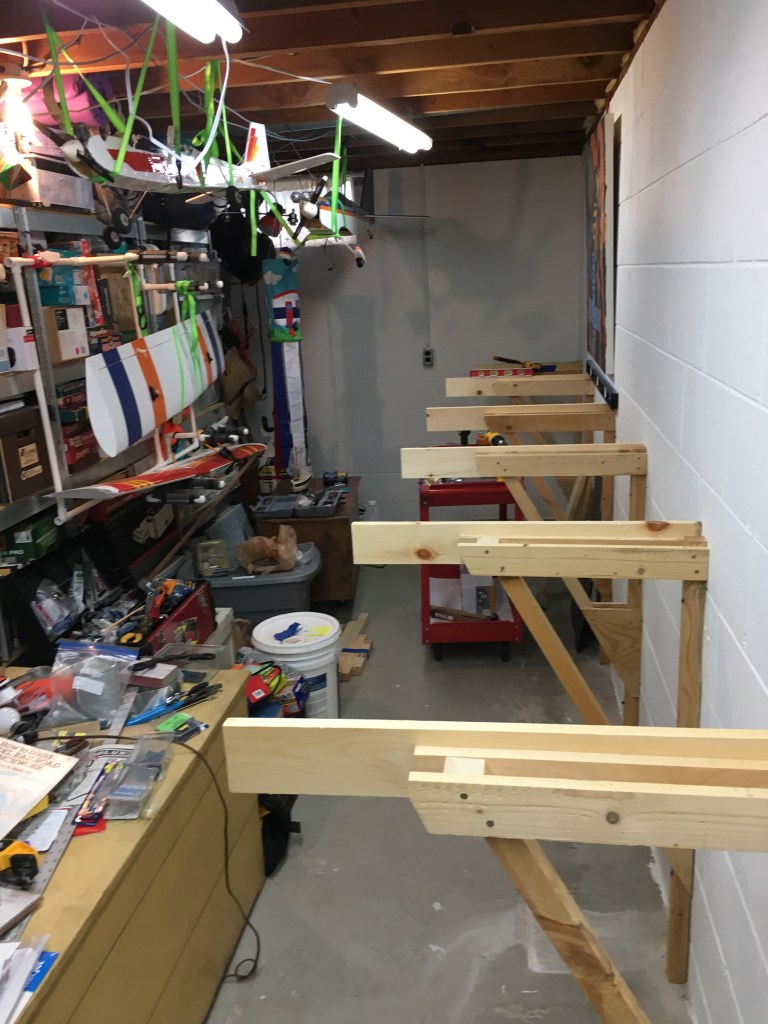
Model railroading is a great learning experience. I have already made several mistakes on my third layout, but I’m not starting over. The most important mistake I made is the narrowest part of my benchwork is 36 inches. The ends are 54 inches. My original braces weren’t long enough so I had to attach additional 1×3 pieces to both sides so the brace arms to extend them to the edge of the bench. Leveling everything was a challenge. The two sides of the arm had to be level, and the brace itself had to be level with the next brace arm, and so on.
Keeping in mind that model railroad benchwork is the foundation of future enjoyment will carry you through the tedious tasks.
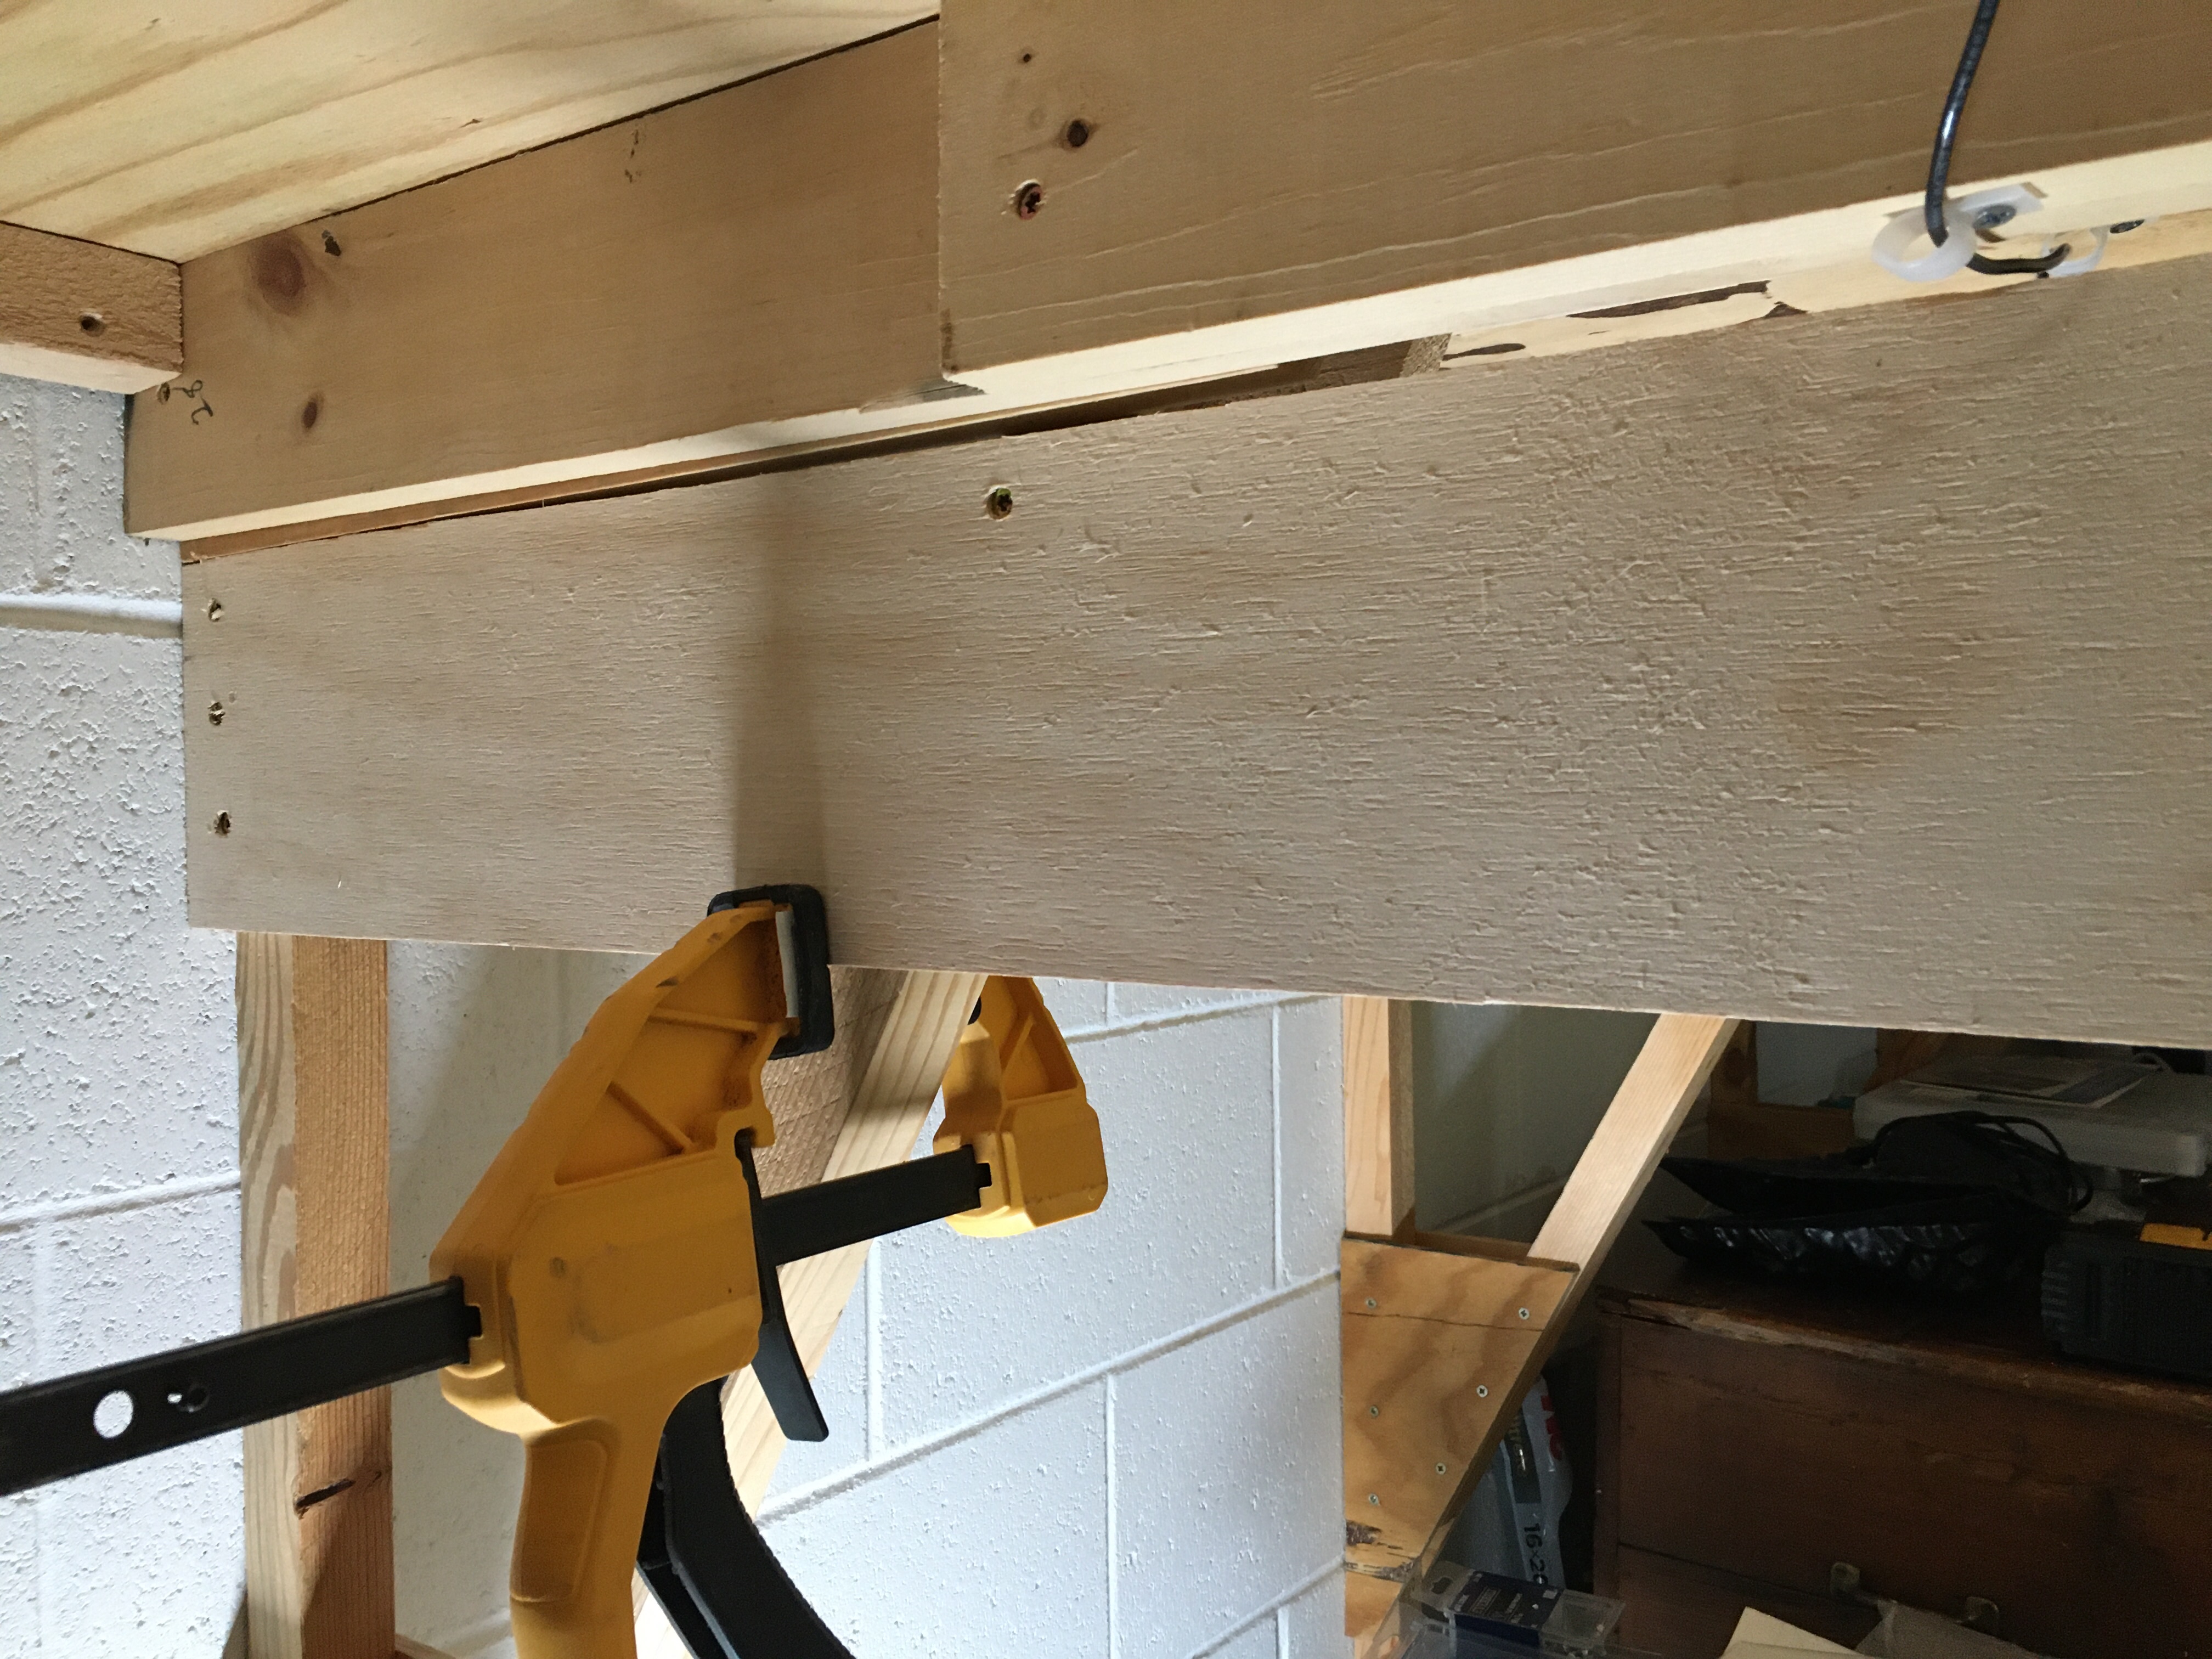
Attaching the braces to the cement block wall was tough. But they’re not going anywhere. I used an impact driver and 1/4 inch cement screws that are 3 1/2 inches long. I went through several drill bits. I drilled through the 2×2 inch leg brace with a wood bit that made a mark on the white cement block. I then used the cement drill bit to make the hole. The impact driver fastened the legs to the wall very easily.
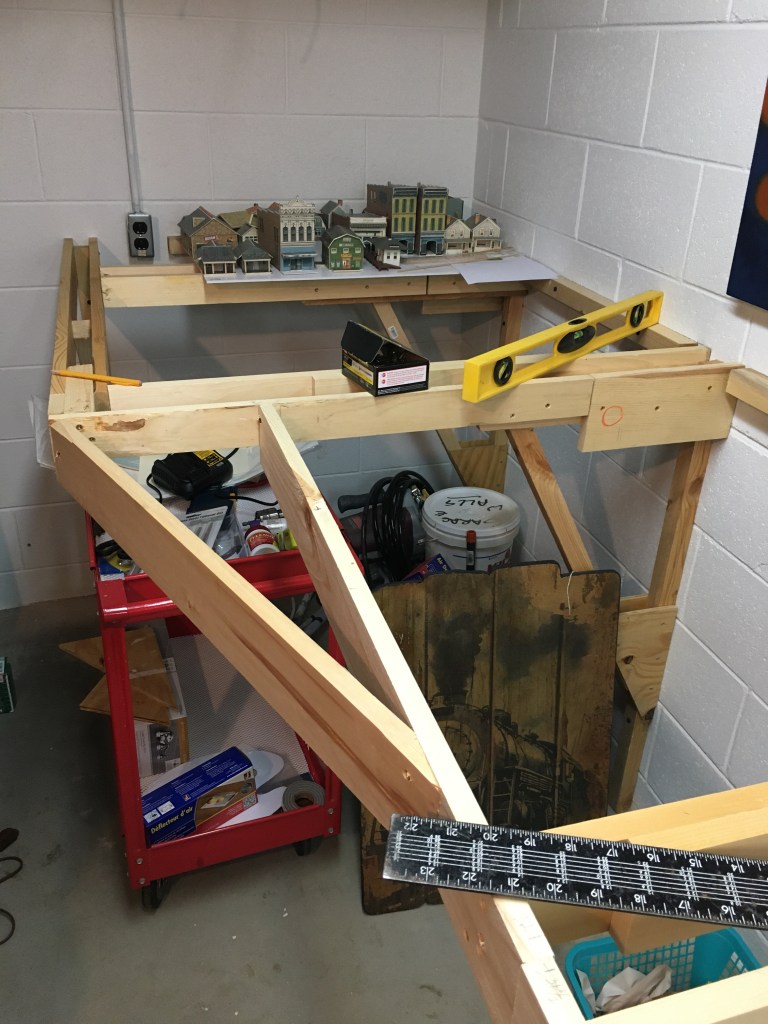
To accommodate my choice of 26 inch radius curves on each end of the layout, the benchwork is 54 inches deep. I am pleased with my progress so far, but the benchwork really is too deep. Reaching across to work on scenery is going to be difficult, but I will manage.

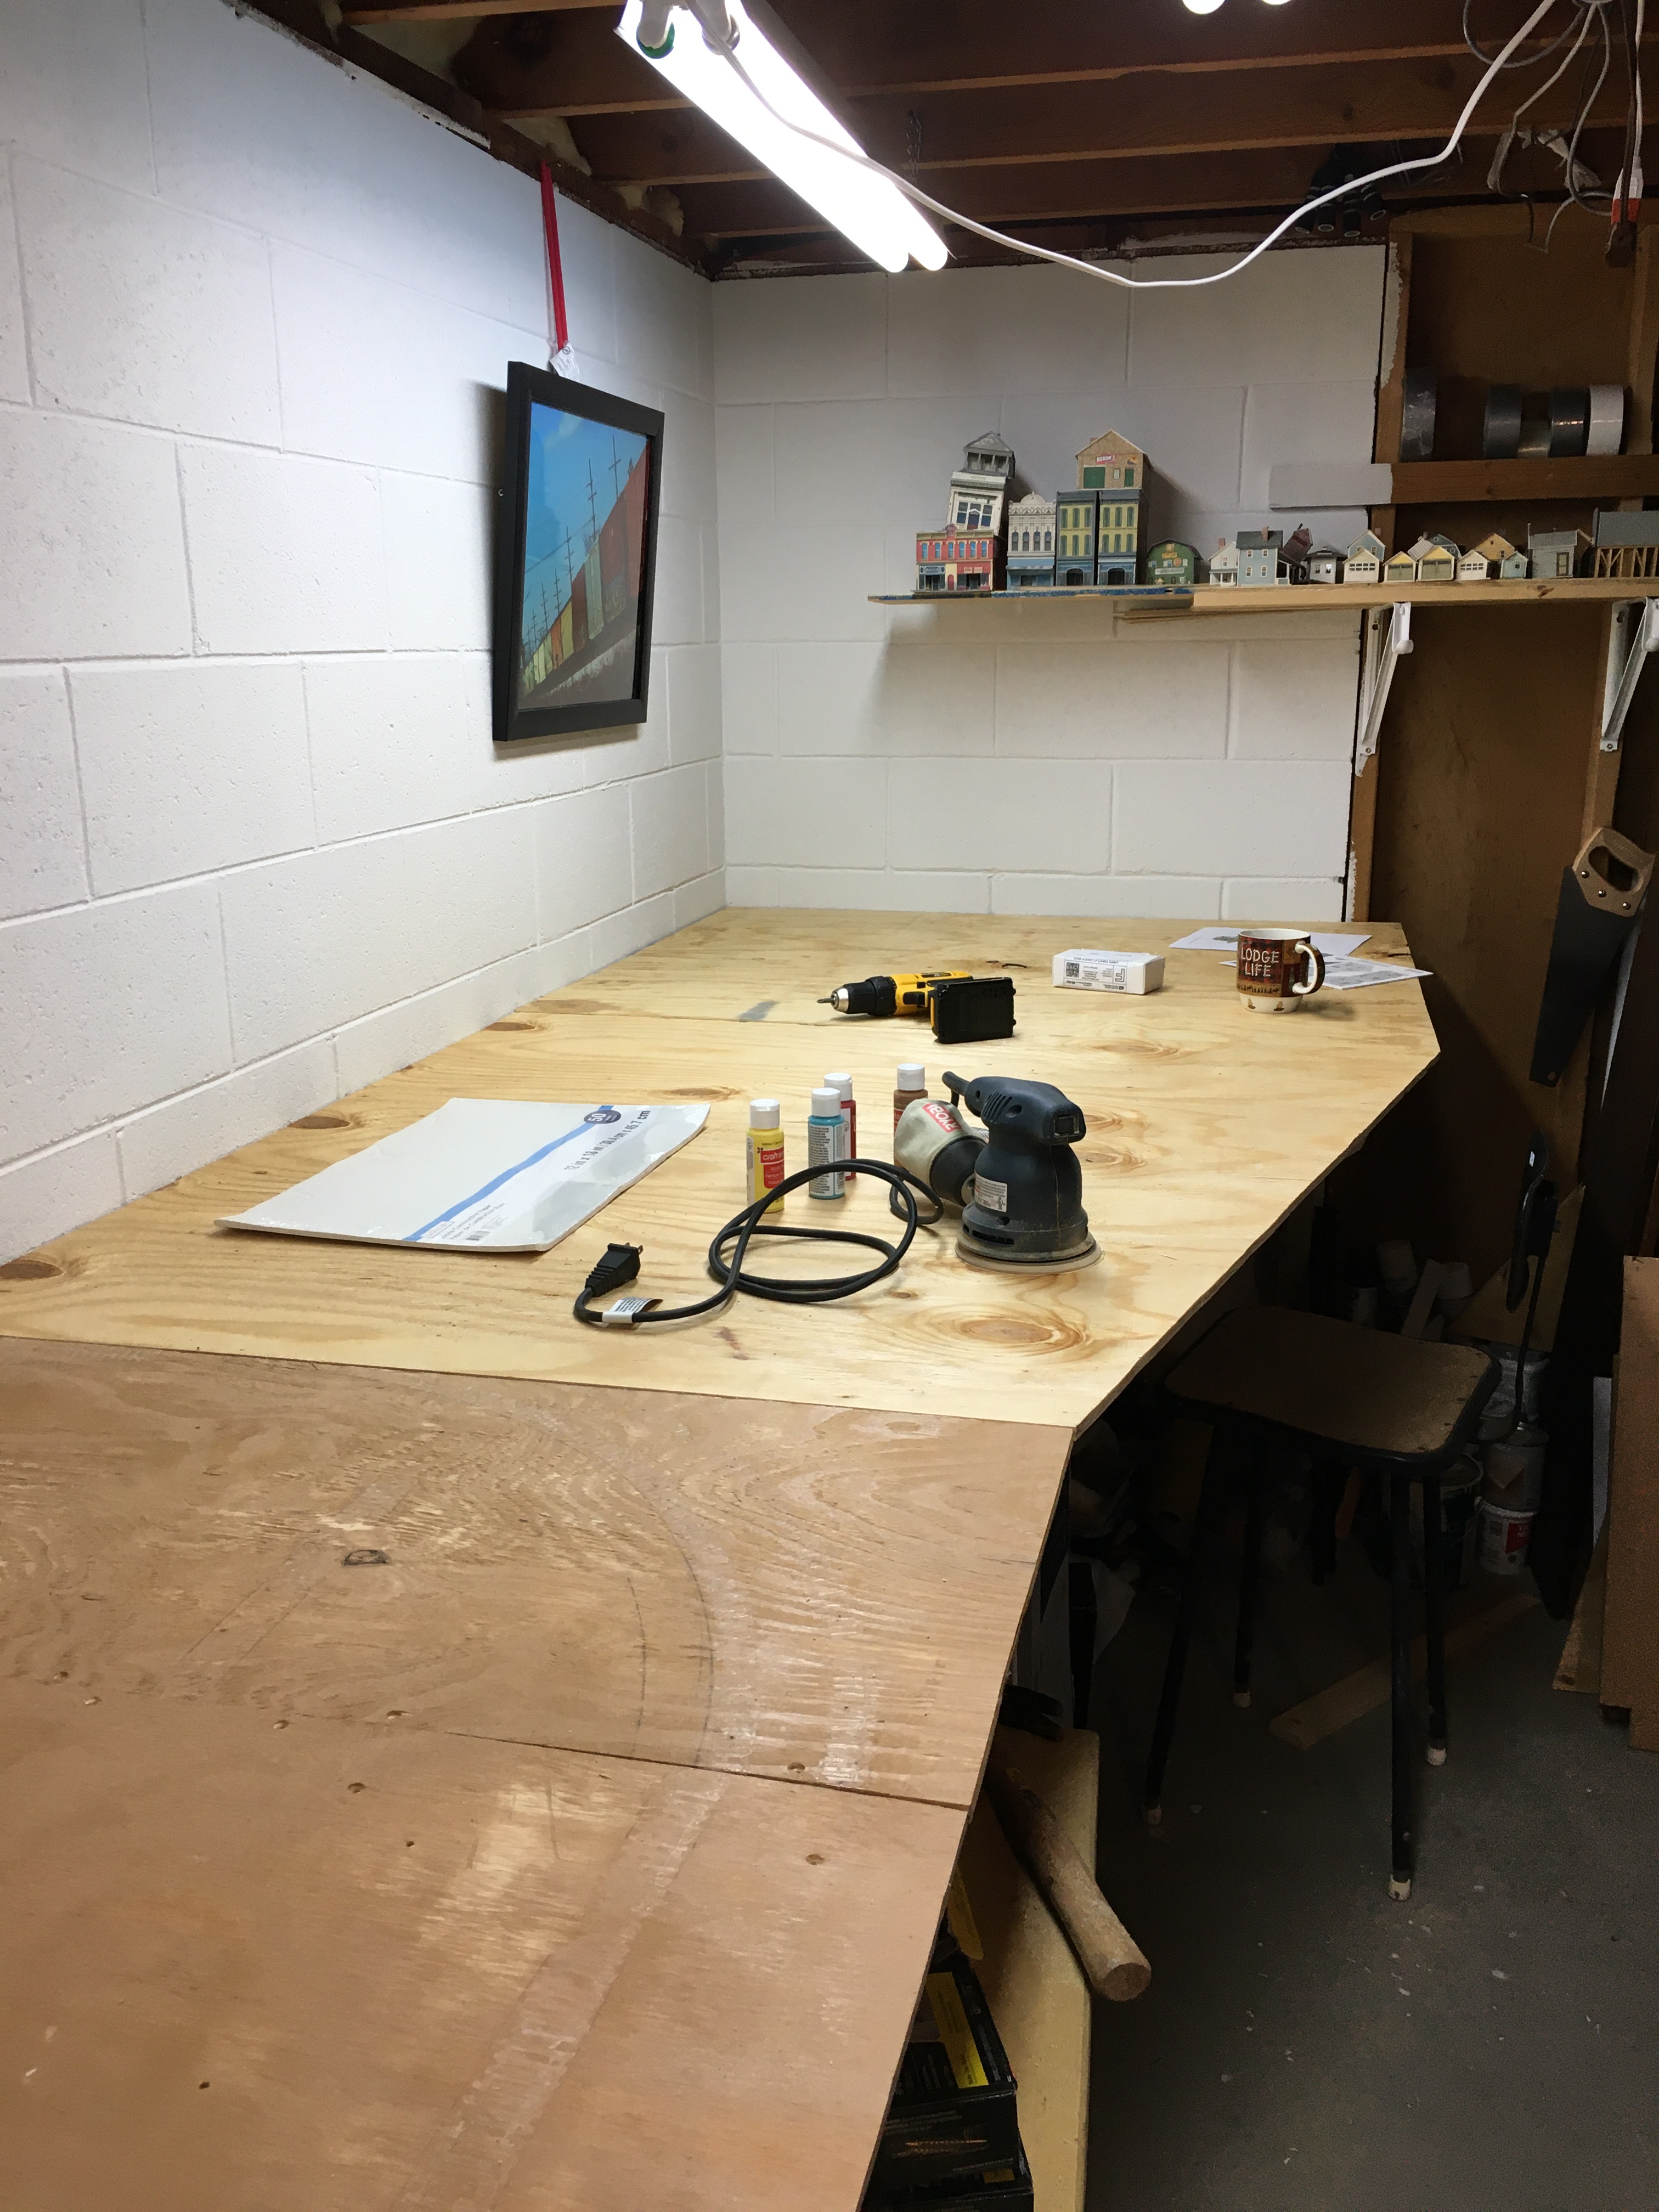
When I was satisfied with the benchwork framing, it was time to put on the plywood sub-roadbed. I had some plywood pieces from my previous layout so I used them, plus some additional new 3/8 inch plywood. I measured and cut the plywood so the ends come together between the two sides of the 1×3 inch brace arms. I then drew lines on the plywood indicating the brace arms. After drilling counter-sink pilot holes I used 1 1/2 inch screws to fasten the plywood to the brace arms.
These are photos from my first shelf layout. It was only 24 inches wide in the middle, and just wide enough on the ends to hold a 22 inch radius curve. I run parallel mainlines so I can operate two trains simultaneously.
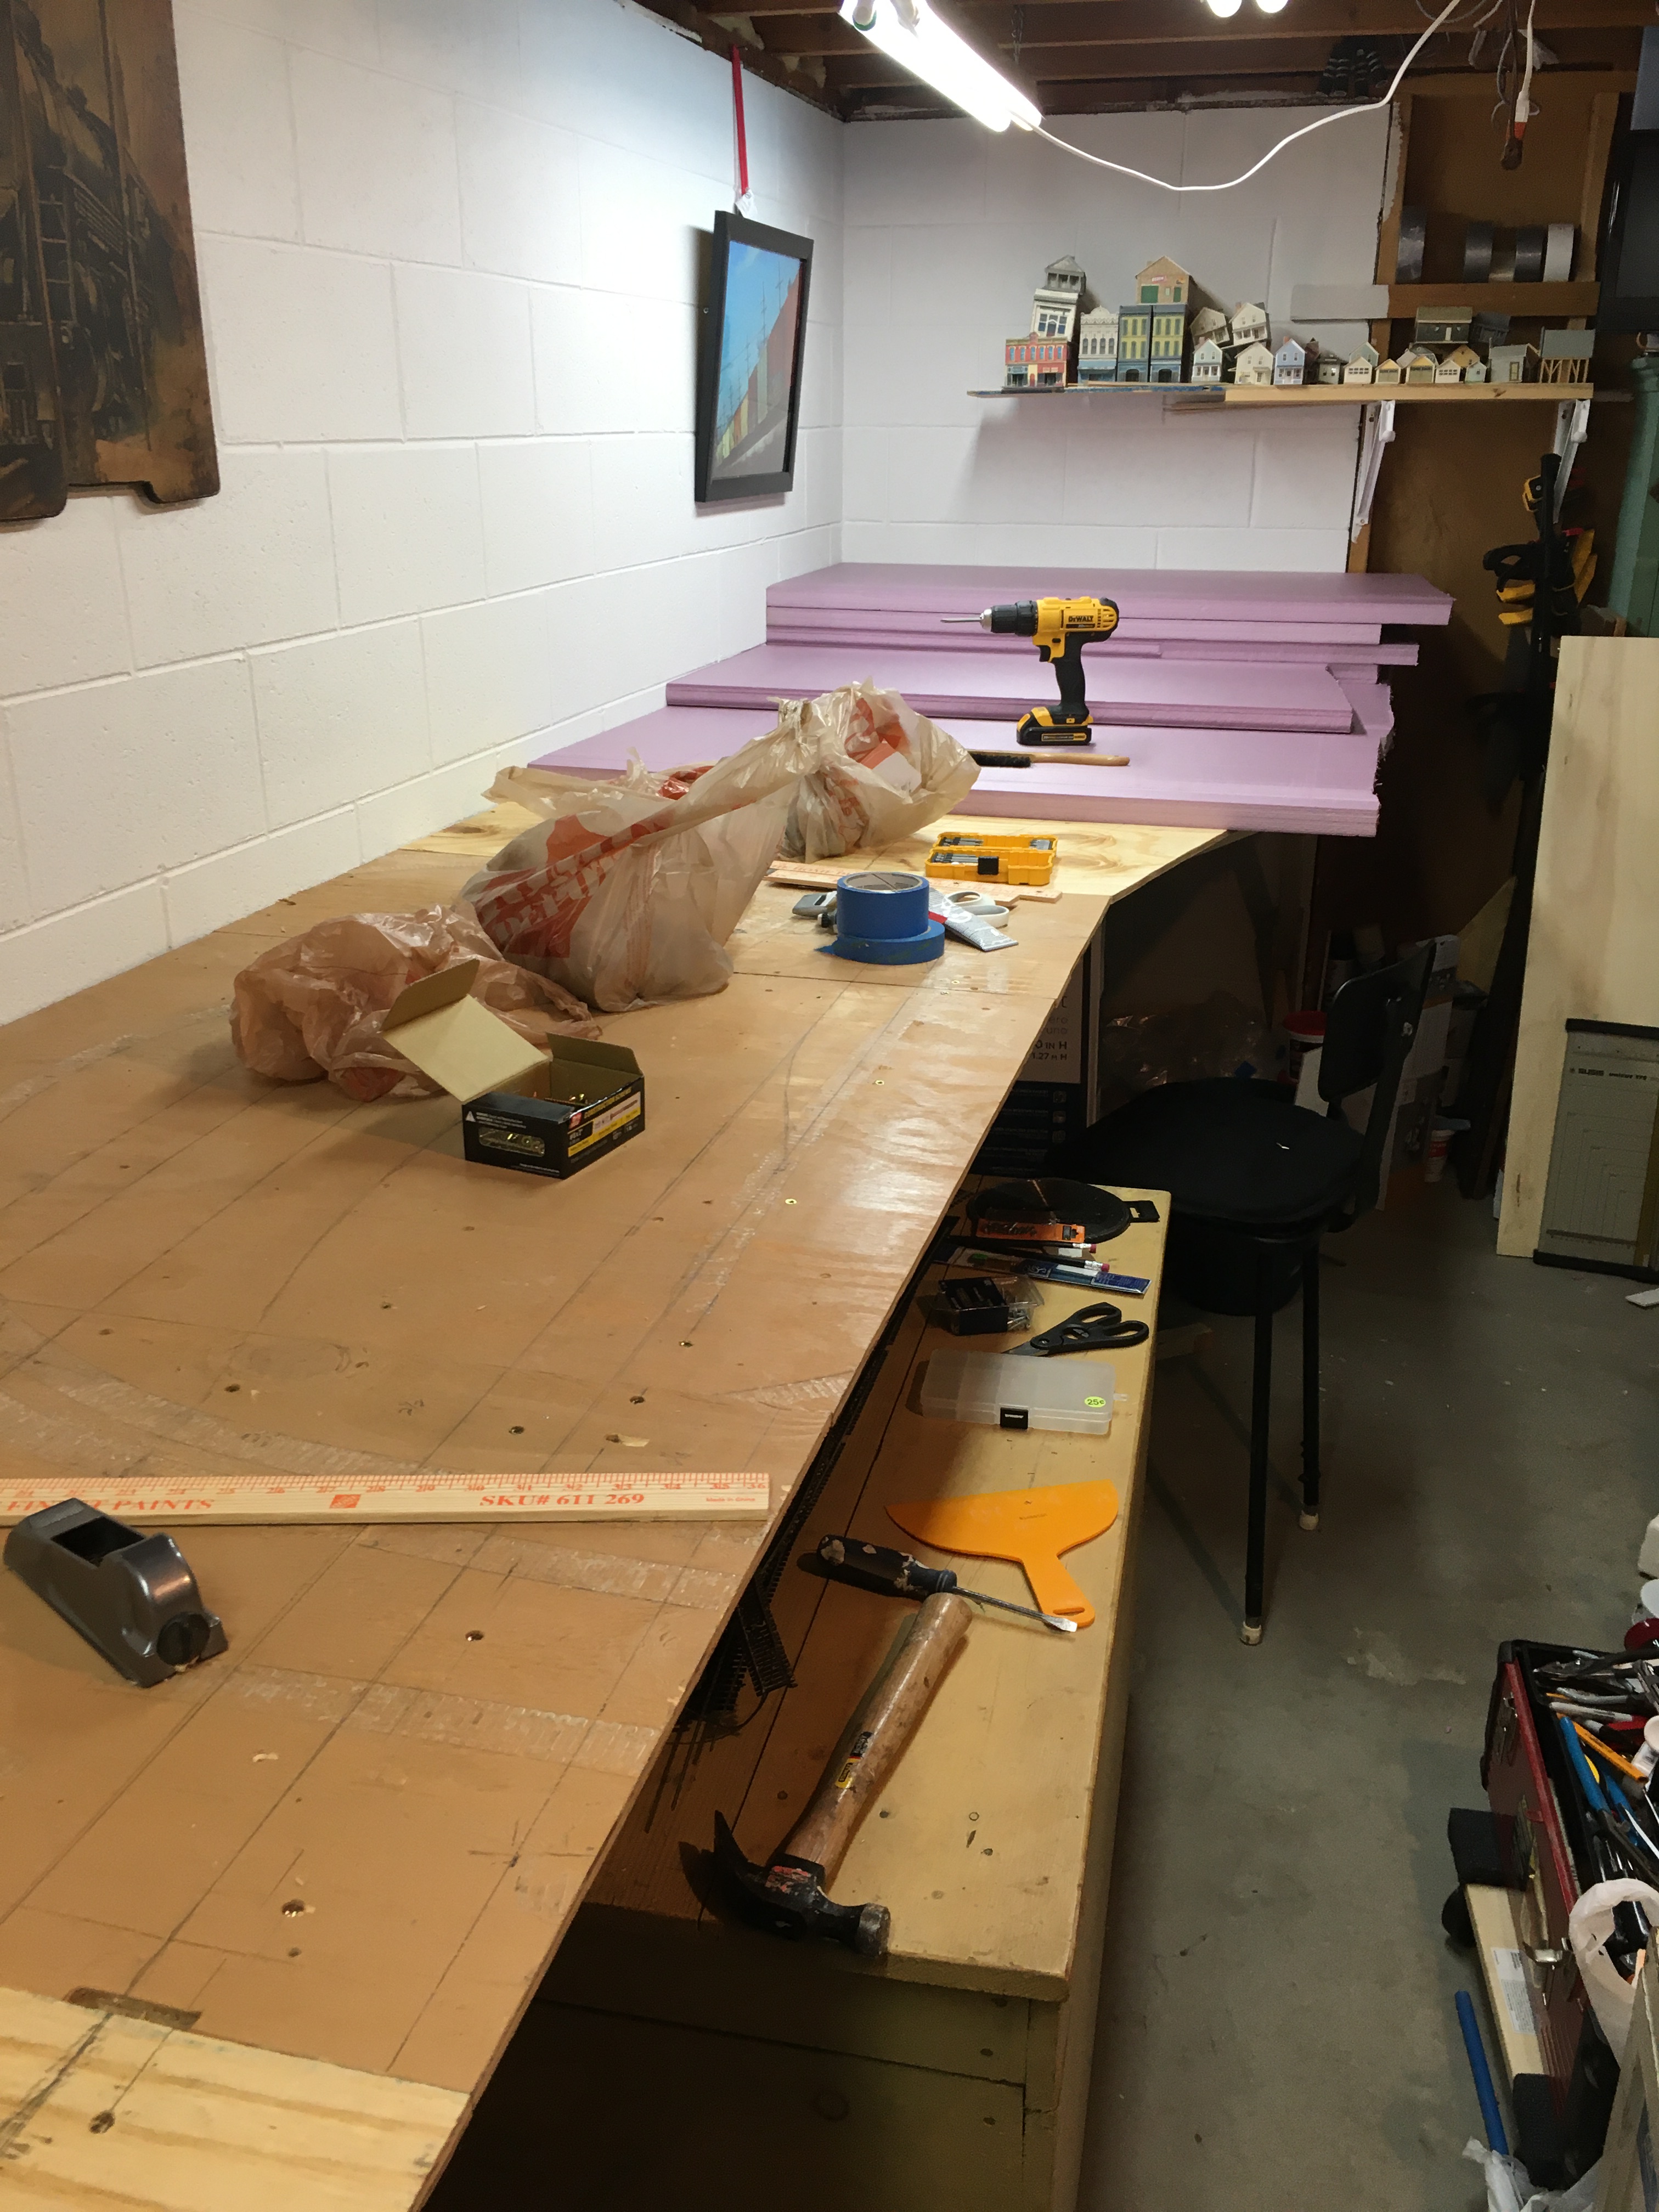
My next post will include details about applying sheets of foam to the plywood.
Thanks for reading.
Dale
