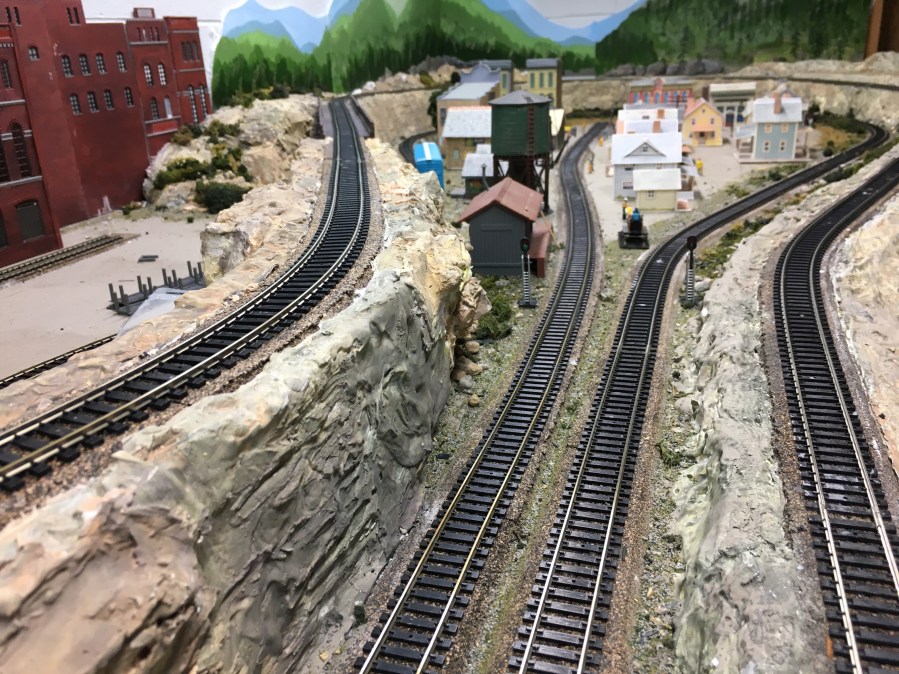
My new layout is basic, no clever design schemes, just two mainlines for simultaneous train operation and some sidings. There is a long branch line that runs from one end of the layout to the other. The destination is Maple Valley. The train running the line will be a vintage model engine like “The General” and a few cars. Passengers will board the train at “Little Town” on the opposite end of the layout for the ride to Maple Valley.

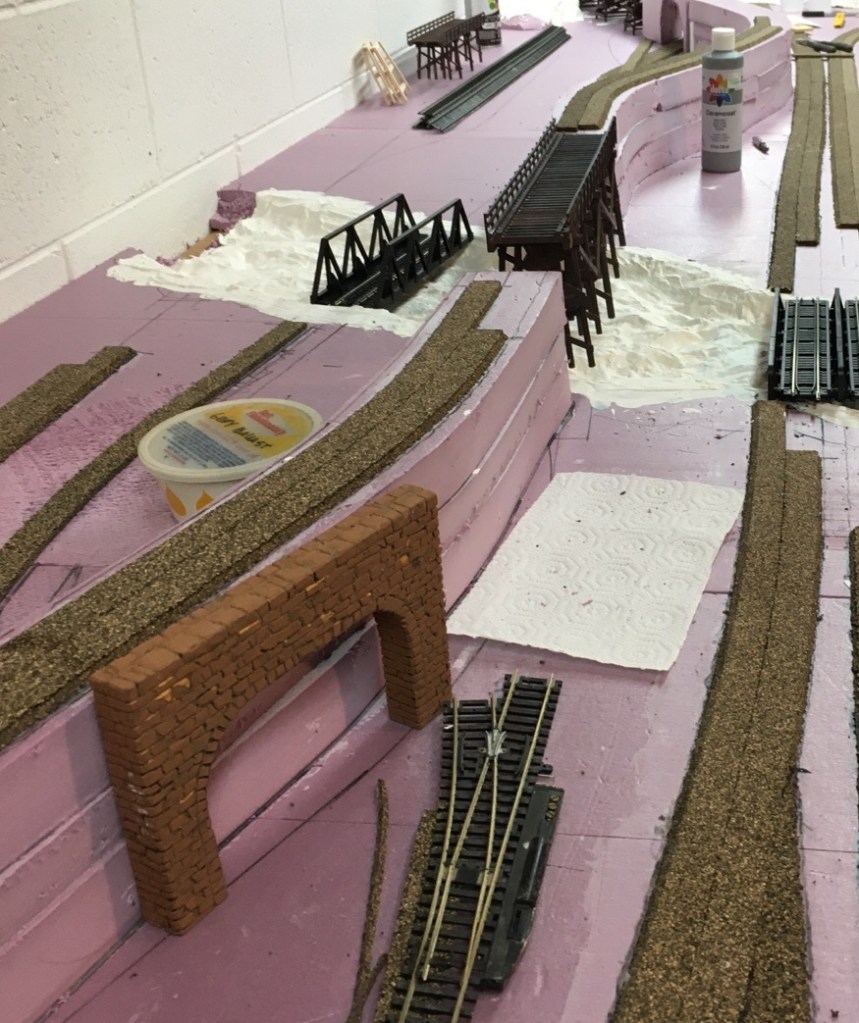
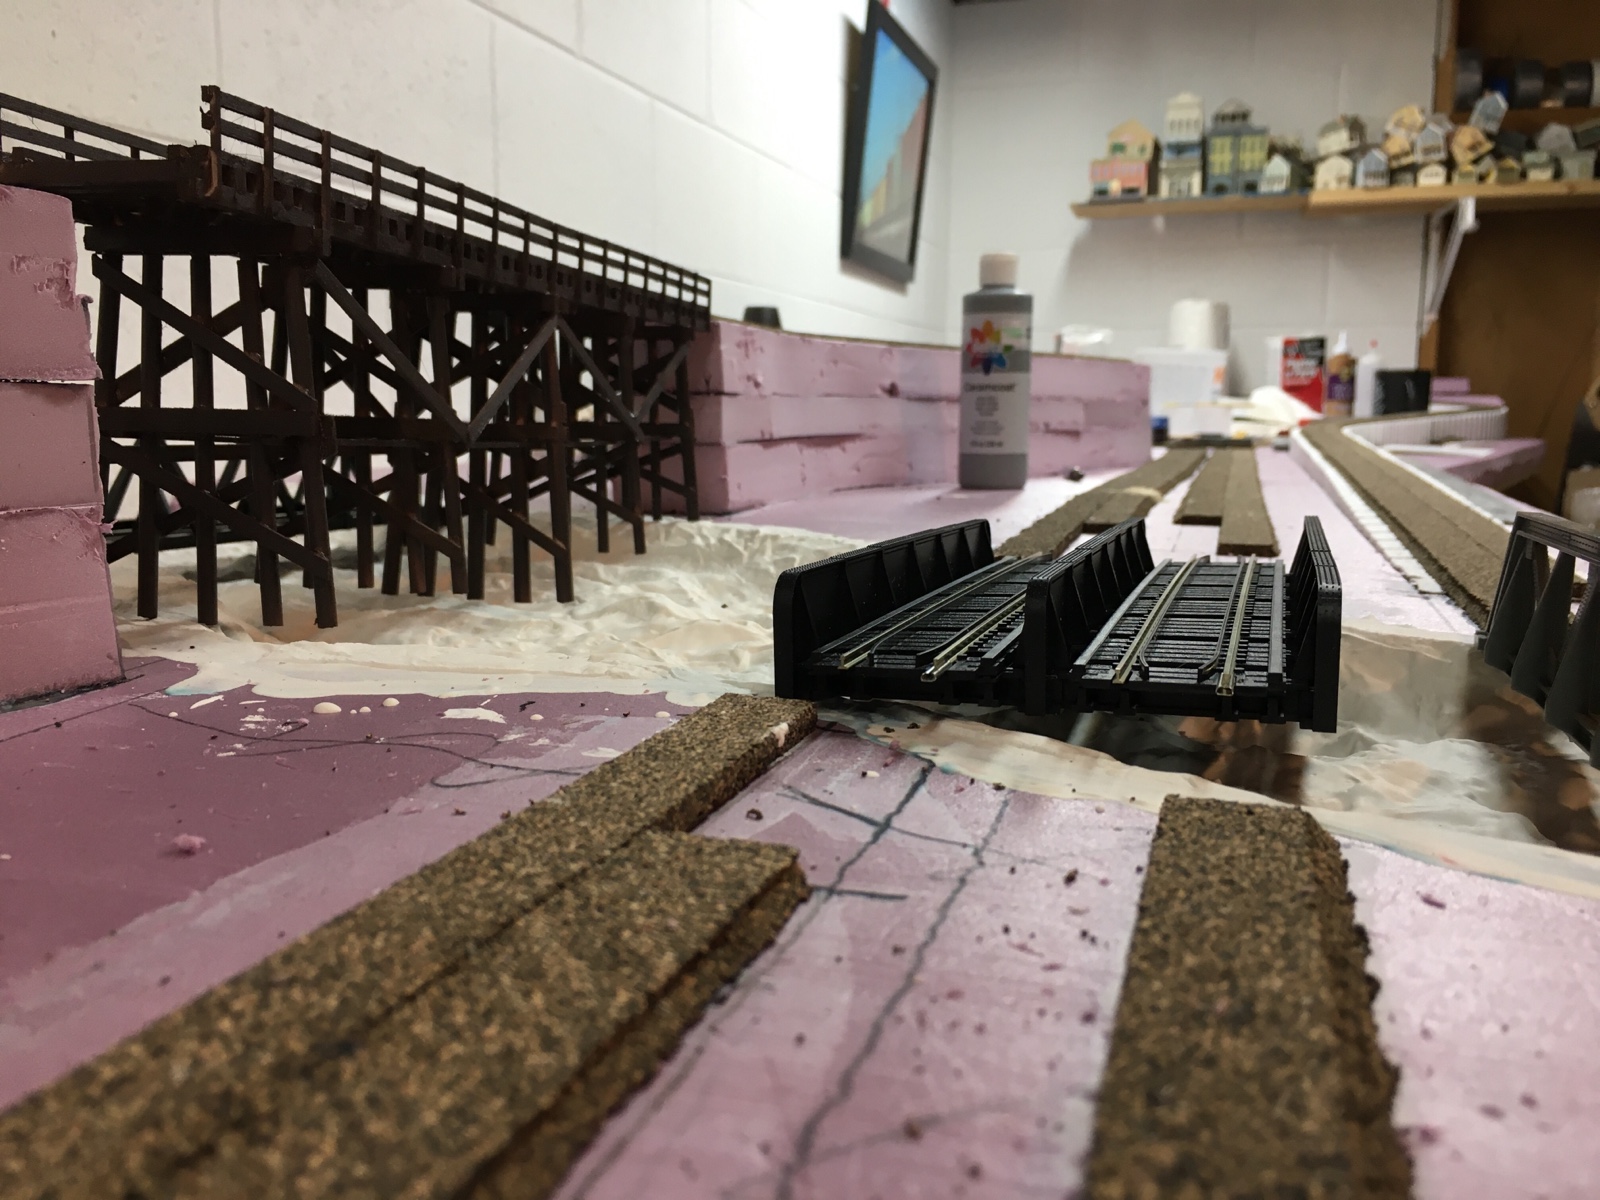
I decided to use Woodland Scenics 2% risers. A 2% incline means I need 16 feet of space for the track to be lifted four inches. In the middle of the photo, you can see where the incline and decline come together with about two feet to spare. It’s just enough room for turnouts from both directions so I can choose to move trains to or from the longer outside mainline.
To secure the risers to the extruded foam base, I used undiluted white glue which I bought in a gallon jug. I pinned the riser where I wanted it and drew a line on either side of the riser with a black marker. I removed the pins and the riser. I brushed white glue on the foam base the length of the first riser. I then replaced the riser, pinned it in place, and weighted it down. I left it overnight to dry.
I have seen some videos where modelers put masking tape over the riser before installing the final roadbed. I started to do the same but removed it because I was afraid if the tape came loose the roadbed would be loose as well.
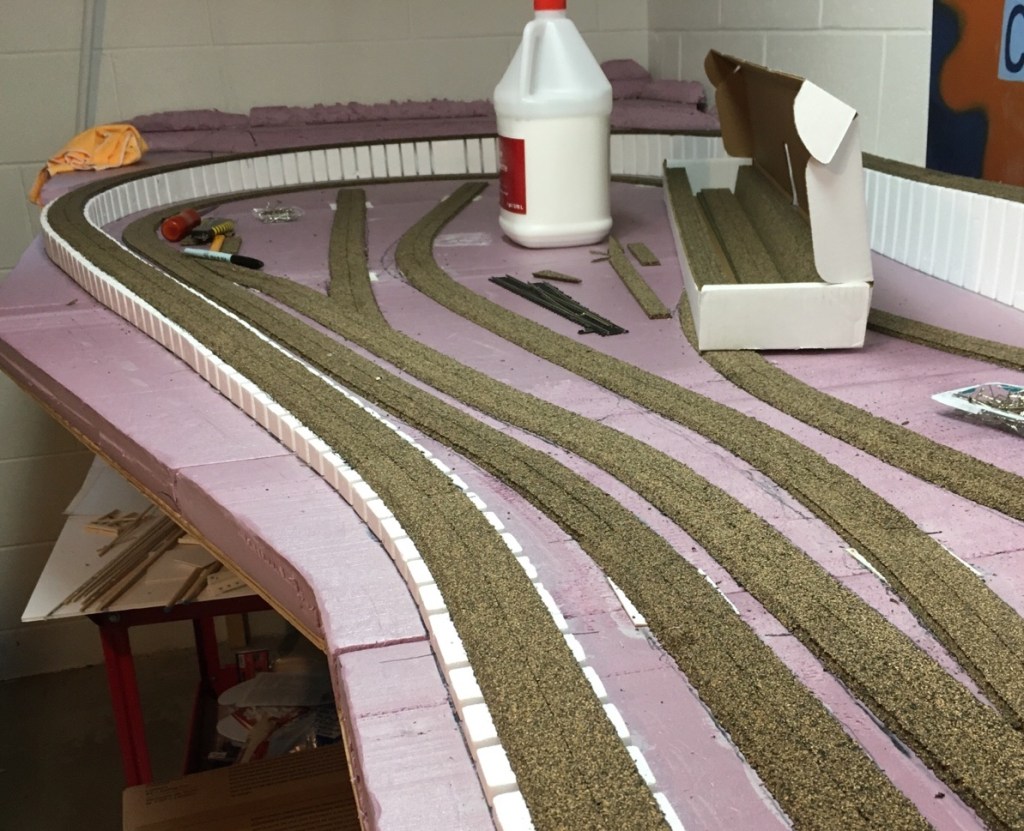
I used undiluted white glue to attach the roadbed, using the same method I used with the foam risers. I first drew my track plan directly on the pink foam using exact radius templates for the curves, and a yard-stick for the mostly-straight areas. I lined the inside of the cork against the track line mark and made another mark on the outside of the cork, and also marked the end of the cork piece. I removed the cork and applied glue to the foam. I pinned the cork down with 1-1/2 inch “T-pins” on the bevel. Once I had both sides in place, I weighted the cork. I laid as much cork at one time as I had weights for. I then left it overnight.
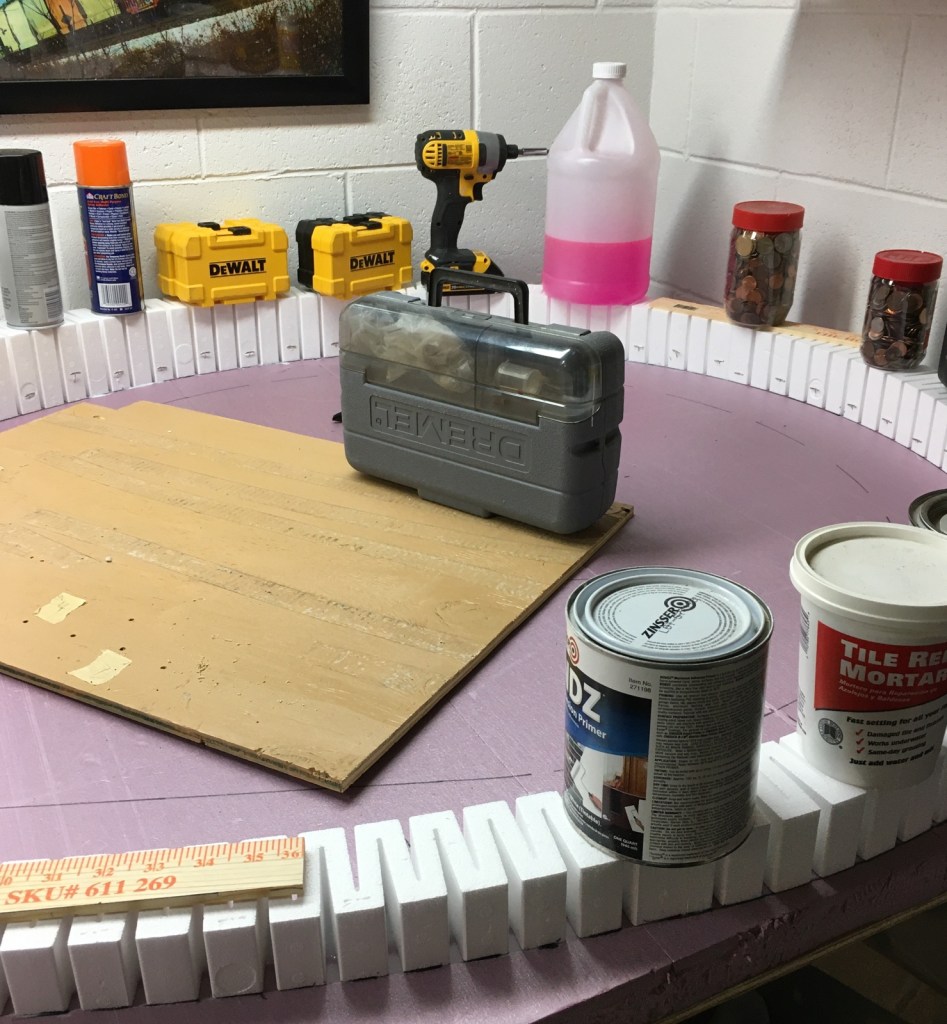
I chose to make my own 4″ riser rather than buy an additional package of risers from the hobby shop. It was a lot of work but I’m confident it will be fine. Since I took this photo, I have cut two tunnels through my homemade riser.
The riser is two pieces of 1-1/2 inch foam plus a 1 inch piece between. I drew the design on a large piece of paper, cut it out 2 inches wide. I placed my paper template on the foam and cut it with a razor utility knife. I then glued the three pieces of foam together with white glue, weighting them heavily.
When I was happy with the way the risers turned out, I glued them to the foam surface and pinned them in place. I weighted them and left it for a couple of days.
I have about ten or fifteen more feet of cork to apply, then I will be ready to start laying track. I have to decide where my blocks are going to be and plan my wiring lines accordingly.
Model railroading is a fantastic hobby. It is especially fun to take photos and videos as steps are taken so it’s easy to see how much progress is being made. I’m learning that slow and steady is best. Now that I’m retired, slow has taken on a whole new meaning.
