
Photos and Blog by Dale Parsons
In this post I’m adding some additional details and photos that will be helpful to those who read the original post, “How to Build Strong Model Railroad Benchwork.”

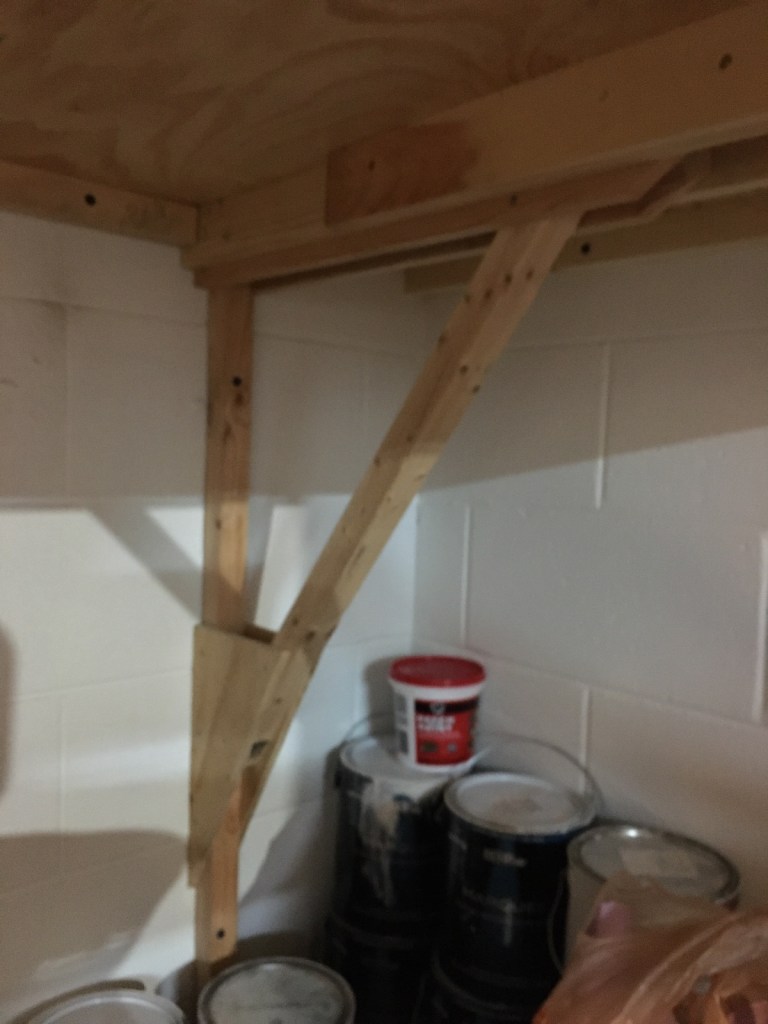
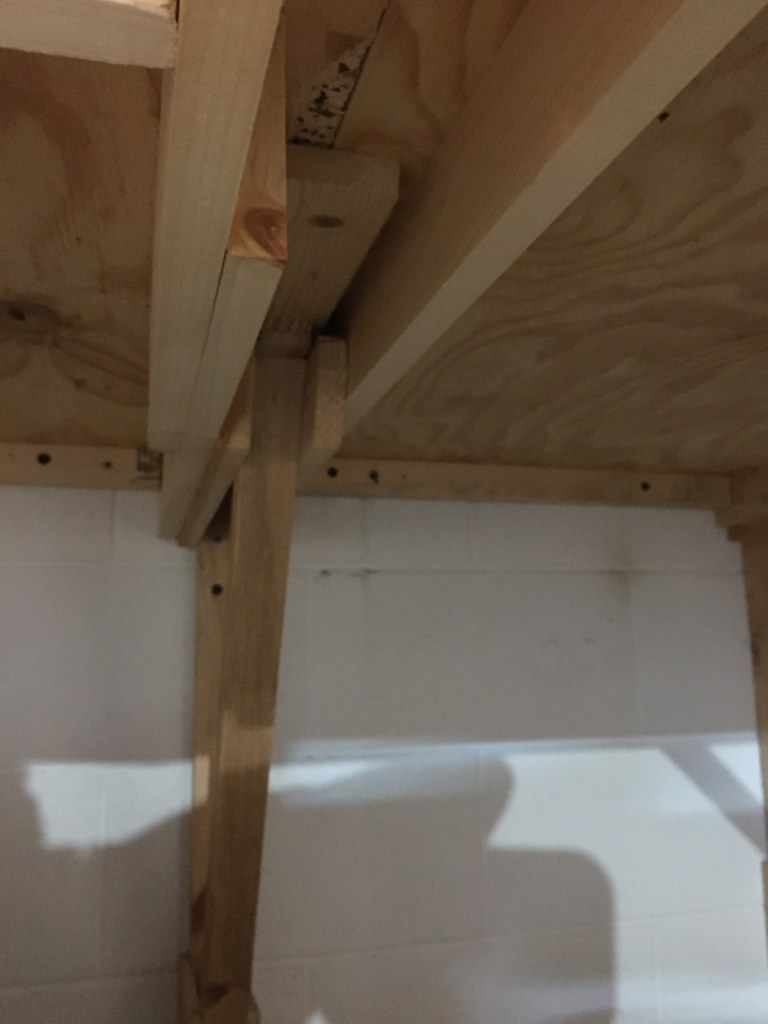
This is a close-up of the braces I made for my first shelf-style layout. These are the same braces but I had to adapt them a little bit for my current layout which is quite a bit larger than my first shelf.
The leg and arm brace are both 2×2 pine. The gusset size depends on how long your arm brace is going to be. I like things flush (OCD), so the bottom of the arm is flush with the bottom angle of the gusset. There are three #8 x 1 inch screws on one side, and two screws on the opposite side of the gusset holding the arm brace. There are three screws on either side of the leg into the gusset. The bottom of the leg rests on the floor.
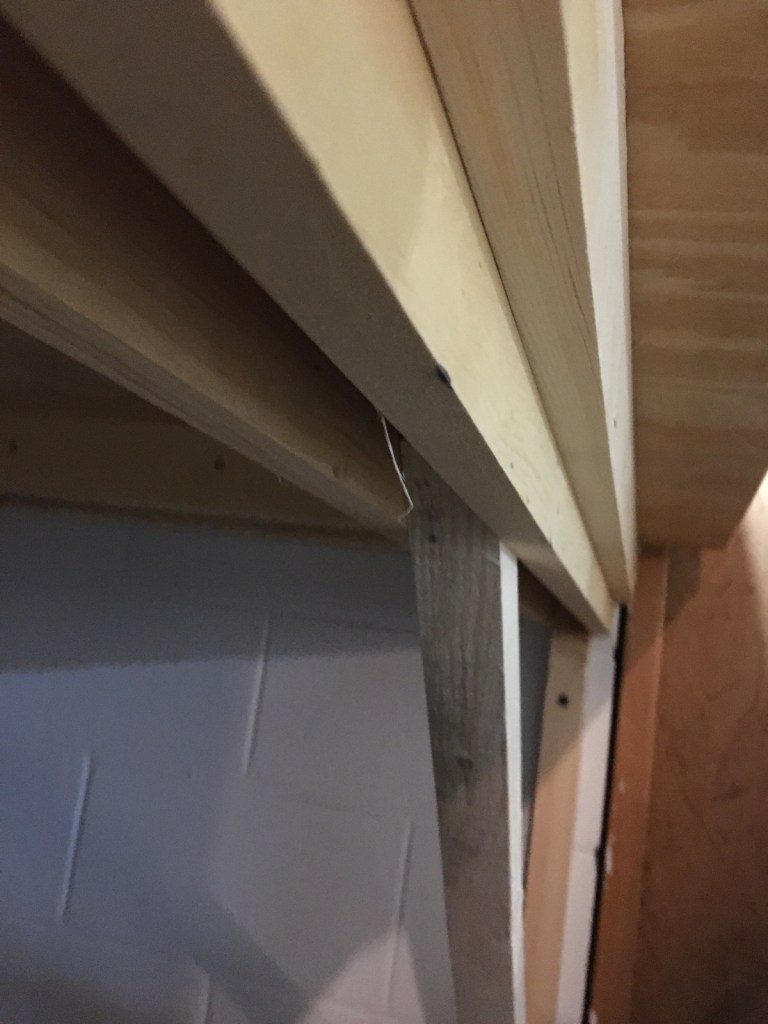
You can’t see them in this photo, but there are two concrete screws anchoring the leg to the wall. One is just below the gusset, and one about half way between the top of the brace and the gusset.
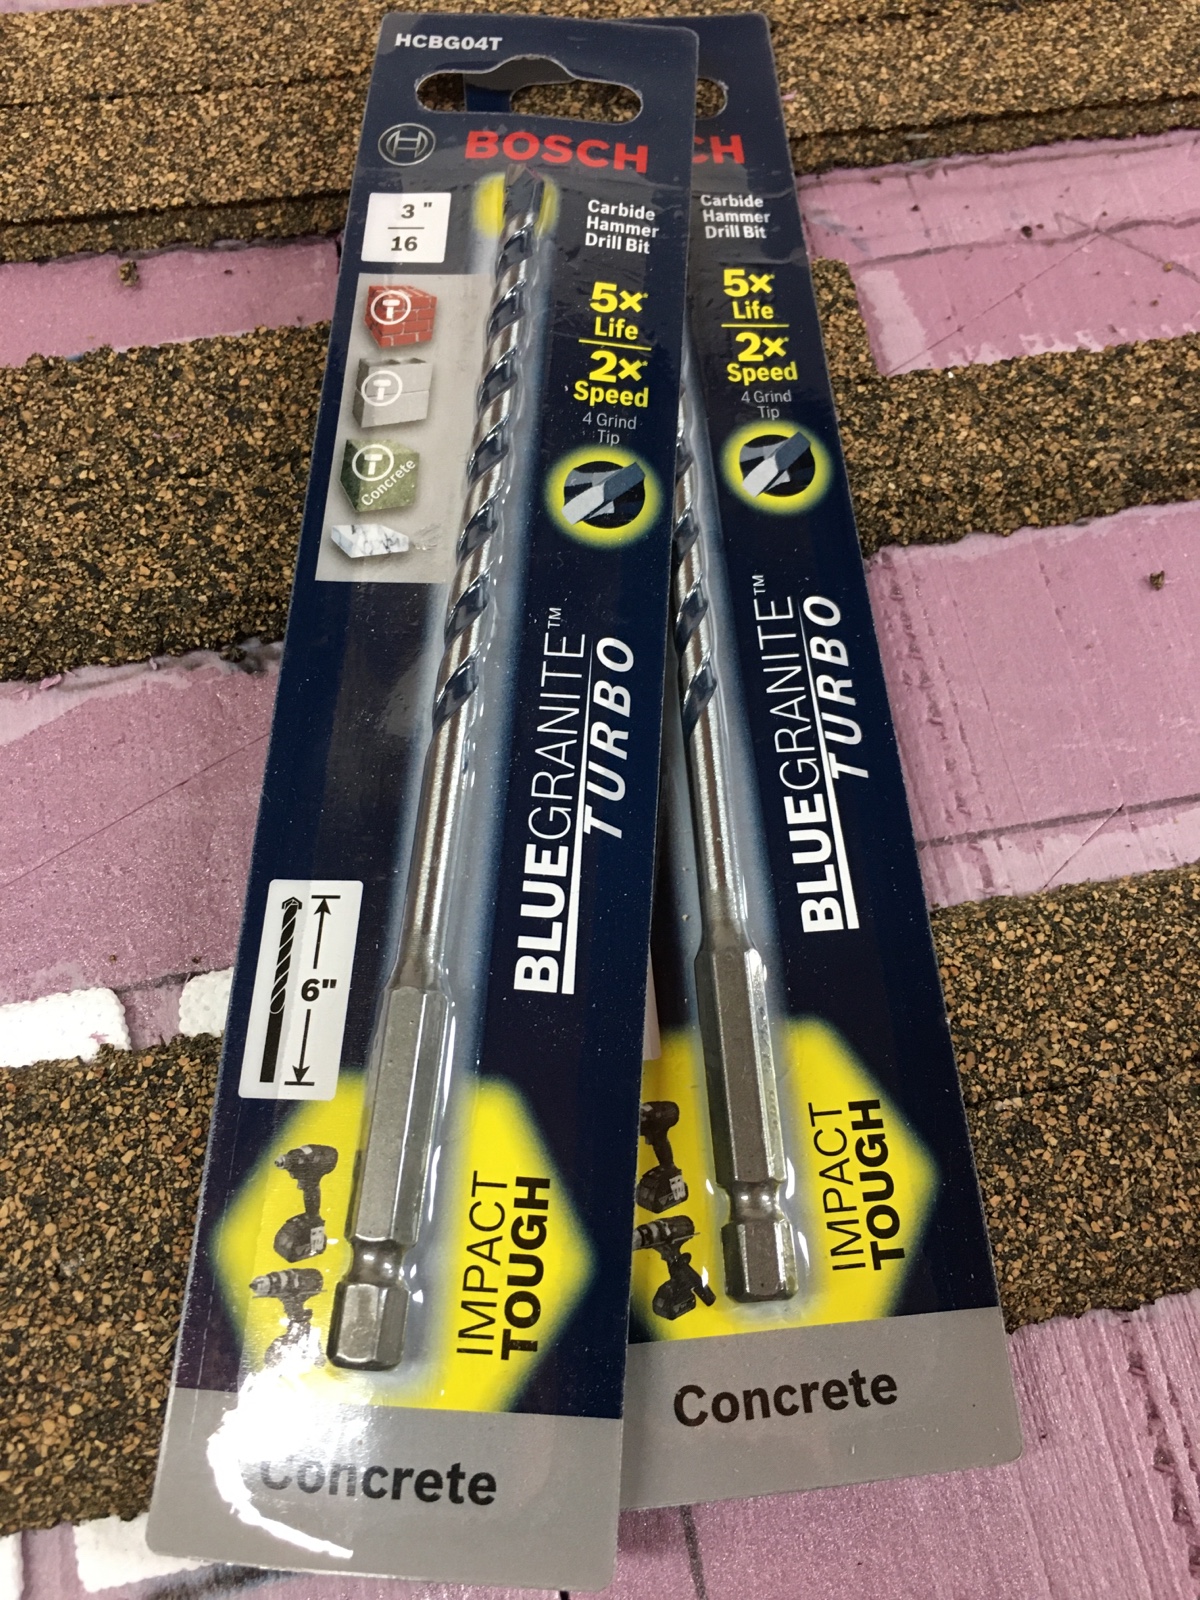

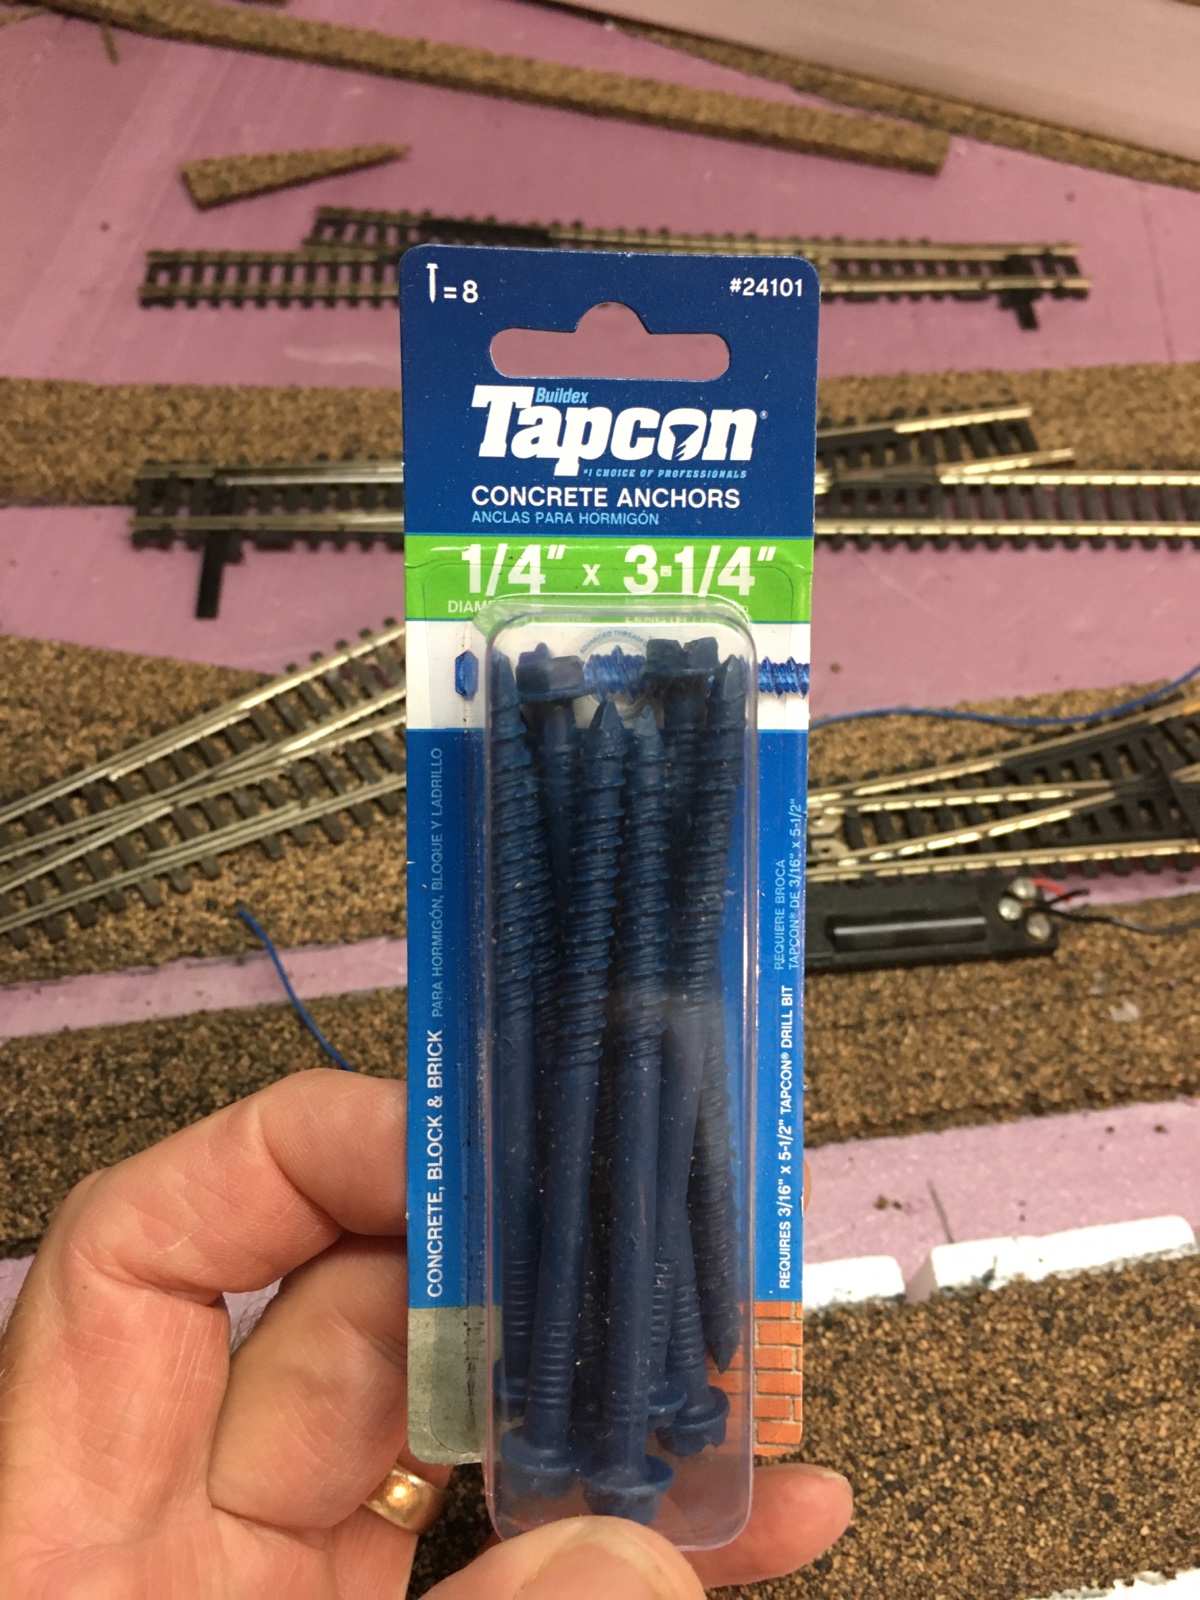
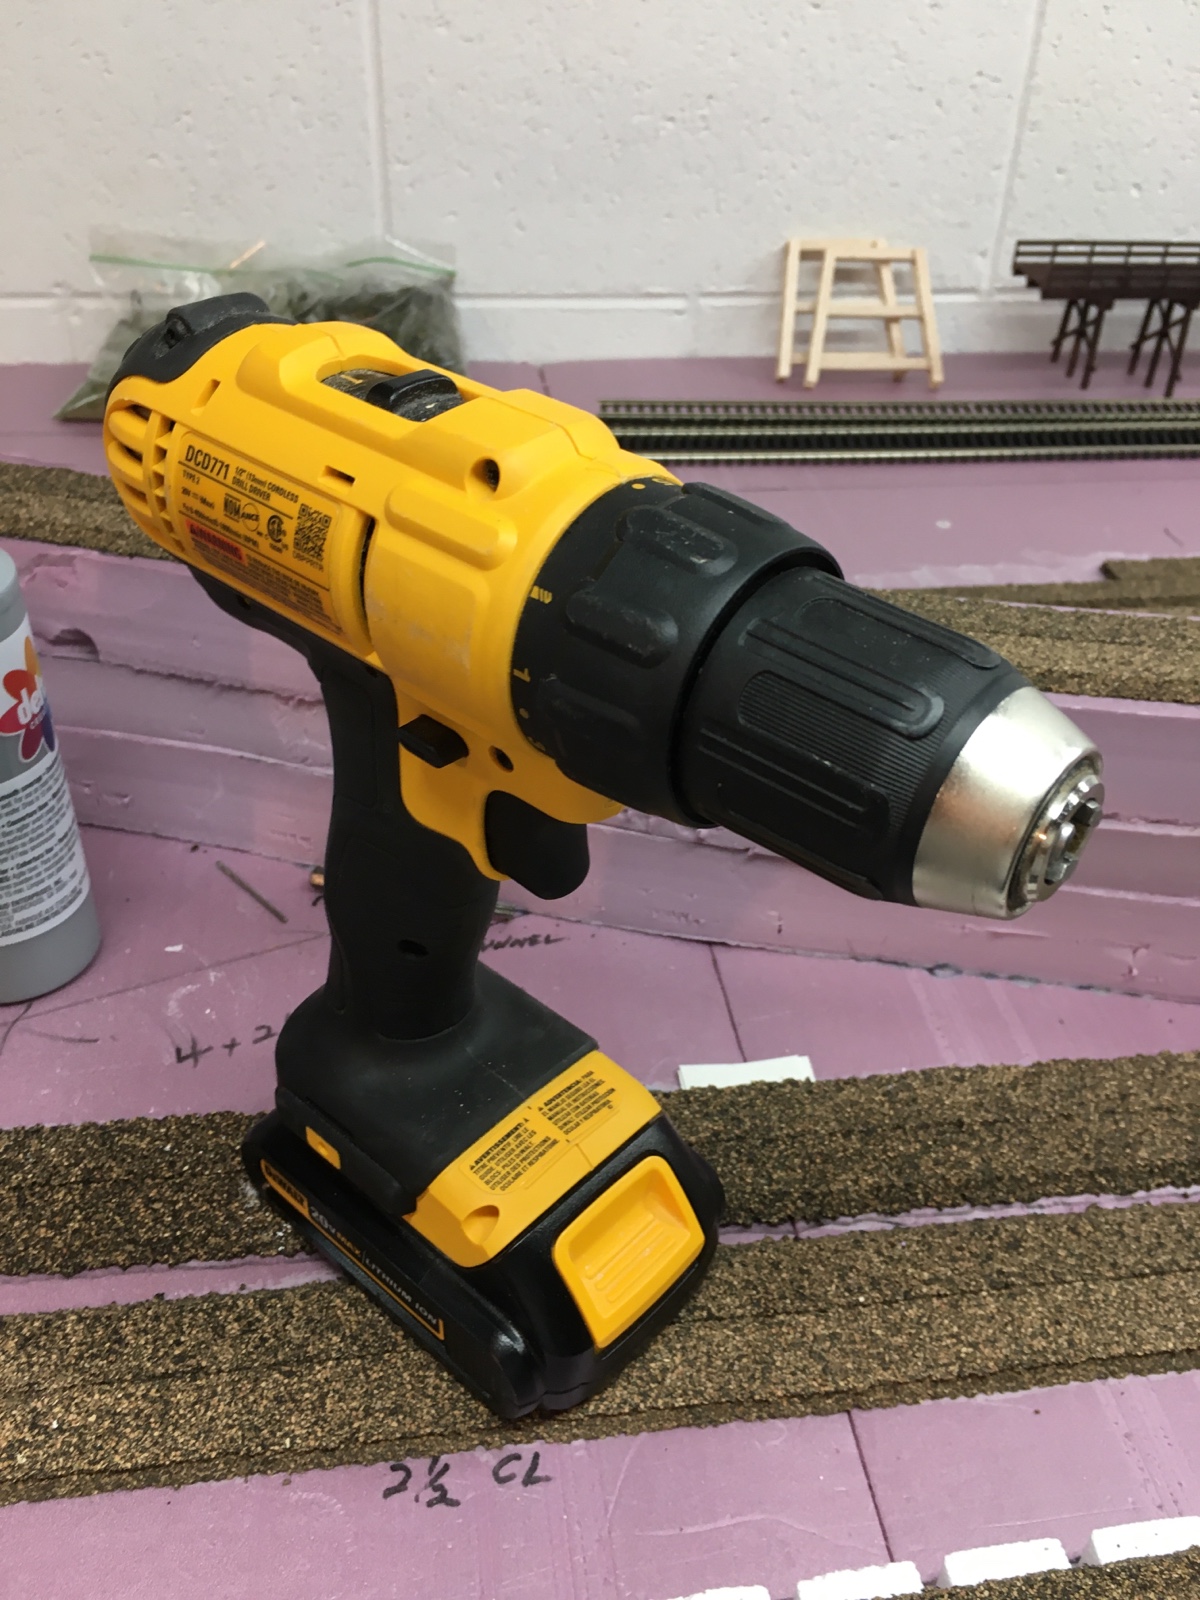
Bosch 3/16 inch concrete impact drill bits are necessary for making screw holes in the wall. I used 1/4 x 3-1/4 inch concrete anchor screws. With these screws it is NOT necessary to put anchors in the wall before placing the screws. These are fantastic for a quick, rock-solid hold on the brace leg.
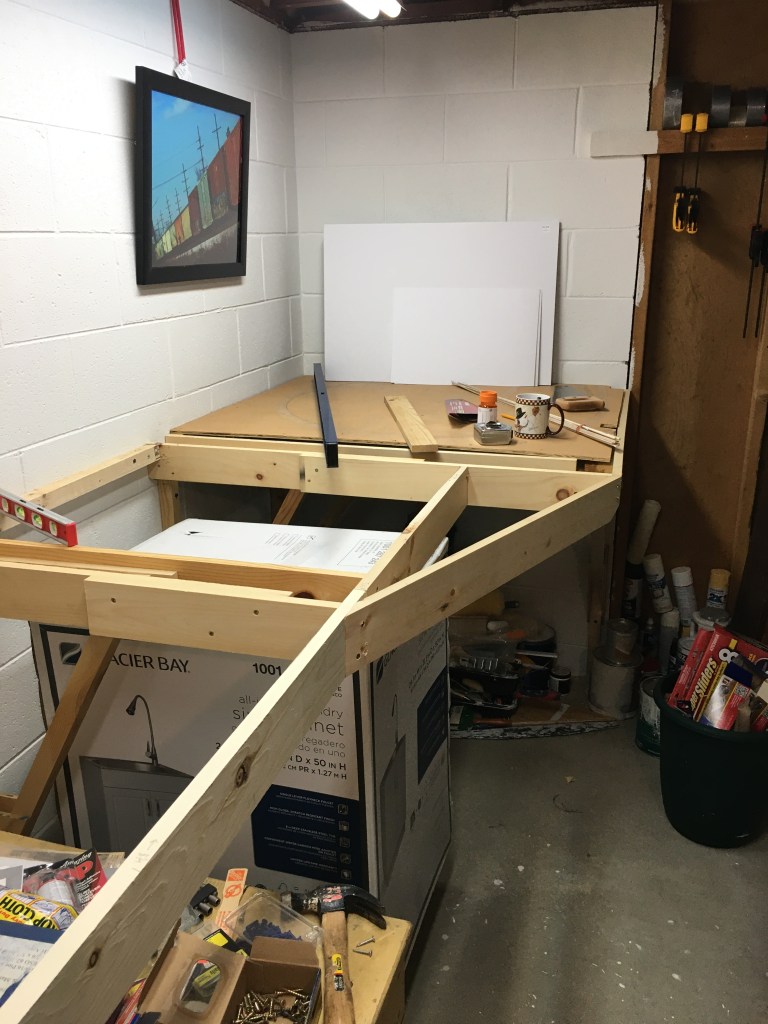
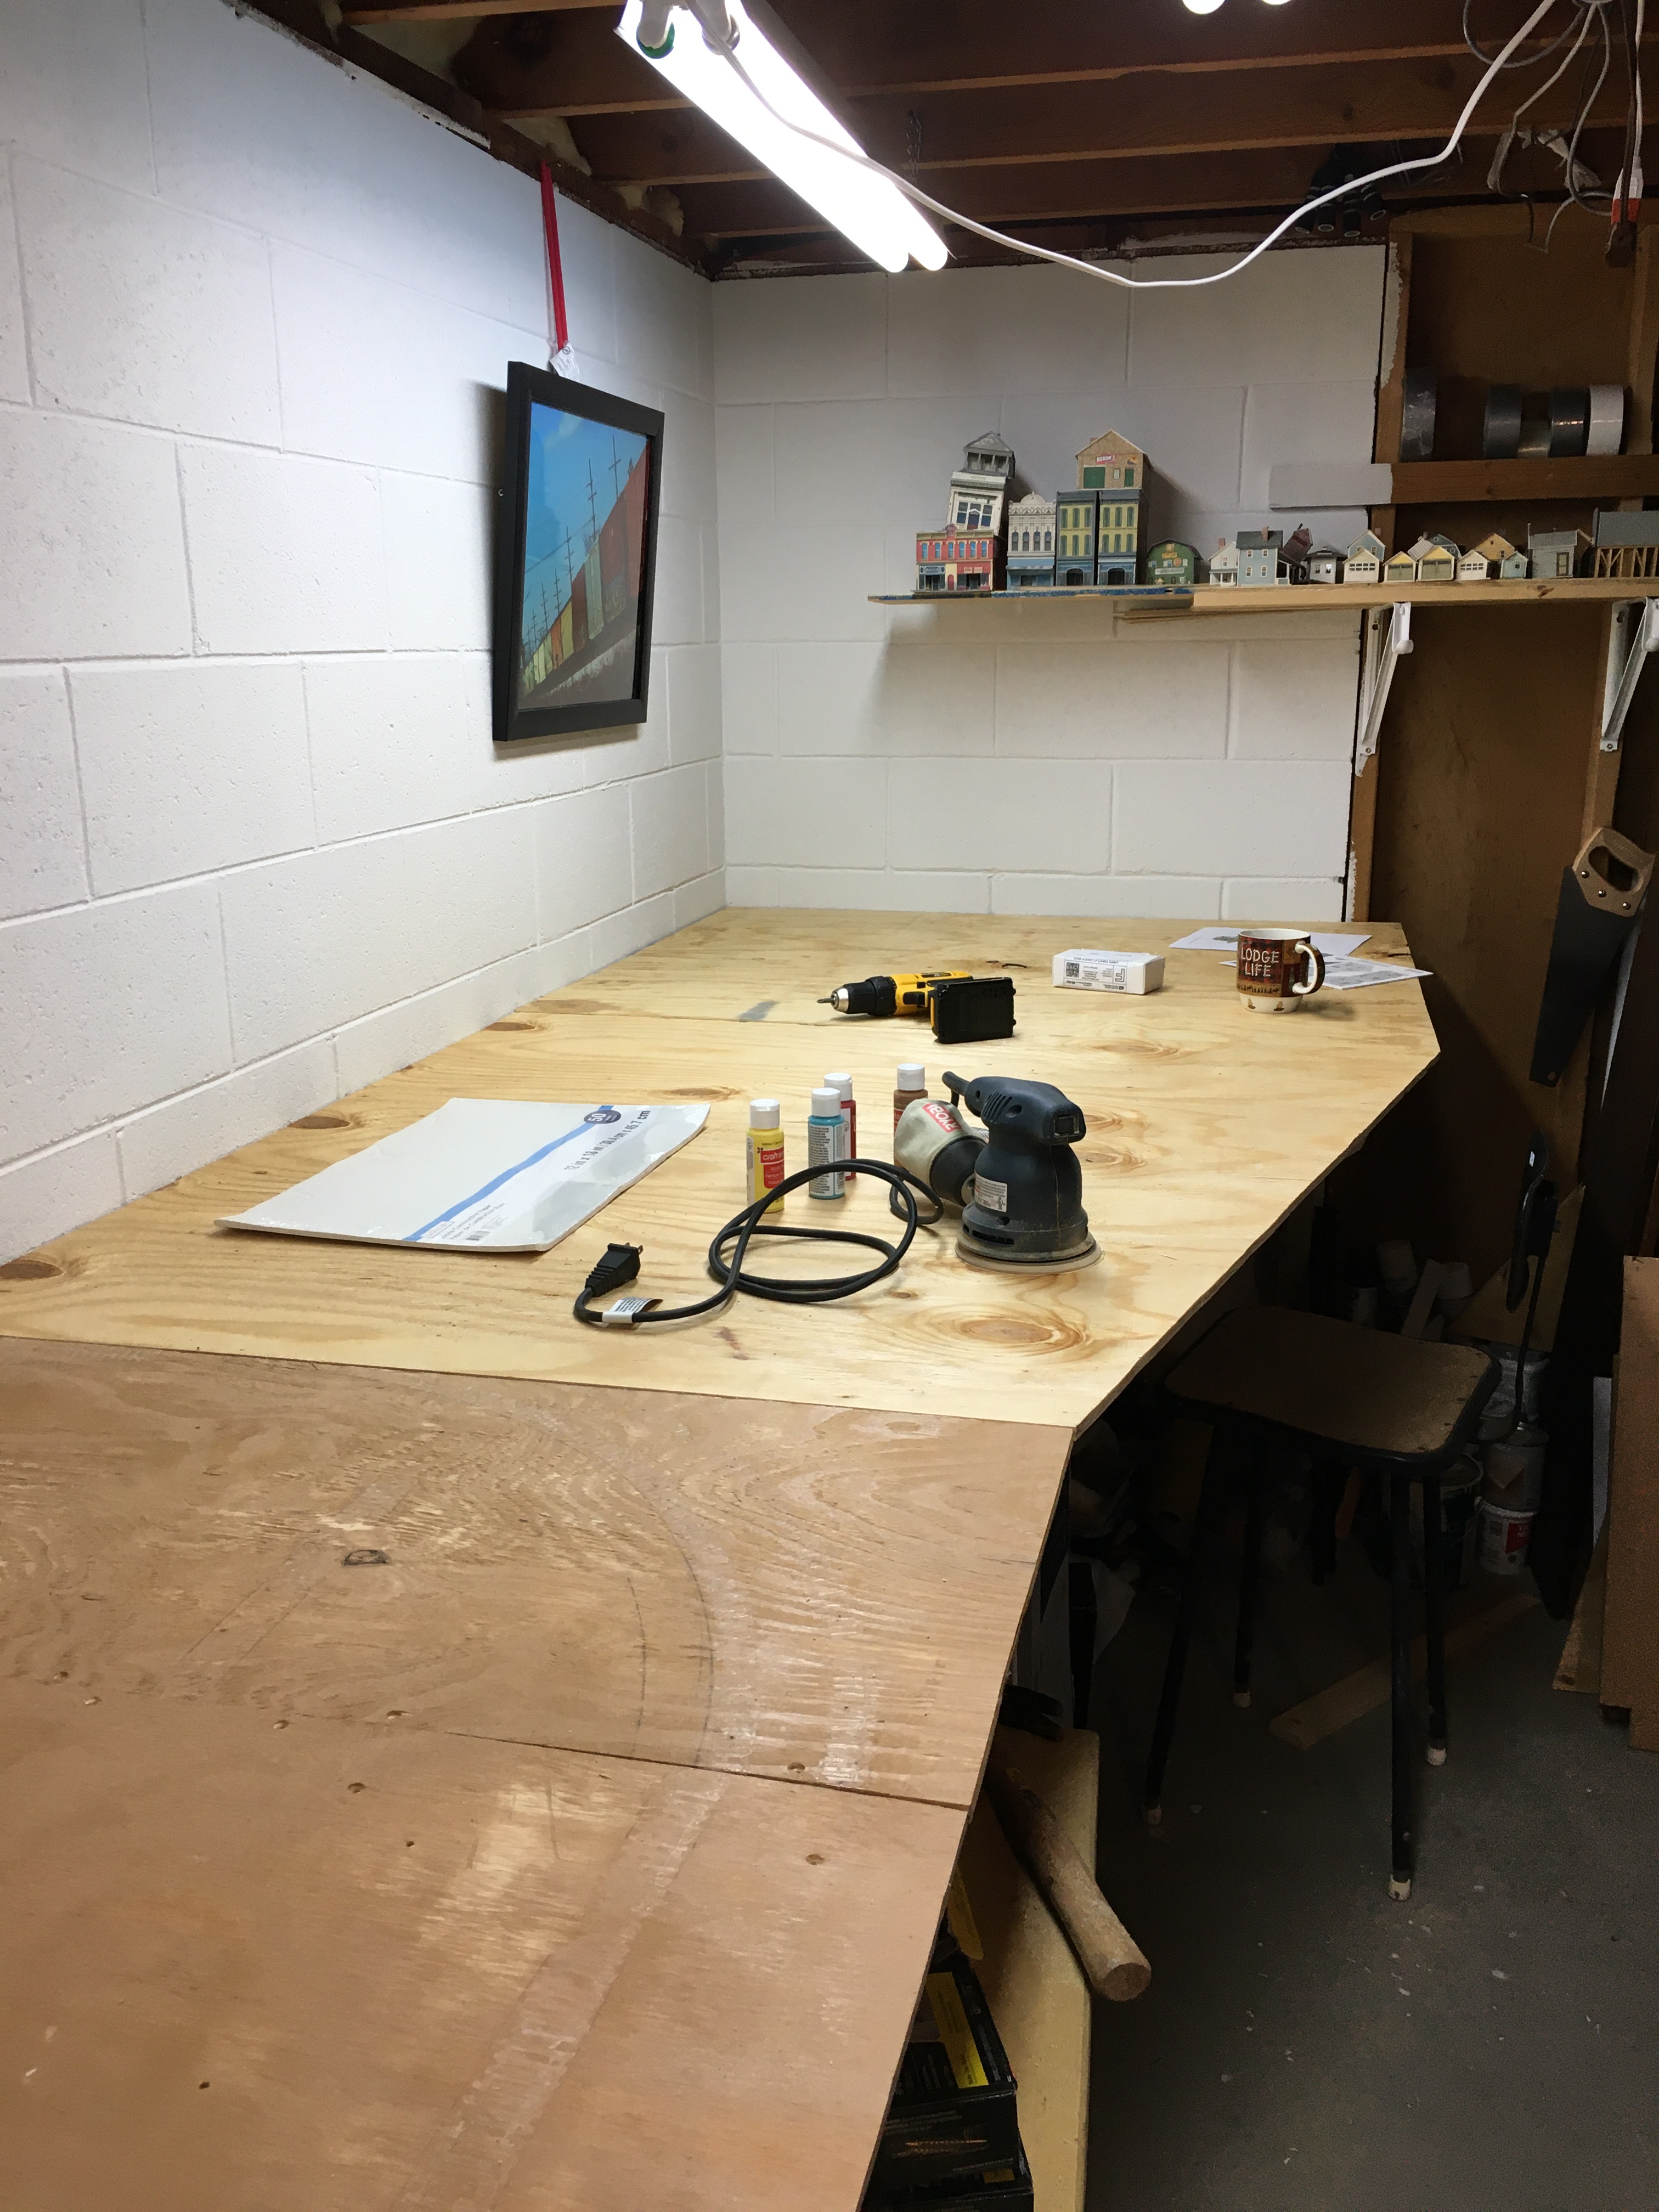
I have one brace on each of the outside walls. The braces are about 50 inches from the back wall and are perpendicular to the remaining braces. I left 4 inches of overhang across the entire front of the layout. In this photo it’s clear that I used two 1×3 inch joists on either side of the arm brace. My first shelf layout was only 24 inches deep in the middle, 48 inches on the ends. To use these braces again I had to add additional pieces of 1×3.
As I said in my previous post, this layout is 54 inches deep on the ends, 36 inches across the middle. I wouldn’t recommend building a shelf layout this wide, but I’m tall so reaching across won’t be that difficult. Using a step stool to work on scenery at the ends will work fine.
My train room is 21 feet long. My layout braces are approximately 32 inches apart. The last braces on either end are just 12 inches from the outside wall. I measured the distance between each of the braces, then cut a 2×2 inch piece to length and fastened it to the wall using the same concrete screws I used on the legs. With the braces 32 inches apart, I was concerned there might be some “give” in the surface of the layout between the braces. I used 3/8 inch plywood for the bench surface, which is not super sturdy. My bracing makes up for it.
After I was satisfied with the placement of the braces, I added facia across the front of the braces to make a solid foundation for the edge of the plywood surface. I will probably attach a piece of thin material across plywood edge for a finished look.
**Mistake alert! Be sure to use a square to assure a 90 degree angle at each of the braces before attaching the facia! This is experience speaking. It’s never fun to have to re-do something.
When I added the 3/8 inch plywood deck, I measured from the center of the brace to the next brace center, and cut the plywood accordingly. By doing that, the edges of the plywood came together in the middle of the joists, creating a solid connection.

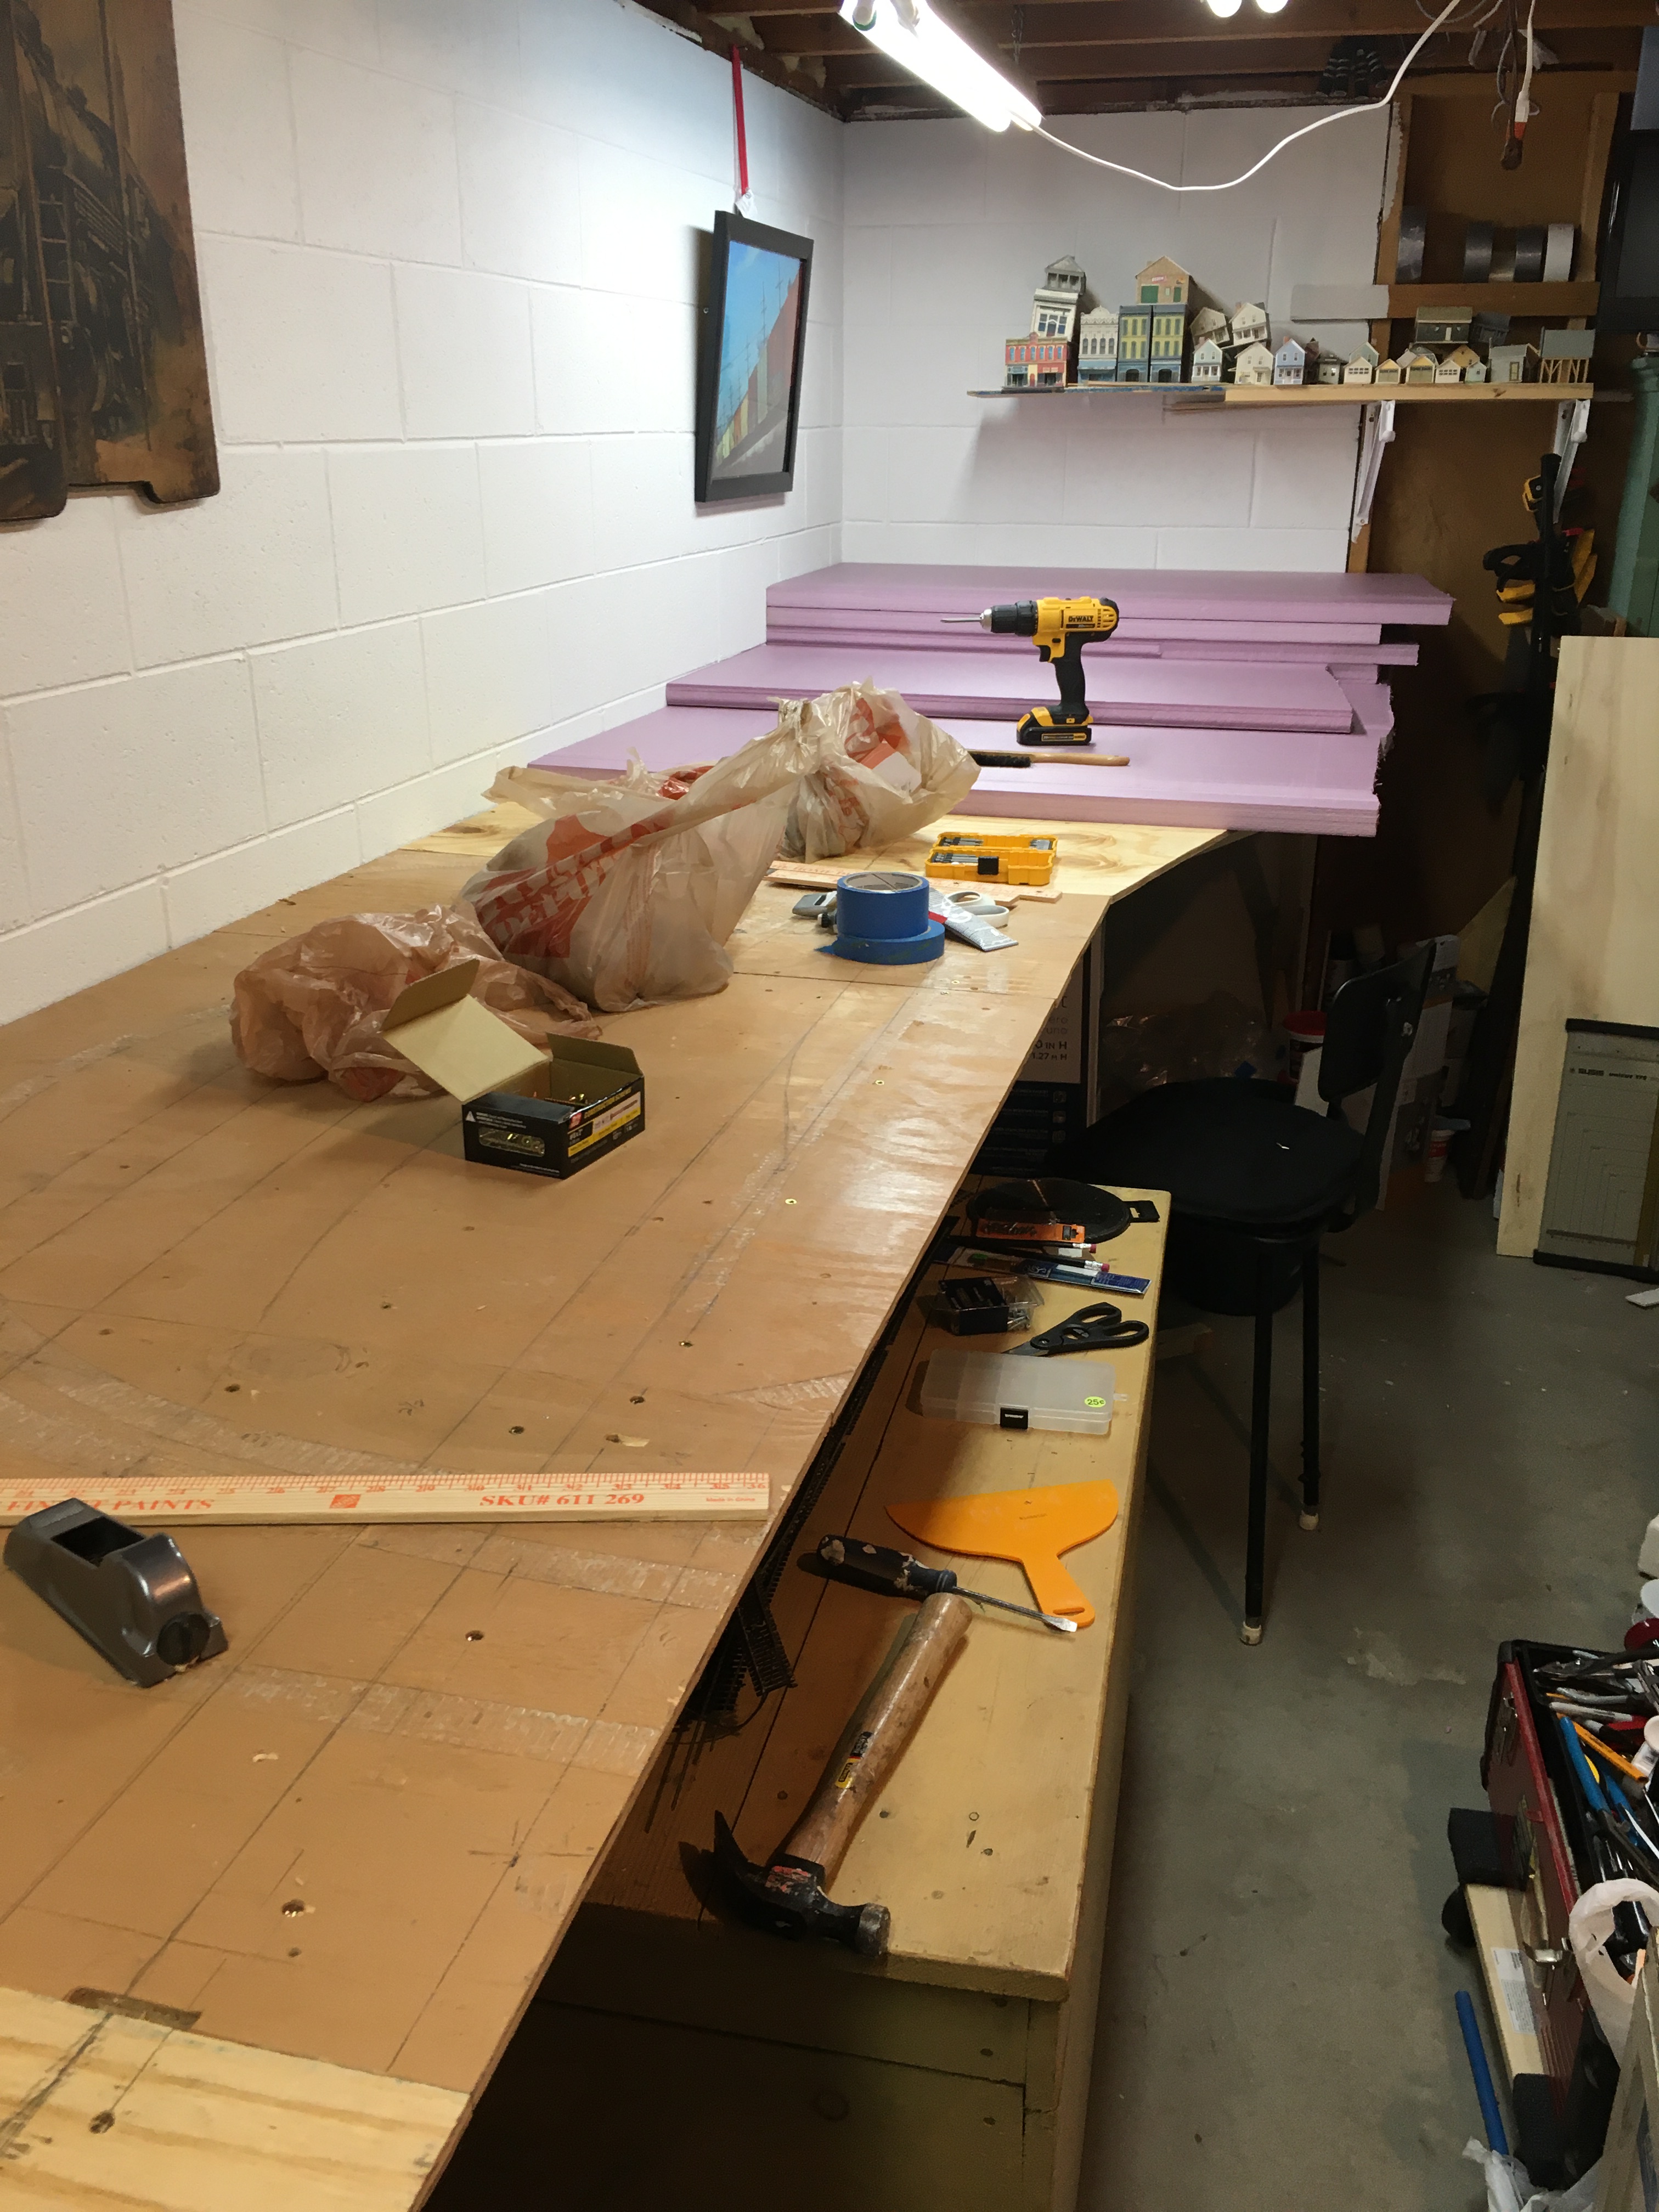
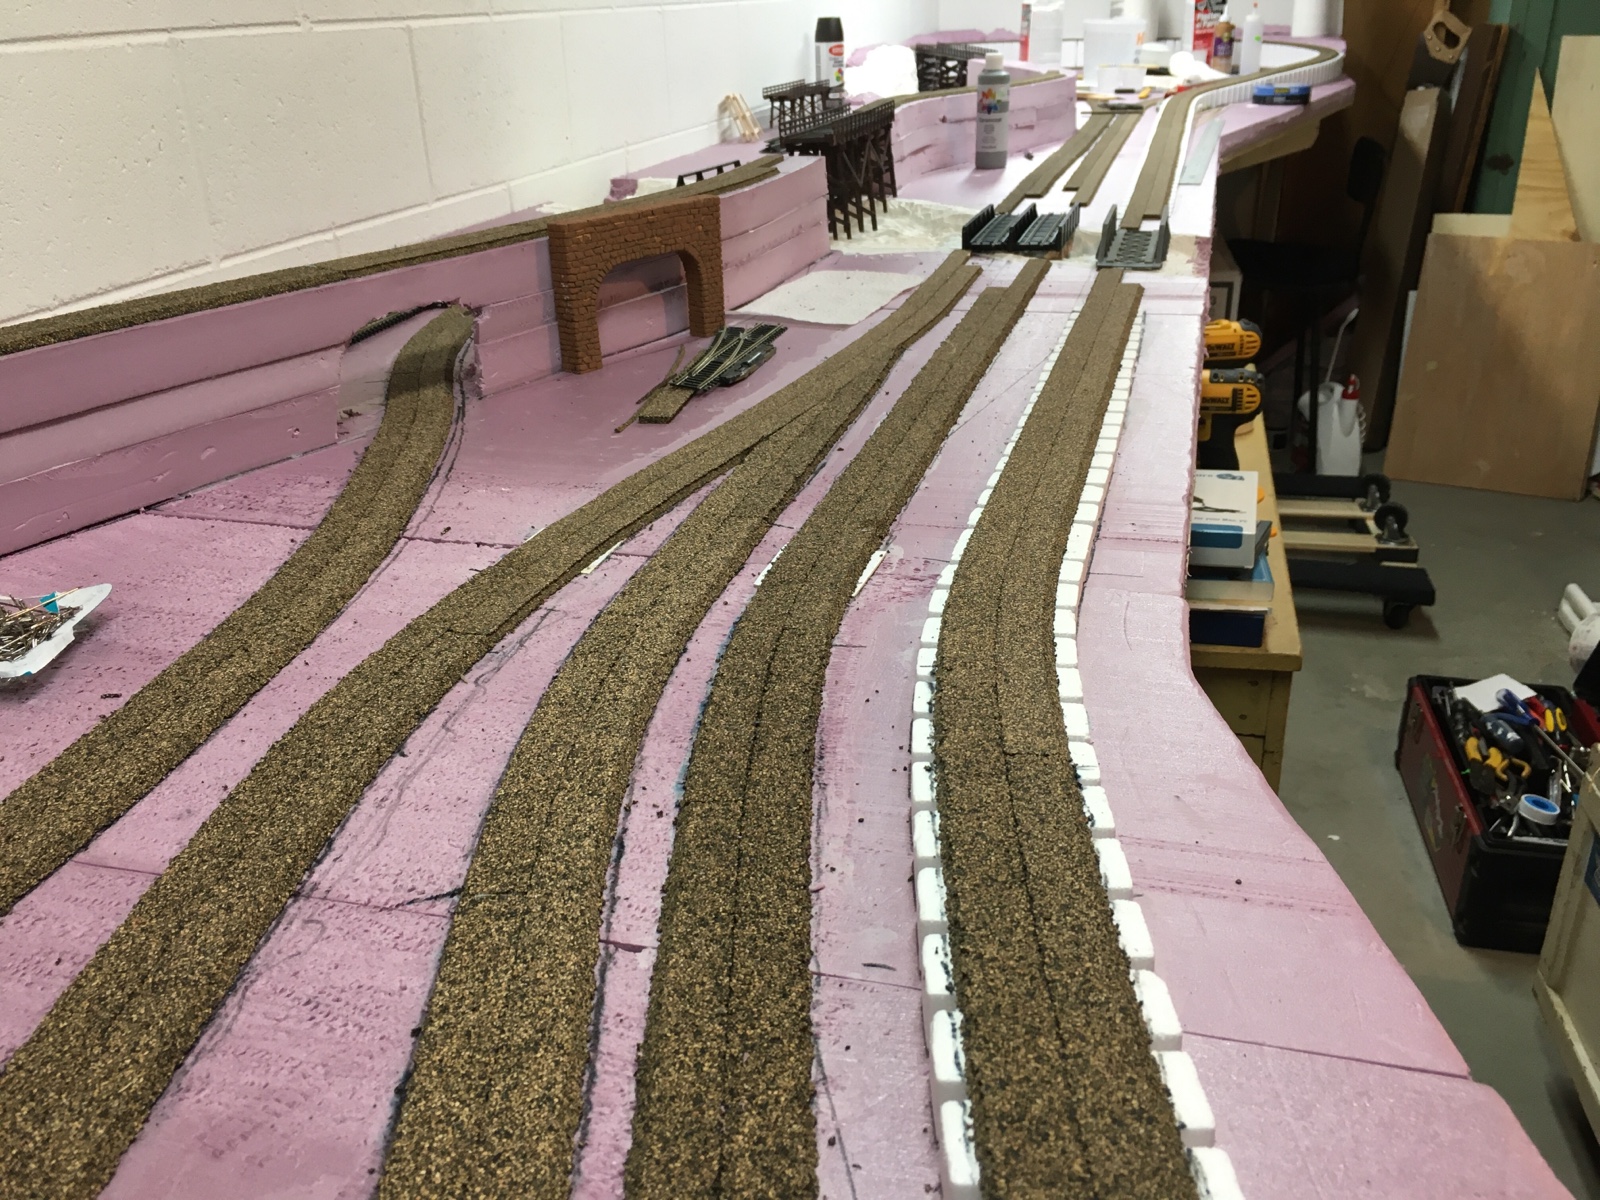
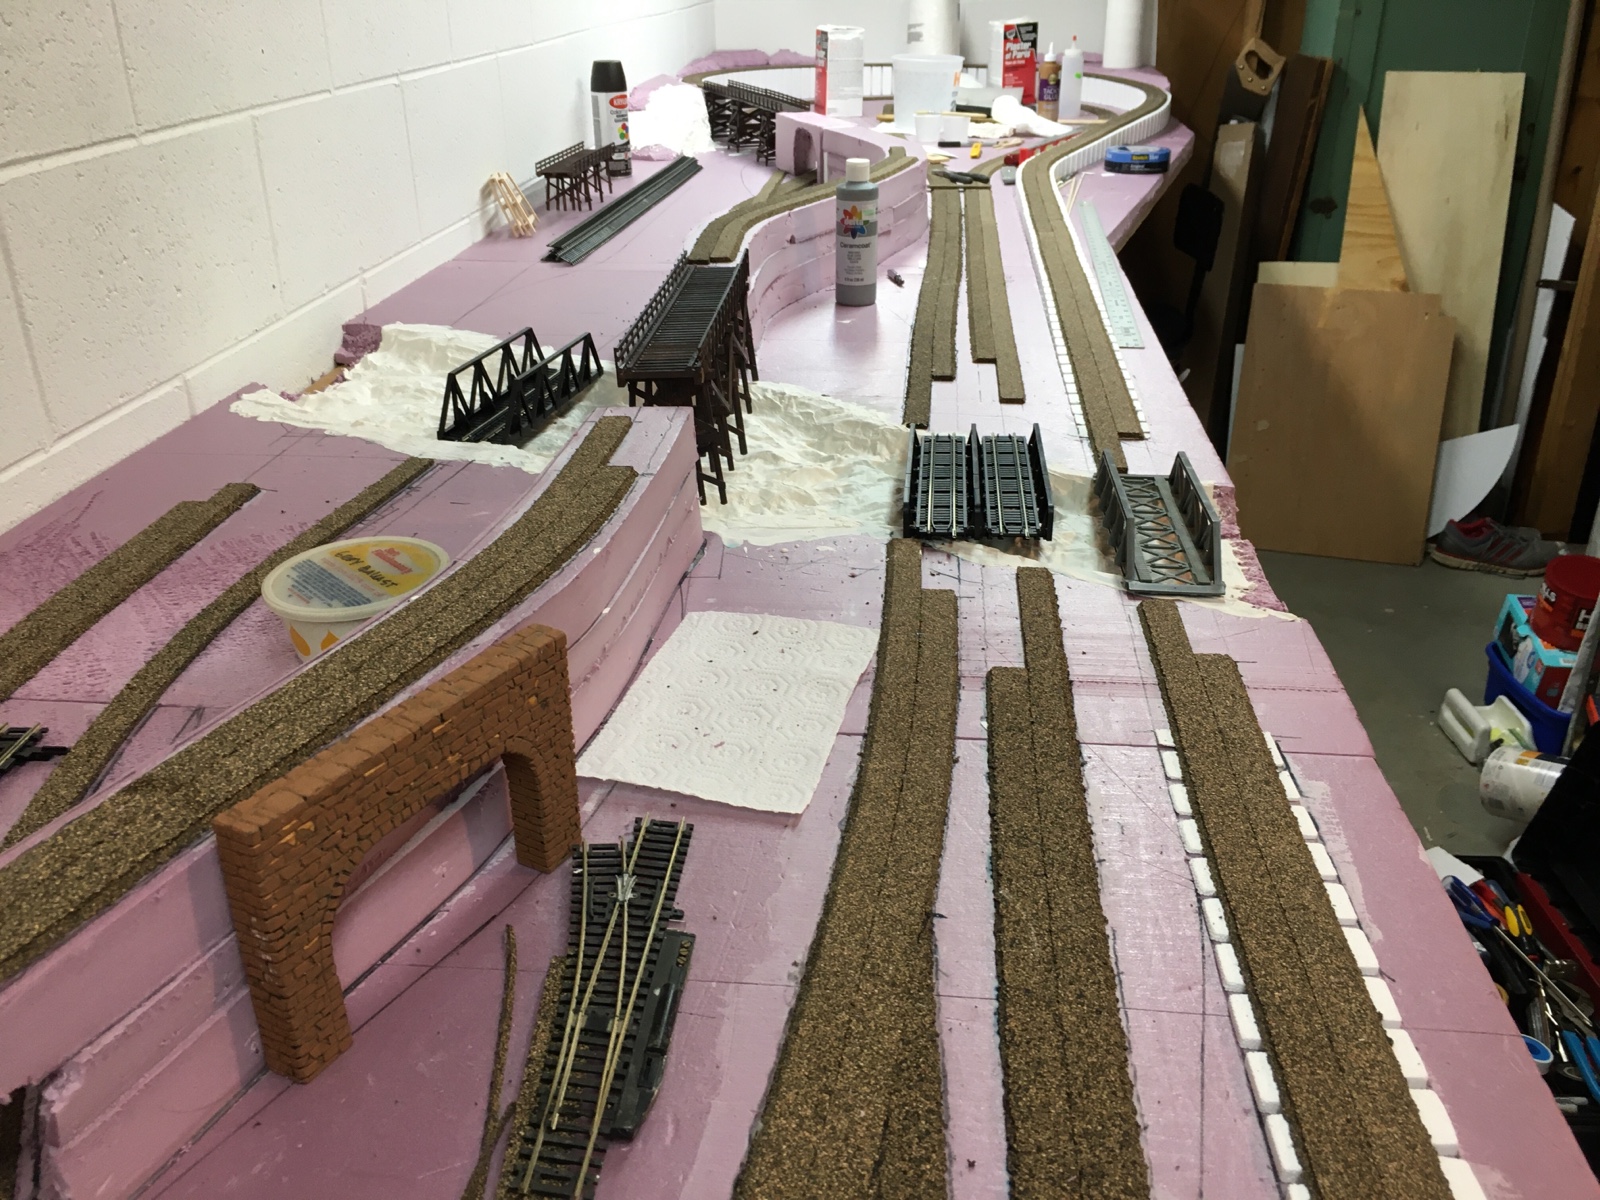
When all of the plywood surface pieces were firmly in place, it was time to begin laying down the extruded foam. I almost decided against using foam. It was actually my wife who talked me into it because of the versatility it provides with scenery and track placement. I had also decided not to use elevated track, which meant no mountain areas, no trestles, no inclines and declines. Again, my wife helped me see the light.
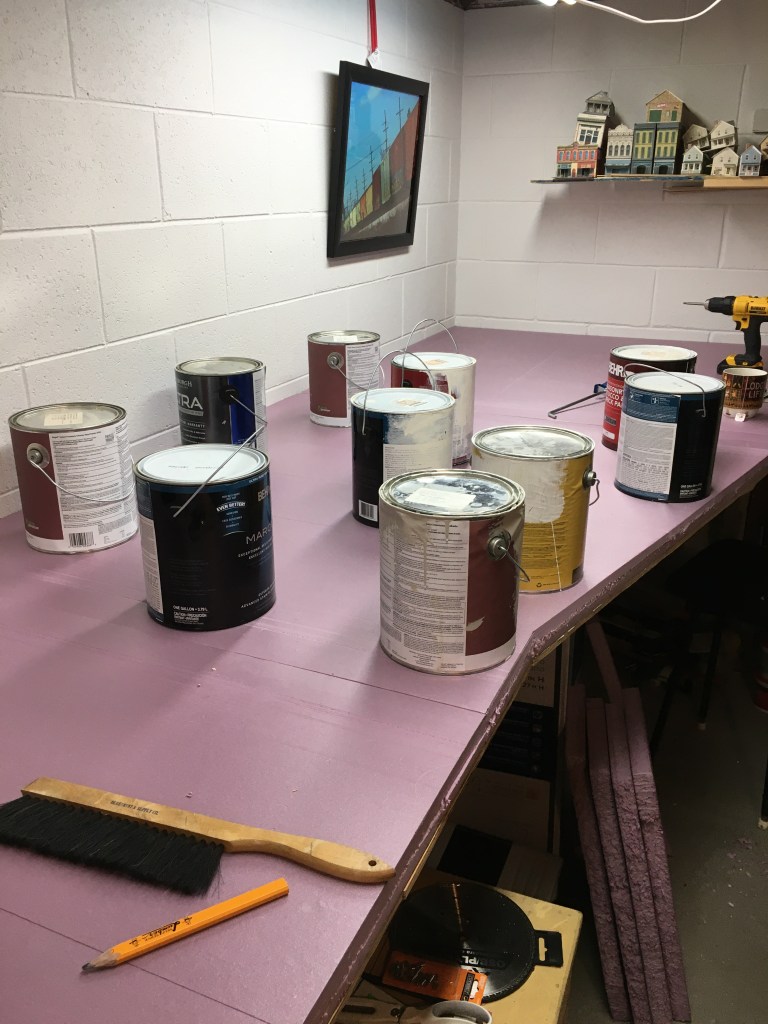
I decided to use 1 1/2 inch foam rather than 2 inch. It was a minor cost savings, and I didn’t think the extra 1/2 inch would make that much difference. I measured and cut the foam to fit and made sure I was happy before I started applying glue. I used Liquid Nails to apply the foam, then, as you can see, I weighted the foam and left it overnight. It worked great. I’m very satisfied with my progress so far.
While I am working on my layout I always have music playing and a hot cup of coffee close by. There should be a coffee flavor called HO Railroad. Hey, wait a minute! That’s a good idea!
