
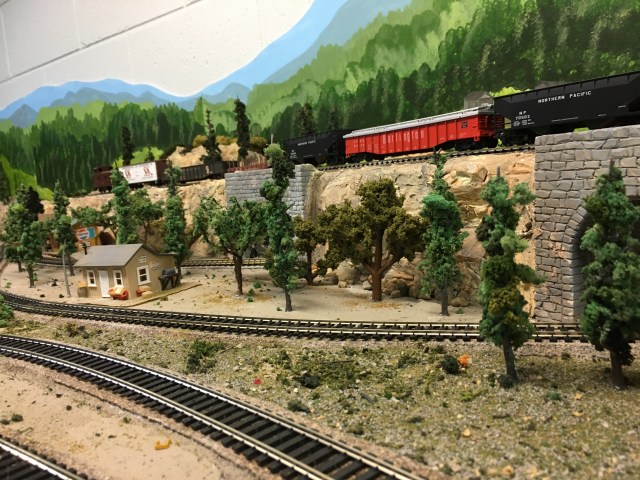
I recently discovered a surprising fact on my model railroad. I don’t have enough trees! After setting about thirty more pine trees, I took a good look over my scenery, and, sure enough, I have to make more trees.
Thanks to so many great modelers who post terrific videos on YouTube, I have learned how to easily make amazing looking trees in a relatively short amount of time. I use Luke Towan’s procedure for making floral wire trees, but mine are a little less detailed than his, which works fine for me.
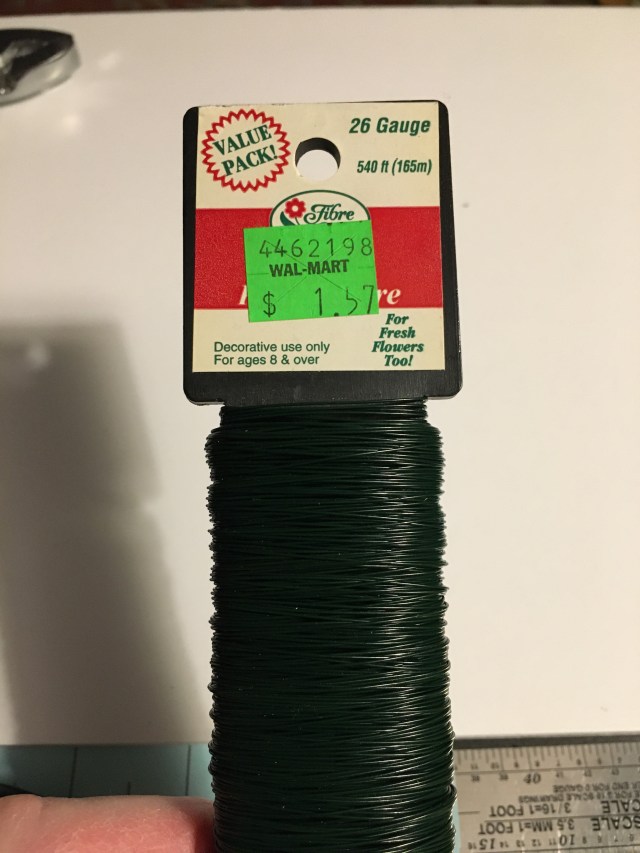
I use 26 gauge, green floral wire. A word of caution, even though 26 gauge is not stiff, the ends are still sharp and will easily poke into your skin if you’re not careful!
You can tell this floral wire is quite old – $1.57 at Walmart. I recently paid about $2.50 for a two-hundred fifty foot roll.
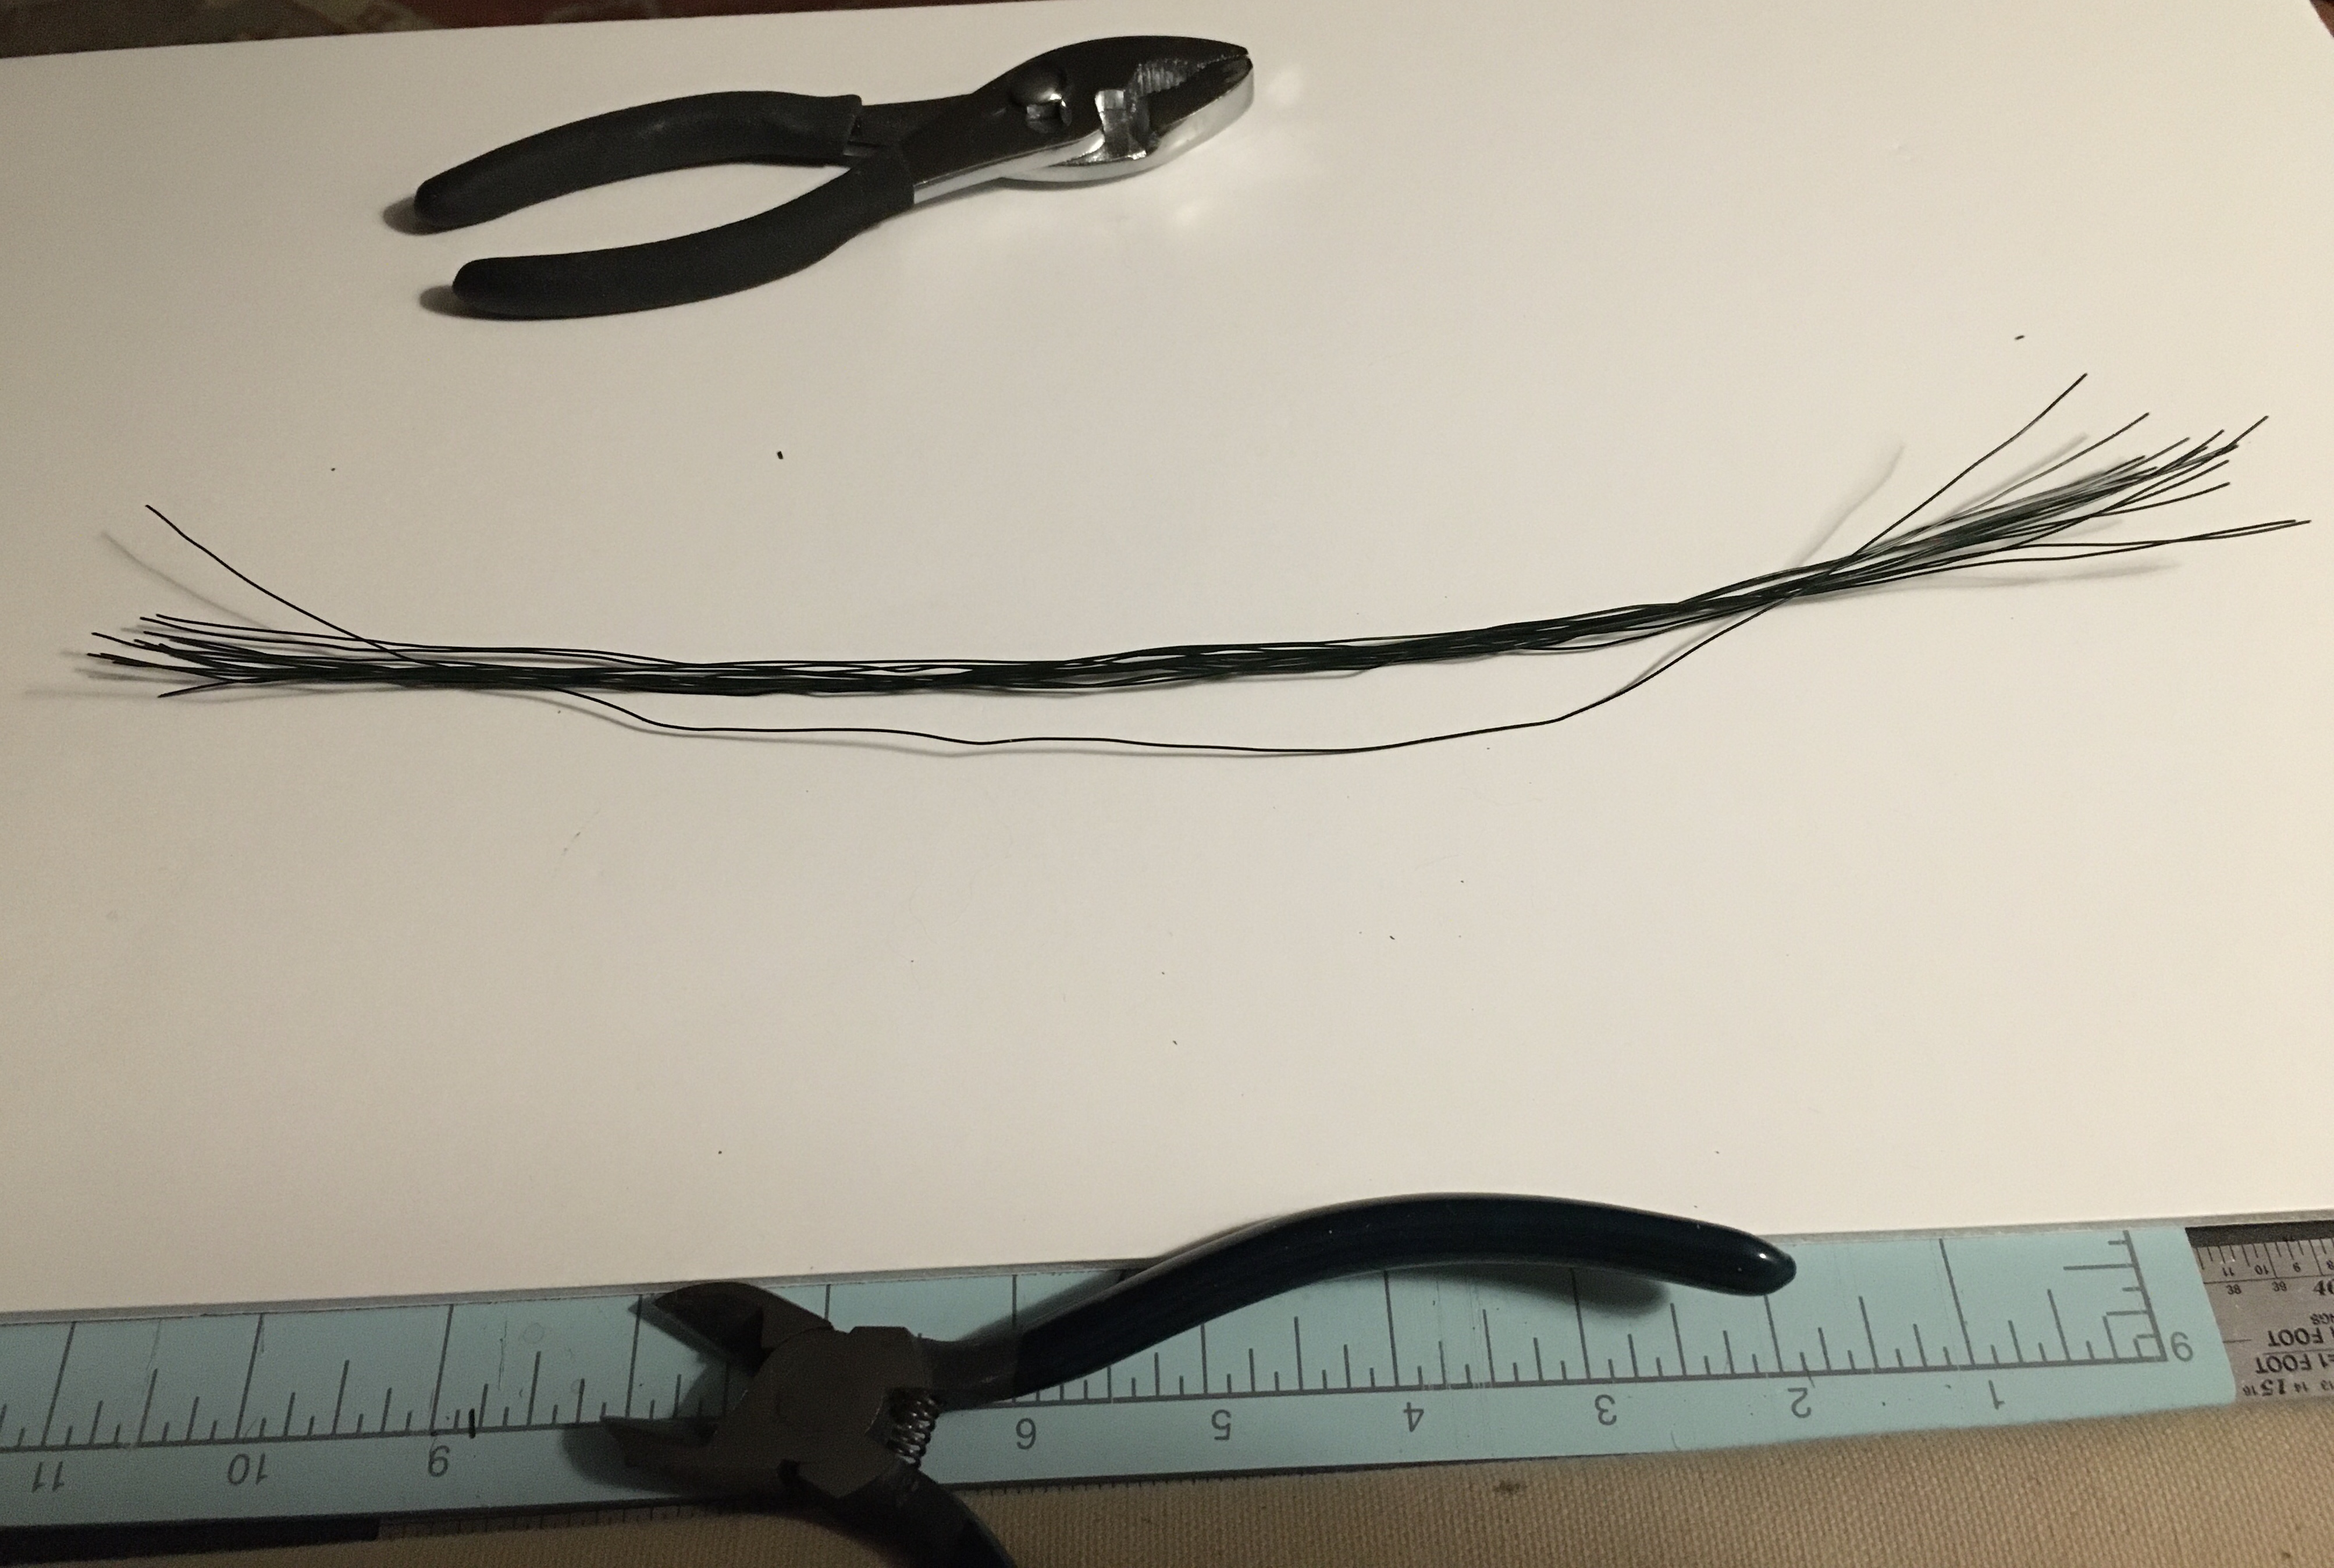
- Cut 14 pieces of wire, about 13 inches long. (If you want your tree trunks to be thicker, use more wire. But remember, more wires will make them more difficult to twist.
- Fold the wires in half.
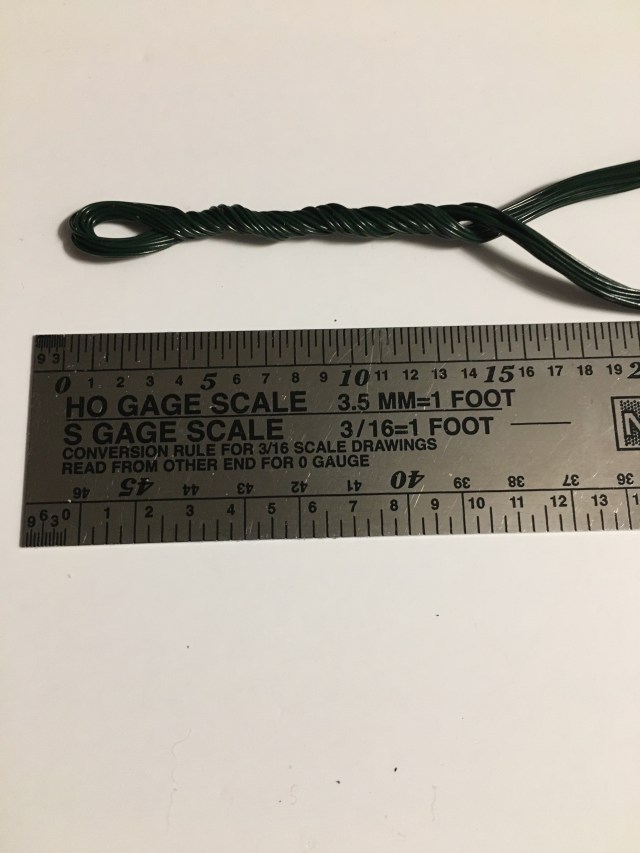
3. While gripping the end, and placing your index finger between the two strands of wire, begin twisting the two strands together tightly. (Since the wire is so thin, the twisted wires will easily hold their shape.) As you can see on the HO scale ruler, the trunk of this tree will be about 14 feet tall.
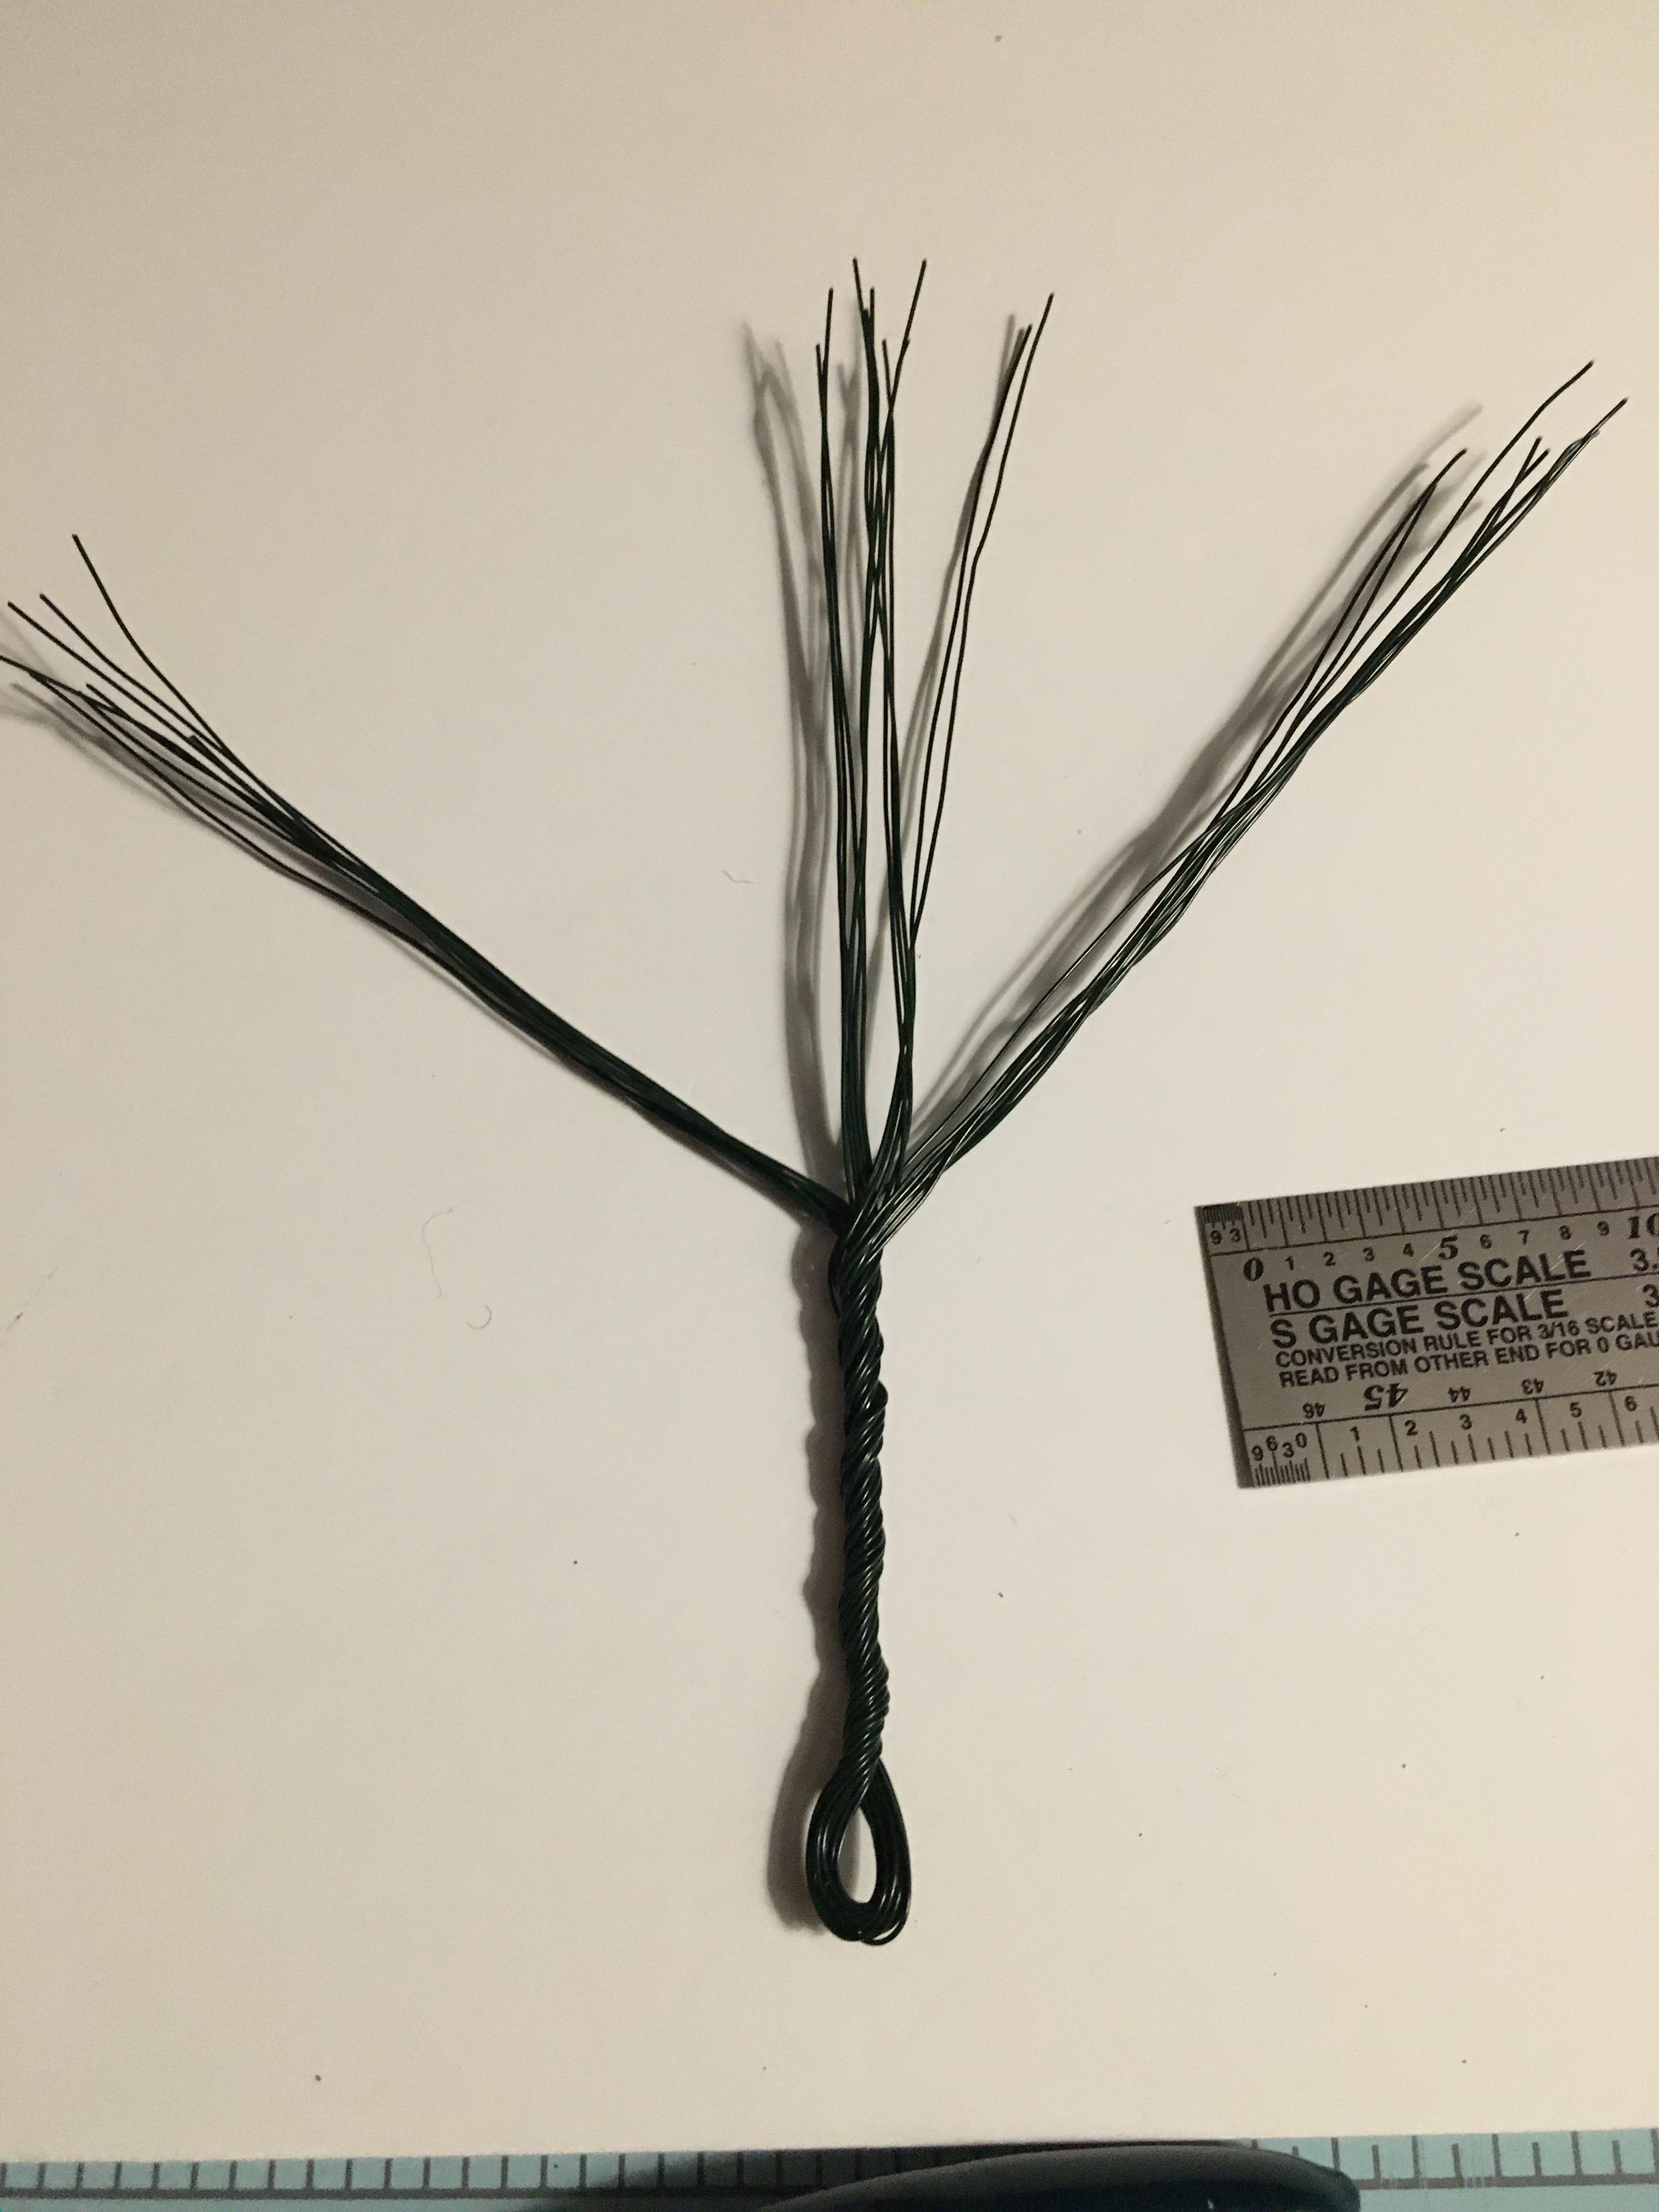

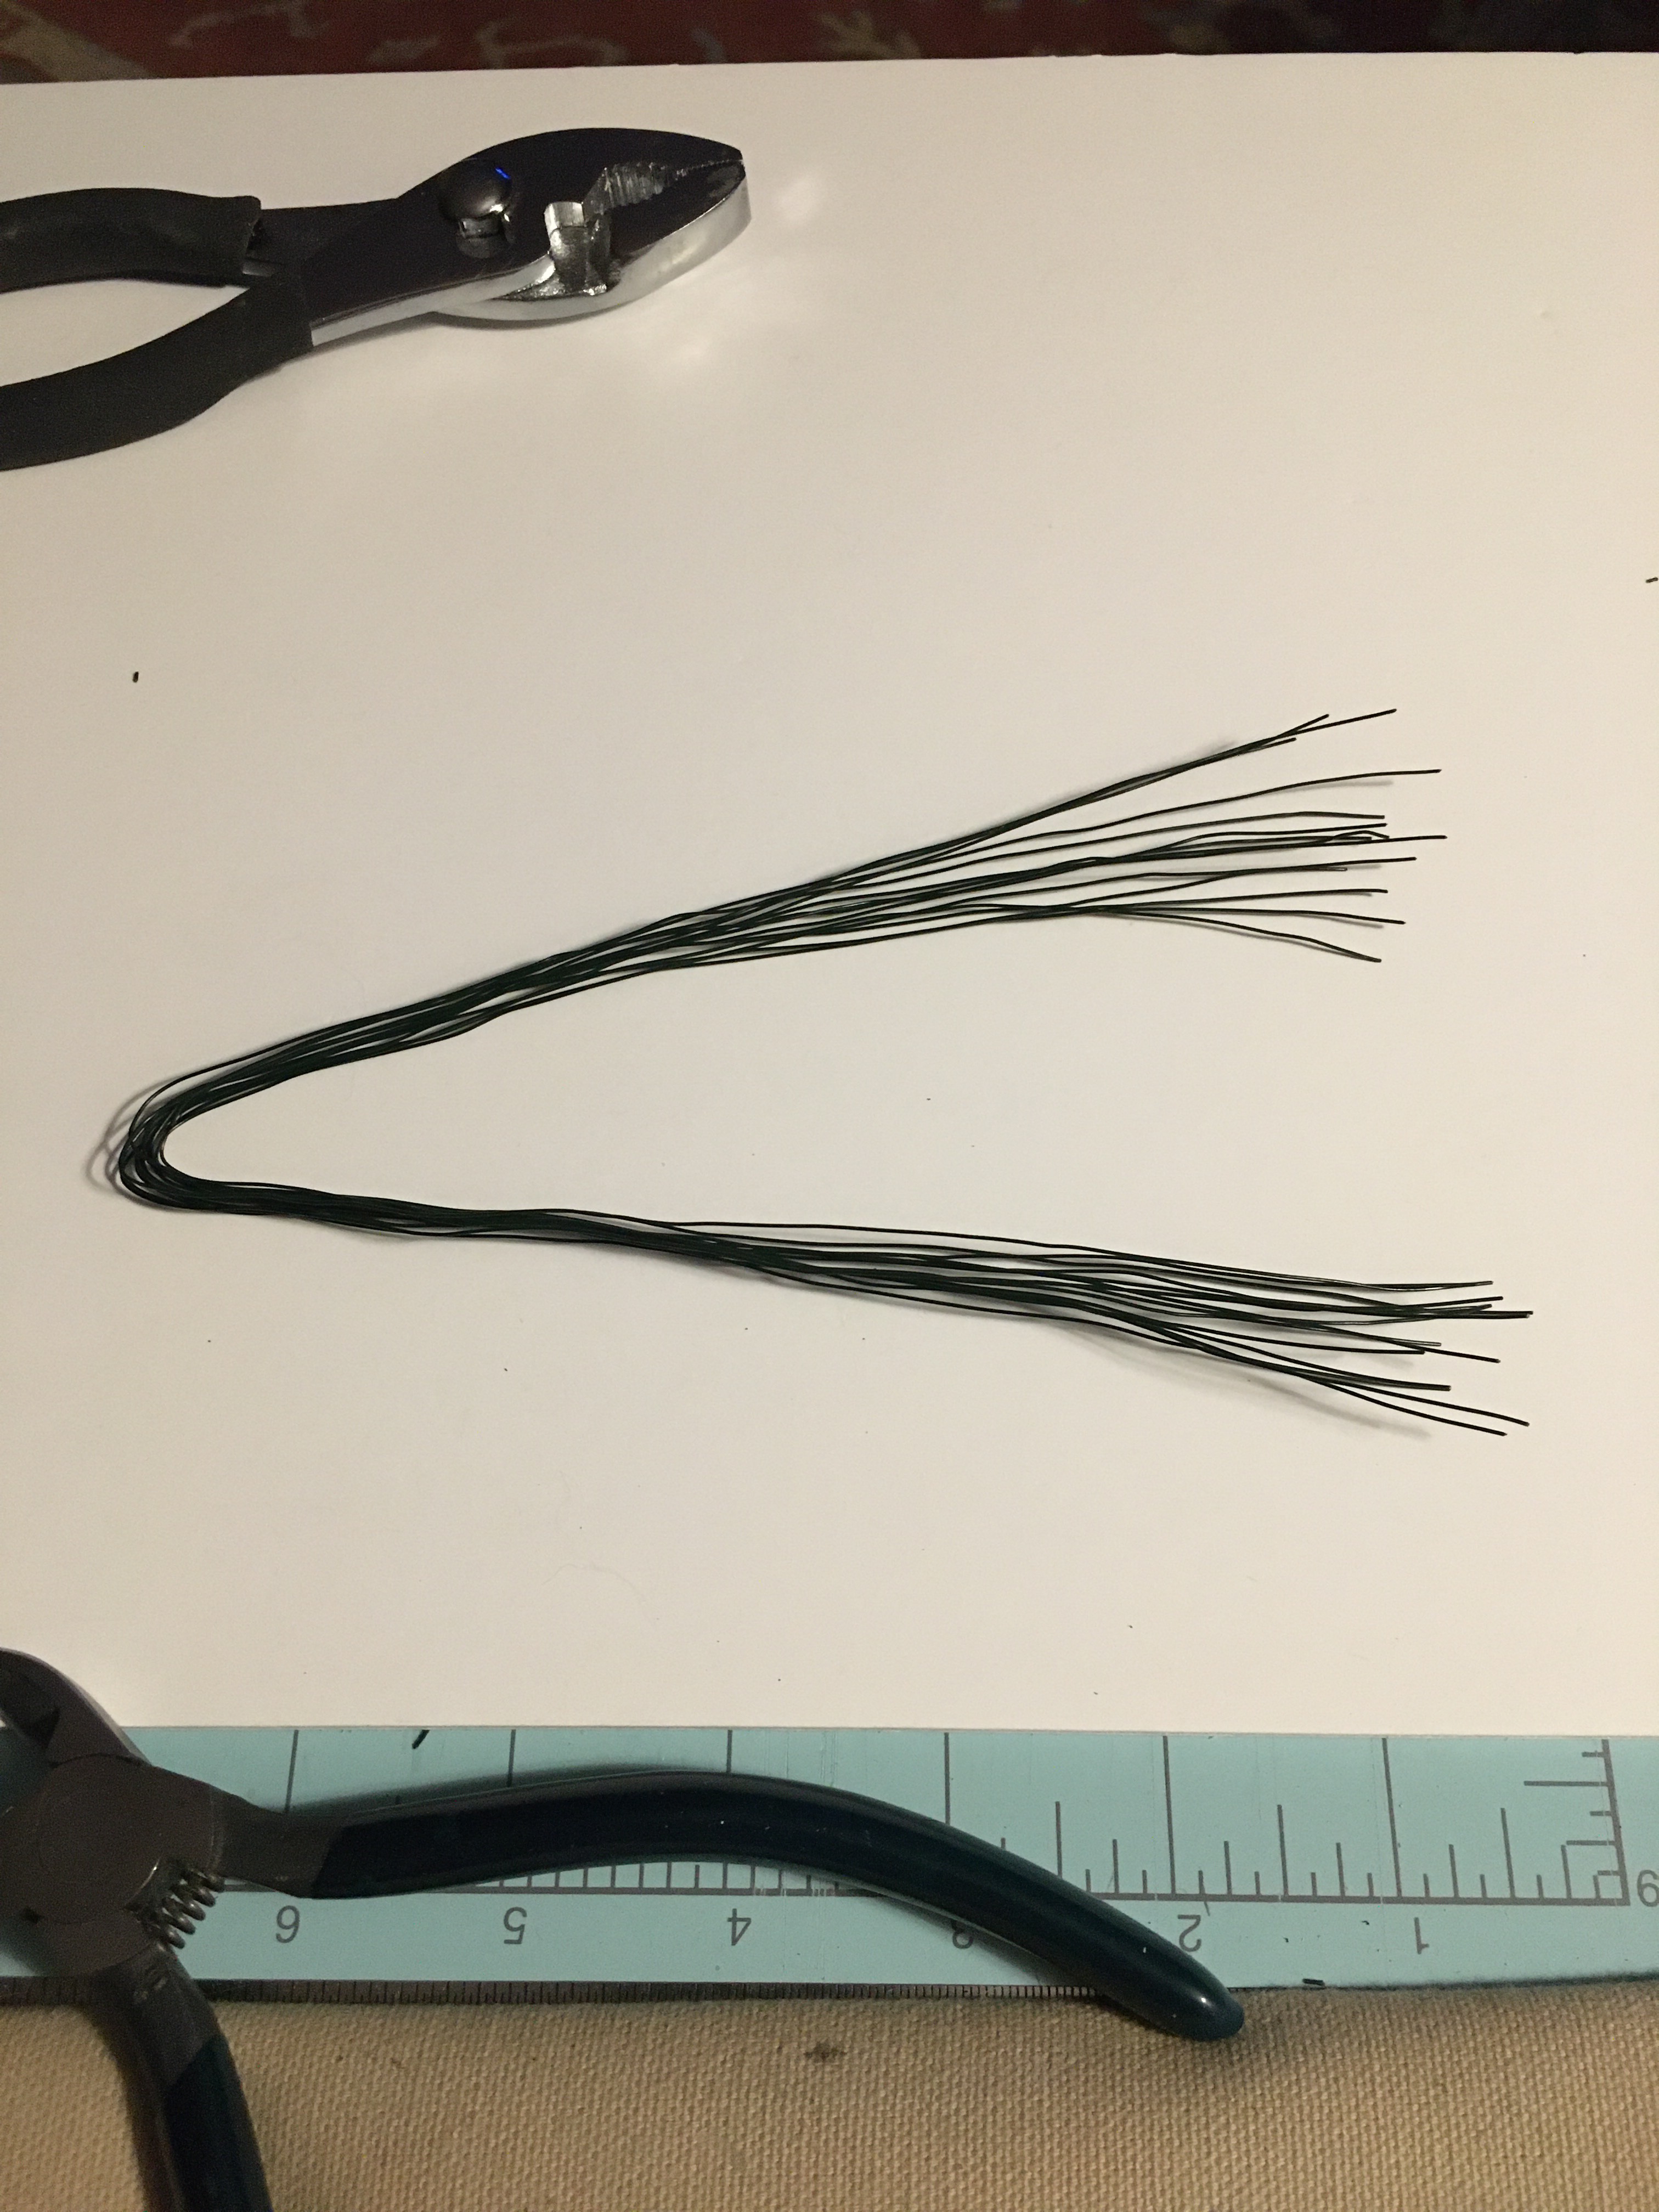
4. Divide the wire ends into three strands, approximately the same number of wires in each.
5. Twist the three strands individually, making three main branches. (If you want to have more branches from the trunk, separate the wires into smaller groups before twisting them.) My branches on this part of the tree will be about eight feet long.
6. Divide the wires coming from the three main branches into two strands, each with approximately the same number of wires.
7. Twist the new strands of wire, making smaller branches. Using this example, you now have six smaller branches extending higher into the tree.
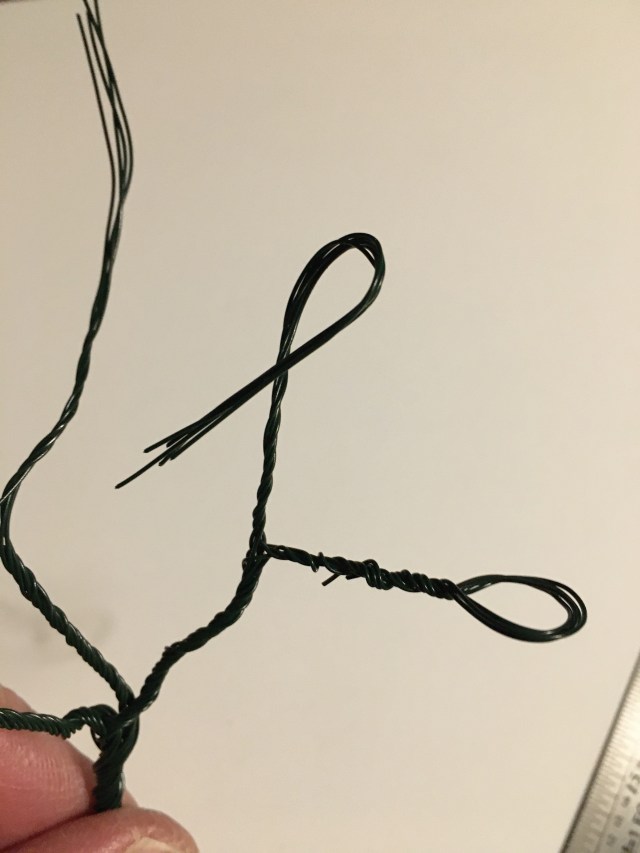
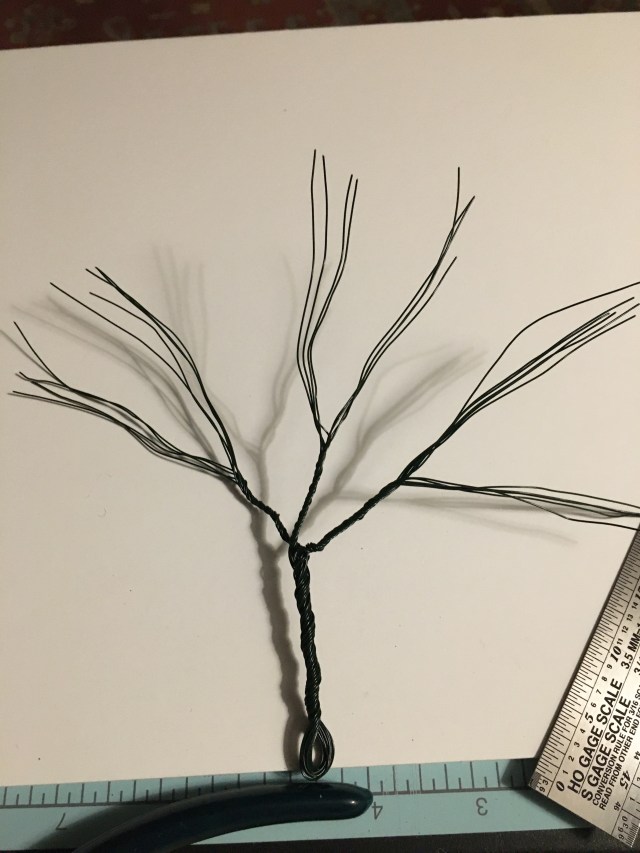
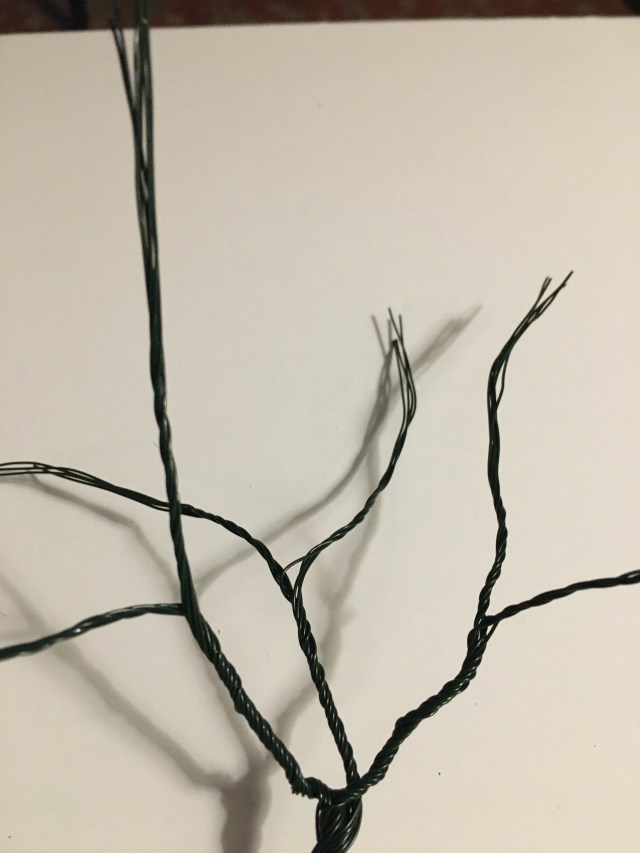
8. Fold the end of each strand back over the branch, leaving a loop on the end. While holding the loop tightly, and holding the wires against the branch, twist the loop so the wire ends wrap around the branch.
9. Repeat the process for each of the strands of wires.

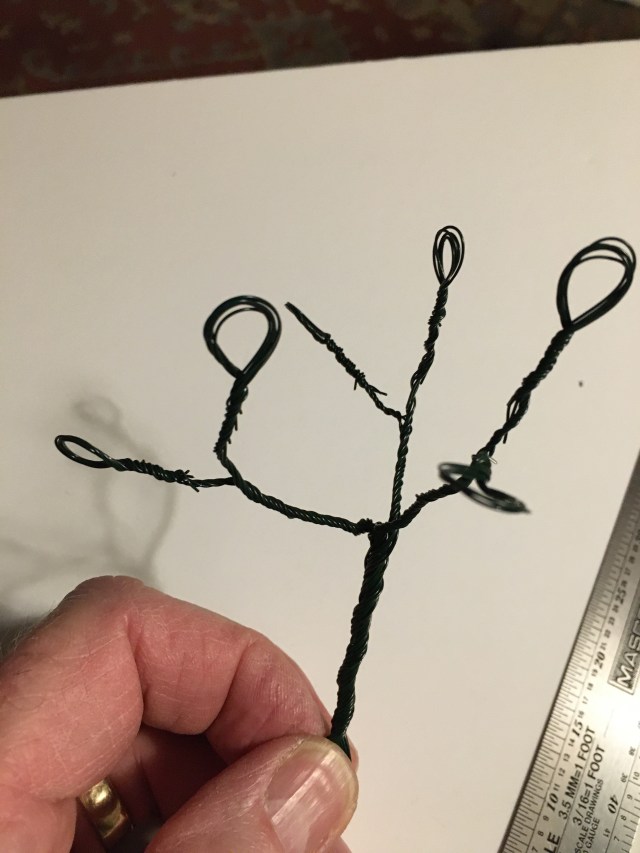
10. Using a good hobby wire-clipper, cut each of the loop strands.
11. Using a pair of pliers, grip the wire ends and twist into small branches. (Some of the wire pieces may come off, but that’s okay.
12. Adjust the branches until you’re happy with the look of the tree.
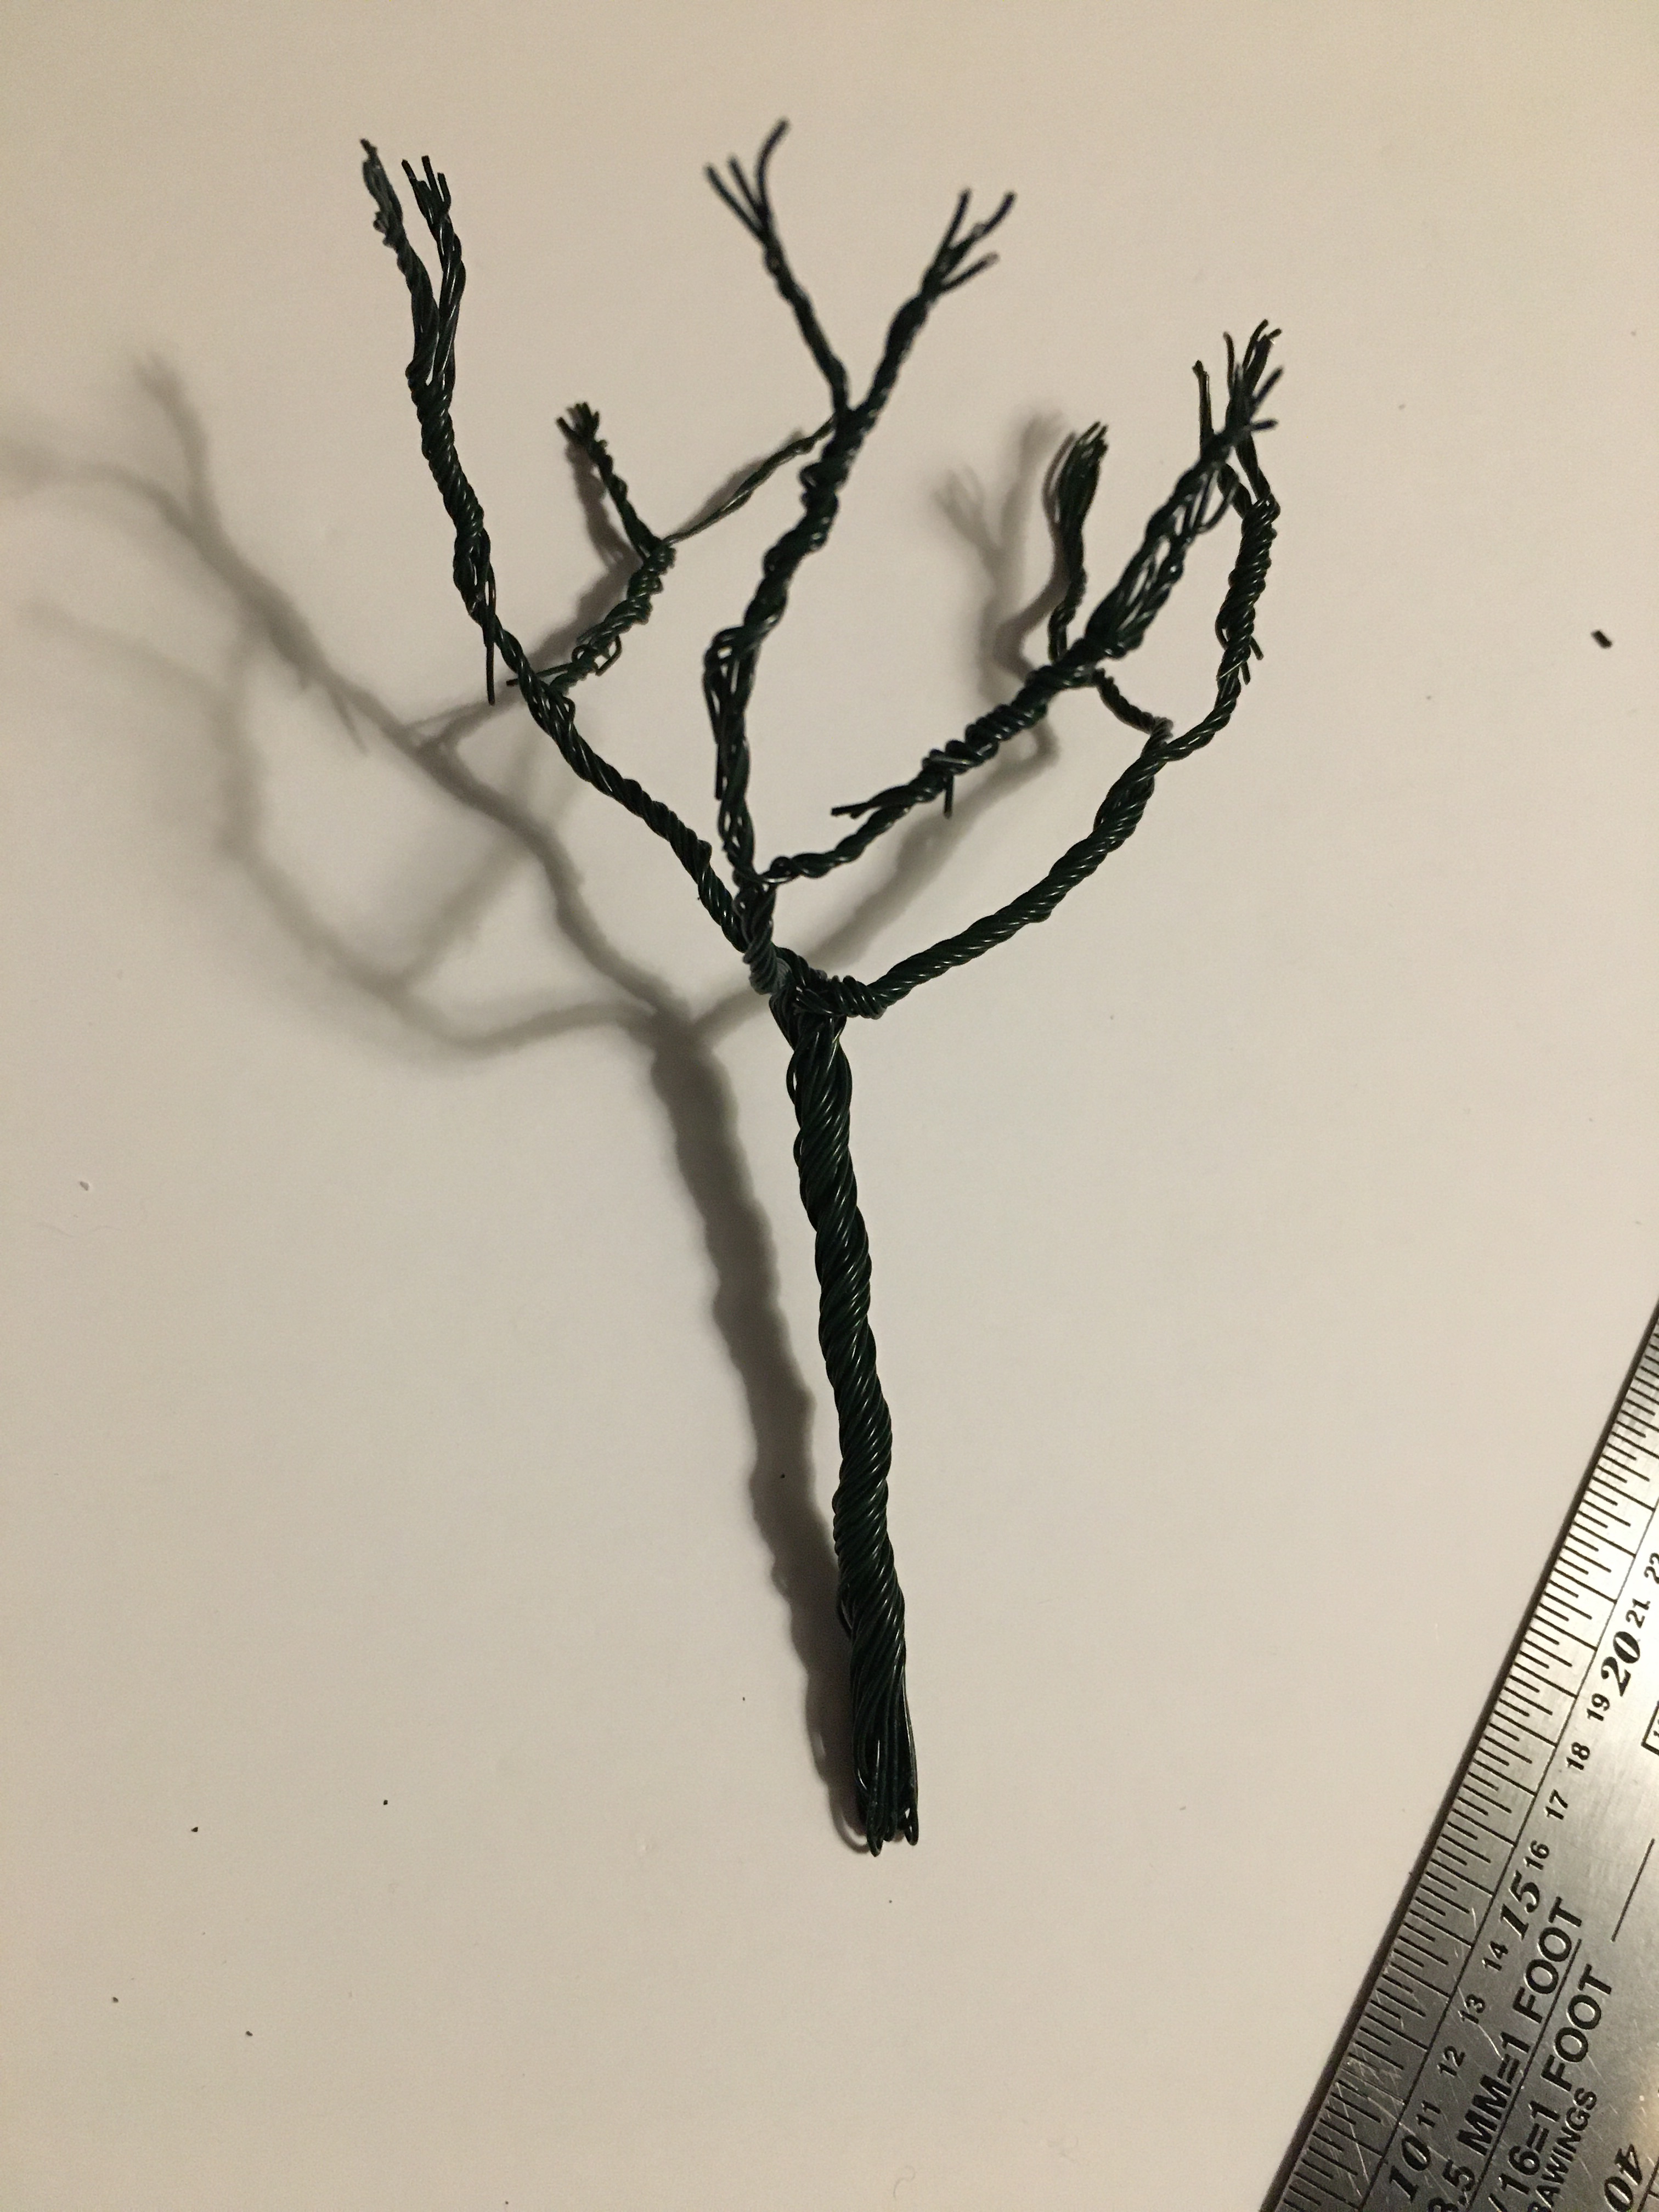
13. Using the pliers, grip the bottom loop of the trunk and flatten it. (Luke Towan, on his Boulder Creek Railroad Tutorials, cuts this loop and creates roots which will be secured in place on the layout with plaster. You may want to use that detail as well. I choose to drill a hole and glue the trunk in place.)
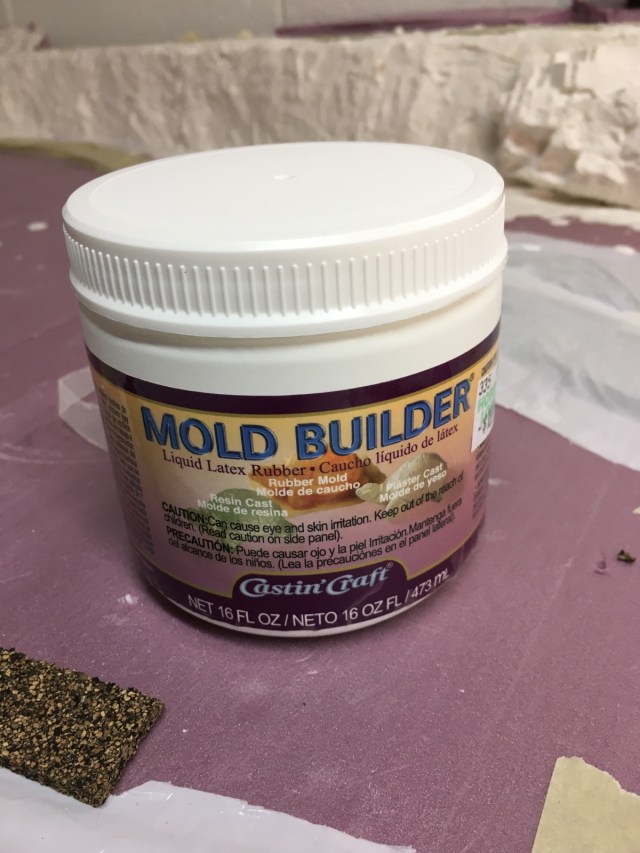
14. When you are satisfied with the shape of your trees, it’s time to cover them with liquid latex rubber. I purchased this jar at craft supply store. Using a small paint brush, cover the entire tree with latex. Once dry, you will want to add at least one more coat to the trunk and heavy branches to reduce any chance of wires showing through.
You are nearing the end of the project, and you can already see your trees are looking great! Just a few more steps and they’ll be ready for placement in your model railroad scenery.
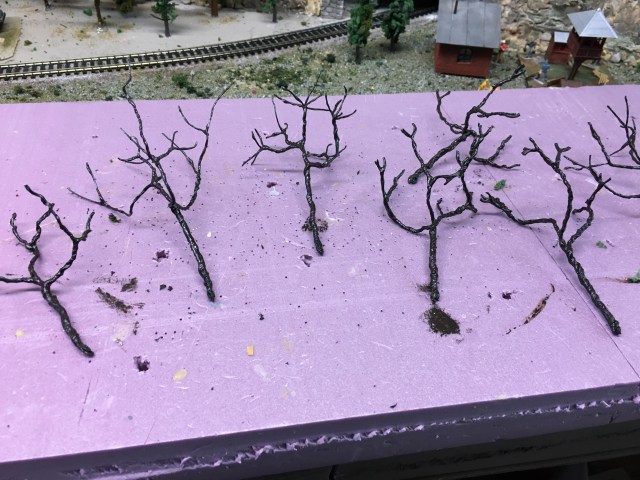
15. I use Acrylic Burnt Umber to paint the entire tree. I have several here that are ready for foliage.
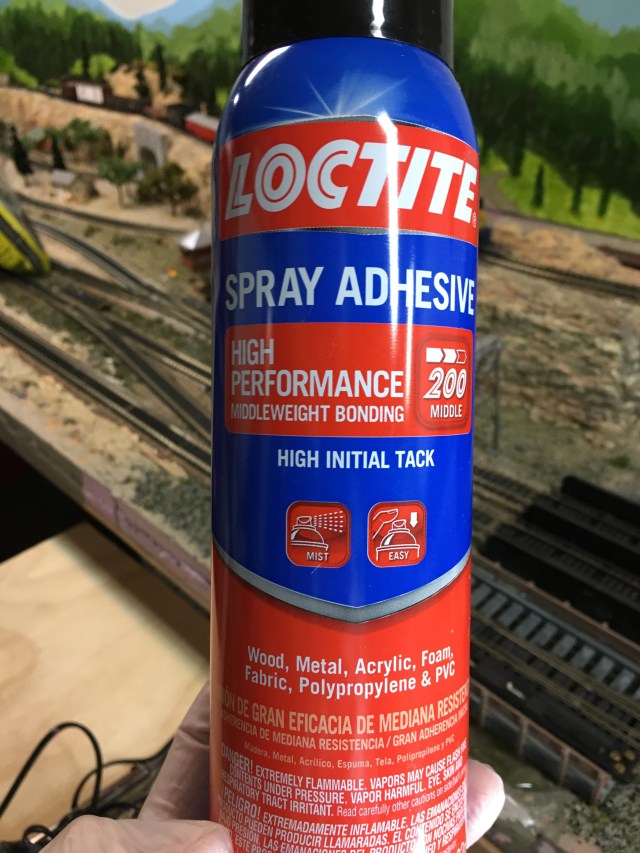
16. I have used a couple brands of spray adhesive, but am happiest with the results of this brand. Wearing latex gloves, spray the branches of the trees, being careful not to get spray on the tree trunks.

17. While the spray is still wet, dip your tree into a bag of foam foliage. Twist the trunk in the foam, and pinch the foliage onto the branches. Shake the excess foam loose and set your completed tree aside. Do the same process with each of your prepared trees.
This is an easy way to make lots of great looking trees for your layout. I will have to make many more until I’m completely sure my model railroad, The Maple Valley Short Line, is fully saturated with trees.
Happy model railroading, everyone!

Pingback: More Trees for the Maple Valley HO Scale Model Railroad – A Coffee State of Mind