Model railroading starts with a fascination with trains. I guess that’s obvious. But why trains? What are trains? Aren’t they just huge semi-trucks with steel wheels instead of rubber, rolling on rails instead of roads? There are one, two, maybe five or six or more incredibly large engines, pulling anywhere from ten to one hundred and more huge cars loaded with items bound for destinations around the world.
Why not model semi-trucks? Does anyone have a “layout” made of winding roads full of trucks pulling trailers? I don’t think so, or maybe. But millions of model railroaders build layouts, large and small, with tracks carrying scale engines pulling scale trains. G scale, O scale, S, HO, N, and tiny Z scale provide a very wide range of opportunities for enthusiasts to live in their fascination with trains.
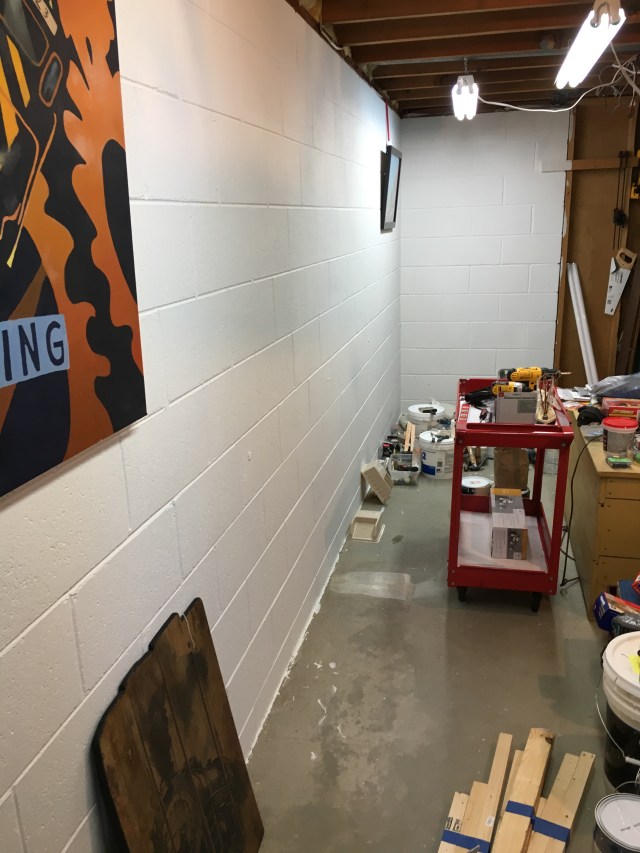
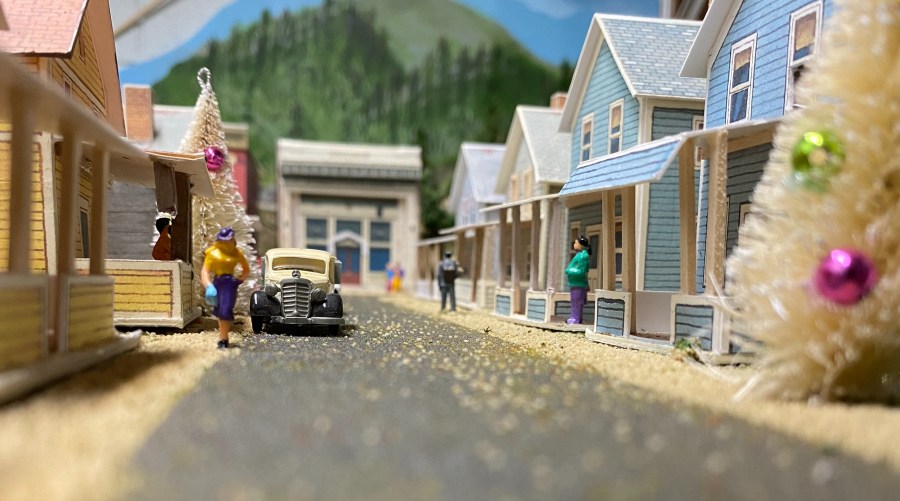
A model railroad is a work of art that begins with a blank canvass. The canvass may be a room measuring twenty-one feet by seven feet, like my own train room where I am building a shelf-style model railroad. It may be a larger room with only enough space for a four by eight feet layout. The important thing is the canvass is anywhere you choose, and will hold any dream you build.

Building a model railroad is identical to writing a novel, only different. Some people begin writing a novel with an idea but the characters are born and develop as the story is created. Other writers know their characters inside and out before the first word is penned. Still others begin with a blank sheet of paper and the story and characters create themselves. Sometimes characters do things the writer didn’t expect. Main characters become belligerent and demand freedom to change story lines on their own. Model railroads do that, too.
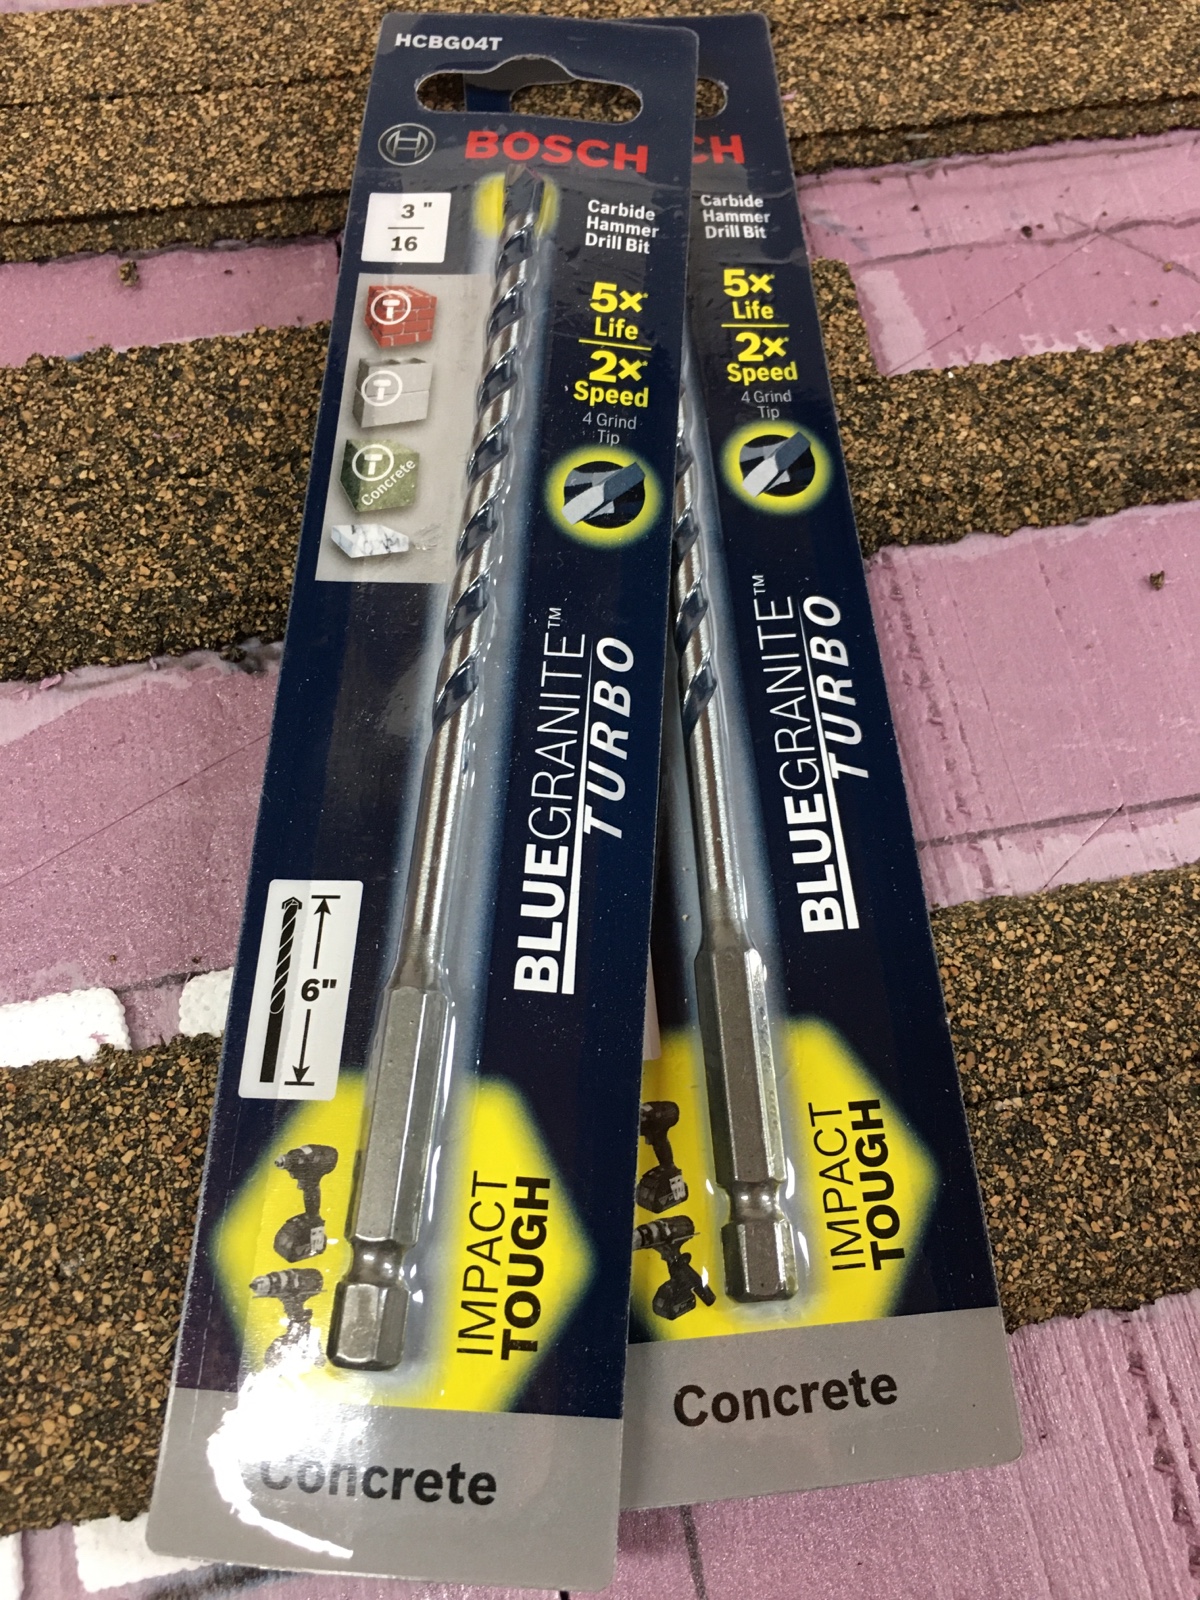
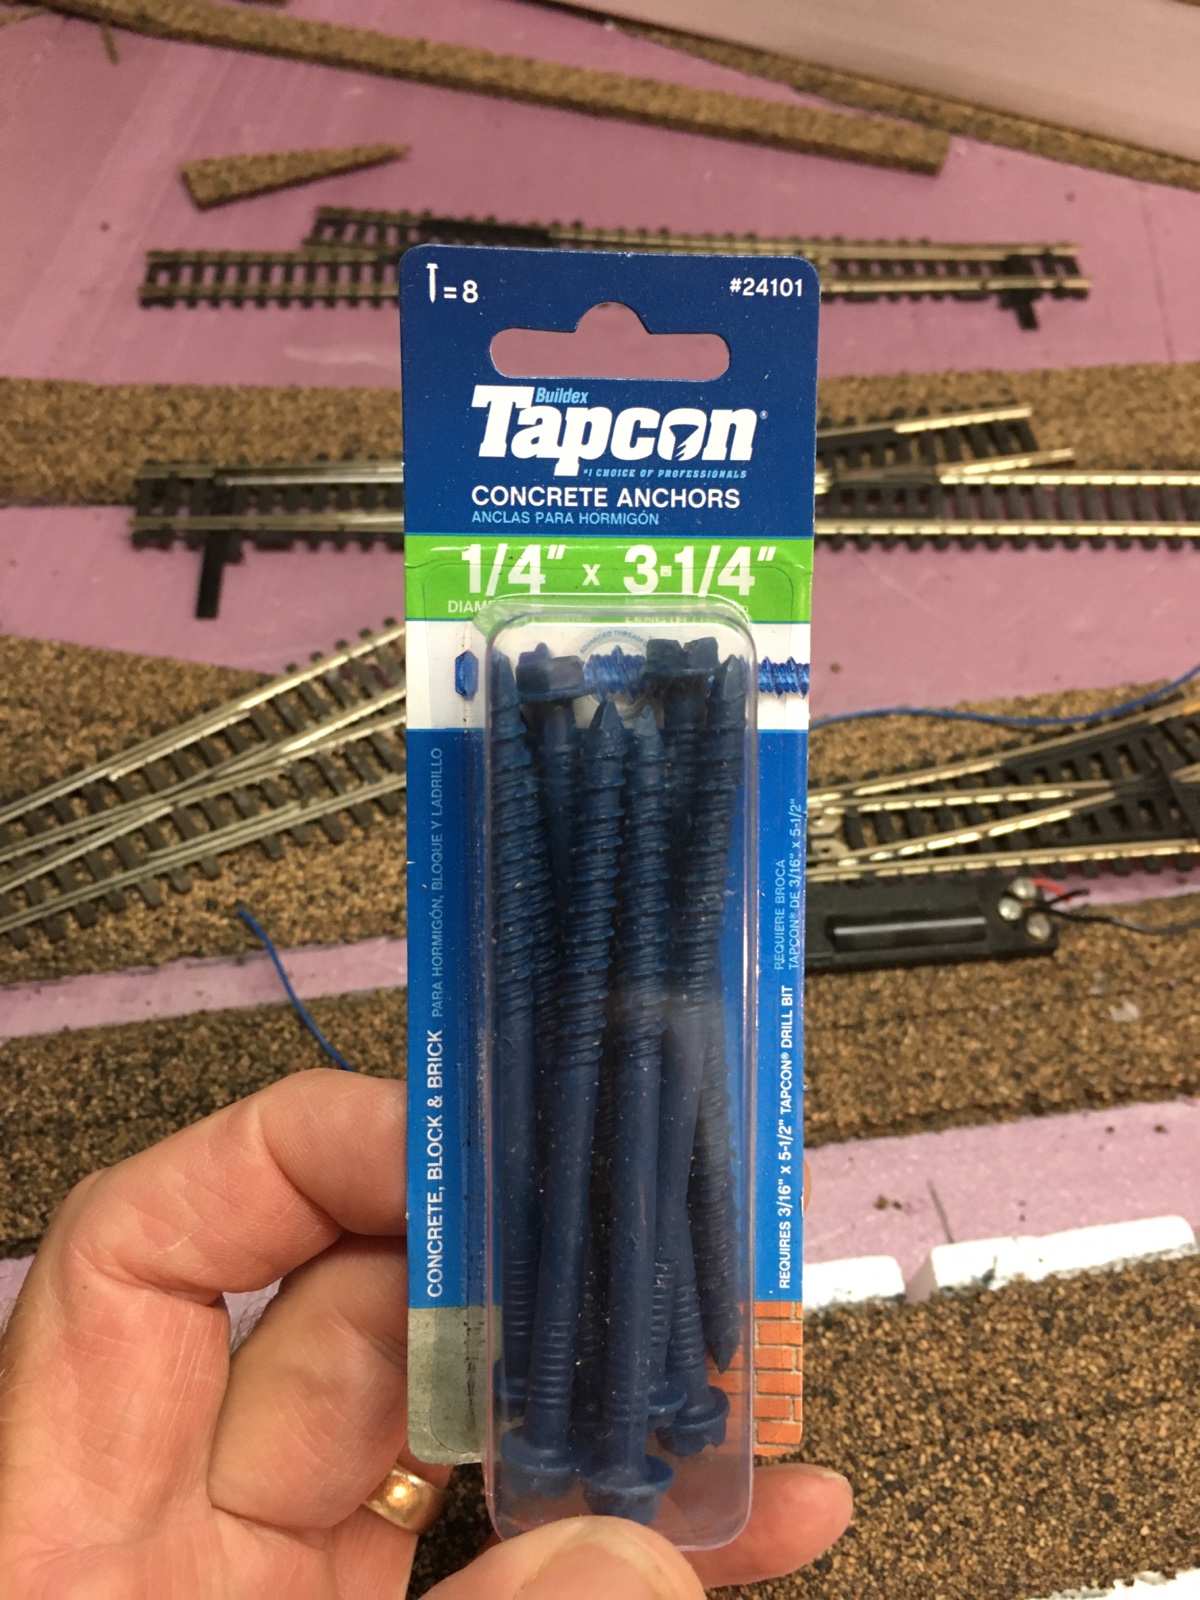
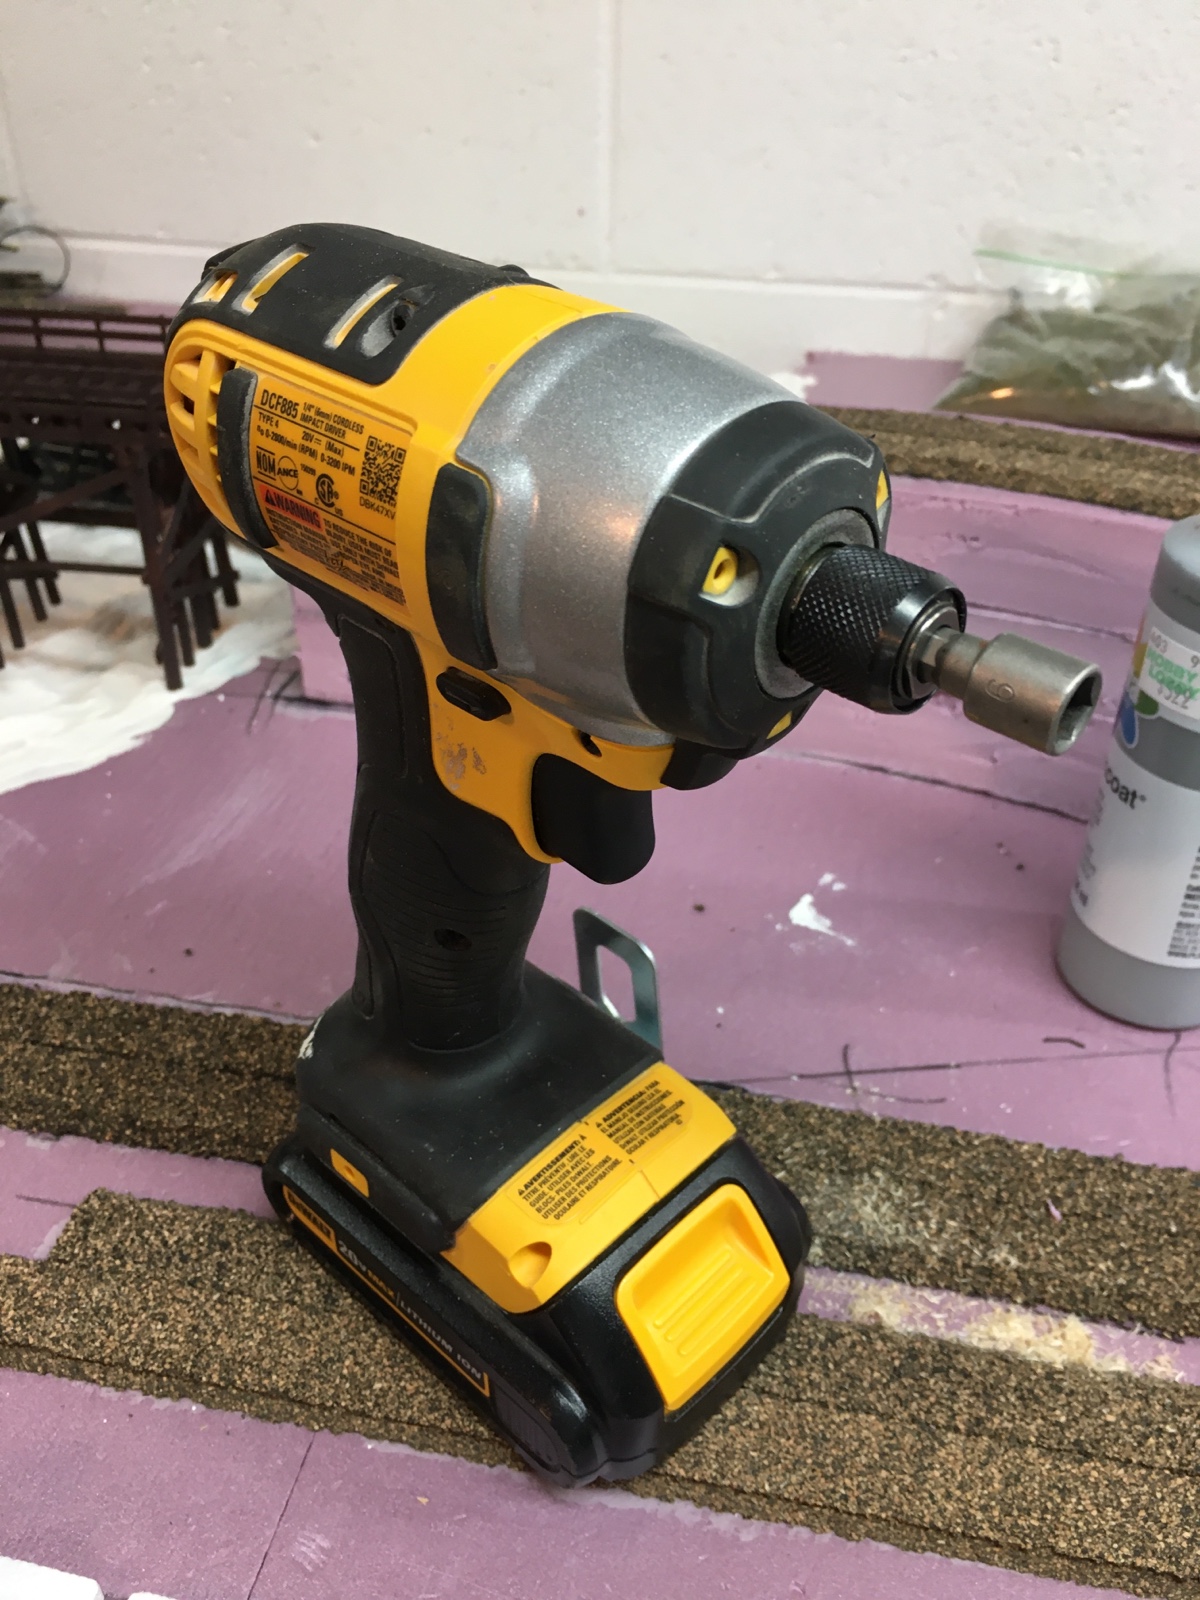
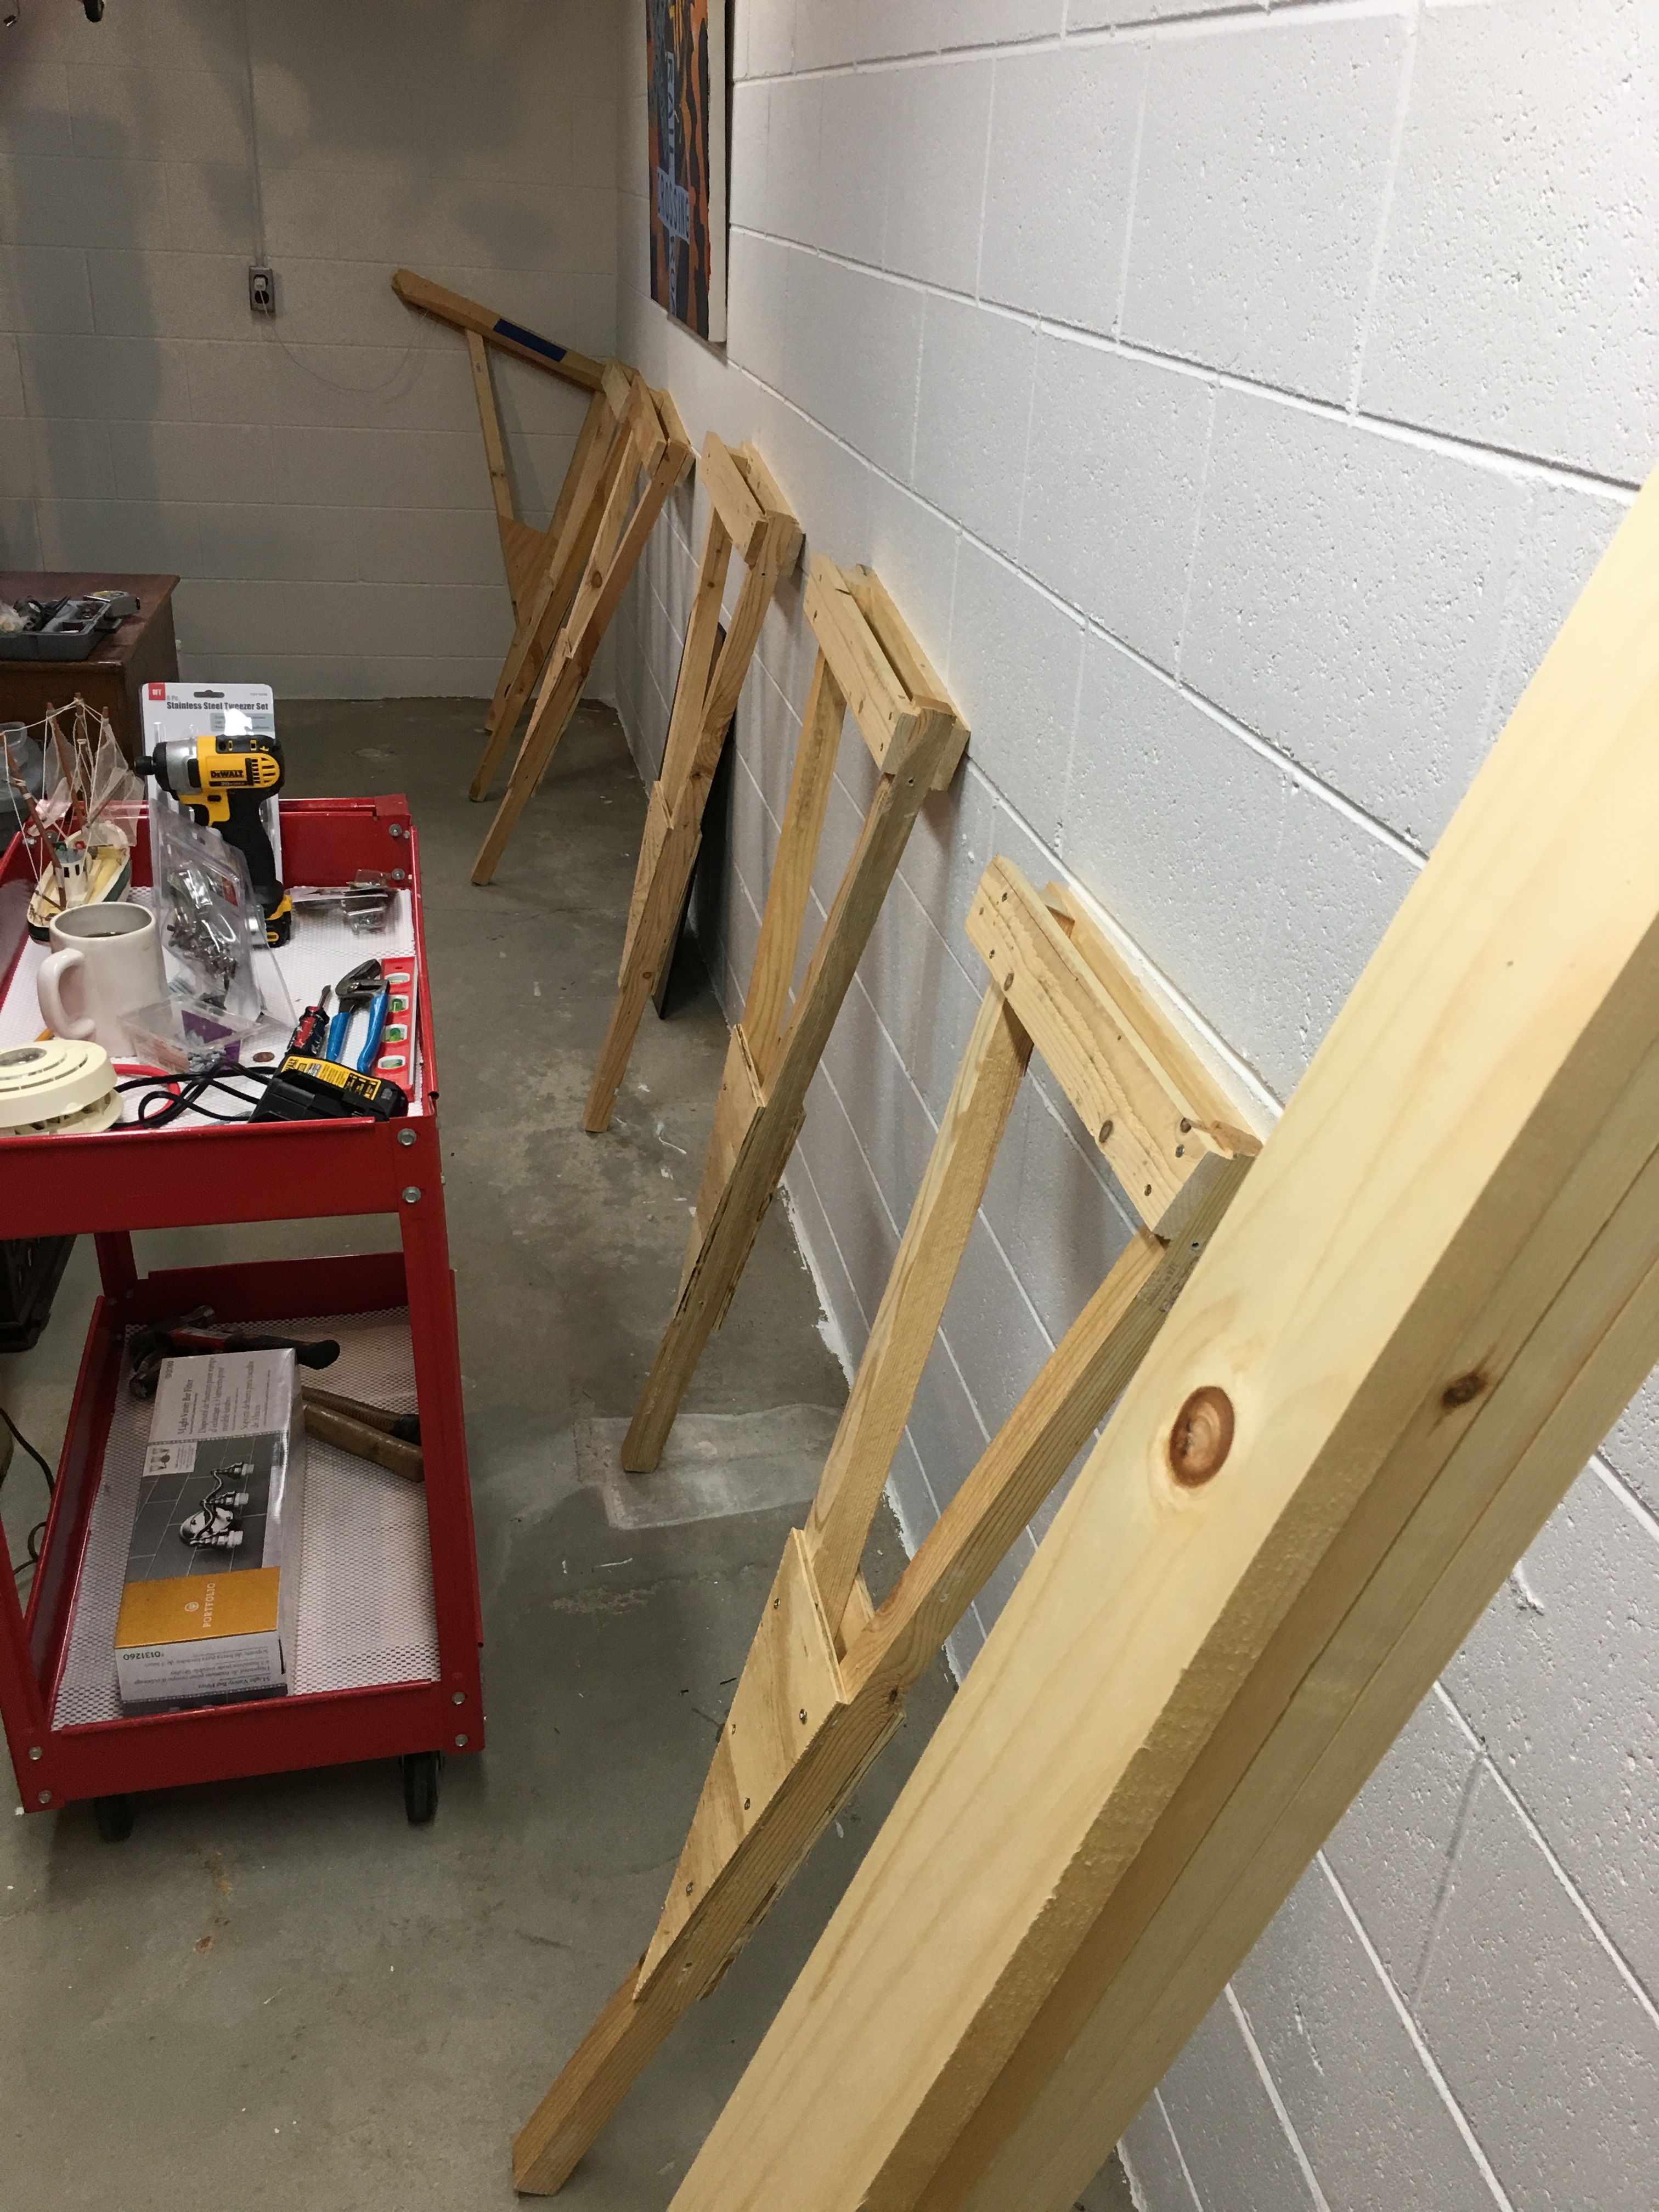
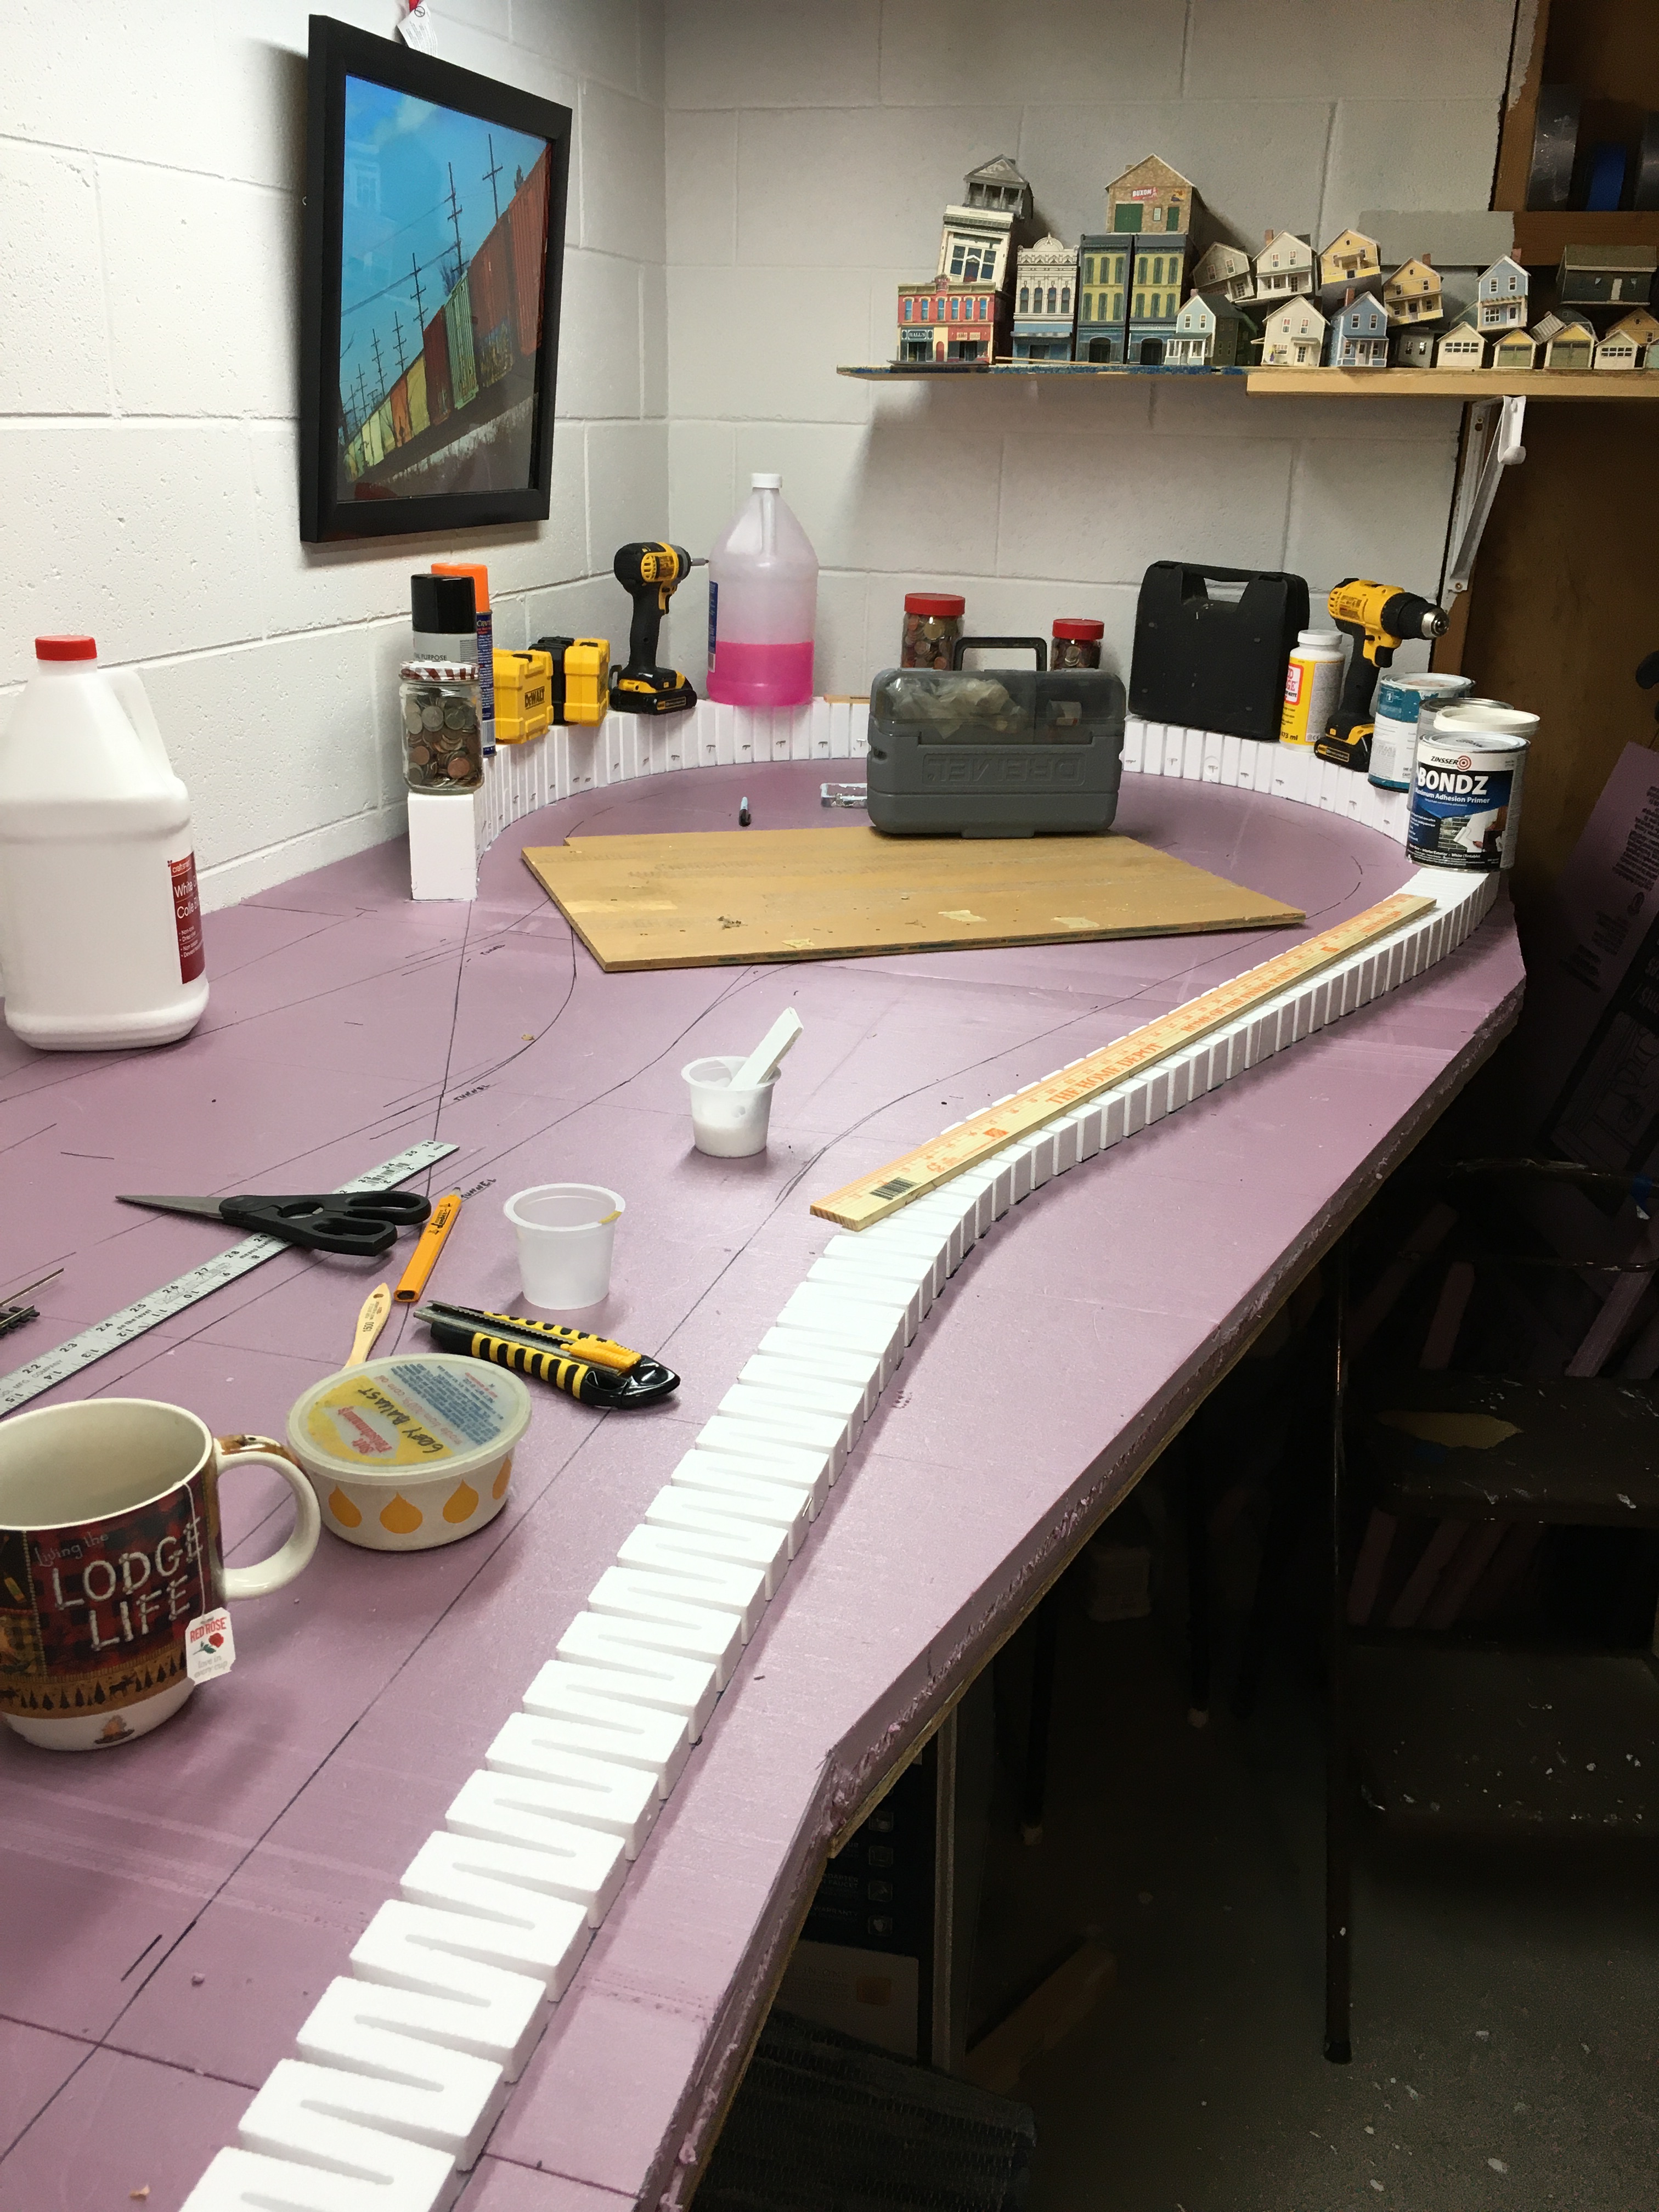
My Maple Valley Short Line demanded benchwork that would be strong enough to carry my own weight. I’m not a small man, so that was no easy task. The wall brackets were fastened to the cement blocks with three-inch masonry screws, after I drilled pilot holes in the wall. The drill bits in my impact driver had to be changed after drilling just three holes.
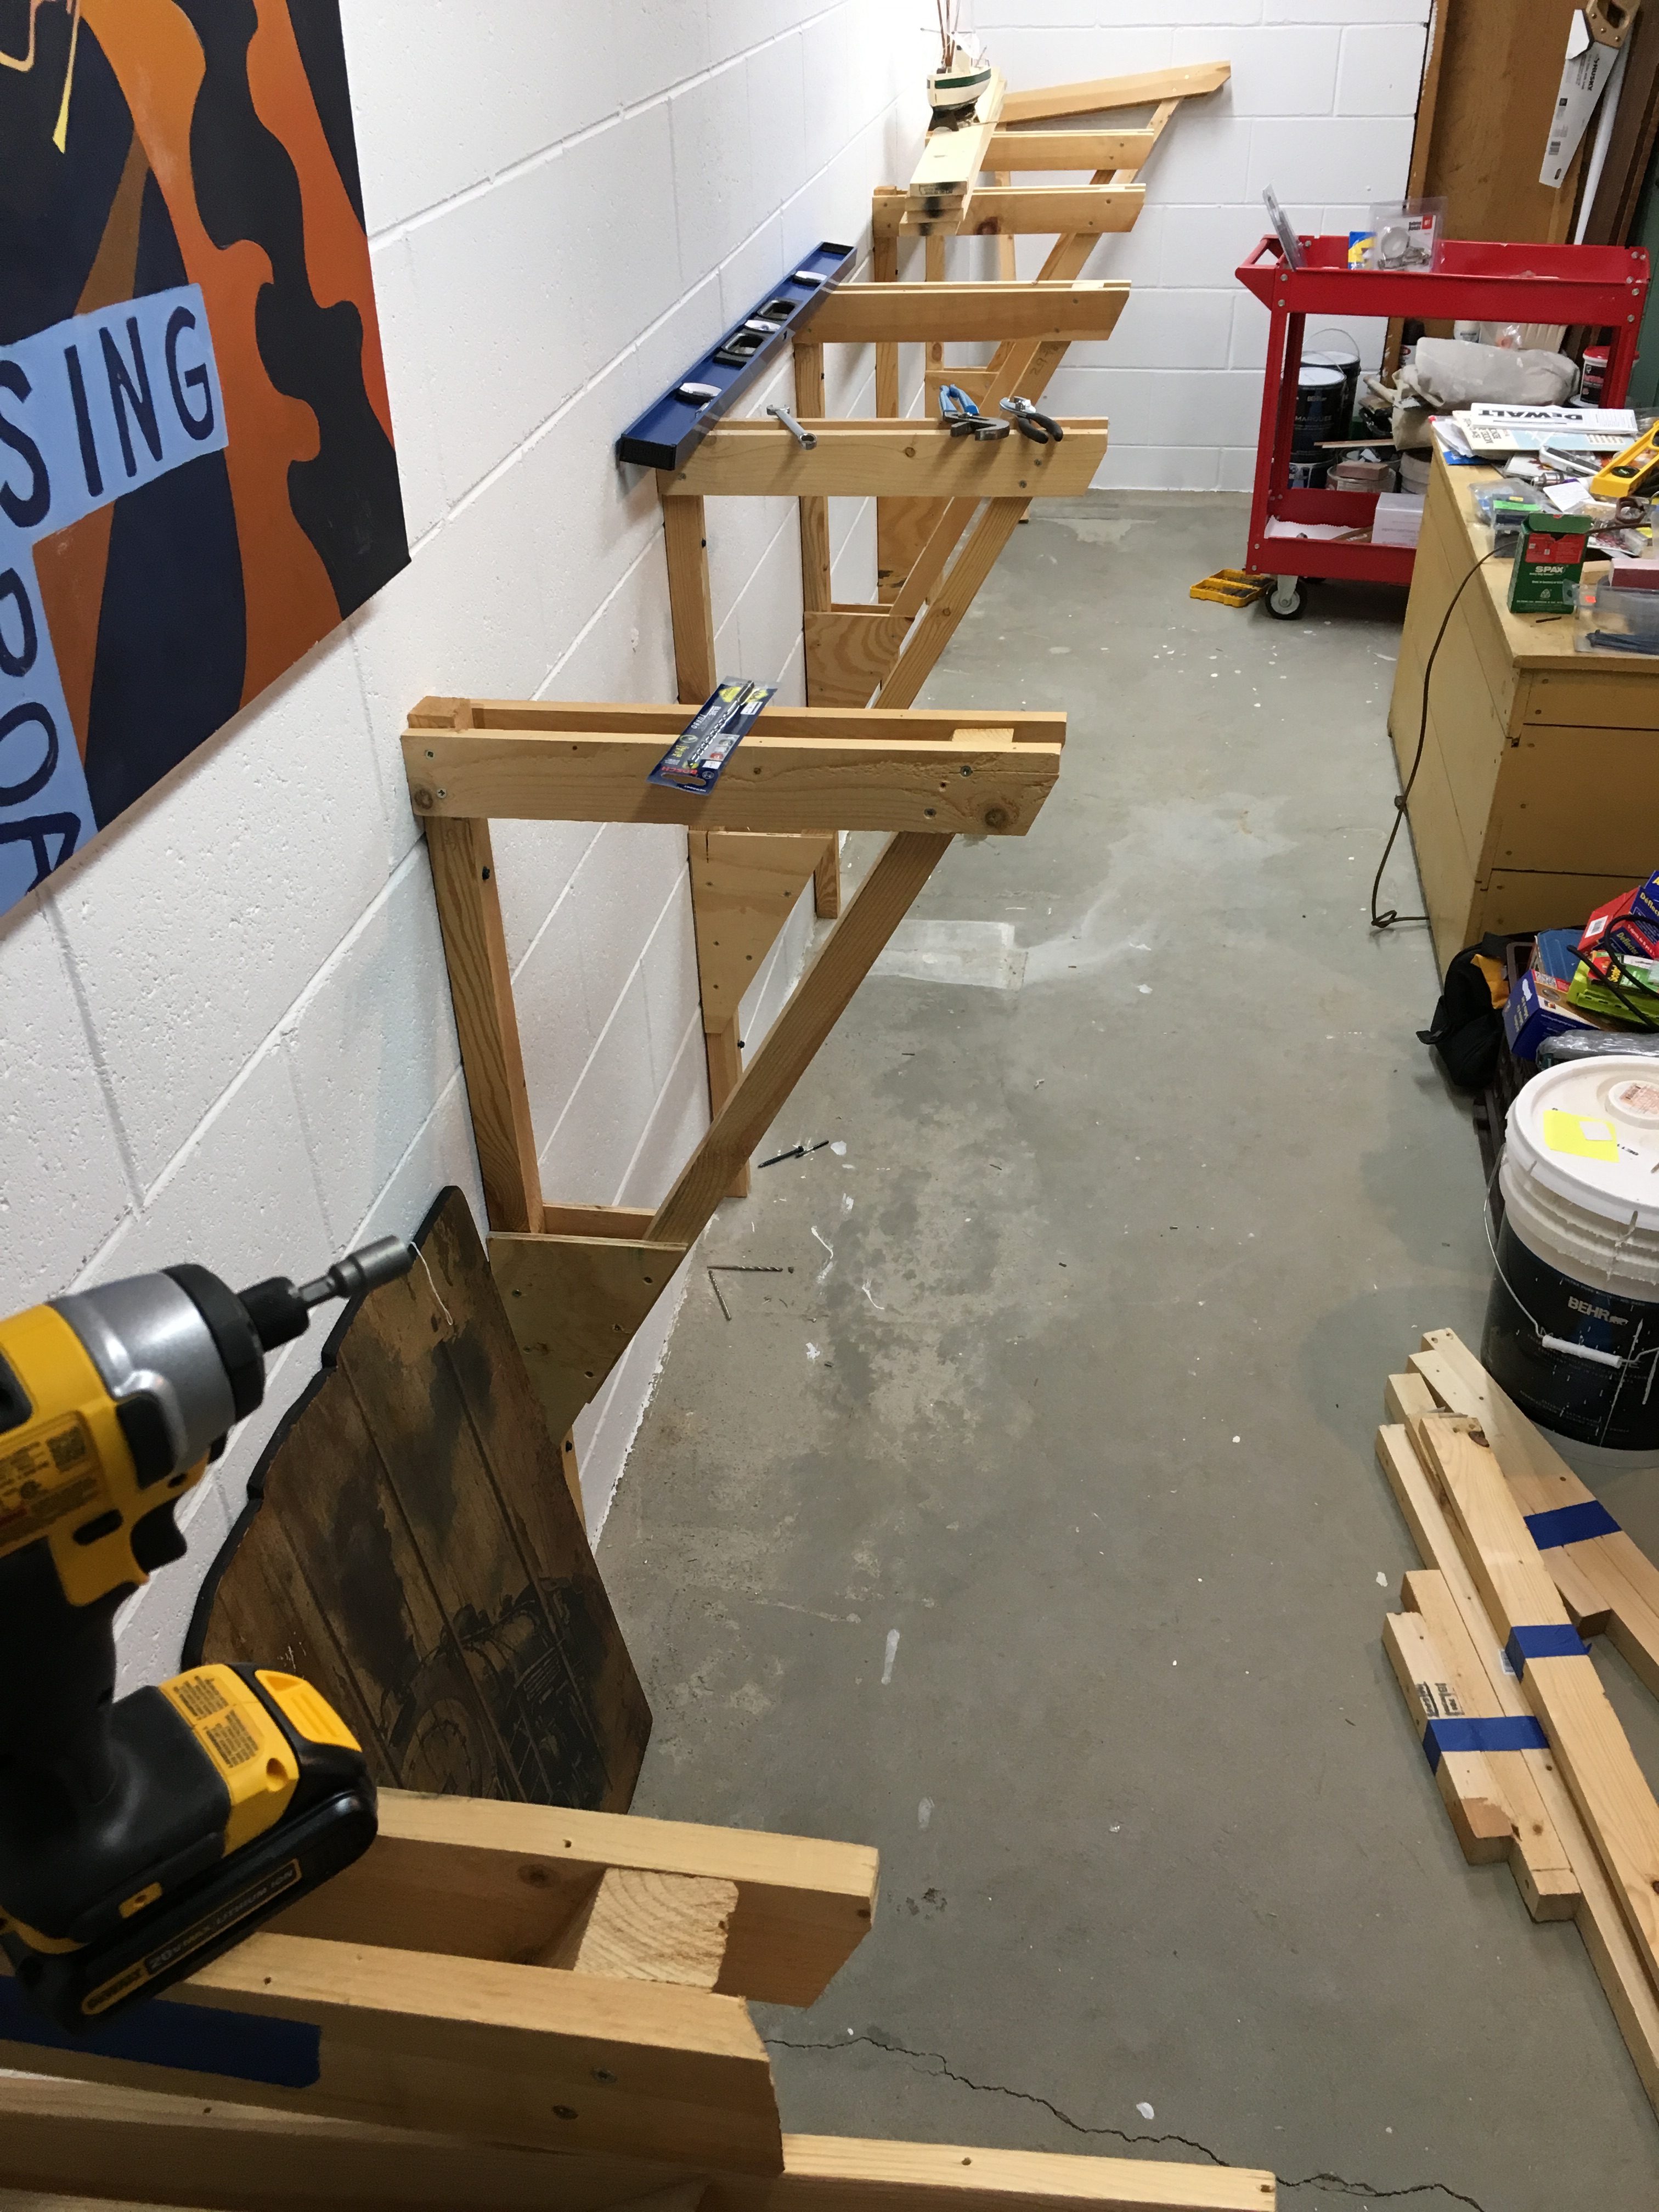
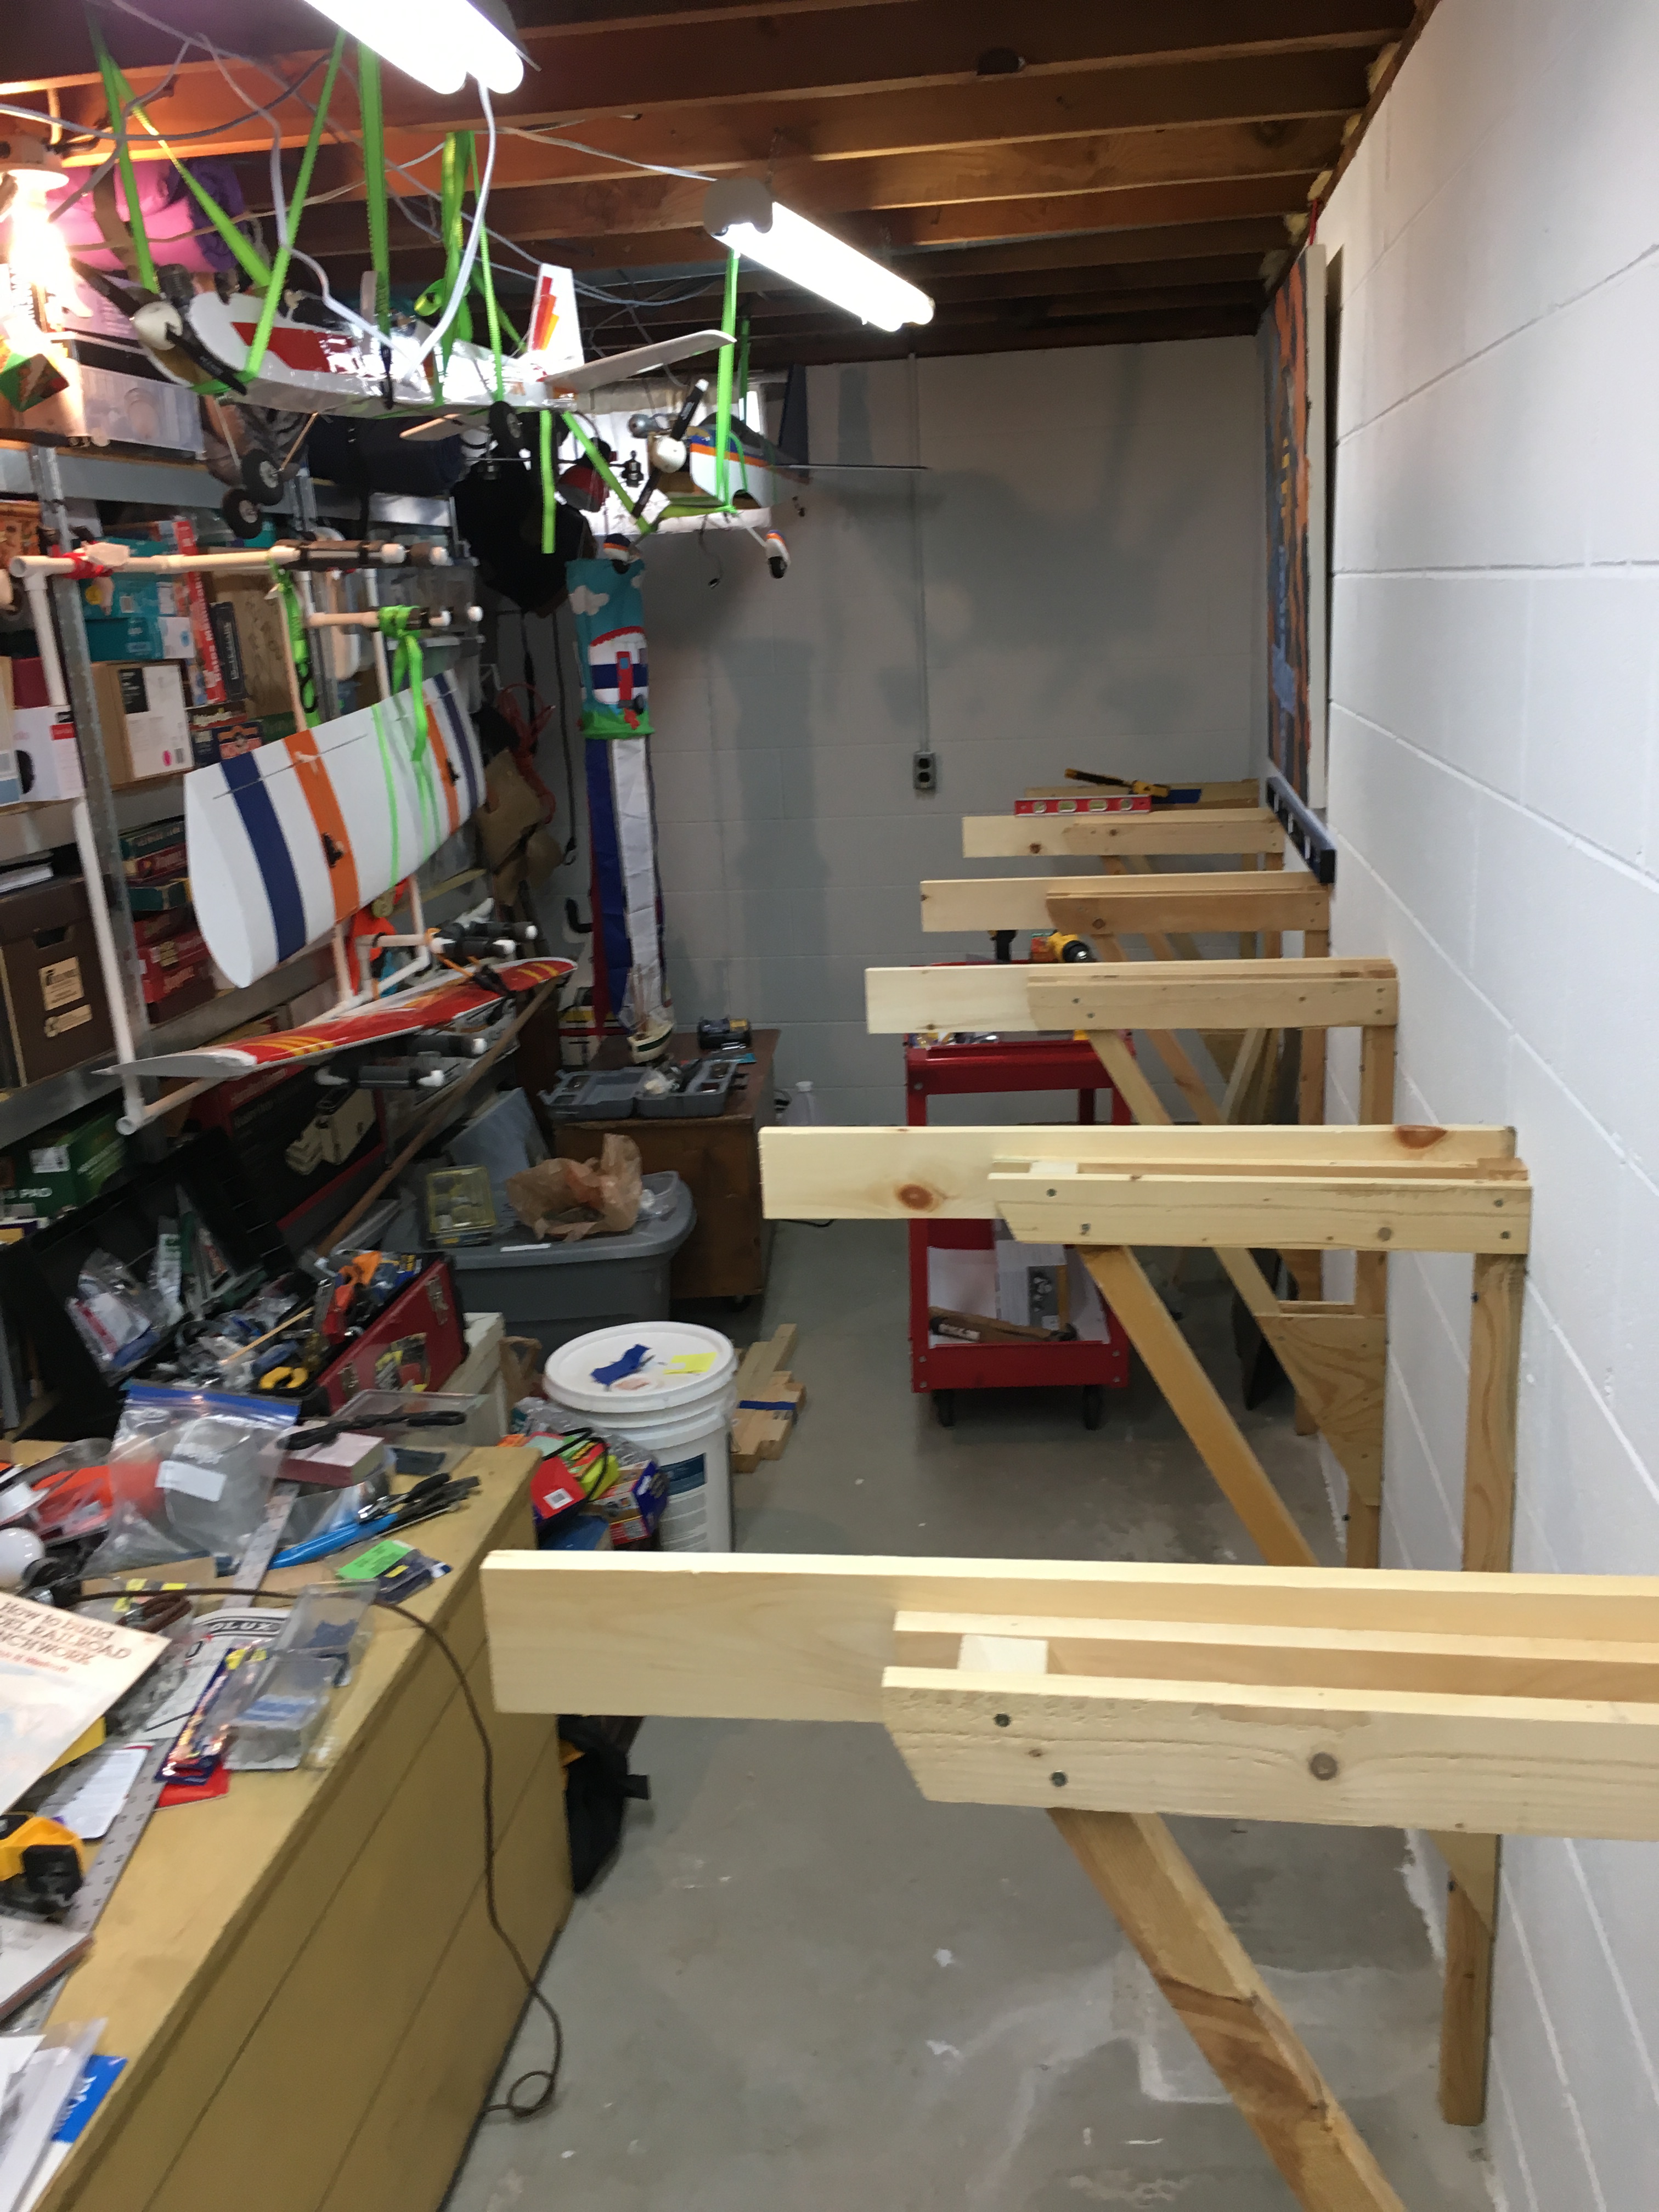
I attached the brackets to the wall leaving no more than twenty-four inches of space between them, which increased the strength of the bench. These brackets were used on a previous layout which was only twenty-four inches deep at the center. This layout is thirty-six inches deep at the middle, so the bracket arms had to be lengthened. I chose to attach a 1 x 3 inch board to each side of the arms, making sure the boards were tight against the wall, increasing arm stability. To provide even more stength, I attached a 2 x 2 inch support between each bracket, making sure each was level with the top of the bracket arm.
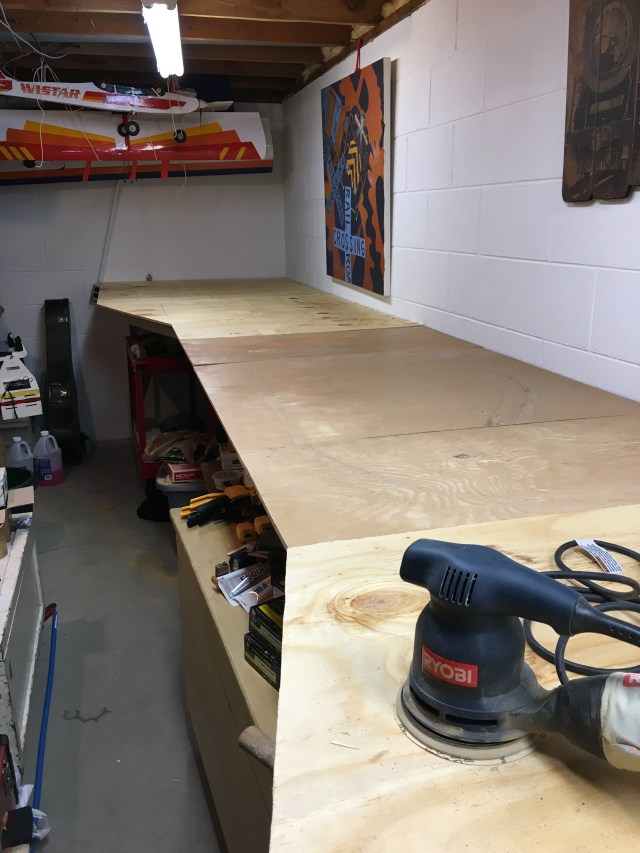
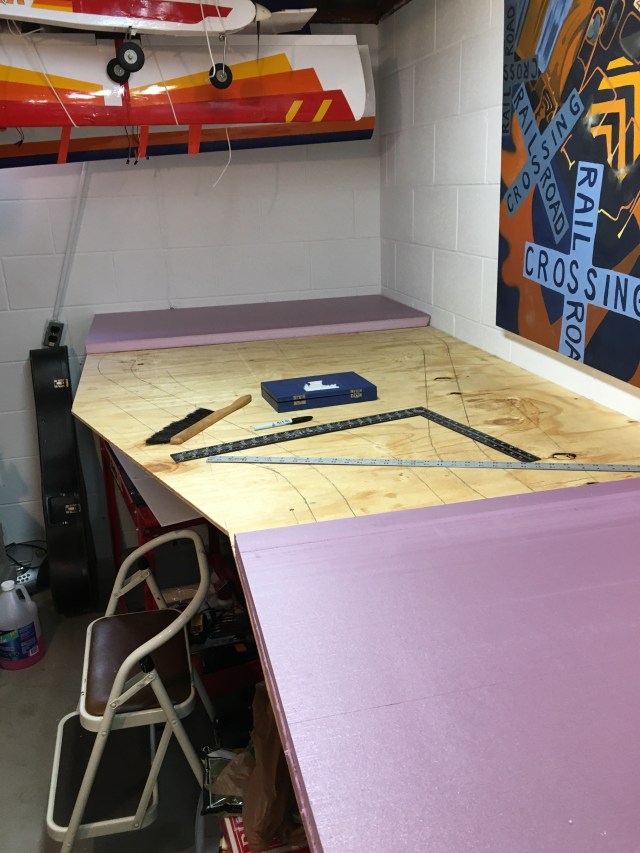
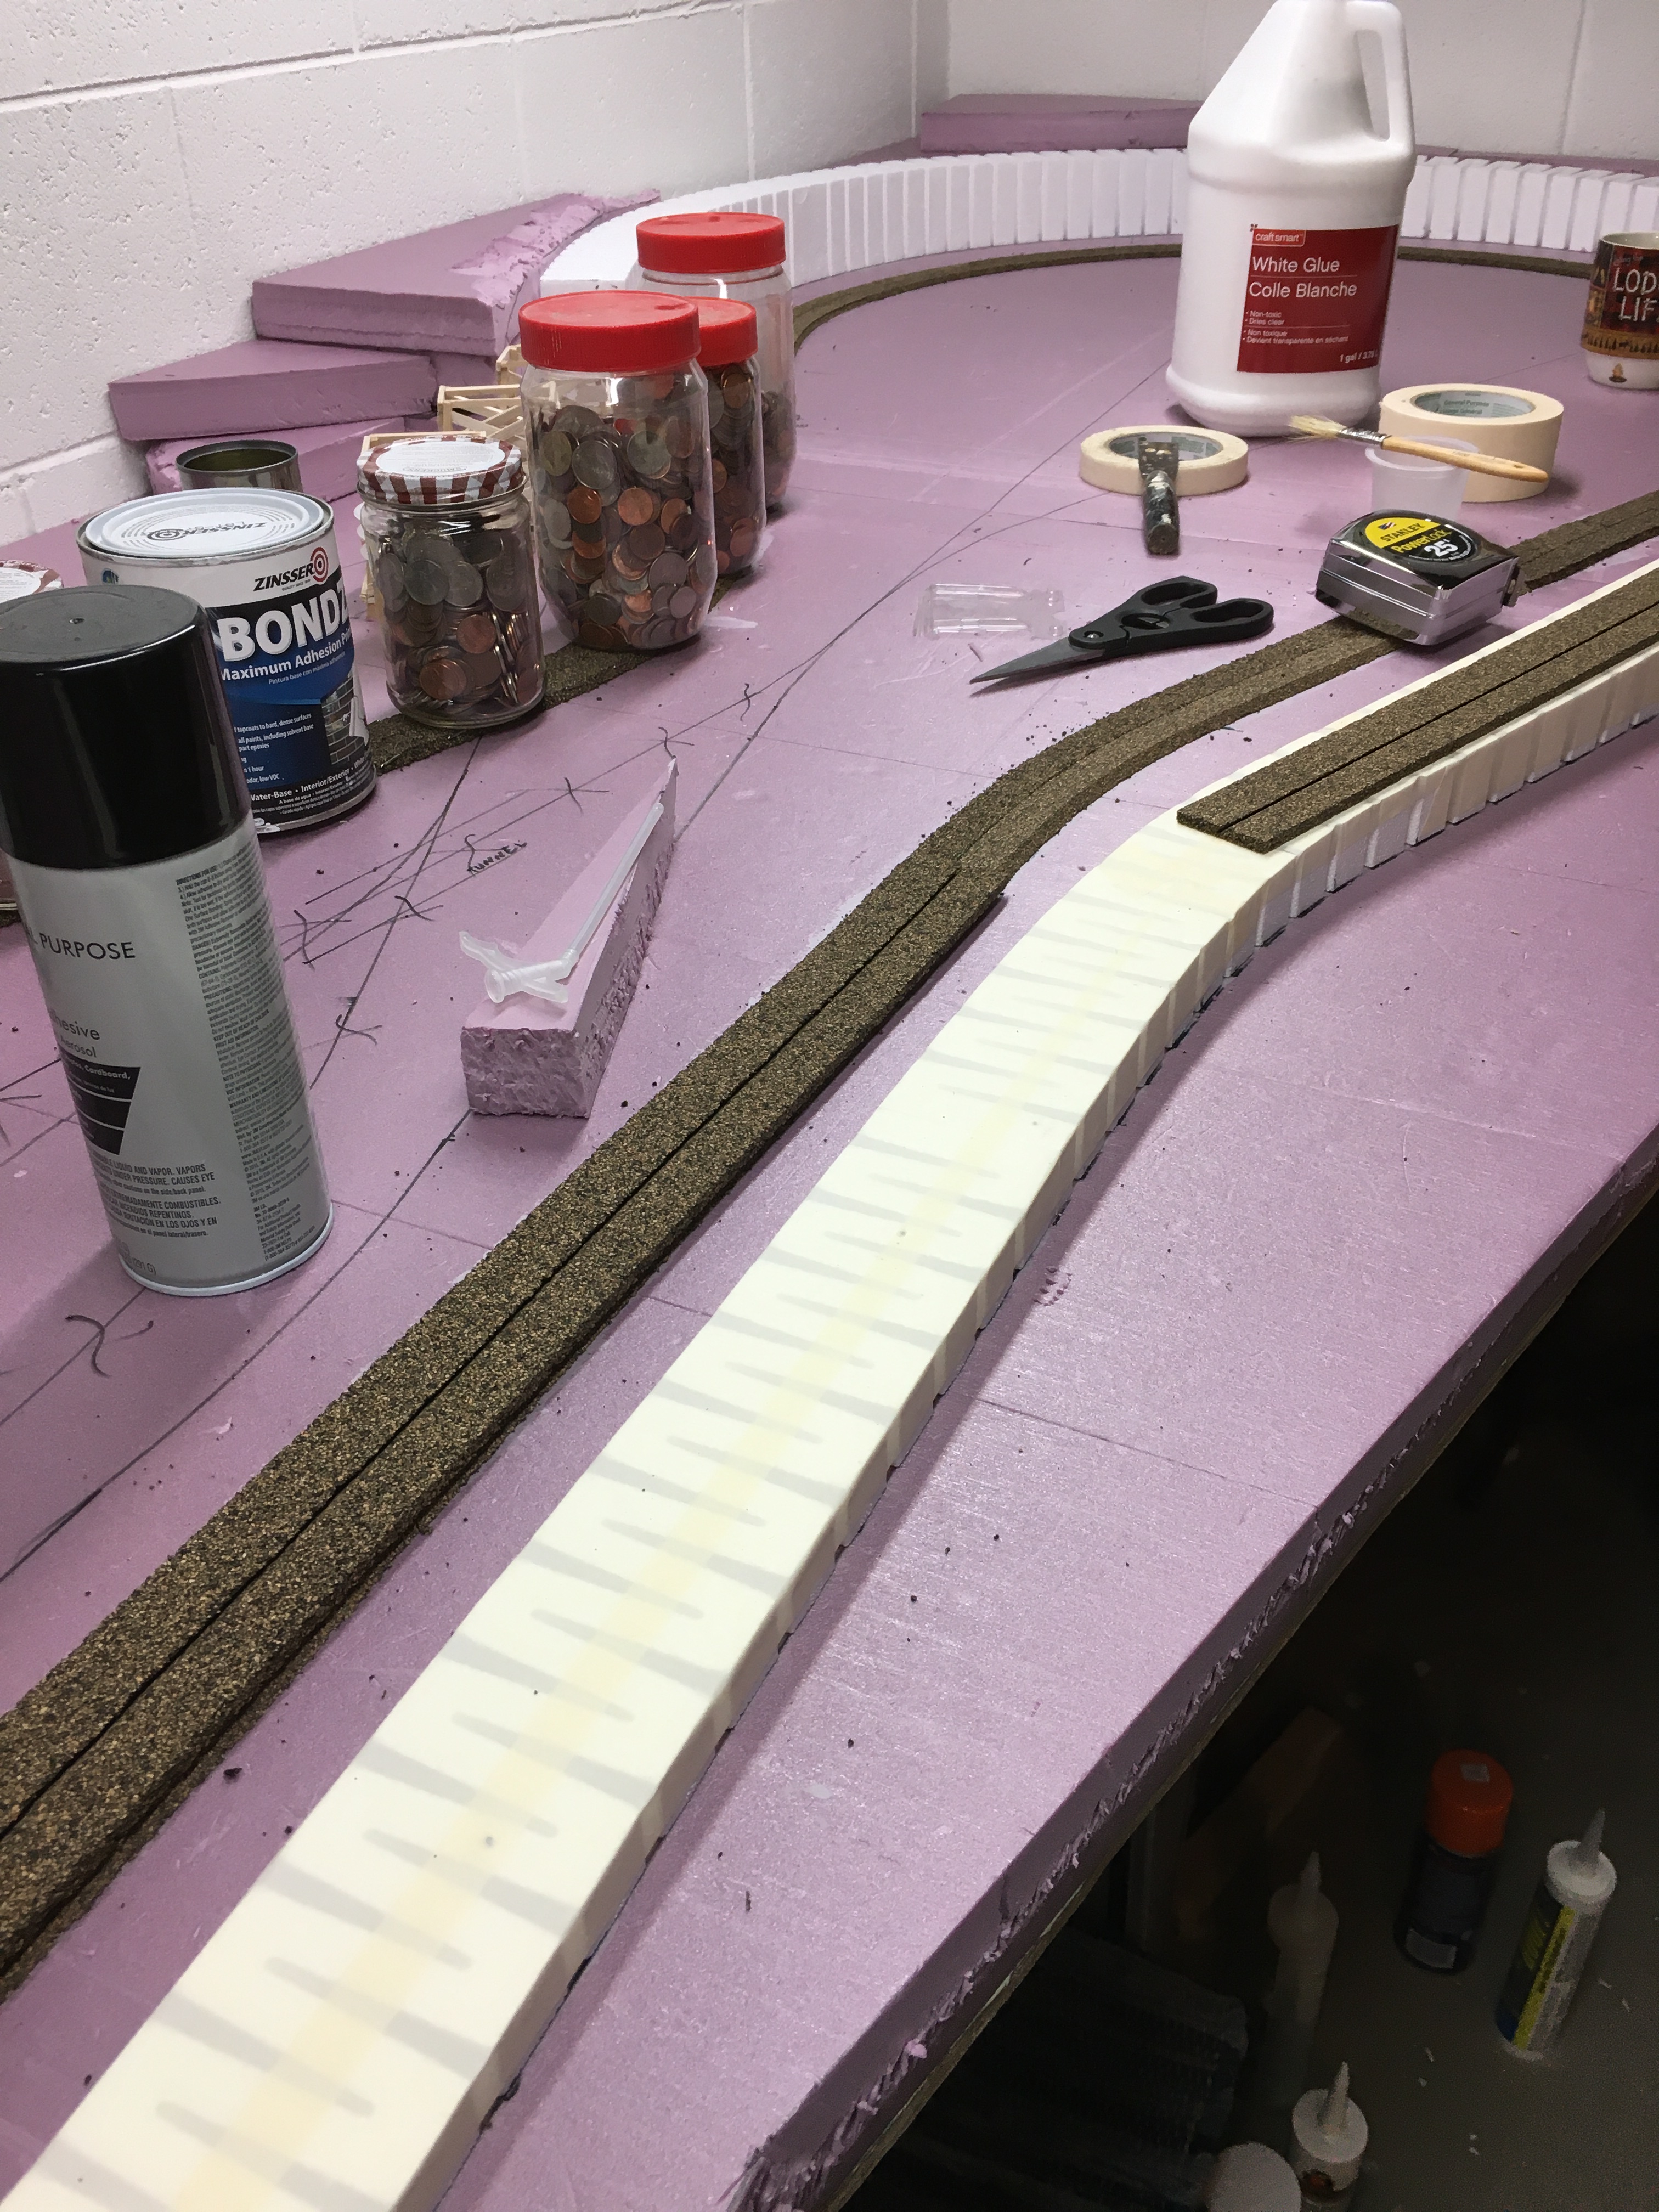
A good novel has layers of subplots adding suspense and apprehension about what the resolution might bring. Model railroads do the same. A layer of 3/8 inch plywood was added and attached to the bracket arms as the base of the layout. A layer of 1 1/2 inch extruded foam became the visible base. This is the same kind of insulating foam builders use in new house construction. Foam is a popular base as it makes attaching additional layers easy. I attached the foam pieces to the plywood with Liquid Nails.
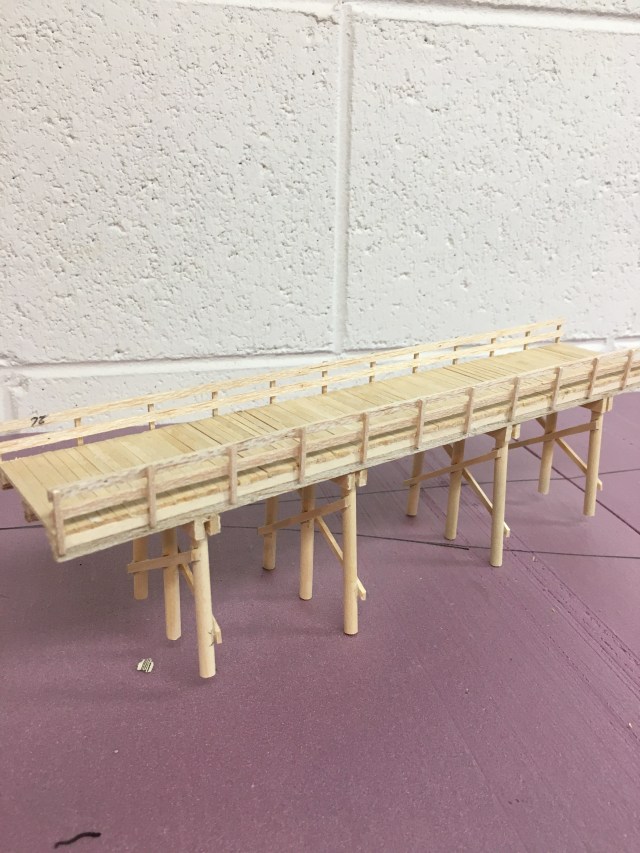
When the base layer of foam was securely fastened in place, the obvious next step in the story was to build a bridge. Ahh, the first subplot. Who could have known the Maple Valley Short Line included mountains and a river when only a flat pink surface was visible? Every artist sees far beyond the simple strokes with which a masterpiece begins.
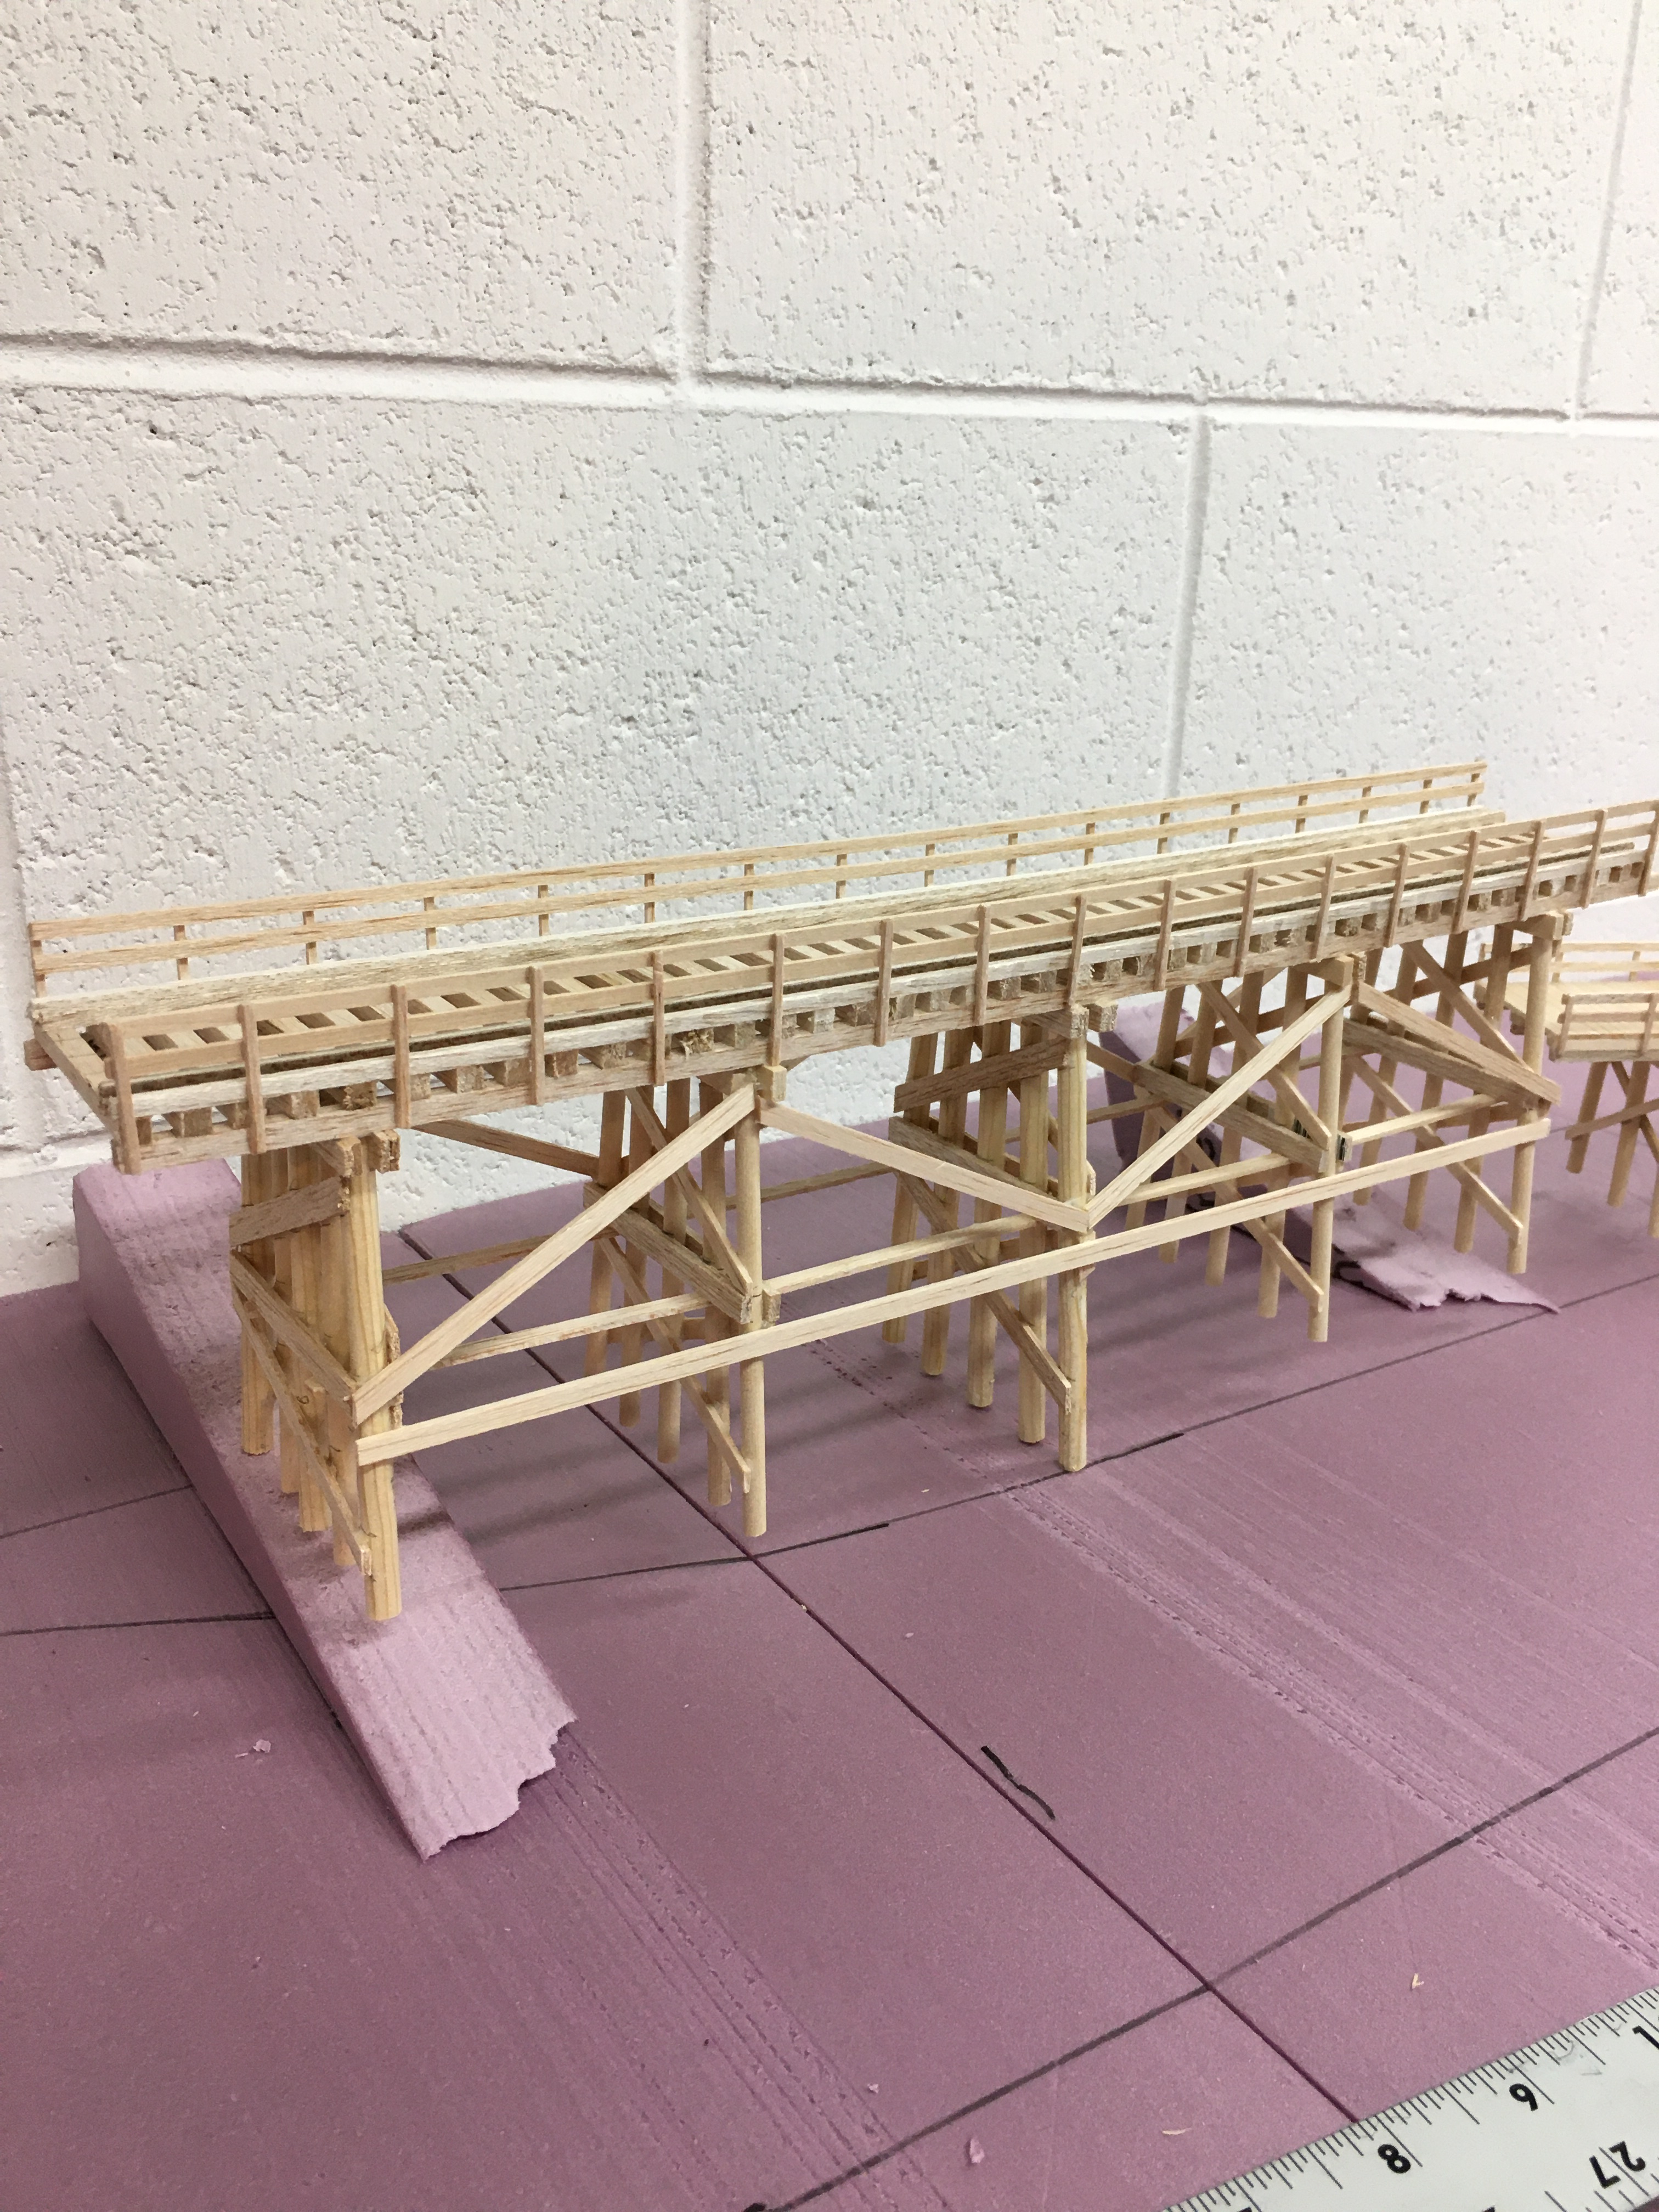
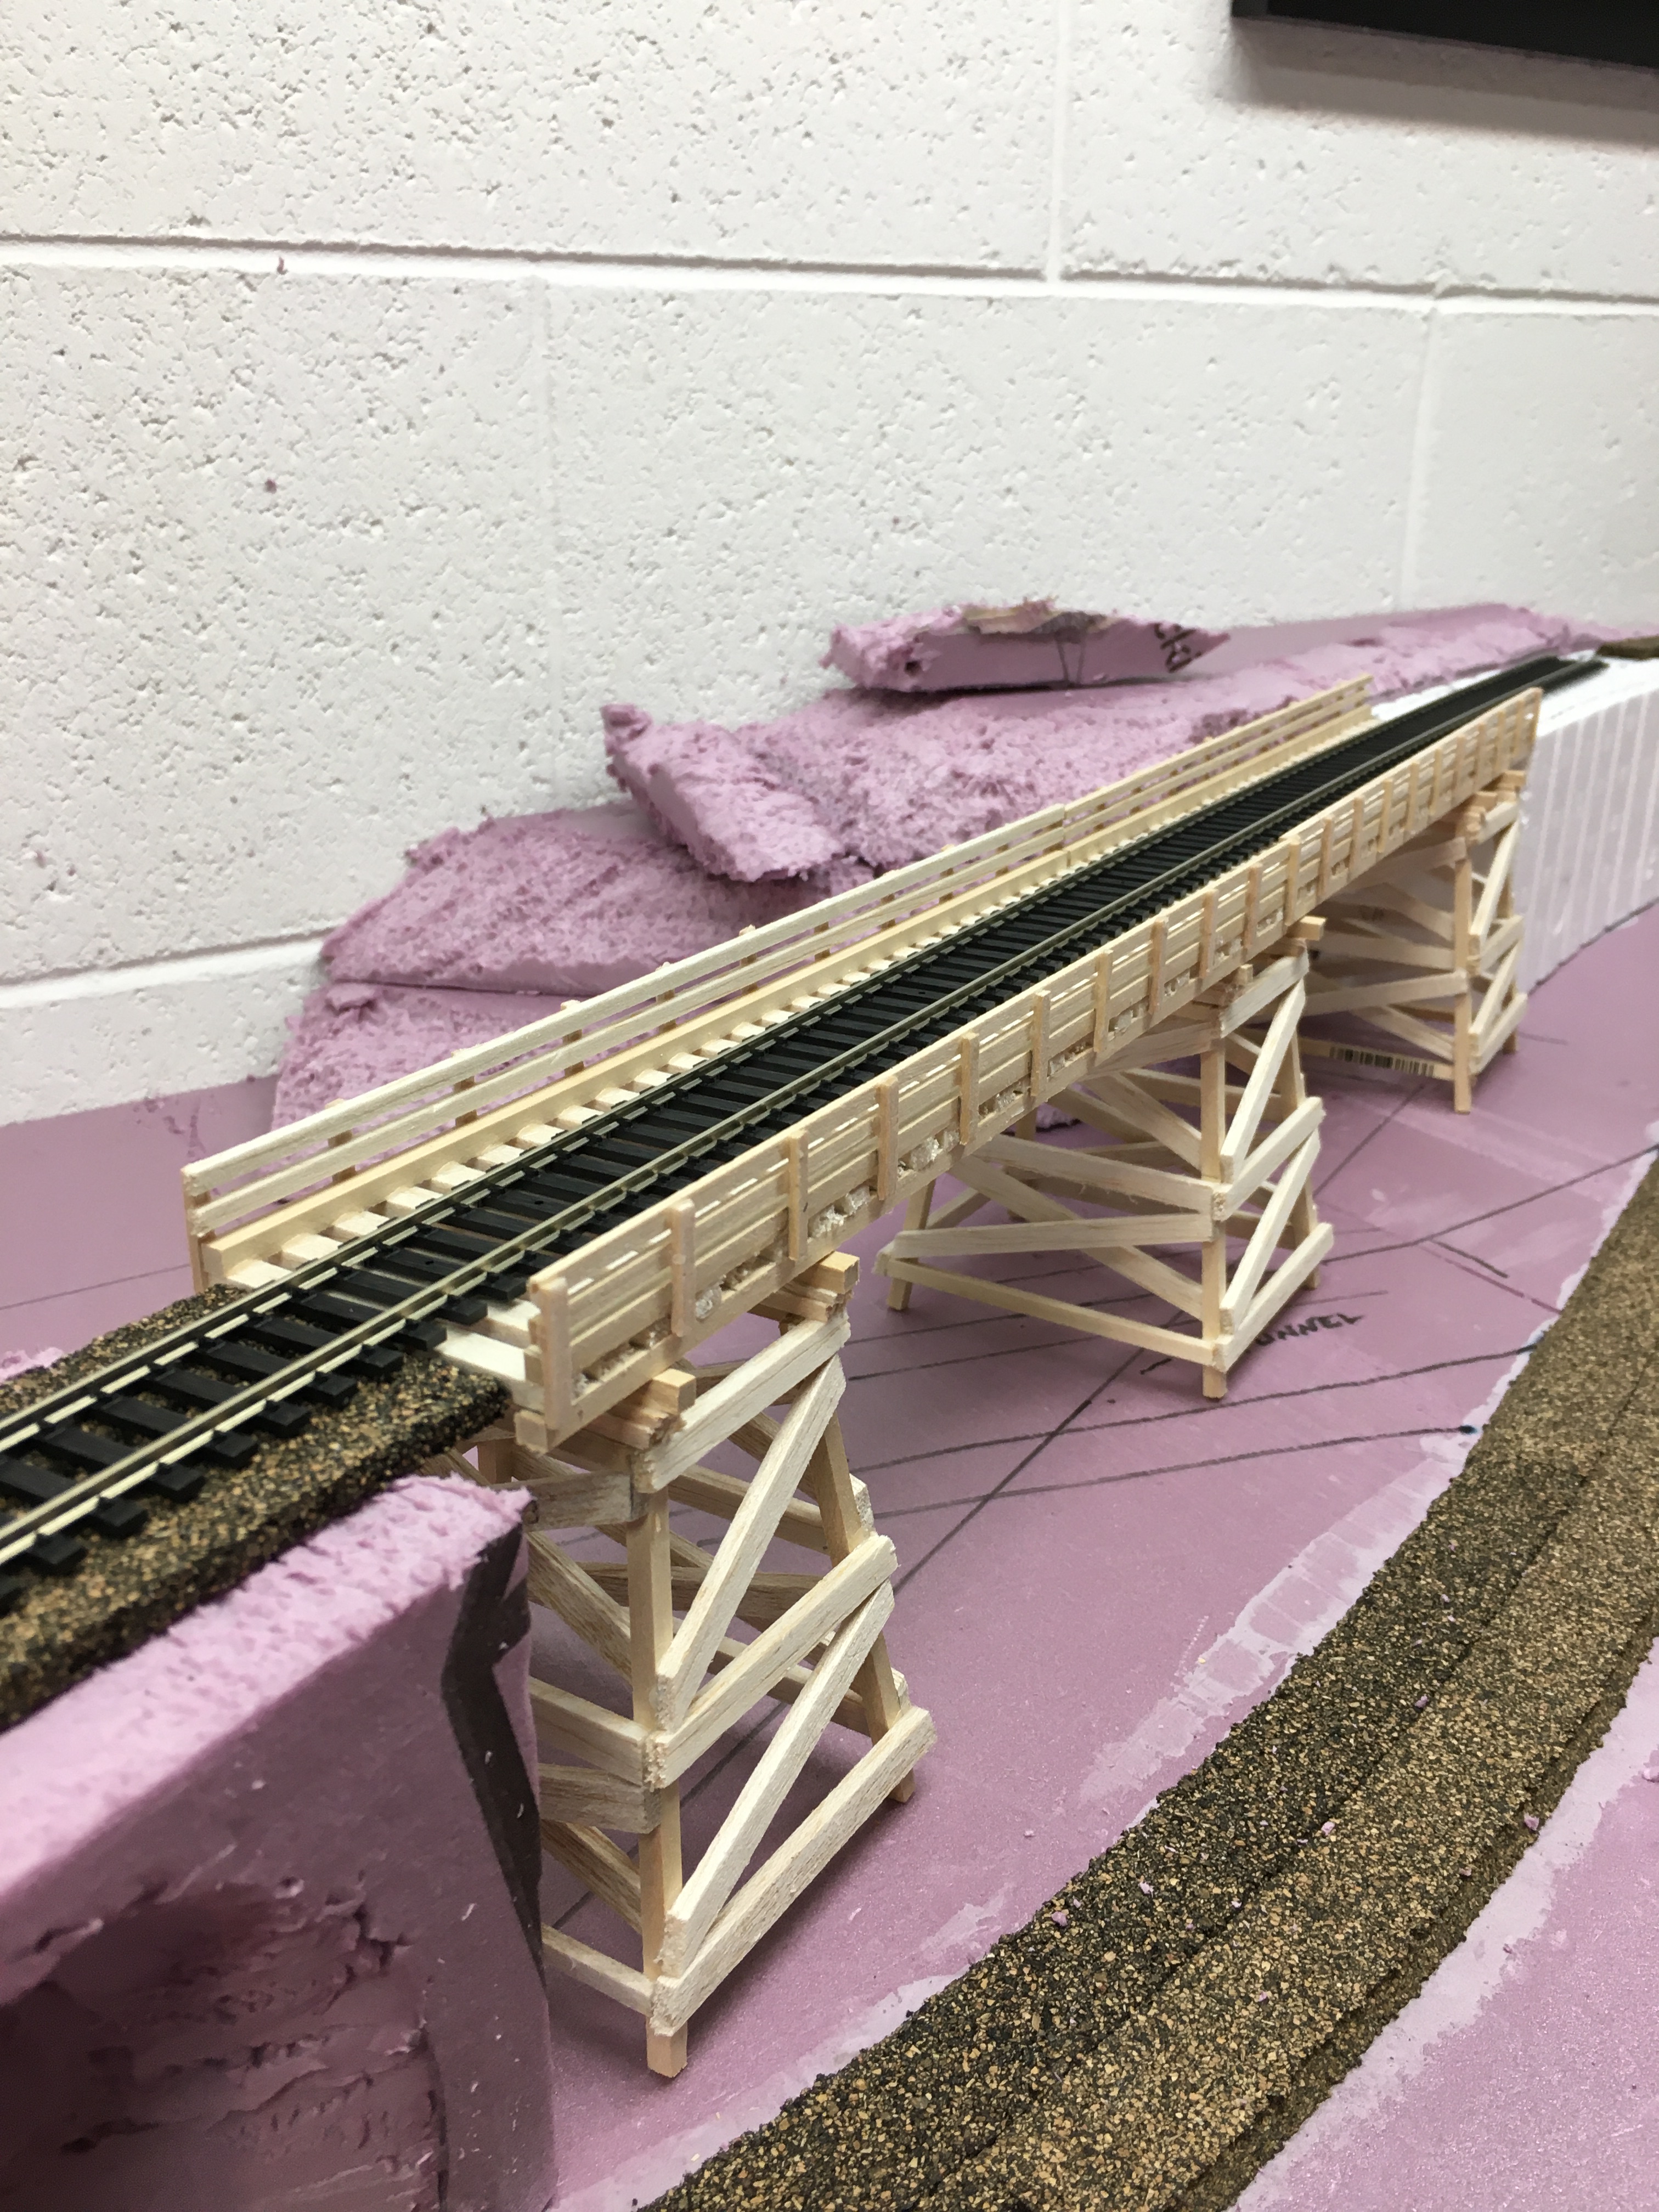
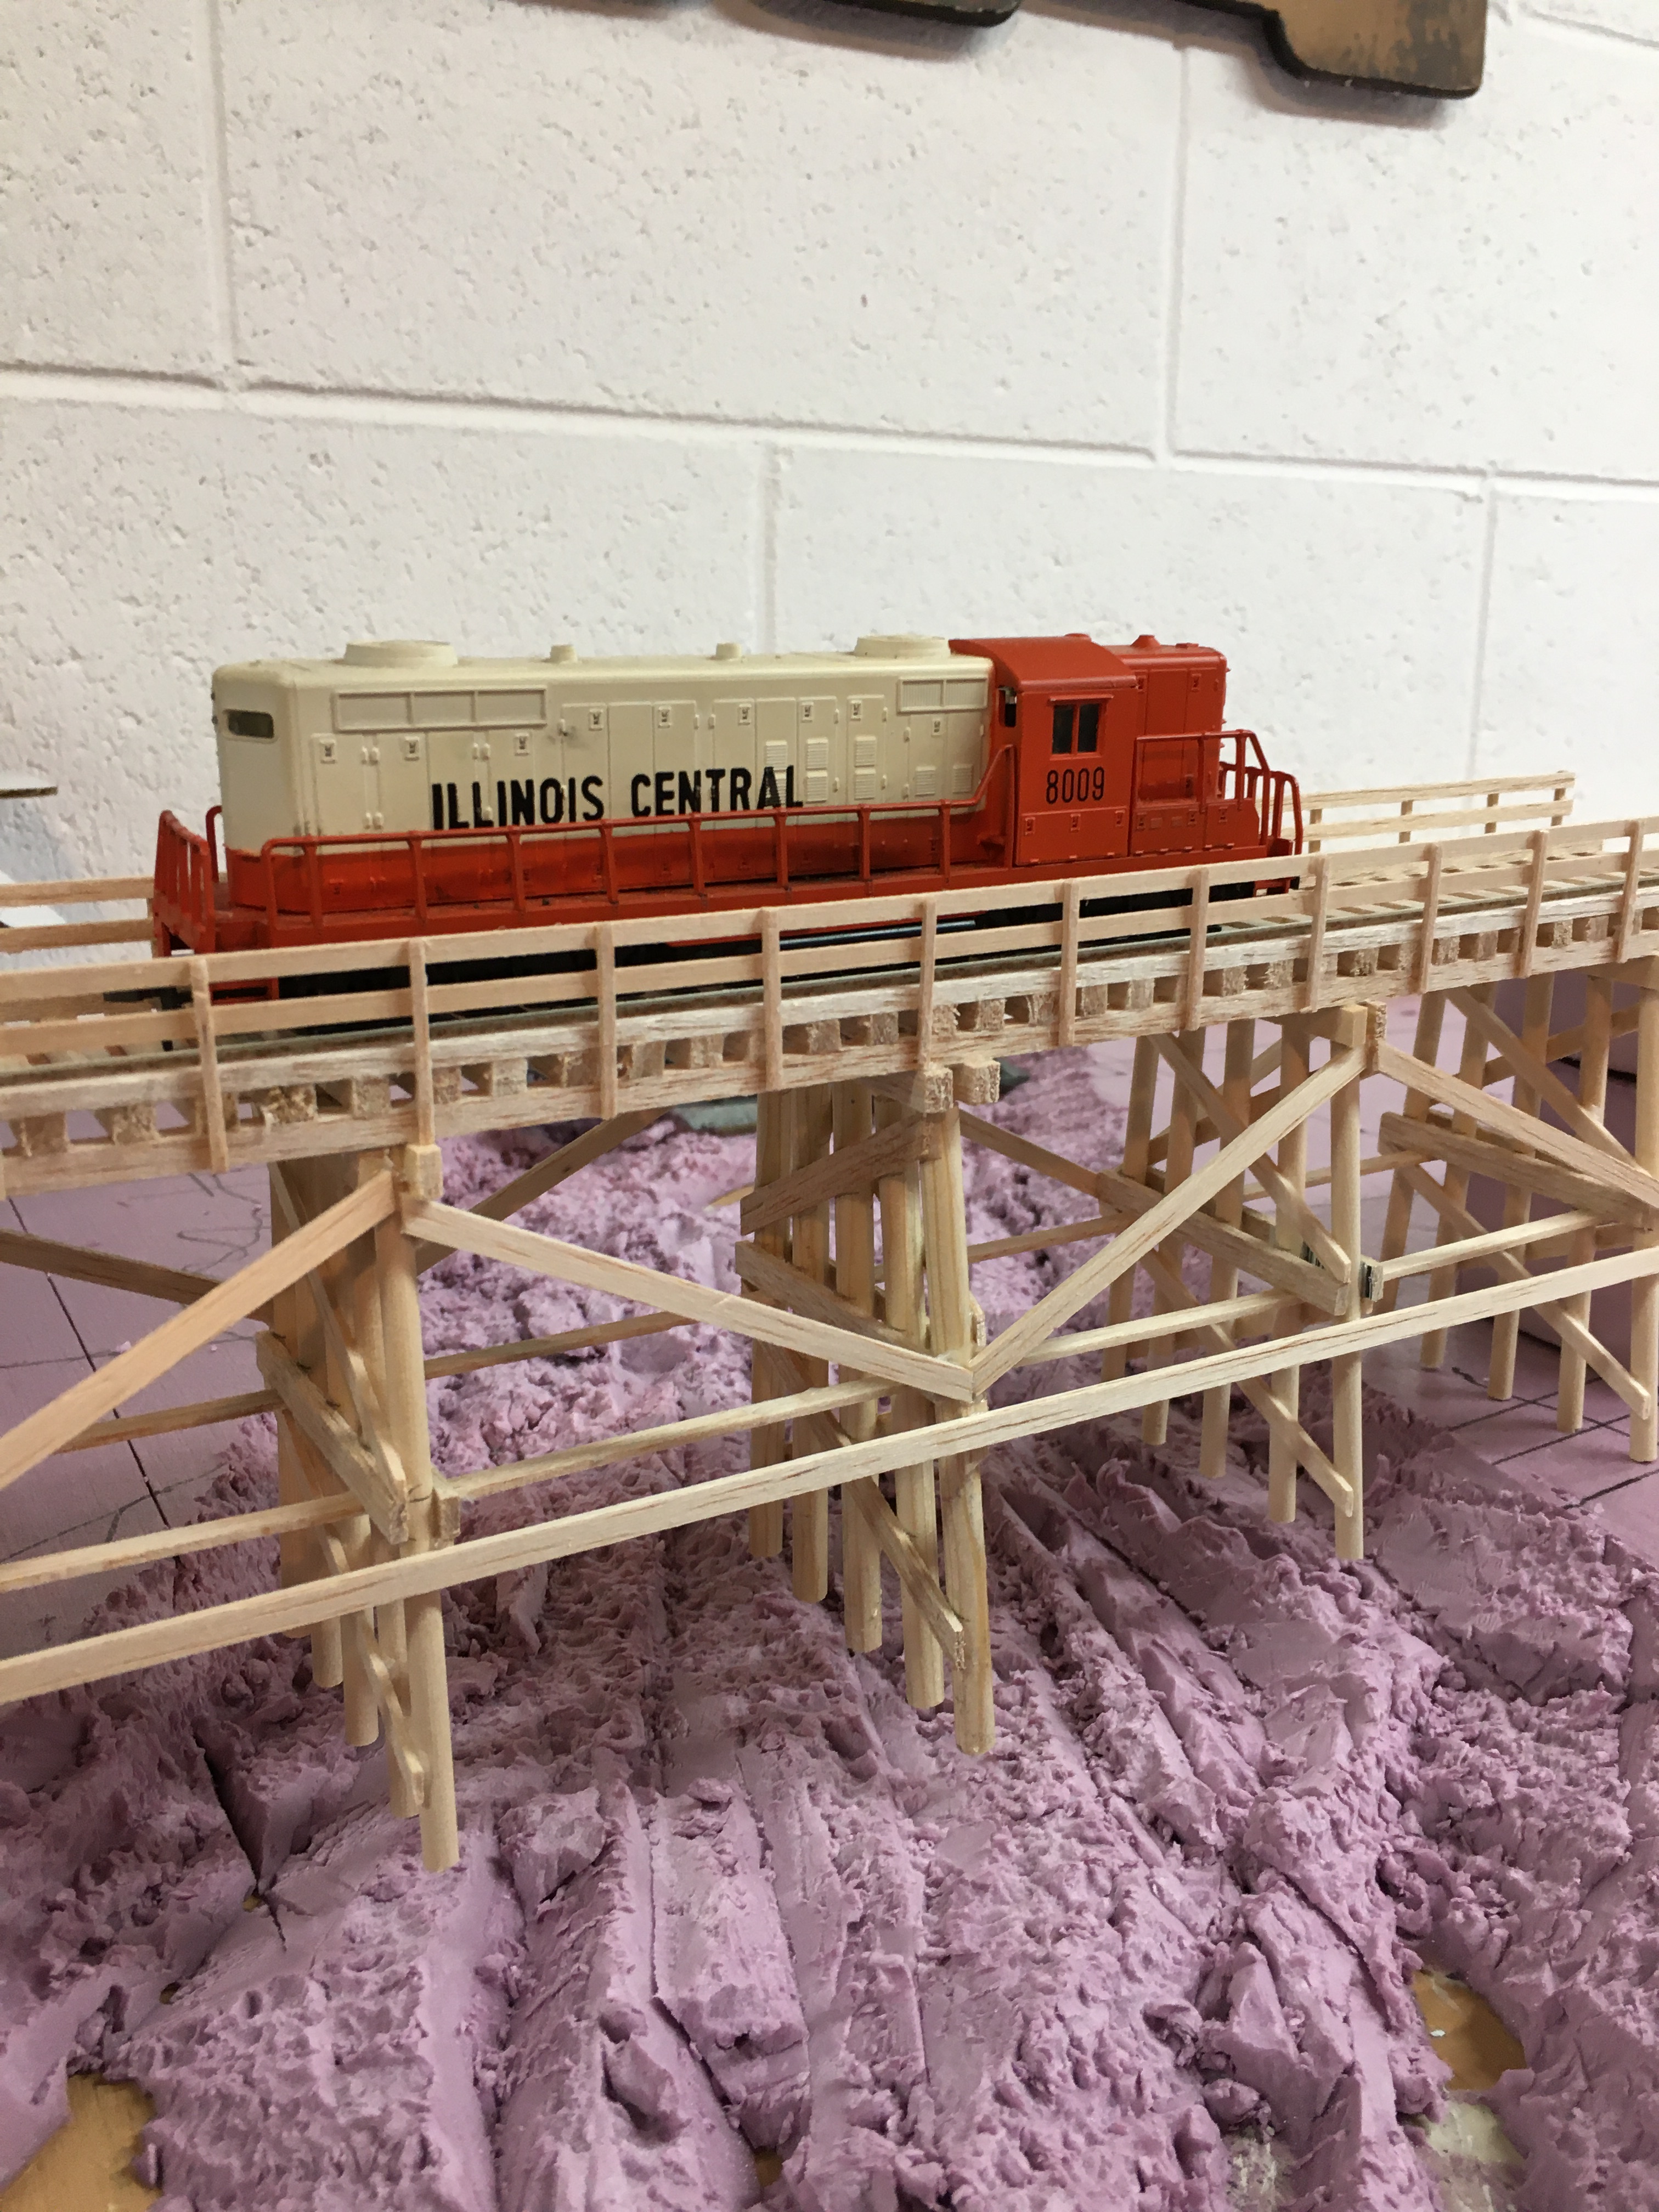
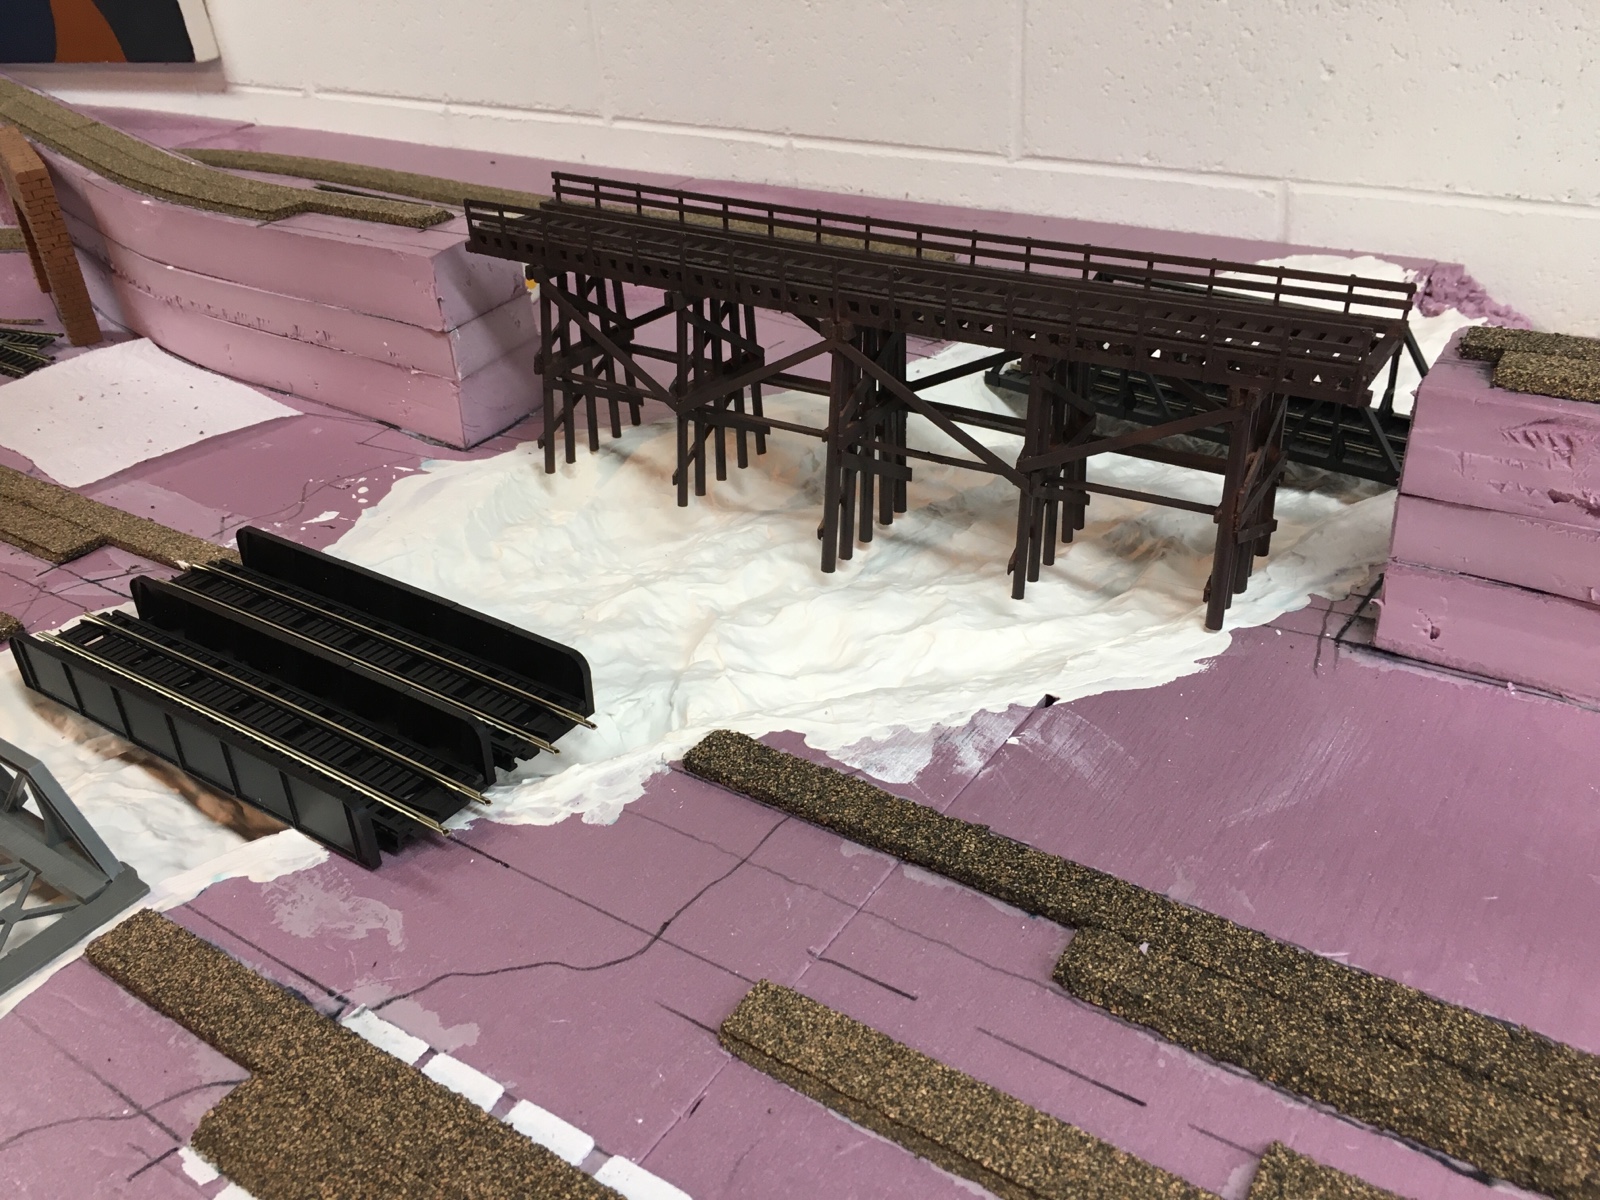
After completing a perfectly wonderful bridge, the next logical step was to build a larger trestle-style bridge, and then another. At this point in the story, characters begin to ask questions of the writer who created them. They start conversations with each other without asking permission.
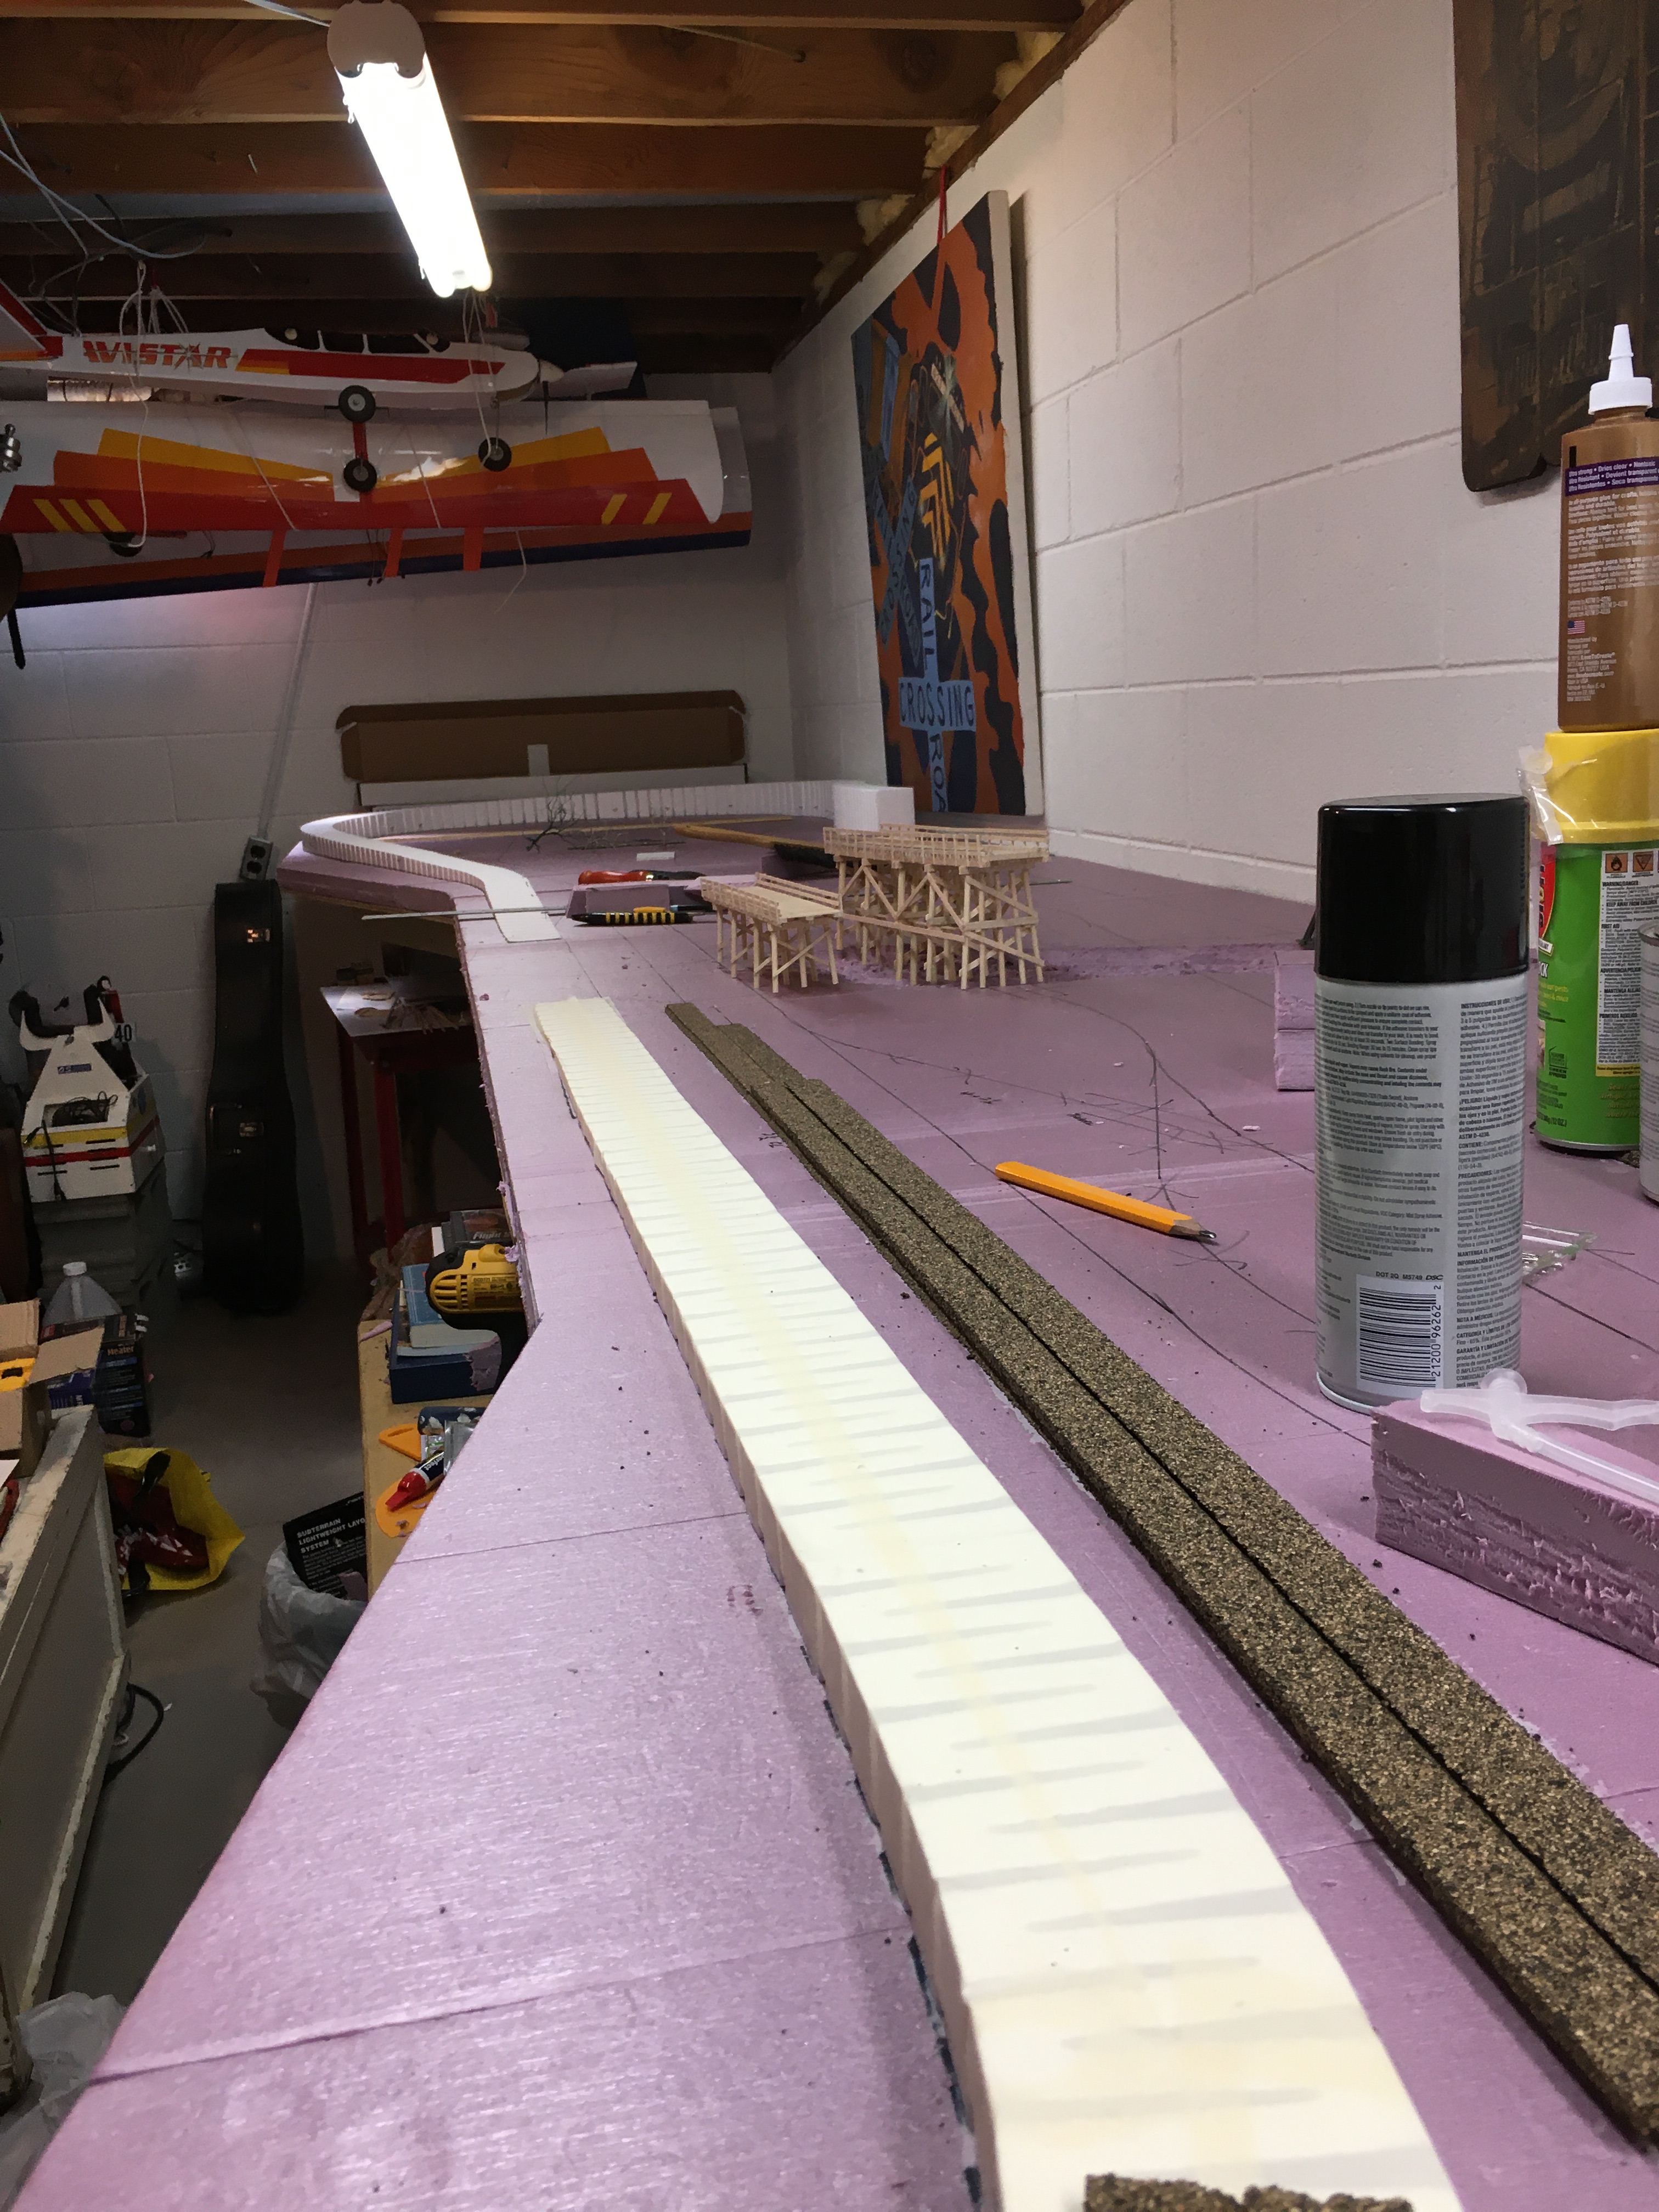
In a novel plot there is a rise in the action. Trains will have to rise four inches to the height of the bridge decks. The solution to the problem of taking trains from the surface of the layout to the deck of a bridge is styrofoam risers. Grade percentage is an important consideration when choosing a riser. I wanted my locomotives to be able to pull many cars to four inches without difficulty. The result is sixteen feet of 2% grade. However, reaching the bridge height is not the only problem. Bringing the trains back down to the surface is also necessary, requiring another sixteen feet of 2% grade. Problem solved.
The next task was digging a river in the foam so the trestle-bridge would look terrific spanning it. Having never done it before, I decided the best way to create a river was to just start hacking away at the foam with a utility blade. I scraped, sliced, pealed, scratched, dug, and gouged until I was somewhat satisfied with the appearance of my foam riverbed.
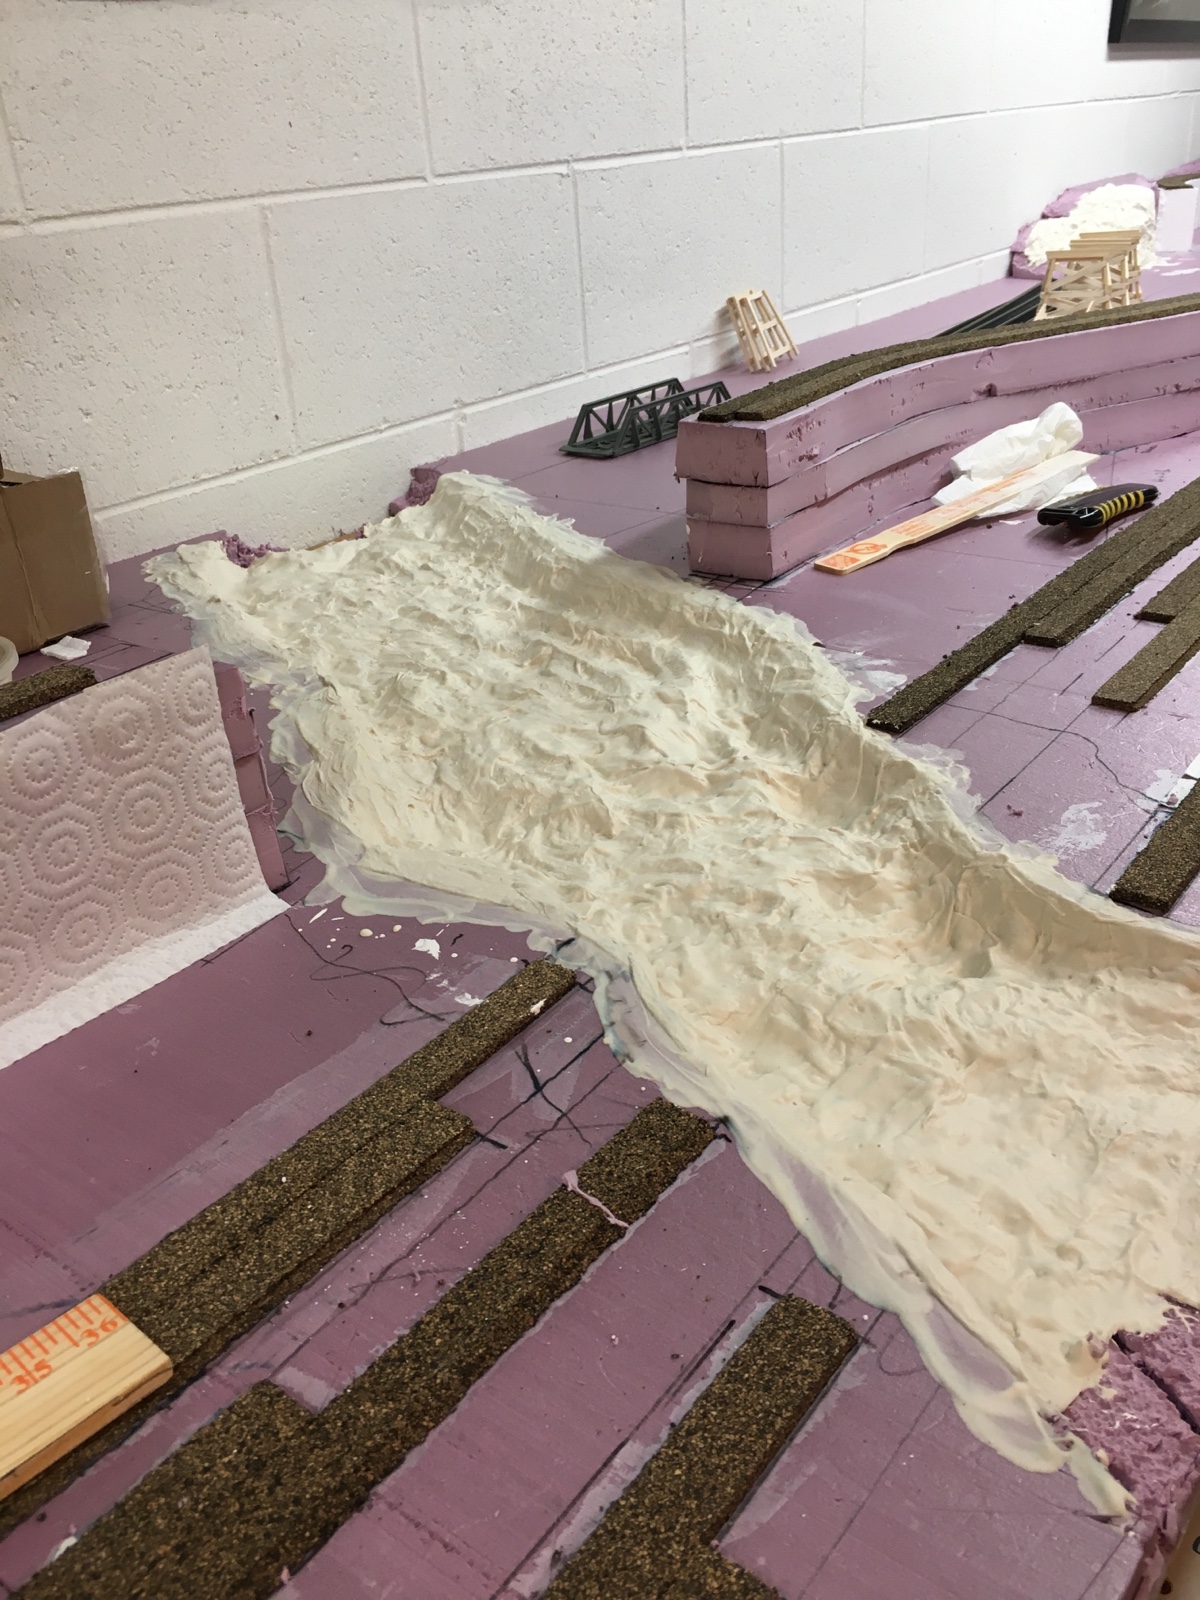
I had to be careful to dig out a convincing river without exposing the plywood, so I only had 1 1/2 inches to use. I then used plaster-saturated paper towel to line and shape the riverbed, making sure the plaster material was thick enough to seal the surface and prevent epoxy from seeping through.
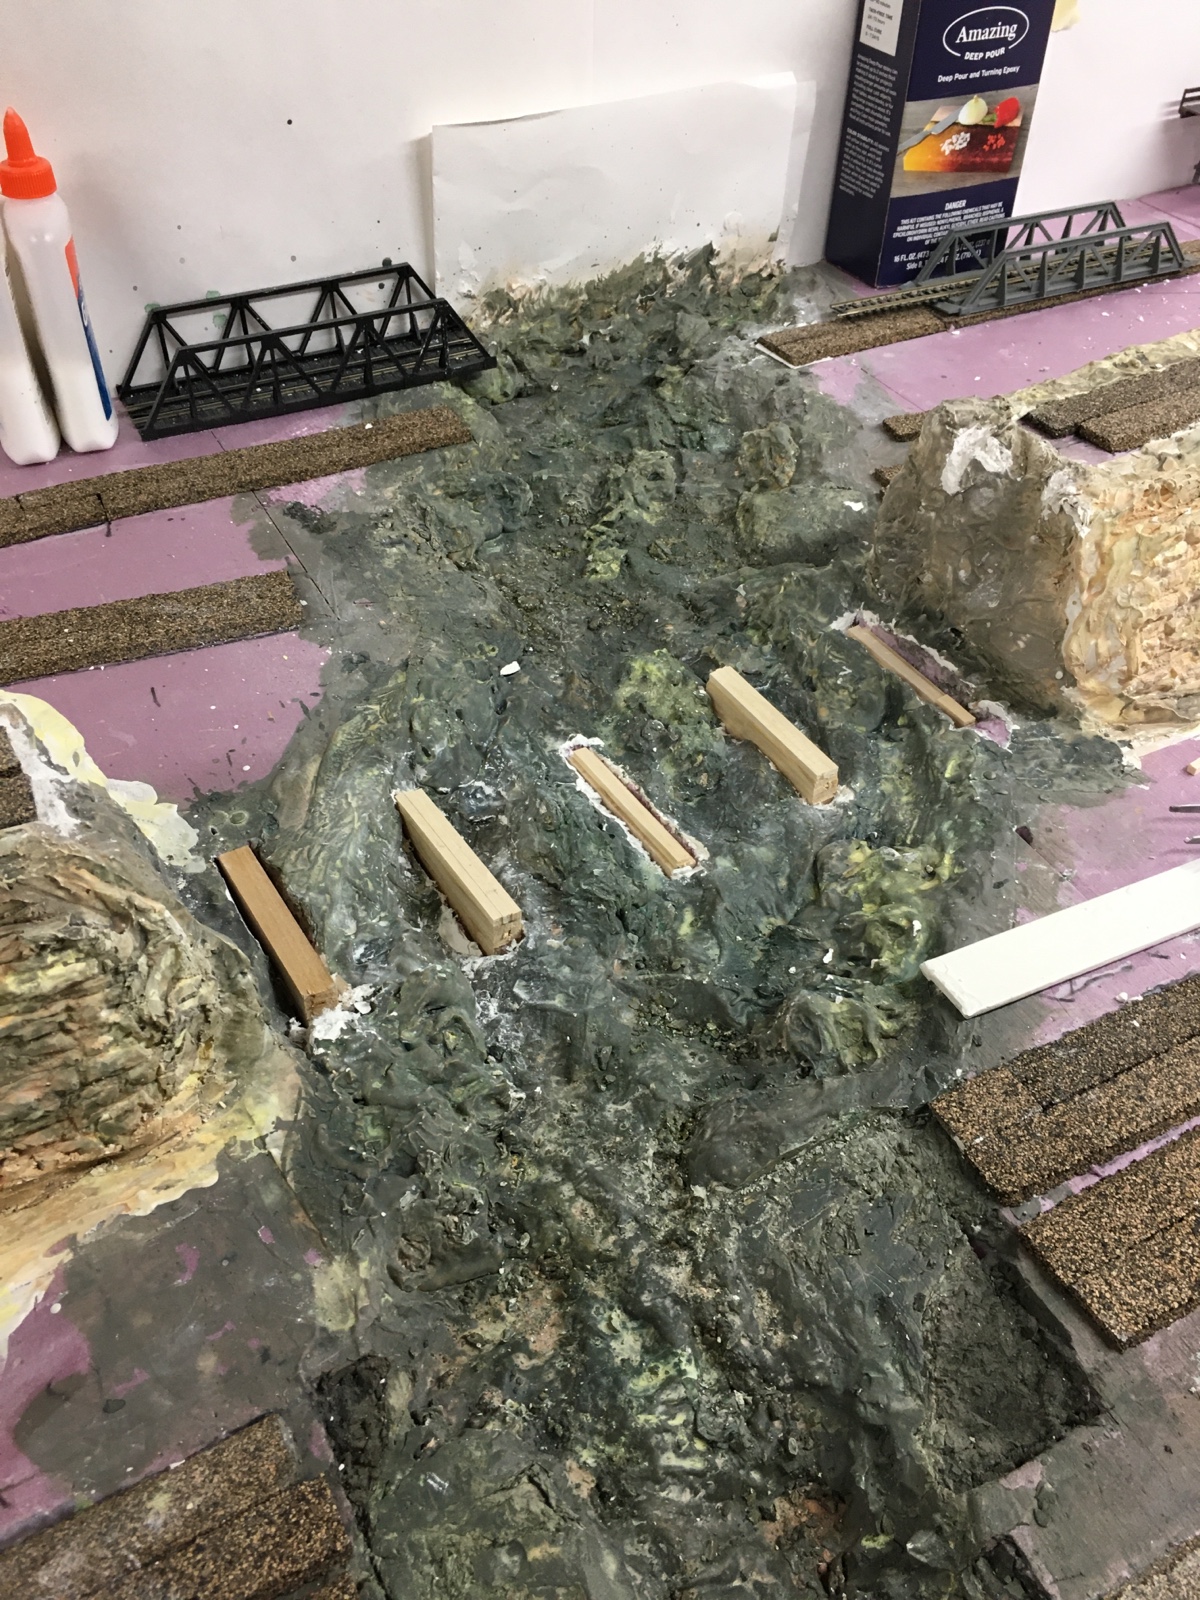
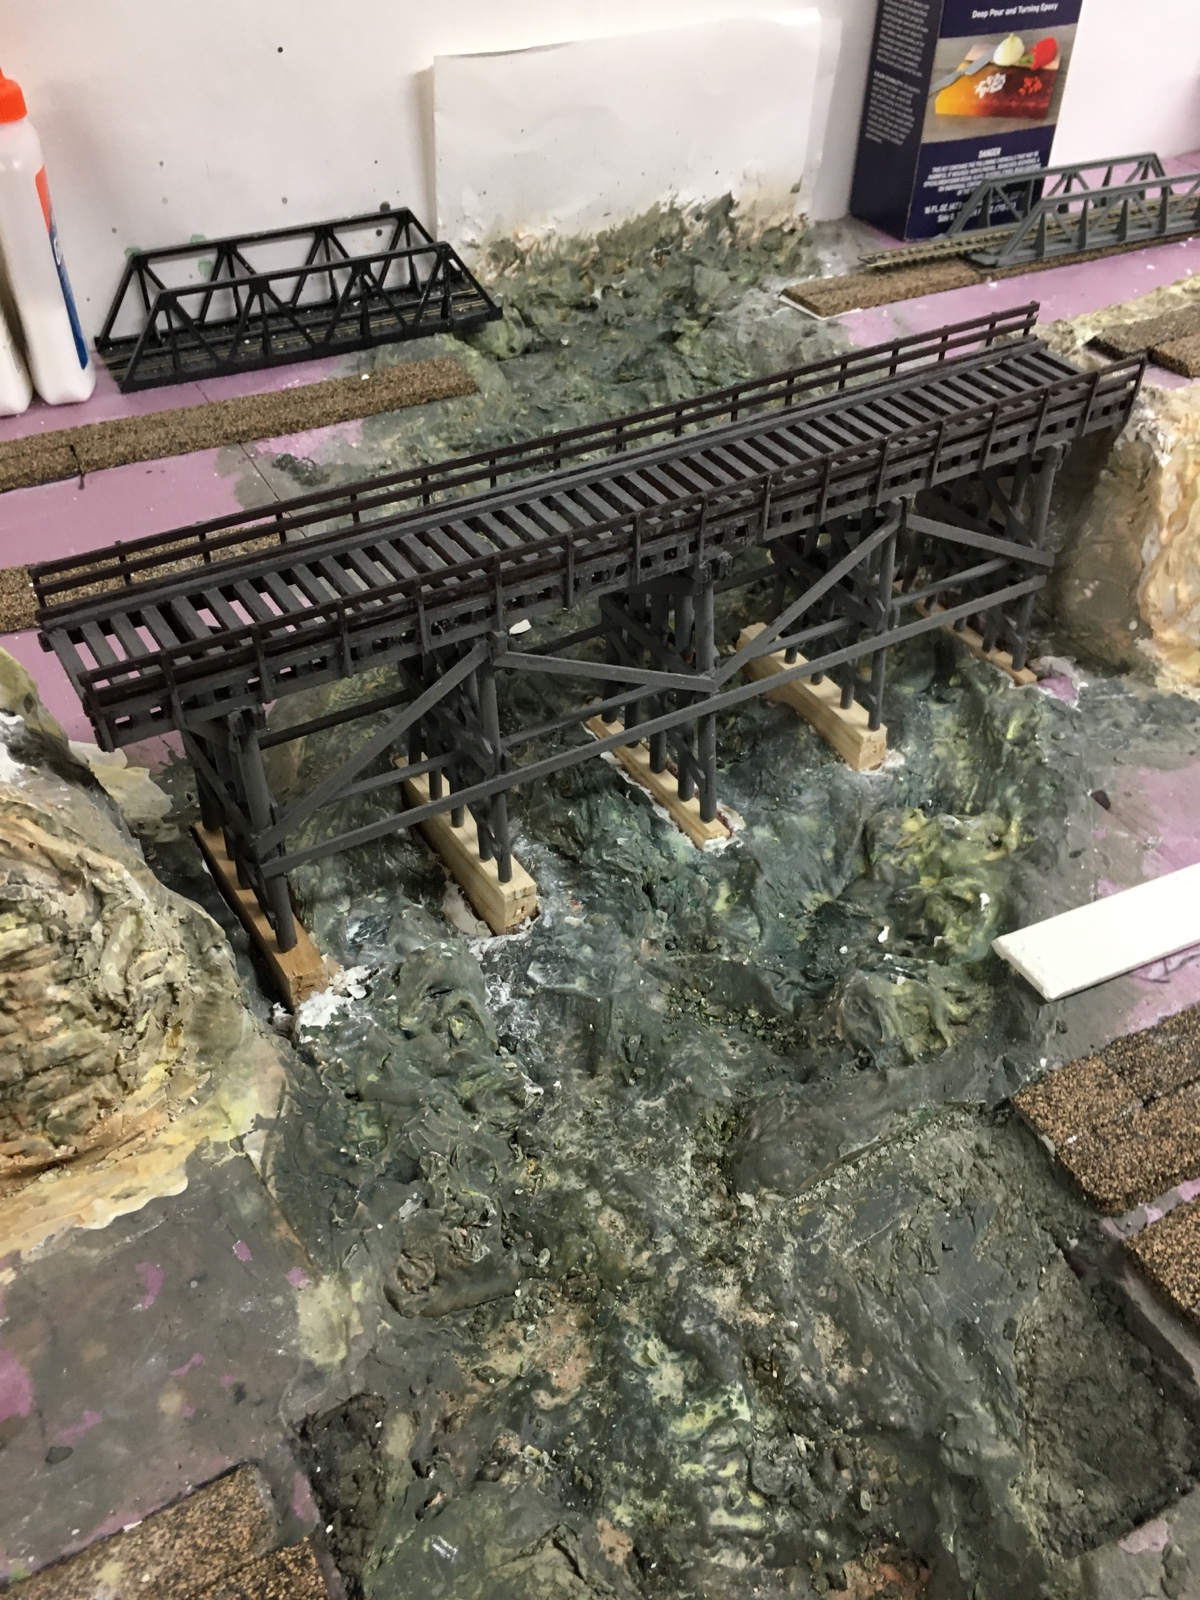
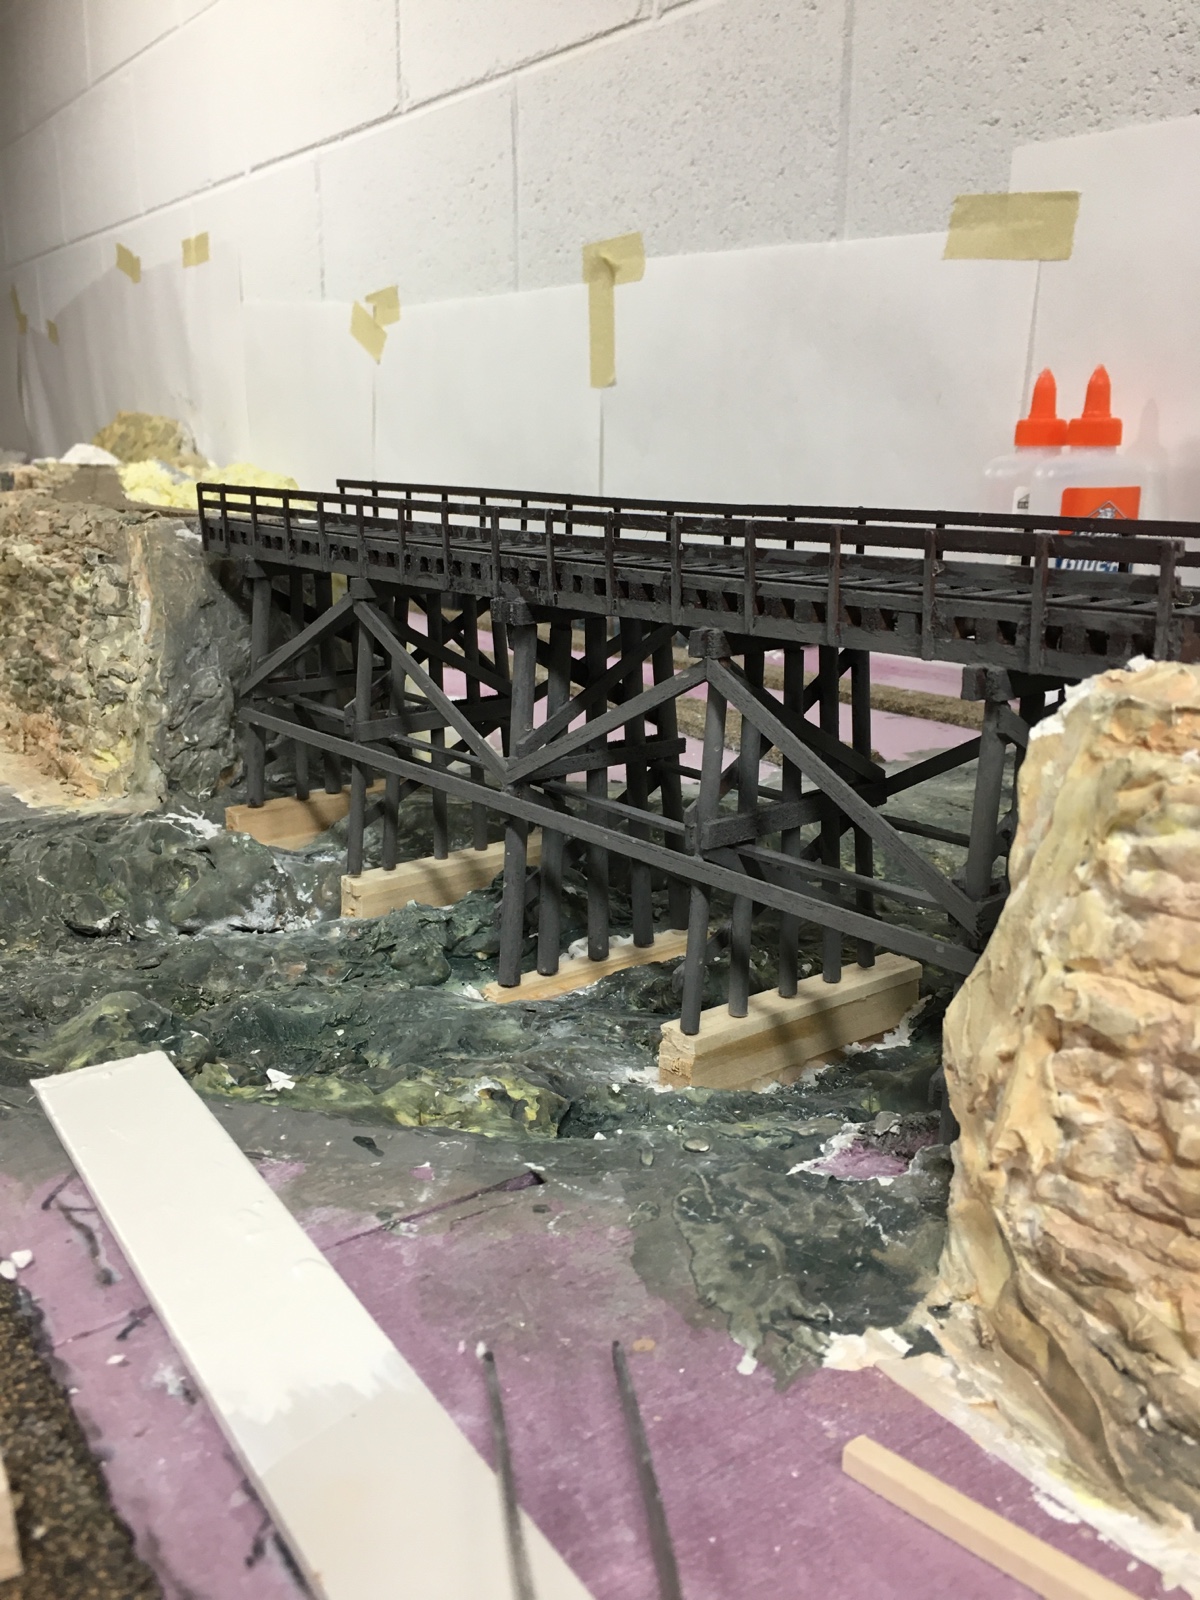
For a couple of months, I battled with how best to secure the trestle-bridge to the riverbed. I tried to avoid cutting down to the plywood, but ultimately for fool-proof stability, I did just that. I held the trestle in place and marked where the posts touched the riverbed. I then cut a rectangle a quarter inch wide, and just longer than the width of the posts. I glued basswood pieces, one at a time, in each of the gaps until they were the exact height needed to support the trestle. I was pleased to find the trestle rested securely on the footings. I glued the trestle permanently in place.
At this point in the novel, the characters were behaving themselves predictably. They stood back and let me do the work. The risers were finished, the trestle was rock solid. All eyes were on the process of laying cork roadbed on the track lines. I am suspicious when characters are quiet. Sometimes I don’t trust them, but please, don’t tell anyone I said that. Every writer and model railroader knows the thin line we walk between working a plan and a plan working us.

I avoid things I’m worried about. I’ll put them off until I can’t go on without dealing with the problems first. I don’t like being backed into a corner. When my plot included rise and fall, which all good plots do, I was trapped by the need for realistic gradual fall-away from the top of the risers to the surface. This is the point where I started listening closely to ideas from the characters. Some of them were stupid. Others caught my attention. Finally, a solution was found.
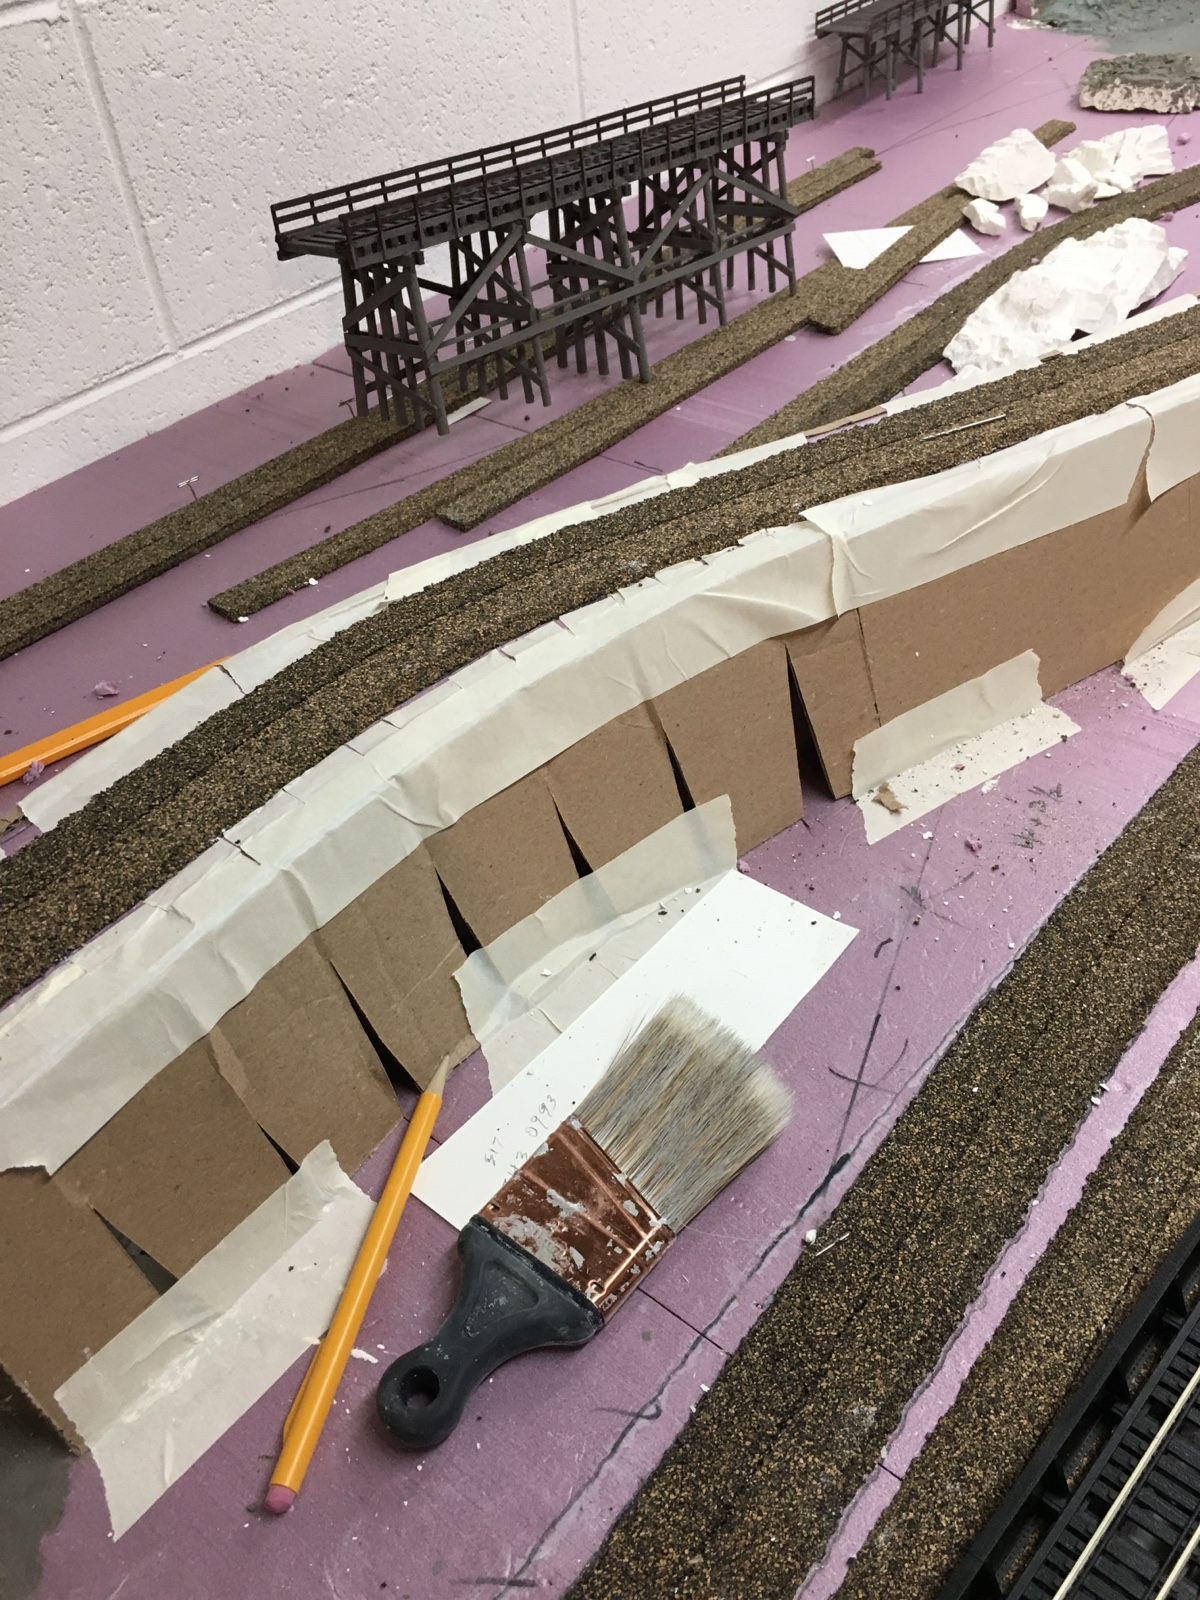
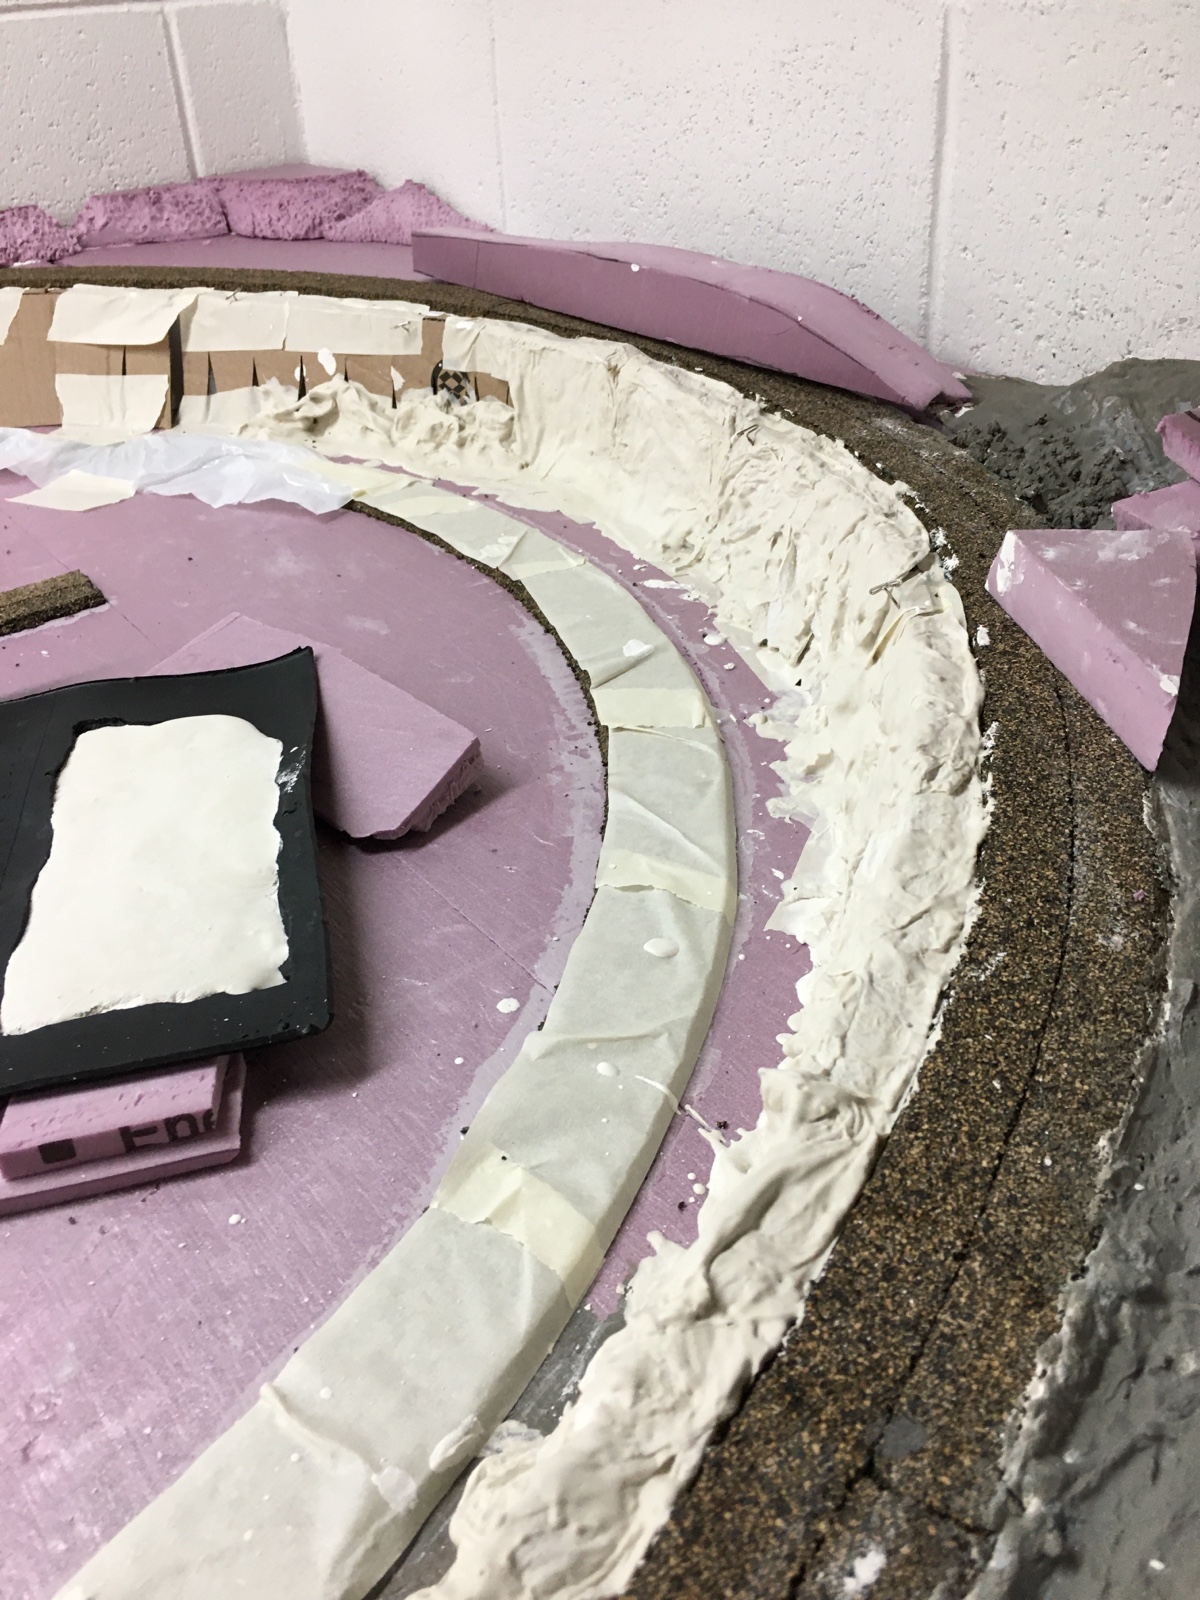
I cut strips of cardboard twelve to fourteen inches long. To determine the height of the strips, I measured the height of the riser from the point where cardboard would be attached, to the point it would end. On the cardboard, I marked the shorter measurement on one end, and marked the longer measurement on the other. I drew a line between the two points. I cut the carboard one inch beyond but parallel to the line. The extra inch creates a gradual, more realistic, fall-away from the top of the riser.
I placed the strip on the floor, then using the corner of a piece of 2 x 2 to hold it tight, I pulled the length of the strip under the corner edge of the wood to crush the cardboard cells. This makes the cardboard more flexible, especially helpful on curves. I then folded the the carboard on the line.
On straight sections of track, using masking tape, I secured the straight edge to the top of the riser. I taped the angled edge to the foam surface. If I was not happy with the angle, I repeated the process, but increased the height measurement until the fall-away angle met my approval.
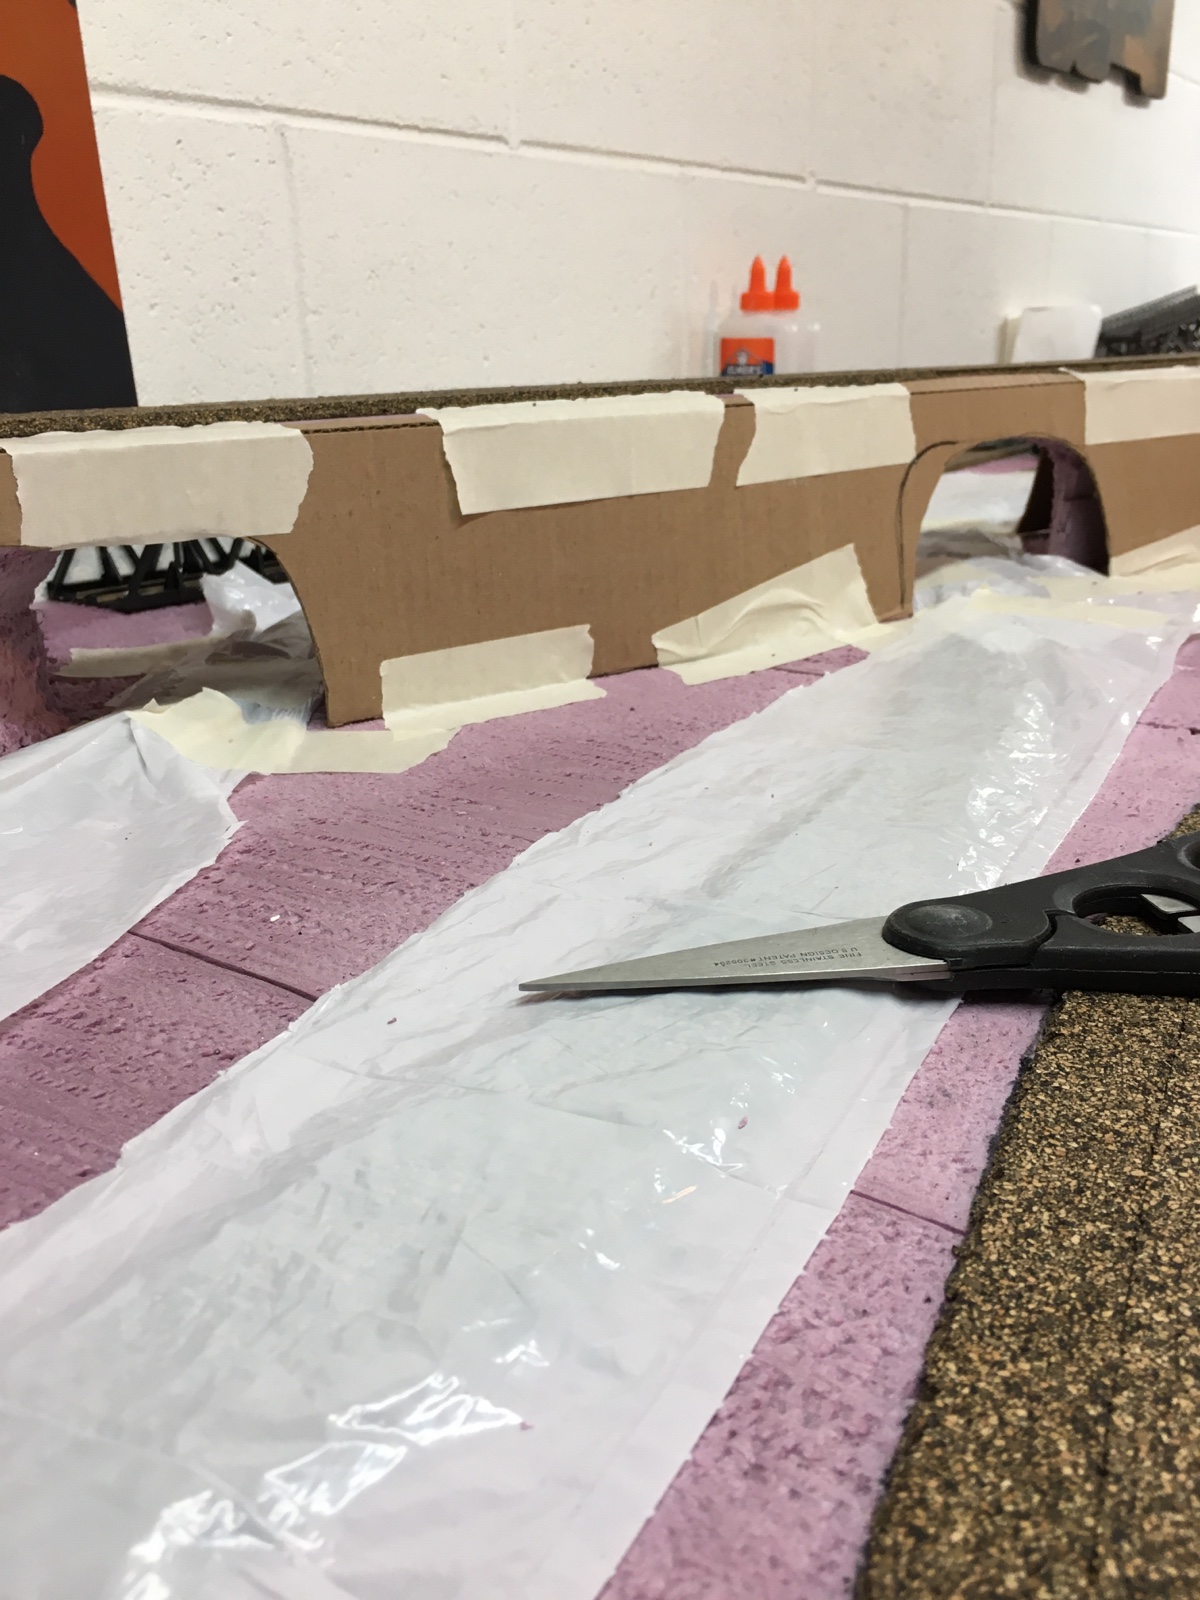
On curves, there are a couple more steps. On the straight edge of the cardboard, I make a cut one quarter each deep, every half inch, the length of the cardboard strip. On the angled edge, I cut an inverted “V” about an inch and one half deep. This allows the cardboard to follow the curve and still maintain the same fall-away angle from the top of the riser.
When the cardboard was secured, it was now time for huge sloppy messes. Lots and lots of them. But that is a story for another day.
“I want to talk about it now,” Bertrand said.
“No, I’m done writing, I’ll write more later.”
“When?”
“When I want to.”
“Who put you in charge?”
“I created you, didn’t I?”
“Ok, I’ll stop now,” Bertrand said.
“Good idea.”
