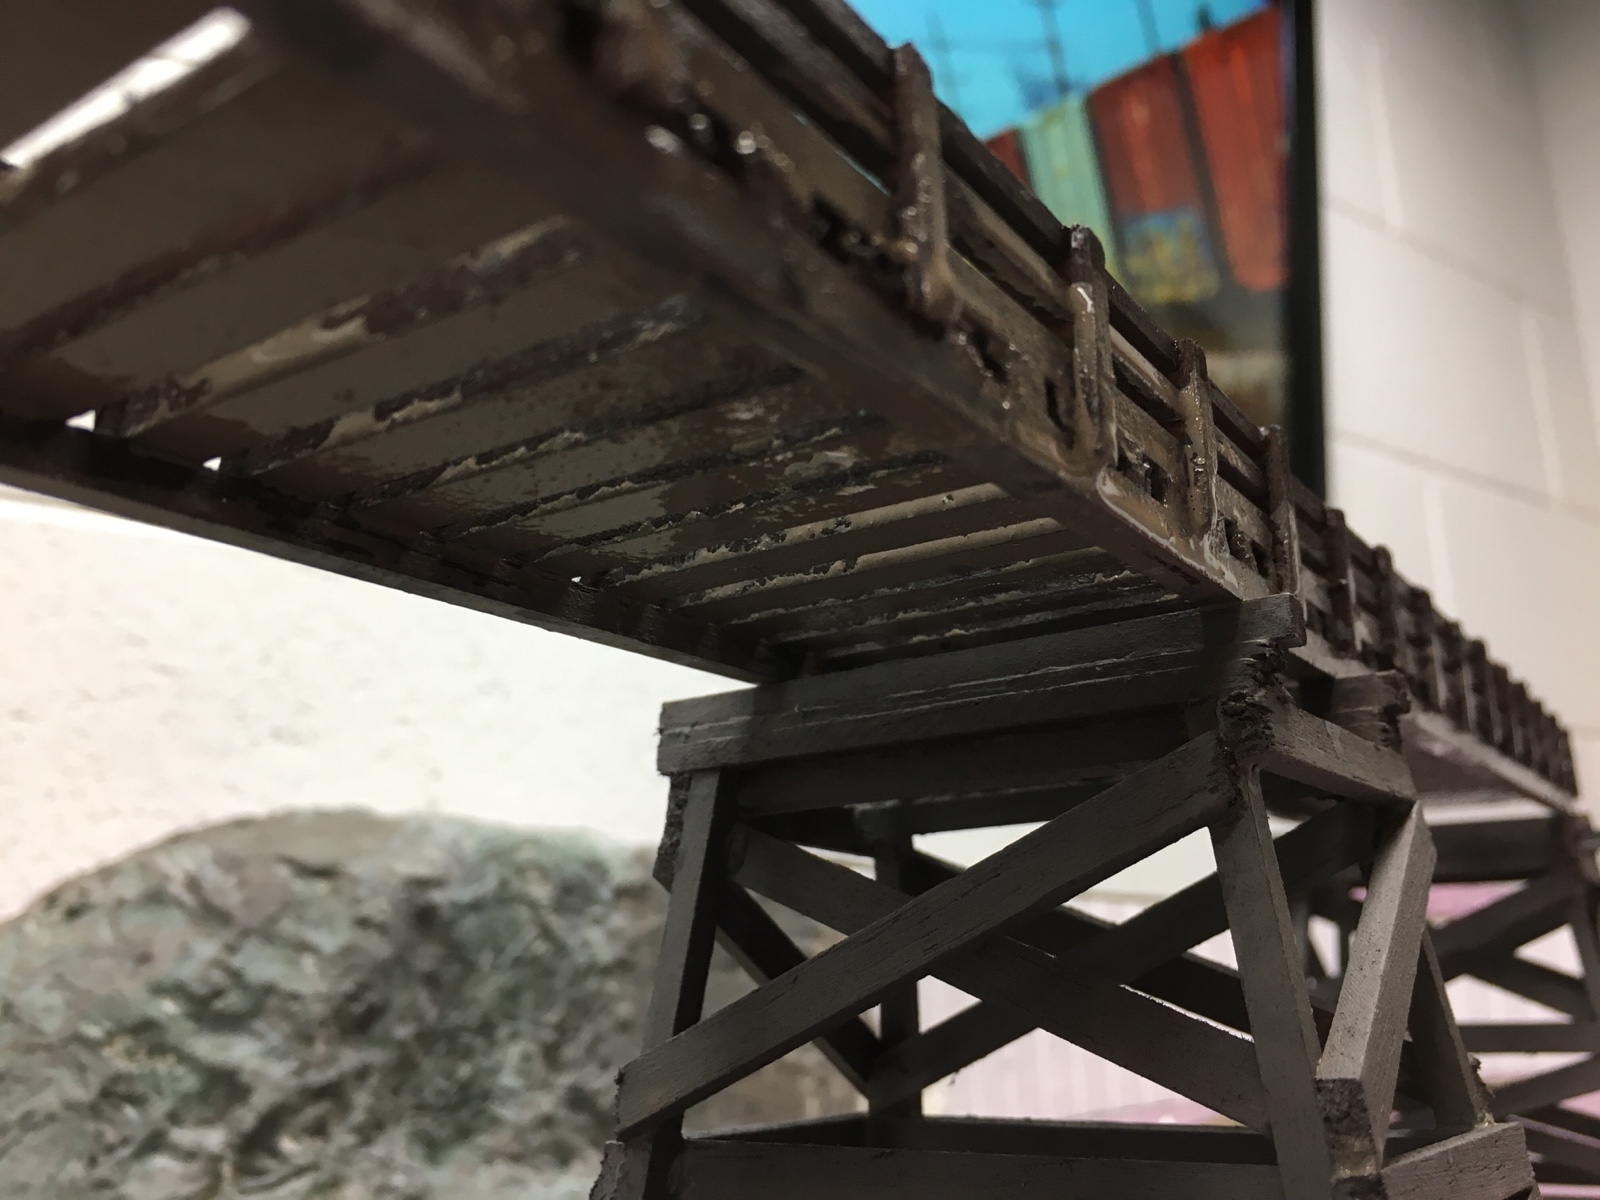
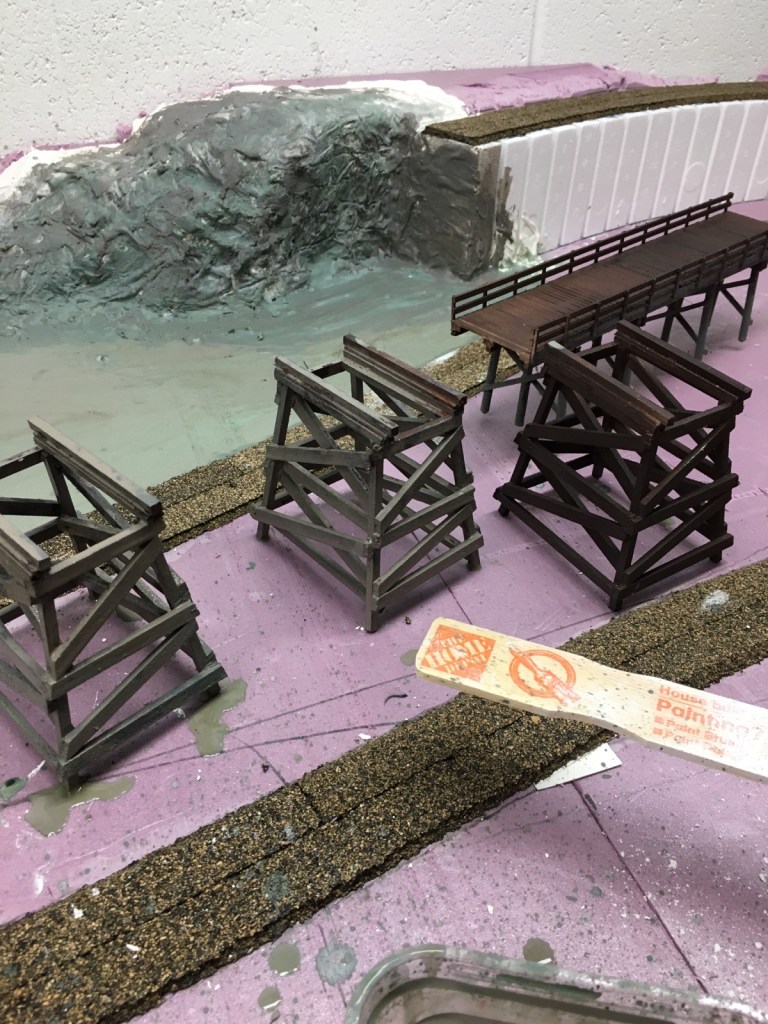
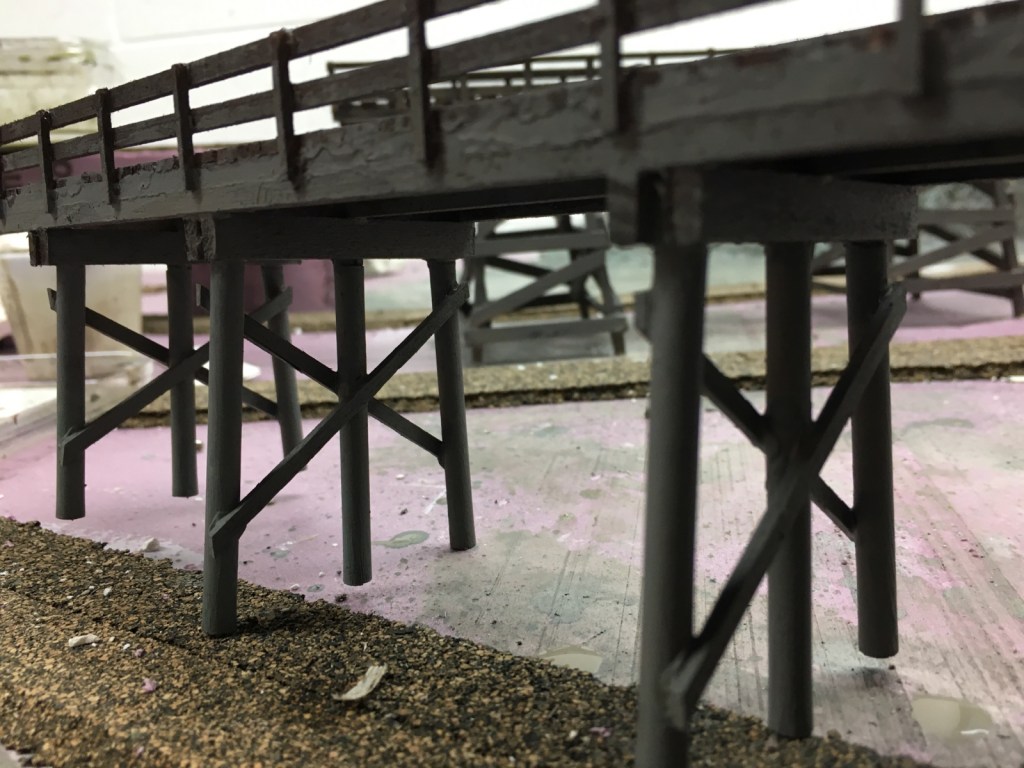
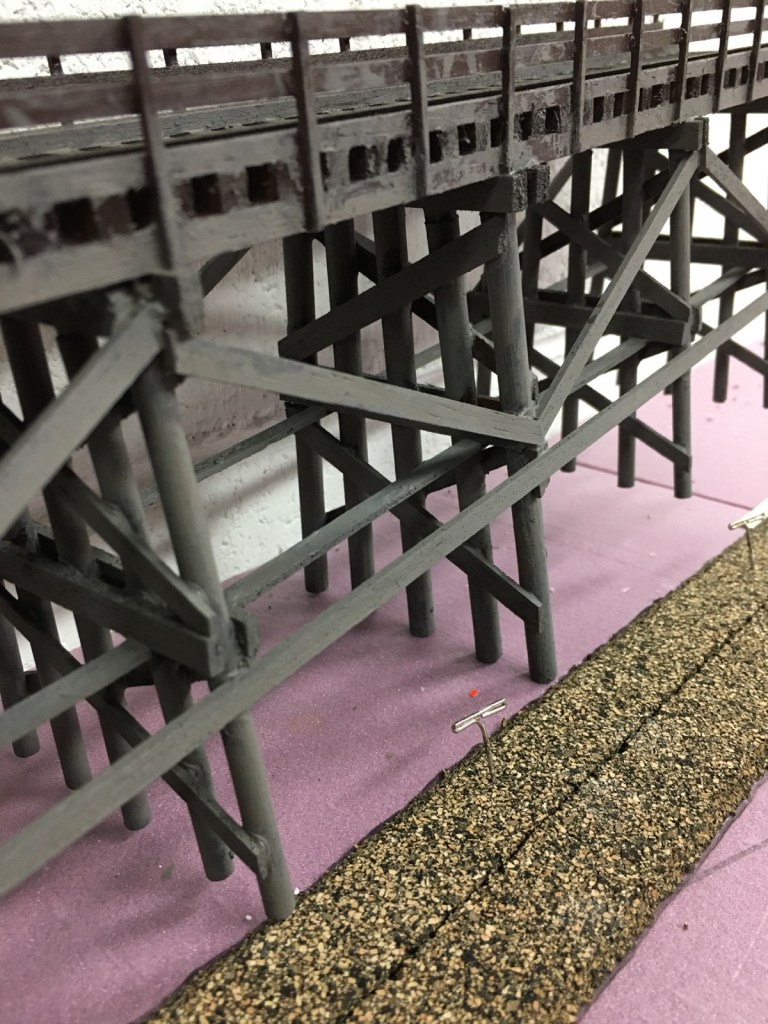
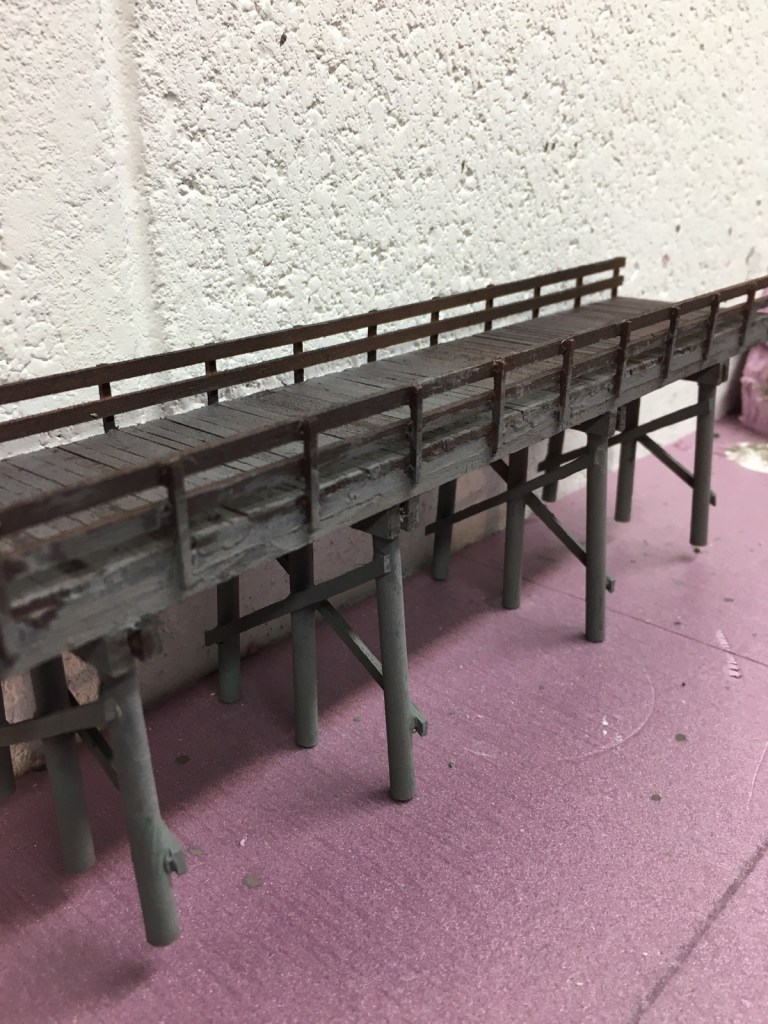
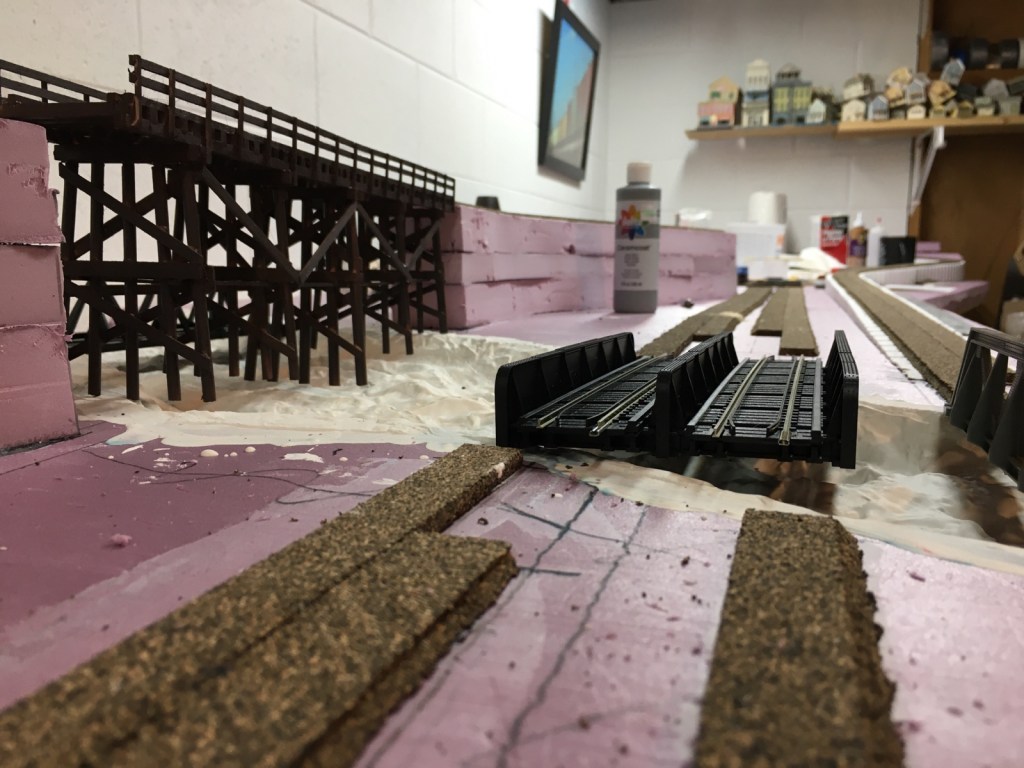
I’ve been struggling with a couple of things on my model railroad. I love my scratch-built basswood and balsa bridges. I used dark brown spray paint and I had to decide how to apply weathering finishes.
I used a mixture of Ceramcoat acrylic paint, light gray, dark brown, a little yellow, a little red, and green. At first, I used too much green and I had to make some adjustments. After I stirred in a pint of plain water I ended up with a grayish wash that after a couple of coats looks great.
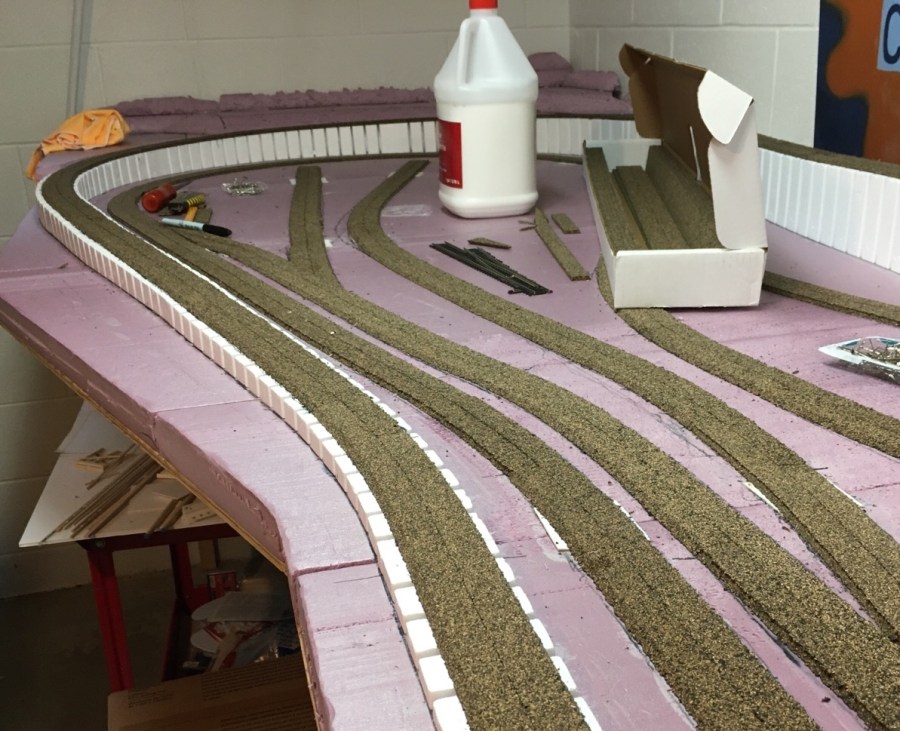
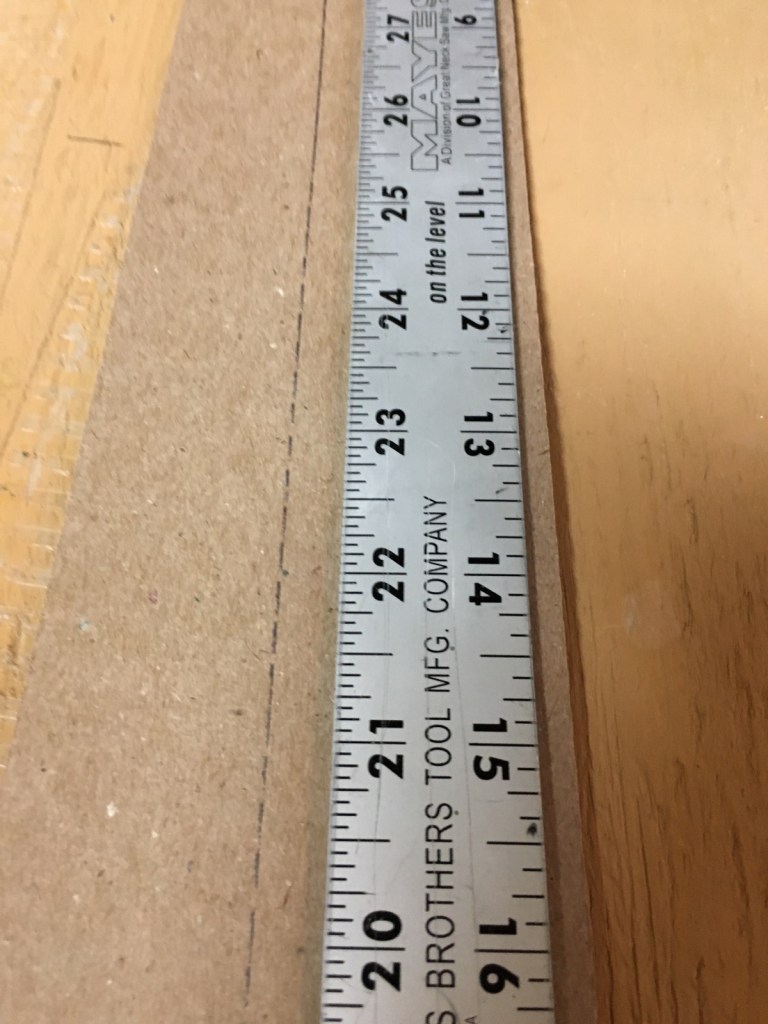
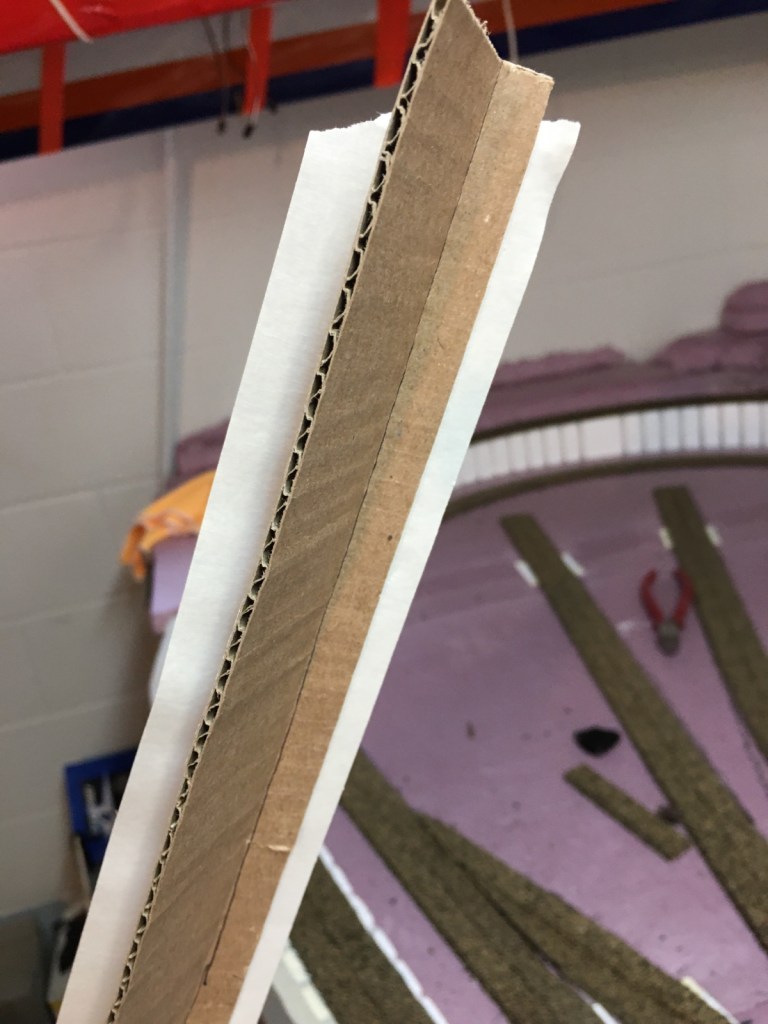
The second thing I’ve been trying to figure out is how to blend the styrofoam risers into the surrounding areas. I had an epiphany! I didn’t want to cut strips of cardboard as there would have been a ton of them. I thought of a way to use cardboard, cut it on a 2% incline, then fold it down to meet the layout base.
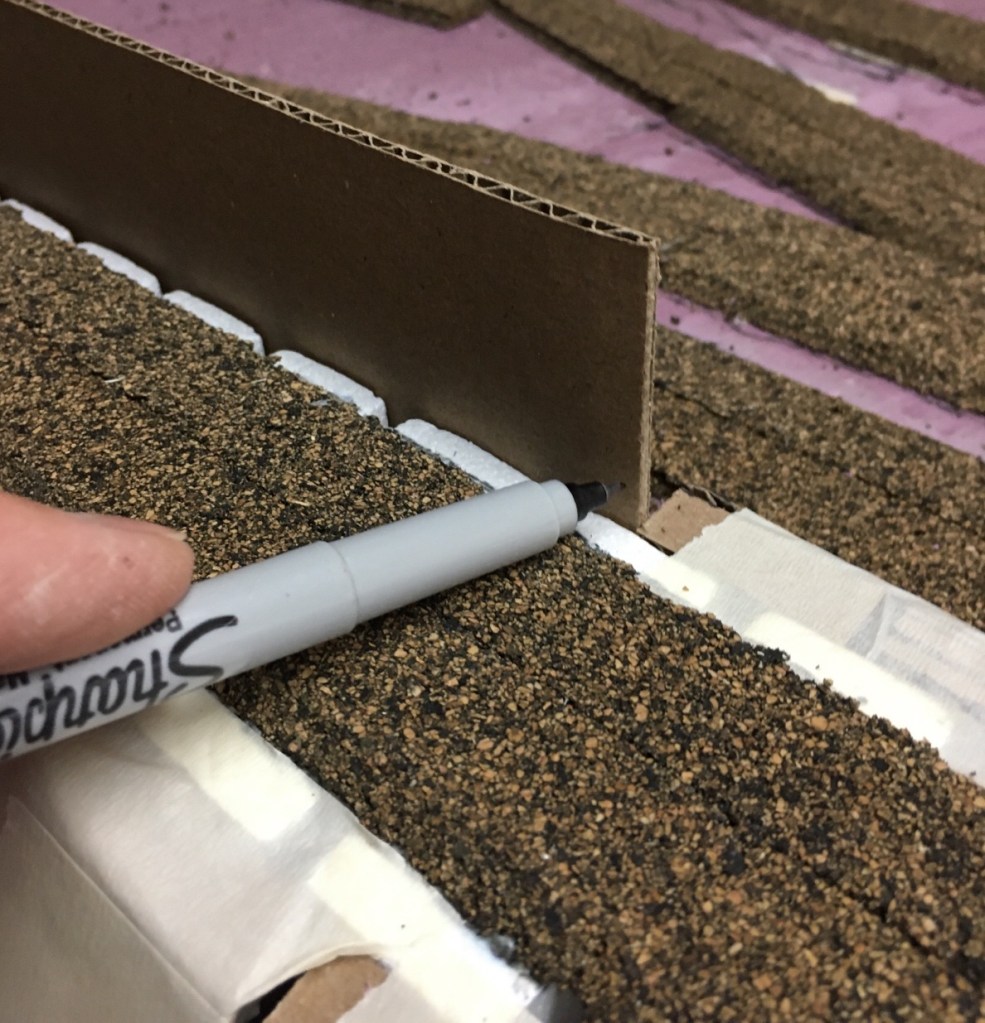
My first step is to hold a piece of cardboard against the riser and use a marker to draw a line its entire length. I transferred the mark to the opposite side of the cardboard so my finished piece is not backwards when I apply it.
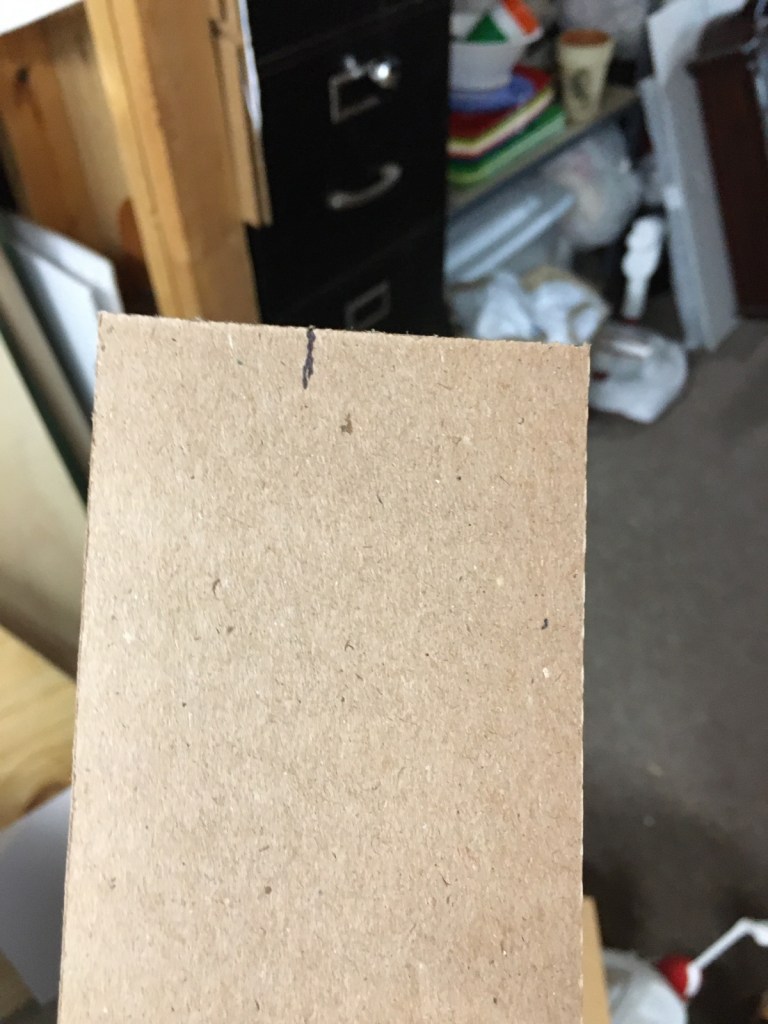
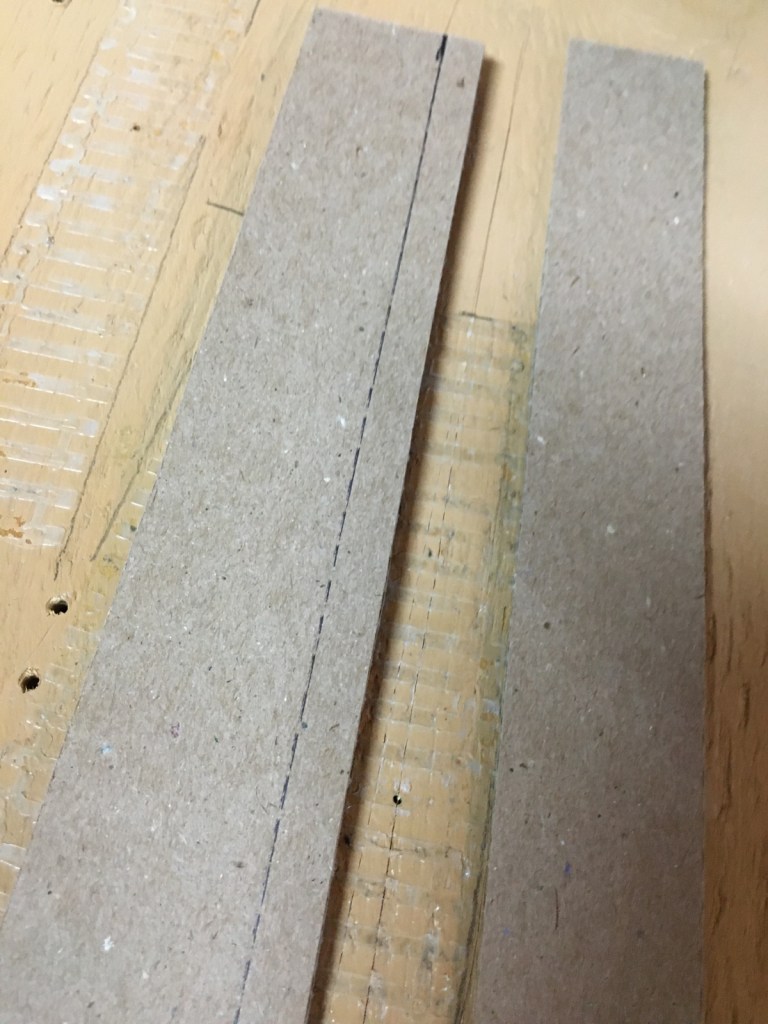
After I transferred the line to the opposite side of the cardboard, I used a straight edge and a blade to cut 1/4 inch above the line. The extra space above the line is the distance between the outer edge of the riser and the fold.

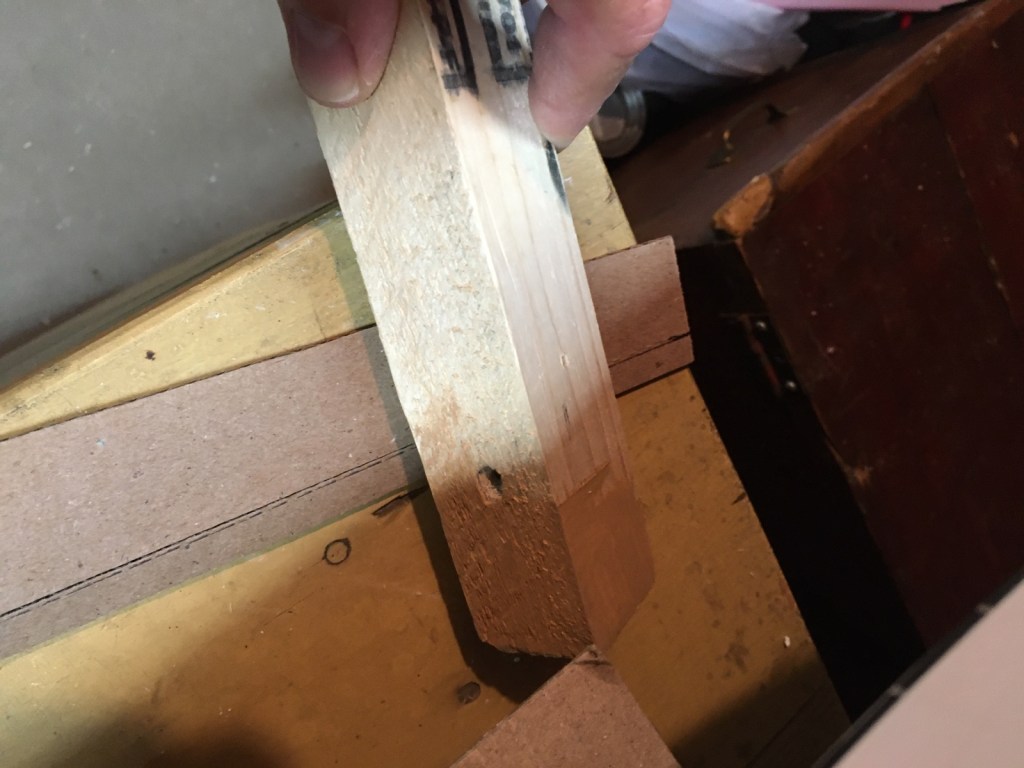
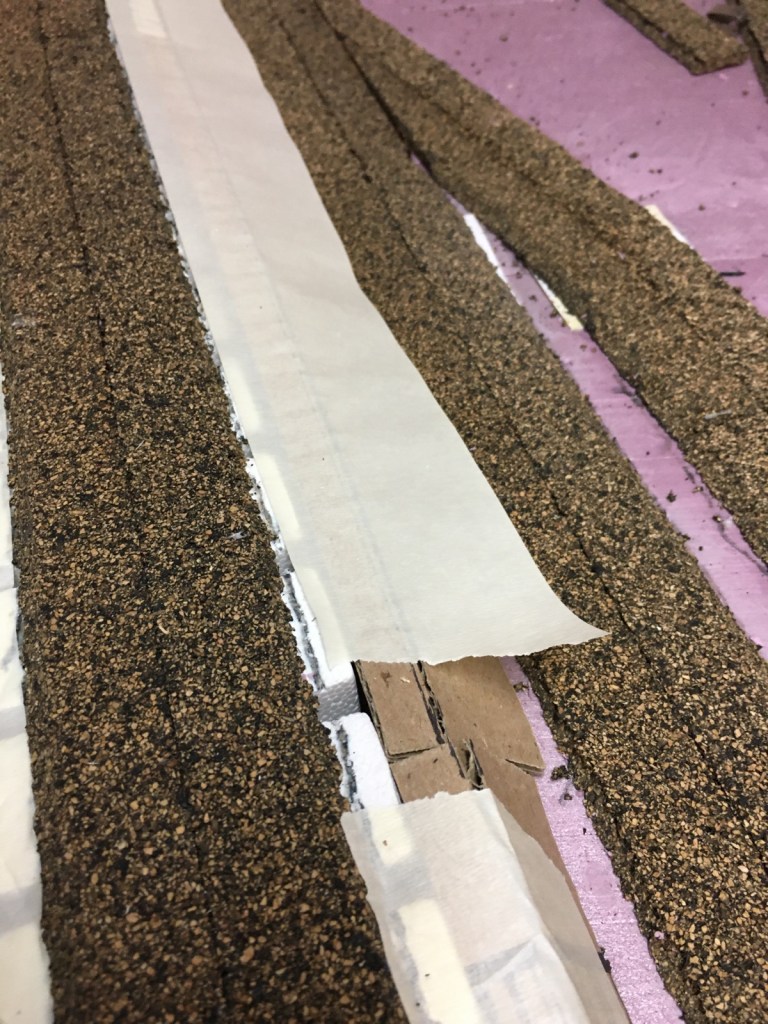
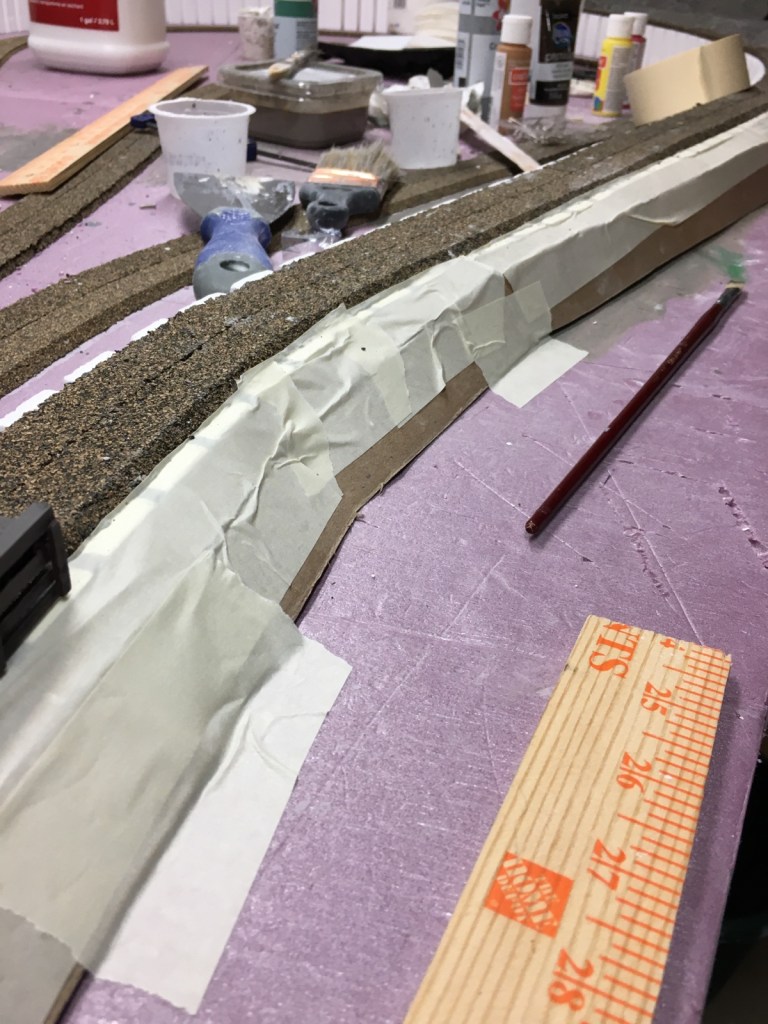
Next, I used the blade to score just the outside layer of the cardboard. I then folded the cardboard on the cut. I used a piece of wood to mash the cardboard to crush all the cells inside, making the cardboard much easier to work with. Then I laid out a piece of 1-1/2 inch tape, sticky side up, the length of the cardboard. I carefully placed the small folded area against the tape, leaving 1/4 inch.
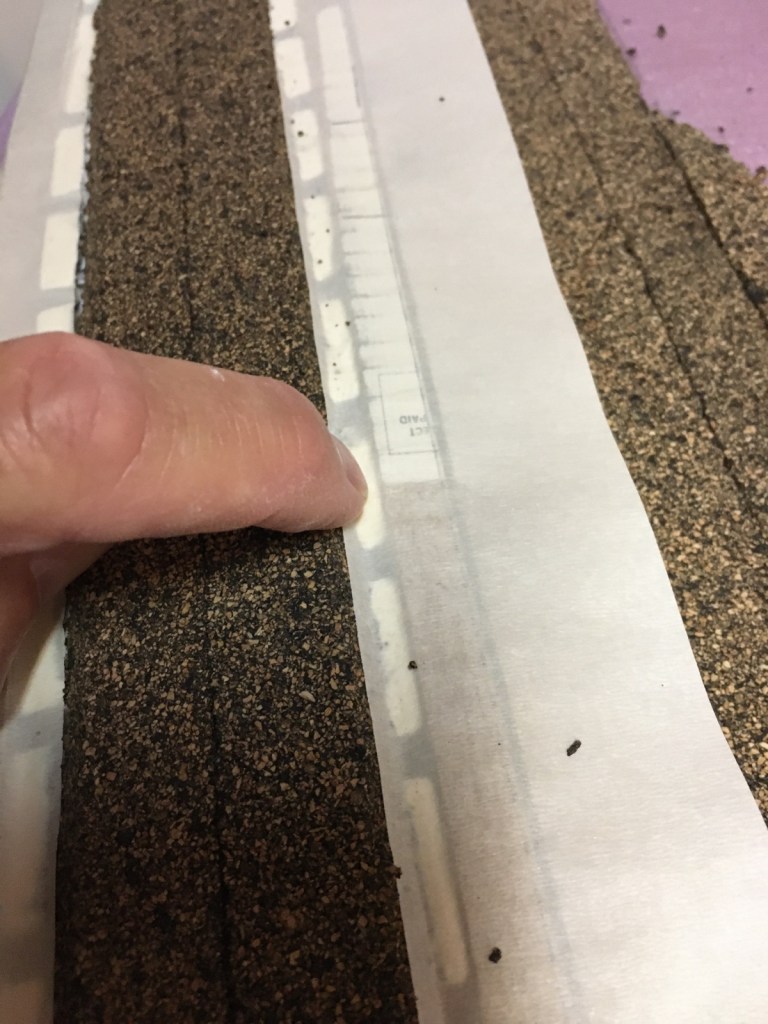
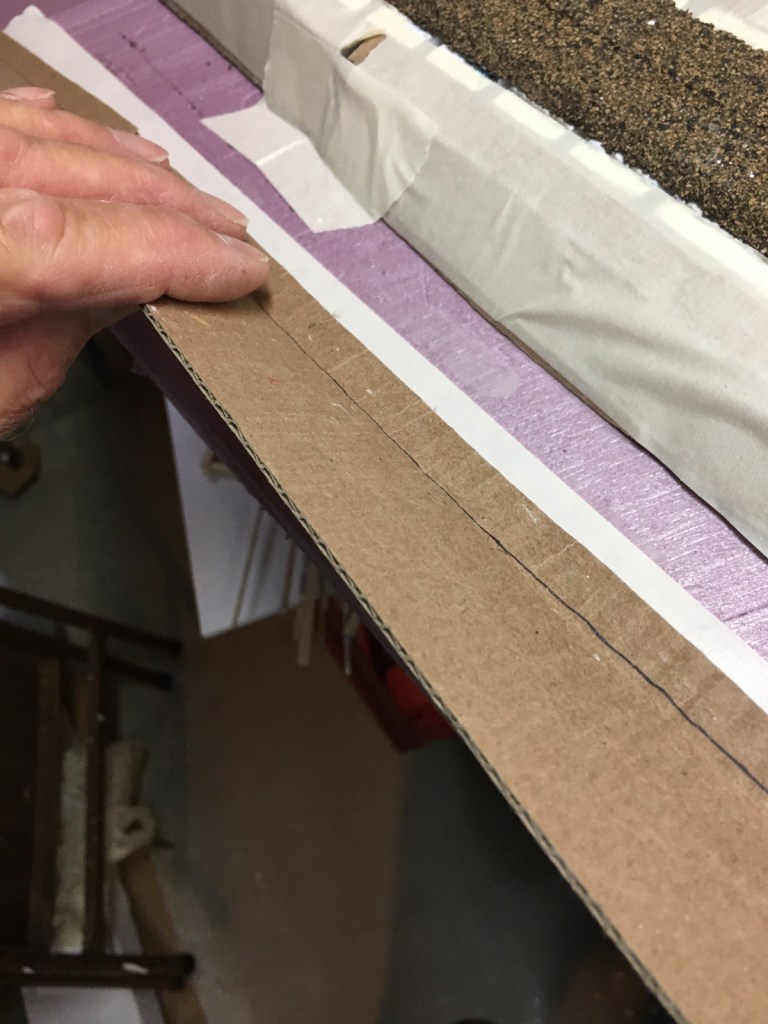
I carefully picked up the cardboard and tape, then set the edge of the cut section against the outside corner of the riser. I pressed the tape extending from the edge of the cardboard onto the riser surface. I then folded the remaining cardboard down from the cut to meet the layout surface. I pressed the remaining tape down onto the cardboard.
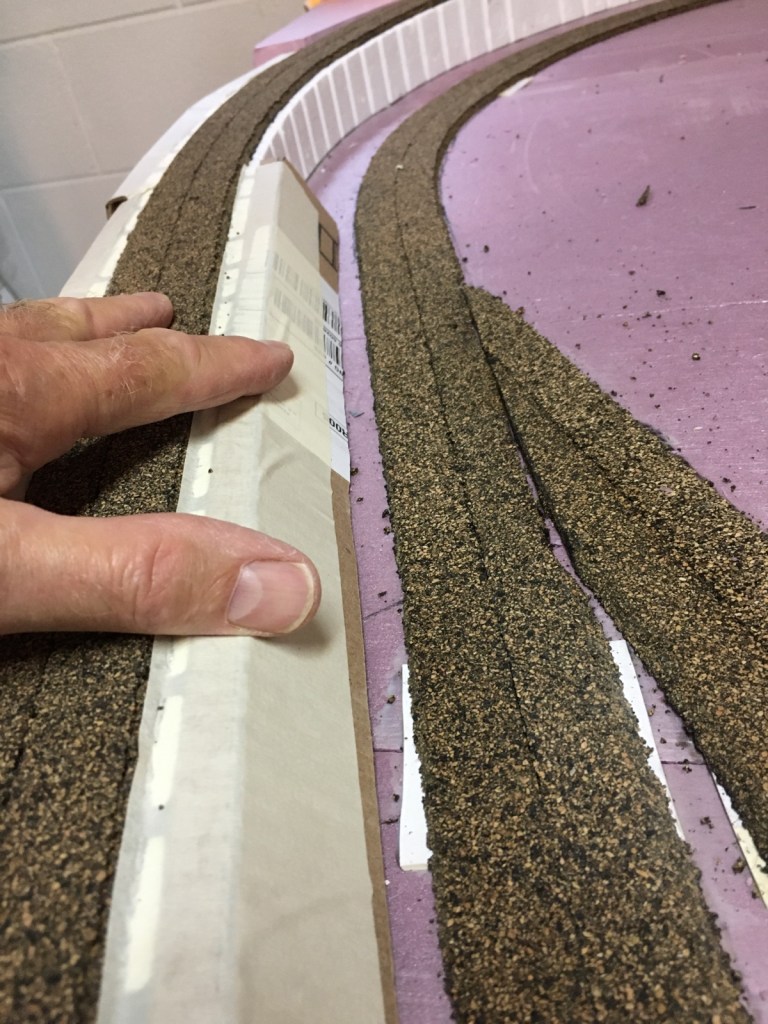

I now have a grade from the side of the riser I can live with. I’ll lay plaster-covered paper towel squares on the cardboard from the edge of the cork roadbed to the base surface. I’ll doctor it up with tools and paint washes so the finished grades don’t look like paper towel covered with plaster.
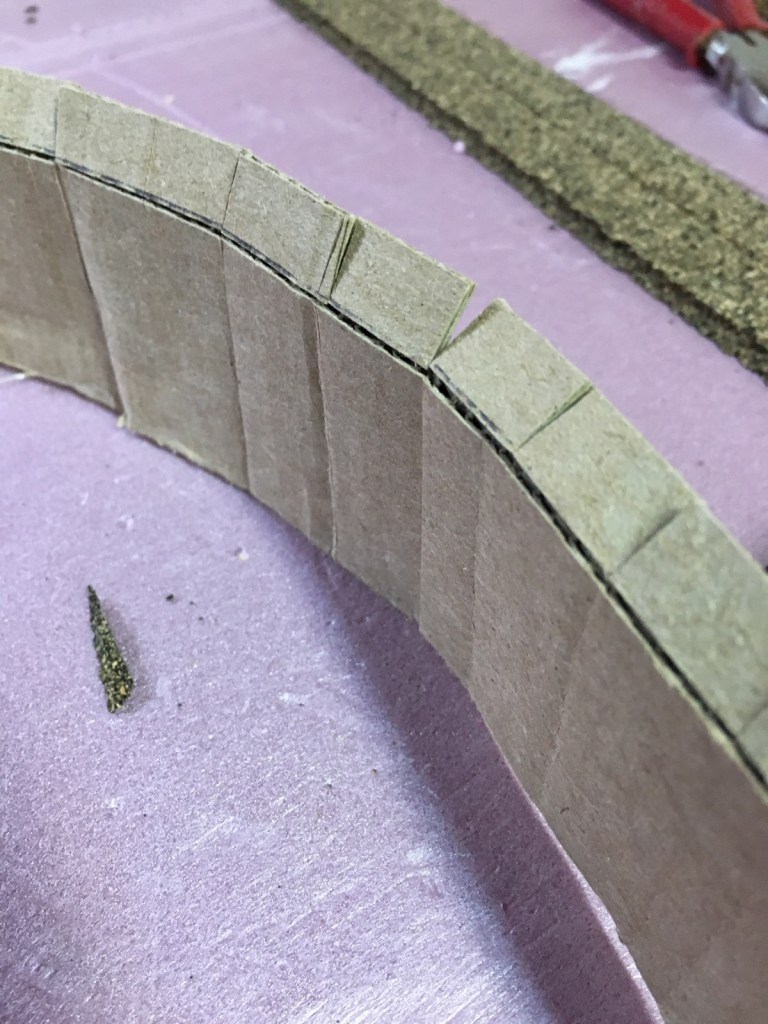
Another little trick is to score the cardboard on the opposite side of the radius so it is easier to tape around a curve. I cut the tape as well so it’s easier to secure to the riser edge.
Recently, I’ve been spending more time working on the layout and I’m happy with my progress on The Maple Valley Short Line.
If you enjoyed this post, please consider following my blog. I write about a wide variety of topics and my coffee is always close by.
Thanks!
