You can build a great HO gauge model railroad in four by eight feet of space. Use these five easy steps and you’re on your way.
- Start with a reasonable track plan.
- Purchase HO gauge track and accessories.
- Choose the best table-top materials.
- Assemble your track.
- Wire your layout and run your trains!
Start With a Reasonable Track Plan
Four by eight feet of space gives you plenty of room for a terrific layout. Track-plan books are available, but you can also create your own.
If you want to run more than one train at a time, you will need two lines of track.

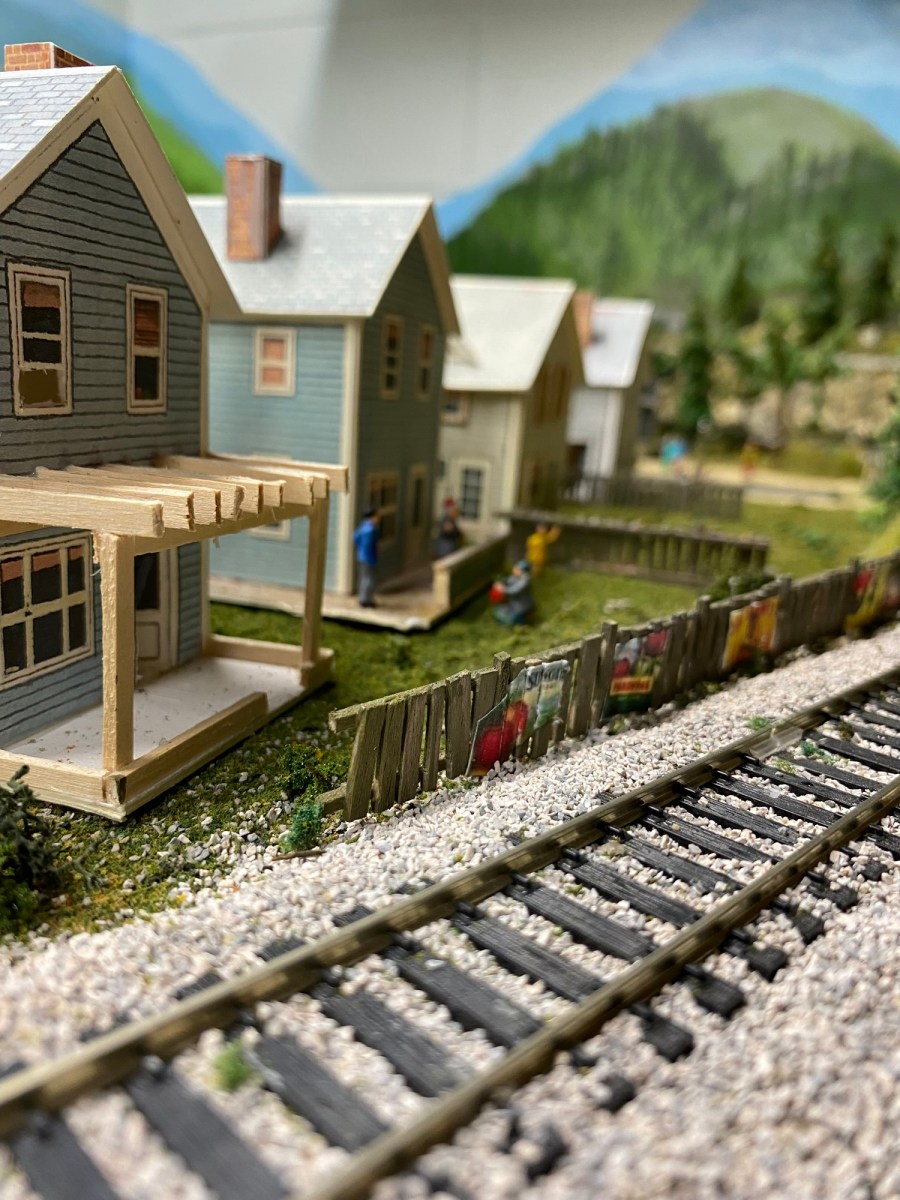
Maple Valley Short Line Model Railroad is the name of my fairly simple HO gauge layout. It is two loops of track with a few sidings.
The outer line, marked in red, is a loop that turns inward on the top. The inner line, marked in blue, runs parallel to the outer line. This line curves inward and passes under the outer line through two short tunnels. The outer line rises by a 2% grade to four inches of elevation where the inner line runs beneath it. After the second tunnel, the line begins the 2% decline to return to base level. The lines marked in green are sidings.
This type of design can easily work in a four by eight foot space. The difference will be the length of your layout, the width of your curves, and the number of sidings.
Purchase HO Gauge Track and Accessories
For a permanent layout, I recommend Atlas code 100, nickel-silver flex track. Using flex-track requires a little more work, but the results will be much more realistic. The flex-track pieces are three feet in length. Other items you will need are:
- Nickle-silver rail joiners
- Plastic rail joiners (to create isolated blocks)
- Twenty-two gauge wire in red, black, and green
- One or two Atlas Selectors
- #4 and #6 Atlas turnouts, either remote or manual
- Graduated plastic trestles for elevating track
- HO gauge cork roadbed
- White glue
- Plastic push pins.
This list of items assumes you are starting with a simple train set. These normally include a locomotive, a few cars, a transformer, and track. For a temporary layout, sectional track can be purchased at your local hobby shop or online. HO gauge nickel-silver sectional track comes in twelve inch straight pieces. Curves of 15, 18, and 22 inch radii are available. Keep in mind that narrow curves are difficult for longer locomotives and cars to manage, and look less realistic. A 22 inch radius is the widest curve possible for a four by eight foot space. Twenty-two inch radius means your entire curve will be forty-four inches across. You will have a little less than two inches of space left in forty-eight inches.
Choose the Best Table-top Materials
The best material for a four by eight table-top is sanded pine 3/4 inch plywood. This will be a very strong base for your layout. Saw horses work if your layout space is temporary. If your four by eight foot layout is going to be permanent, your benchwork can be more elaborate.
Since a four by eight foot layout is relatively small, a solid table-top will maximize the space.
Adding a layer of pink foam insulation will make laying track and scenery easier. I used 1 1/2 inch foam.
Assemble Your Track
If your track plan includes one train passing over another, a four by eight foot layout will mean steeper grades. This will change how many cars your locomotives can pull. If you do not plan to have one train pass over another, a steep elevation is unnecessary.
Laying your track requires patience. (If foam is used, a lower grade plywood can be used as a table-top.) The cork roadbed is glued to the foam.
Wire Your Layout and Run Your Trains!
Use plastic rail joiners to isolate sections of track you plan to use as blocks. Every isolated block will be wired individually. Power is connected to blocks by use of the Atlas Selector. On my Maple Valley Short Line Model Railroad, my inner and outer main lines are isolated from each other. This makes it possible to run two trains constantly, using two separate cabs (transformers).
I use common-rail wiring. The negative contacts on the two transformers are connected to the common rail on the layout. The common rail has no plastic rail joiners. Since the common rail is connected throughout, the negative contact is continuous. The positive contact from the transformer is connected to each block through the Atlas Selector. The selector directs power to blocks from either of the two transformers, A or B. Power can also be cut to the blocks.
My first layout efforts were on top of a ping-pong table. I used plastic trestles for elevations and successfully operated two trains. The Maple Valley Short Line Model Railroad is the result of learning from a lot of different sources.
You can build a great four by eight foot train layout. I would love to hear about your layout.
- What is your layout design?
- What type of track are you using?
- How many trains are you operating?
- Is your layout permanent or temporary?
Thank you for reading and commenting. If this post has been helpful, please “like”, and thank you!
**P.S. – I am not an affiliate of any product I have mentioned. I do not sell anything through my blog.

Pingback: The Model Railroad Control Panel is Finished! – A Coffee State of Mind