
My wife and I love watching HGTV network. I am amazed by the vision of the designers featured on the shows. Without exception, they exhibit an incredible ability to see what a space can be and share it with hopeful homeowners, long before the first board is nailed in place.
Vision gives life to imagination. Model railroading, for the beginner and the expert, requires both. Imagination dreams of a beautiful model railroad layout. Vision scribbles plans, builds benchwork, and starts laying track. Vision moves the dream forward, even if years ago by before the first train rolls on the rails.
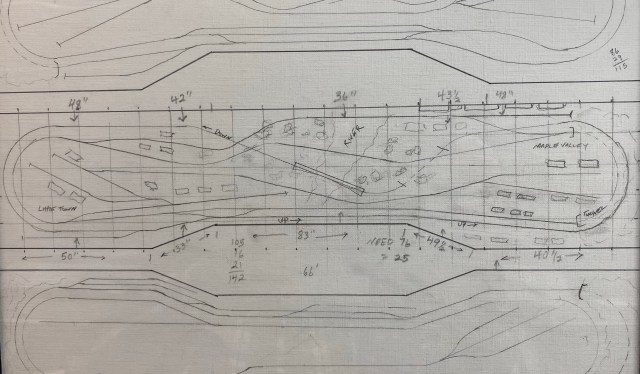
I have no idea how many layouts I’ve sketched. Obviously, ninety-nine percent of them never found life beyond paper. There were similarities between them, however. They all had the same basic component of loops, track crossing track, and sidings because I like the action of trains passing trains.
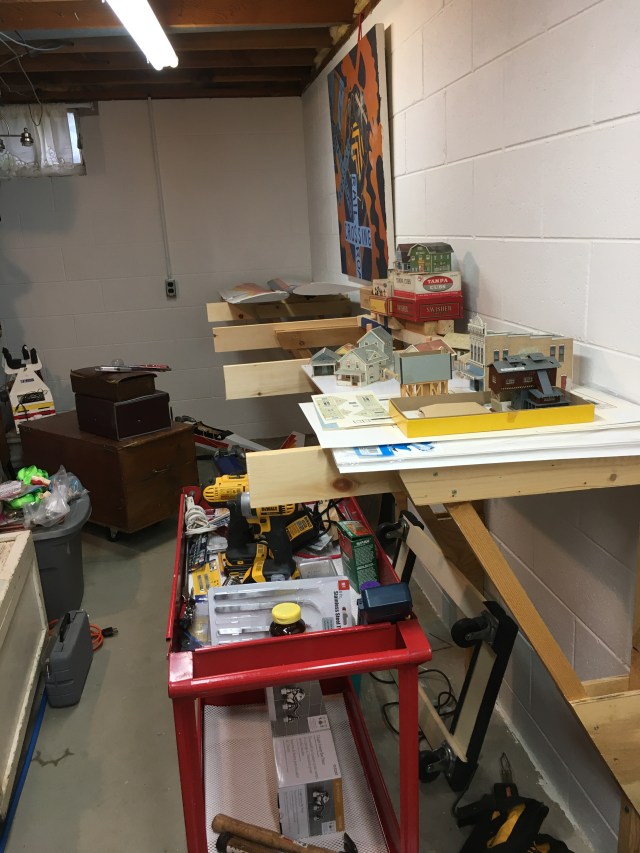
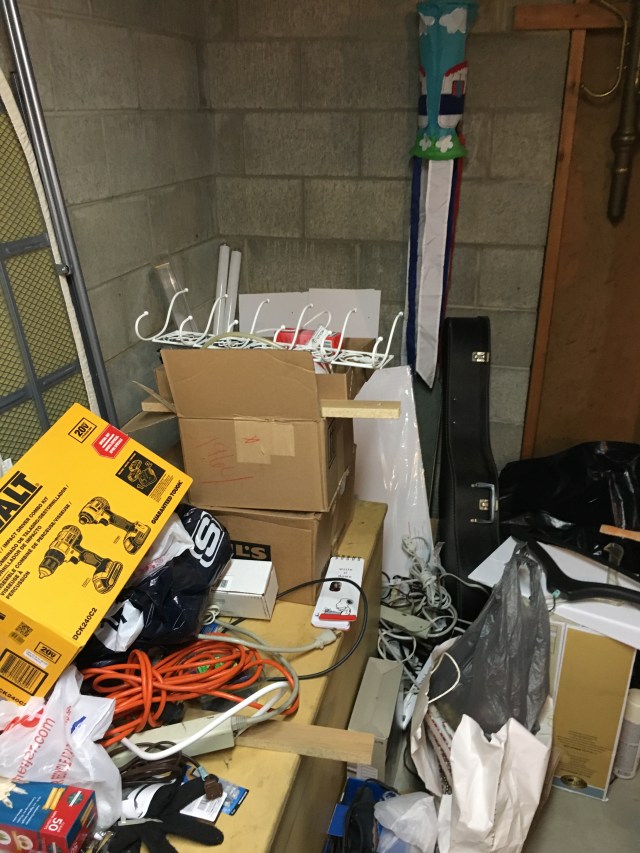
A big part of bringing your vision of a great model railroad into reality is setting and reaching small goals. If you are constantly thinking about running trains on a perfect layout, you may become discouraged with the menial tasks required to make it happen. My train room needed a ton of work before I could start building benchwork. After moving into our home, this room was loaded with things that needed sorting into more permanent storage. Just getting the train room prepared for painting was a huge goal that took several weeks to complete. Trains were a long way off.
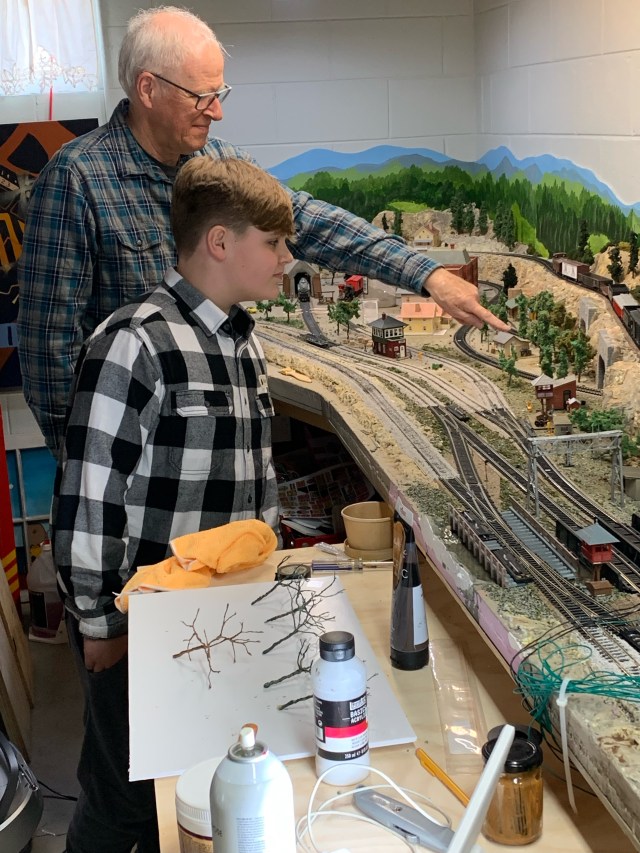
It’s so rewarding to share my layout with our grandchildren. I have to admit, although they say things like, “Neat!” or “Wow!”, I don’t think the grandkids are quite as thrilled with the model railroad as I am. That’s okay. I’m just happy to show it to them once in a while. I still tease our grandson who, because of cerebral palsy, uses sign language to talk. After watching trains on a previous layout for about ten minutes, he spelled, “Boring.” I laughed and carried him upstairs. Gotta love it. Model trains don’t automatically mean kids will love them.

I didn’t use extruded foam on my other two layouts. I debated using it this time, but I’m certainly glad I did. I knew there would be a huge mess, and I was constantly sweeping away the crumbs and choosing which cut-away pieces to keep. I am now a firm believer in the value of using extruded foam on any layout. It provides a perfect base for track and scenery.
As I labored on the foundation of The Maple Valley Model Railroad, I dreamed of what was to come. When I walk into my train room now, I am amazed at how good the layout looks and how well it operates. Being patient with slow progress resulted in a layout I’m very proud of, even though I still have a long way to go.
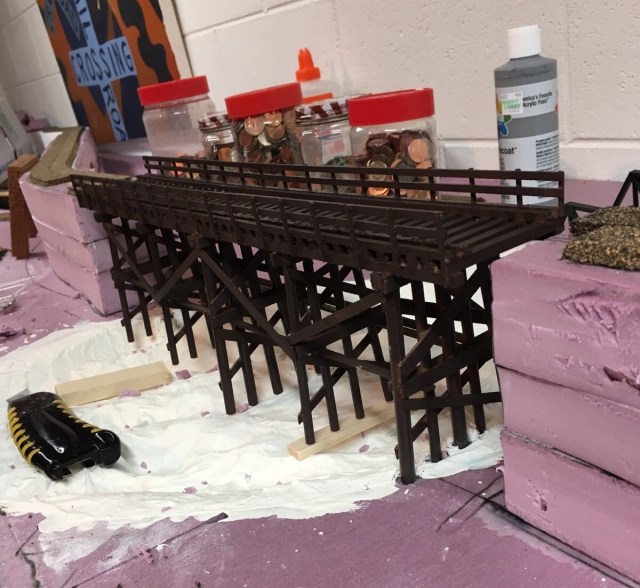
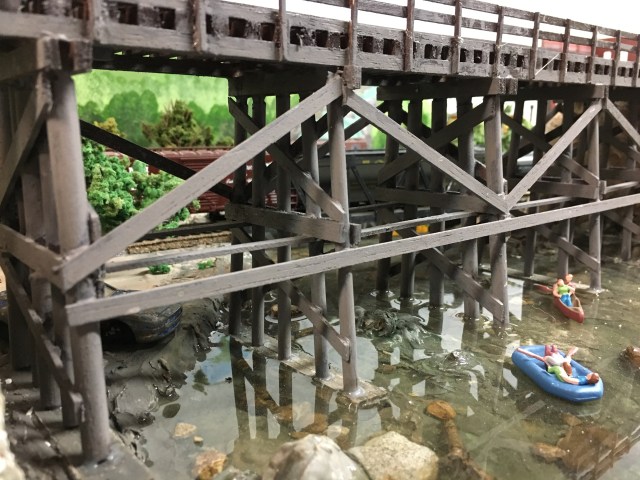
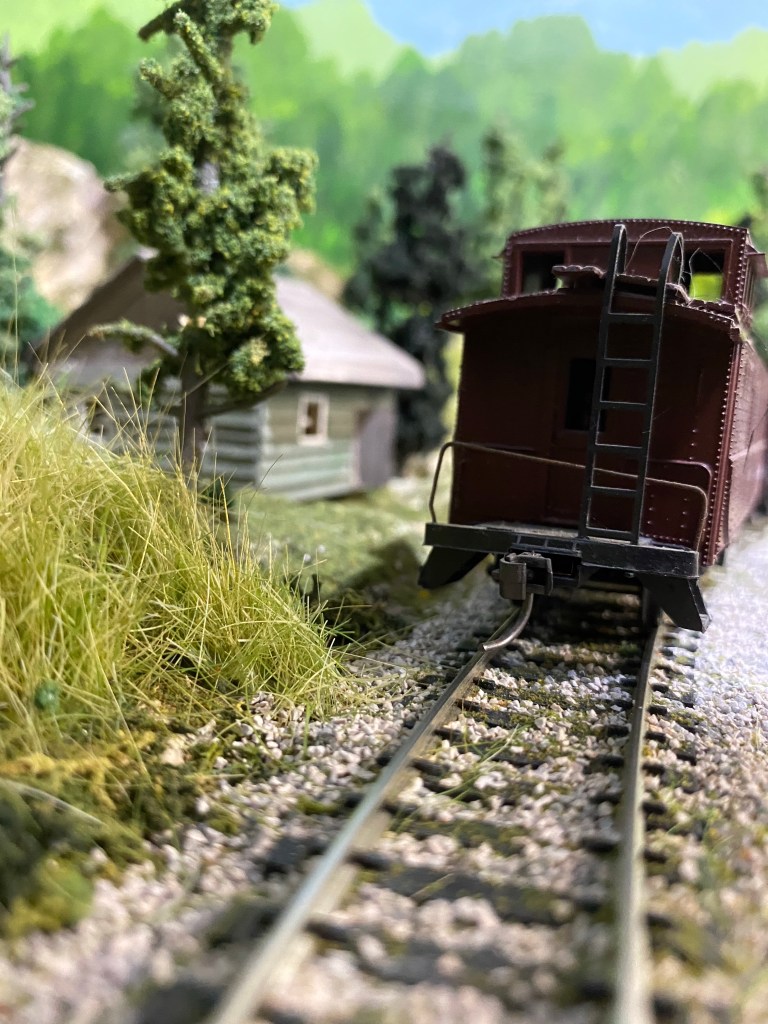
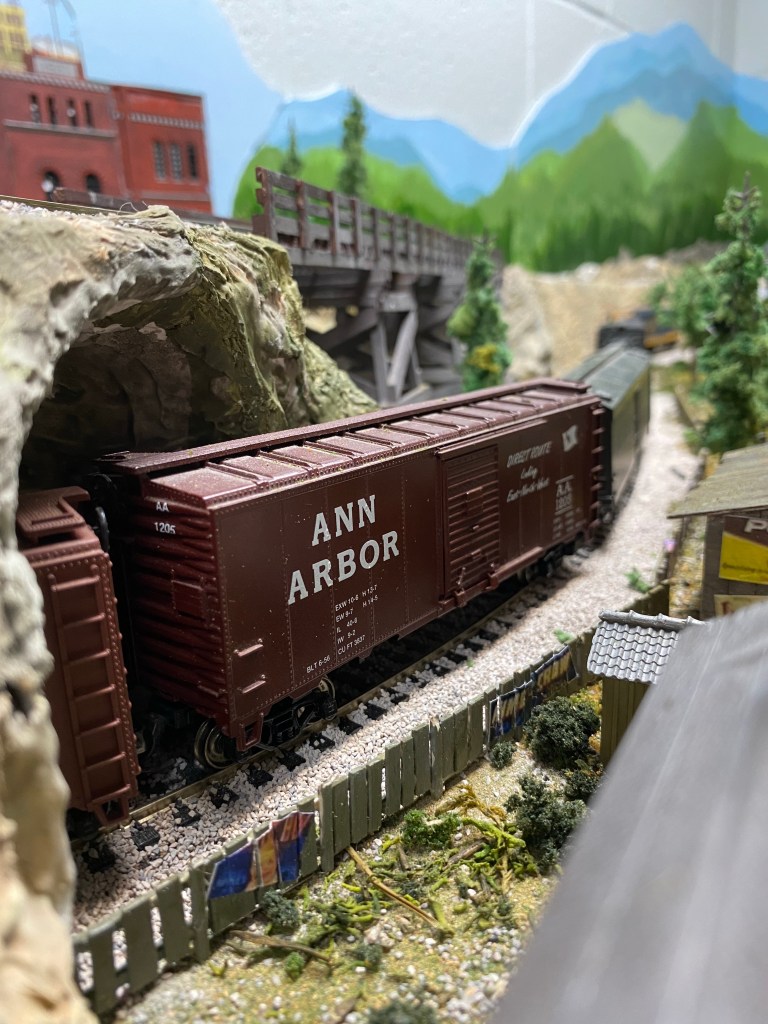
The Maple Valley River Trestle was my first attempt at scratch-building a balsa bridge. Running a train over the deck for the first time was tense. The bridge looked strong to me, but until a locomotive made it safely from one end to the other, I held my breath. Making sure the footings in the riverbed were level required cutting through the foam all the way to the plywood surface, then using small wood pieces to create a perfect base for the bridge pillars.
Weathering the trestle to give it a more realistic appearance took some experimenting with watery acrylic paint. The Maple Valley Railroad is my first experience using epoxy to create a river. Once I started, there was no turning back. I am thrilled with the results, right down to the rocks and debris, visible through the water.

In October of 2023, I visited my dear uncle in Texas who was suffering from dementia. He was an incredible artist, a master model railroader, and he introduced me to this great hobby when I was a kid. As I showed him videos of my layout, he loudly asked, “Don’t you love balsa?!” I said, “Yes, I do.”
On Monday morning, February 26, my Uncle Dick Lambert passed away. Maybe there’s a huge model railroad in heaven.
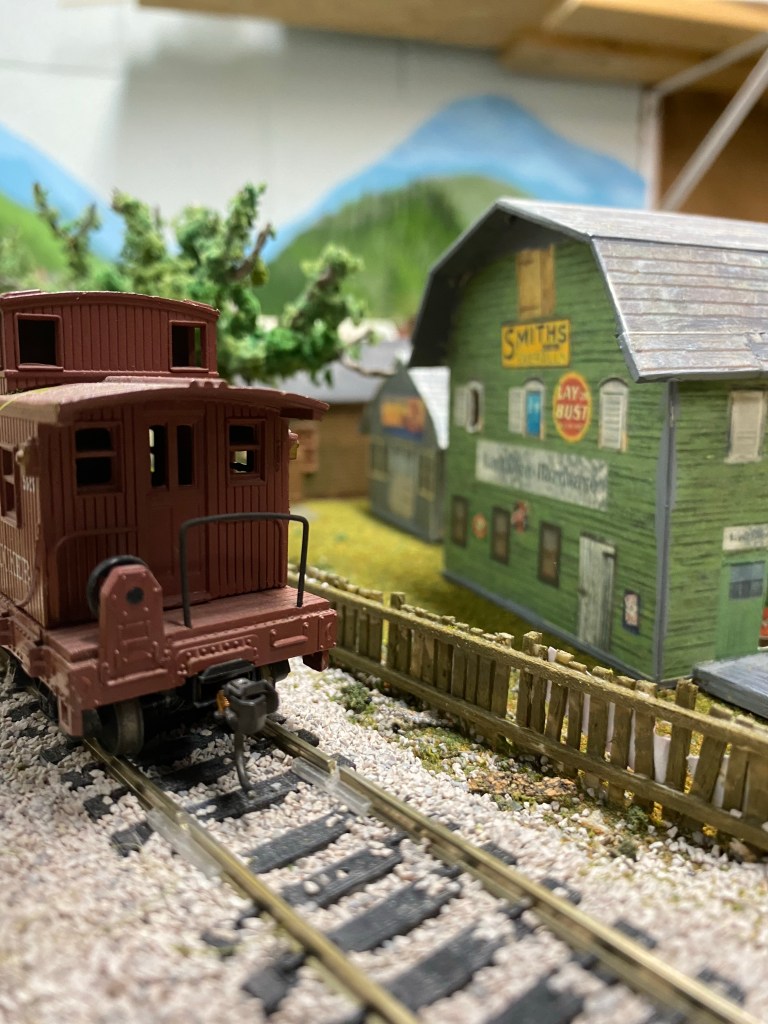
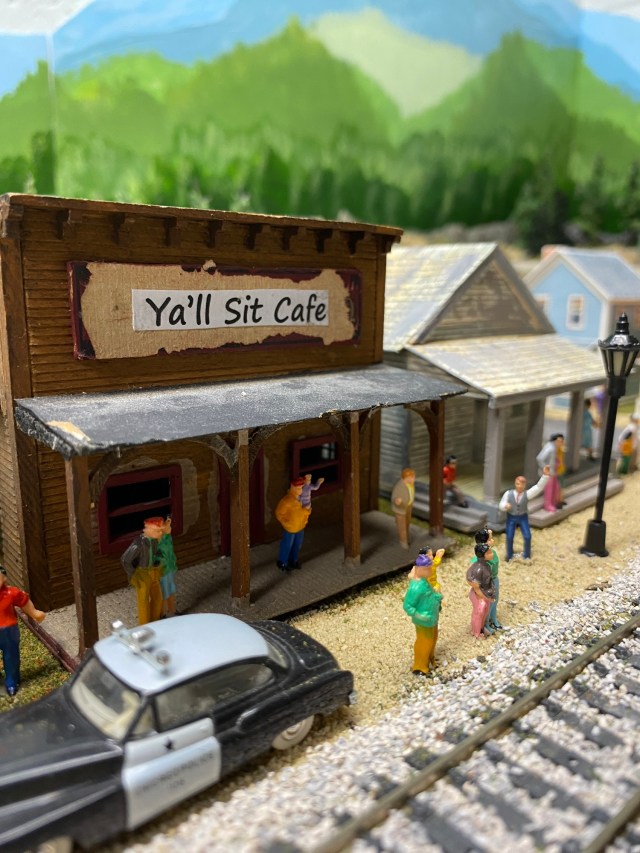
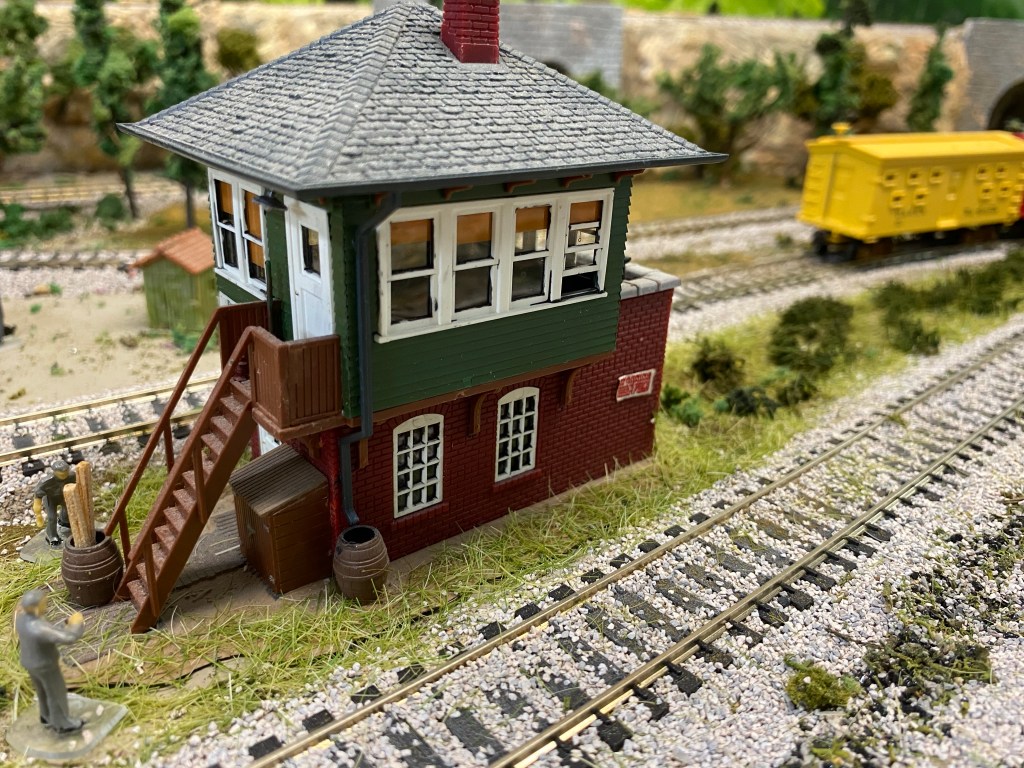
The Maple Valley Supply Company sits on the spur between Newtown and Maple Valley. A Civil War Era locomotive, The Old General, brings tourists to town to visit this idyllic community. For the last eighteen months, however, scandal has been the focus of attention with the disappearance of lifelong resident, Sylvia Meisner. What remained of her burned car was found under Three Tower Bridge, but there was no sign of Sylvia.
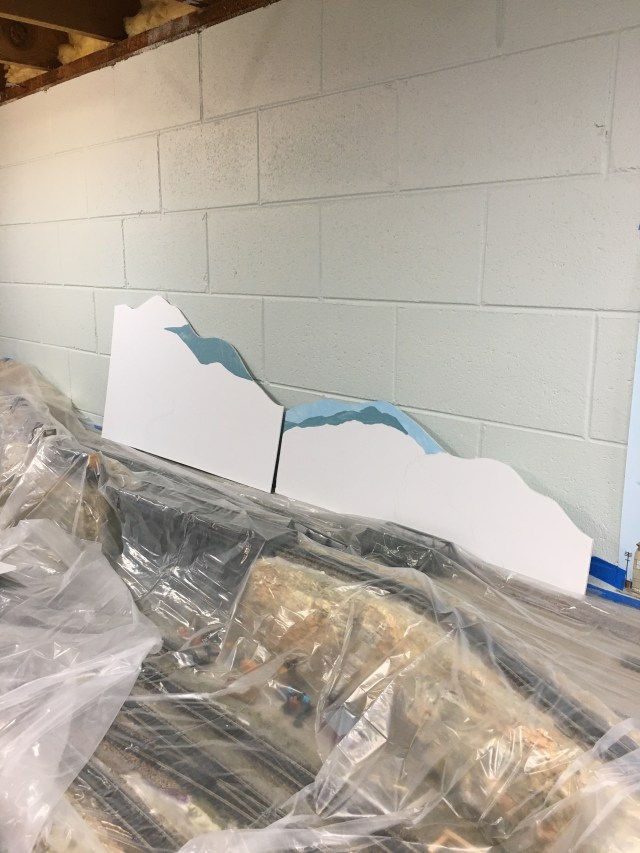
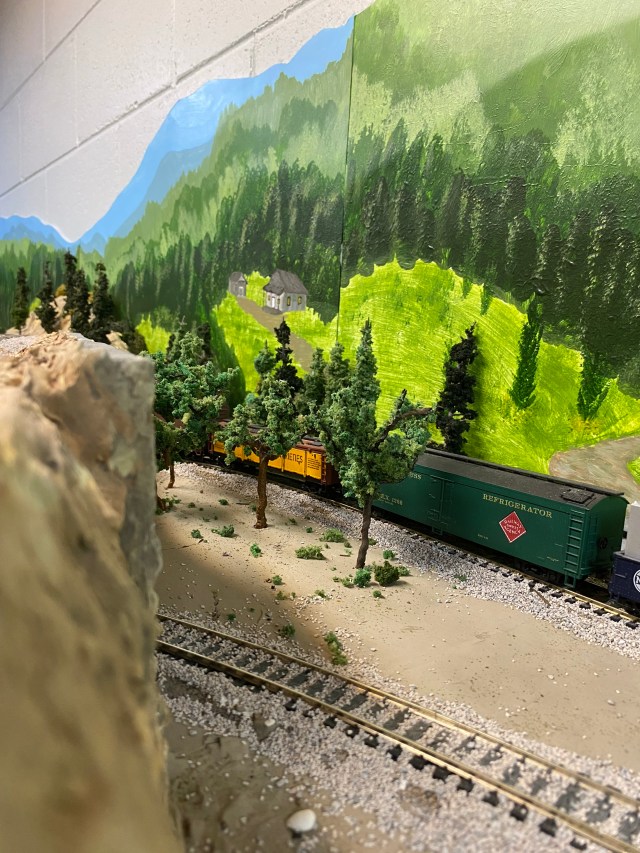
Painting my own backdrops was a challenge. Encouragement from our daughter who is an incredible artist and middle school art teacher, convinced me I could do it. “Just remember distant details are lighter, everything becomes darker as it gets closer.” Creating a convincing illusion of distance was my biggest concern. Her advice made it happen. Once again, patience was the key. I used foam board and acrylic paint with lots of green shades for trees, and blues for distant mountains and sky. I decided to cut the top of the foam board to follow the horizon to avoid a boxed appearance.
Once again, experimentation was a big part of the project. I tried several shades of green before I was satisfied. One important trick was keeping light on the same side of the trees all the way across the scene. It gives the appearance of a light source, such as the sun, coming from the same direction. It was just a matter of dabbing a lighter shade of green on the left side of the foliage, as you can see in the photo. Using what I learned in 7th grade art class about vanishing points was critical. Roads and train tracks are widest at your feet, and eventually vanish at the horizon.
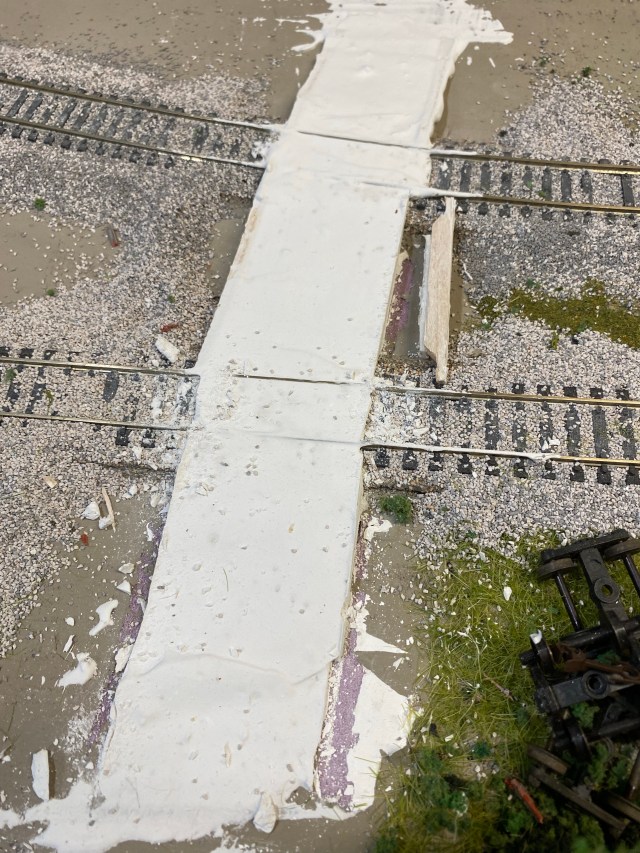
I stalled for months before attempting scratch-built grade crossings. I wasn’t excited about messing up my carefully laid roadbed and track. I was afraid of putting myself in a spot where I would have to tear up track and replace it. That didn’t happen. I followed plans used by Luke Towan on his YouTube videos, and I am very happy with the results.
Two keys to creating good looking grade crossings are making sure the rails are clear on the inside, and using the best paint color for the effect you want. Since my roads have an asphalt appearance, I used a mixture of watered acrylic to match the asphalt. My next crossing project will be adding operating signals.
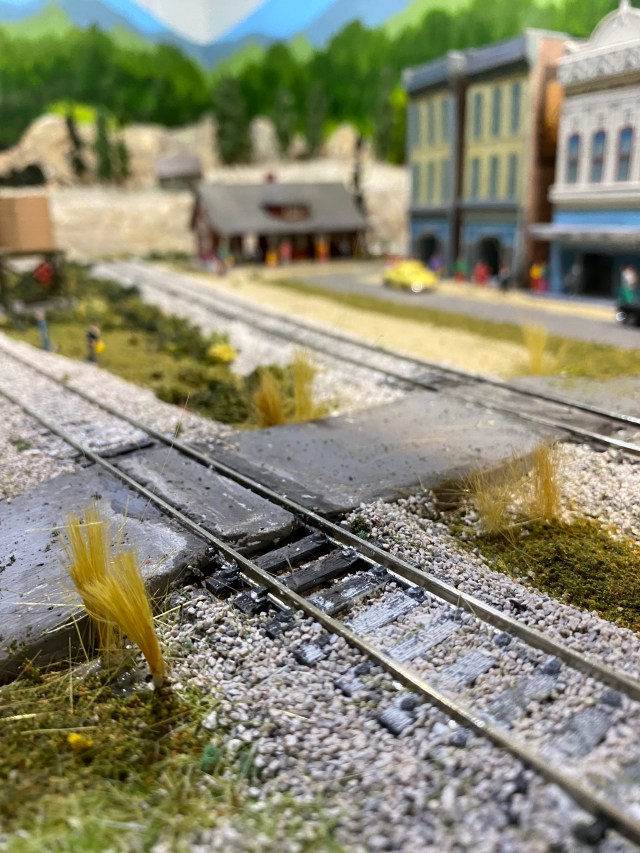
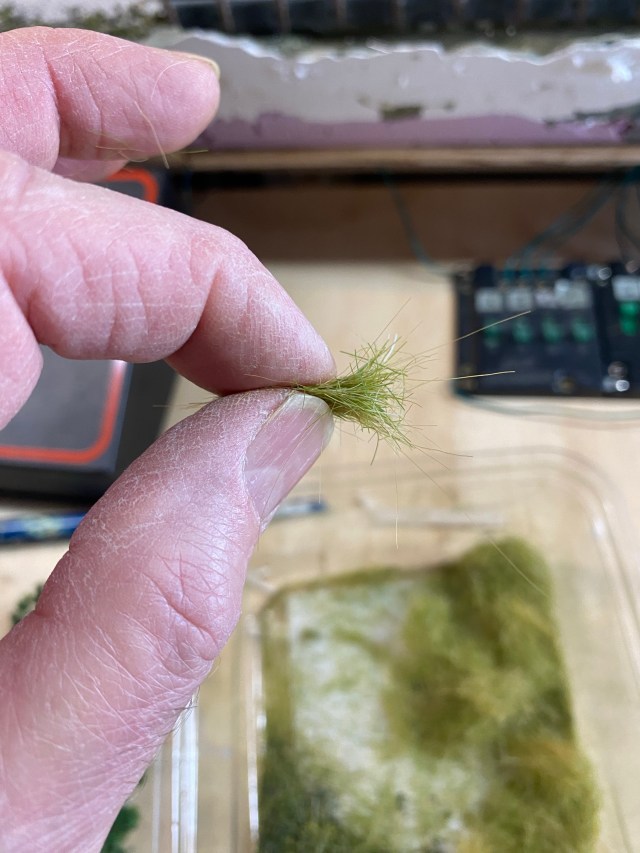
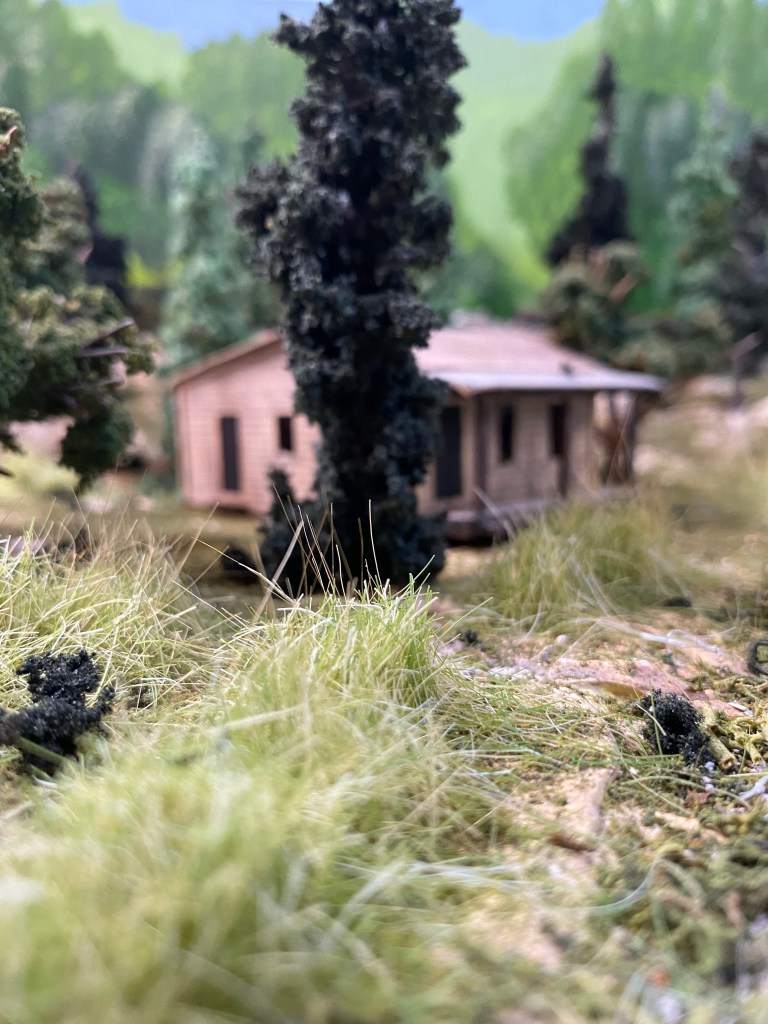
Adding realistic weeds to the Maple Valley Model Railroad turned out to be a lot of fun, and easier than I expected. I wrote a post about making my own static grass applicator, but I was more pleased with the results of placing weeds by hand. I cut the grass to the length I desired, used a mixture of medium green and yellow grass, added a little bit of white glue to the area, and stuck the grass in place. Without exception, this method worked perfectly. All over the Maple Valley, I have great scenes that include lots of random weeds.
I had to be careful not to get carried away with my grass project. It turned out to be one of the most “quick results” efforts on the layout. I still have a few more spots to complete, but for now, the weeds project on the Maple Valley Model Railroad is looking fantastic.

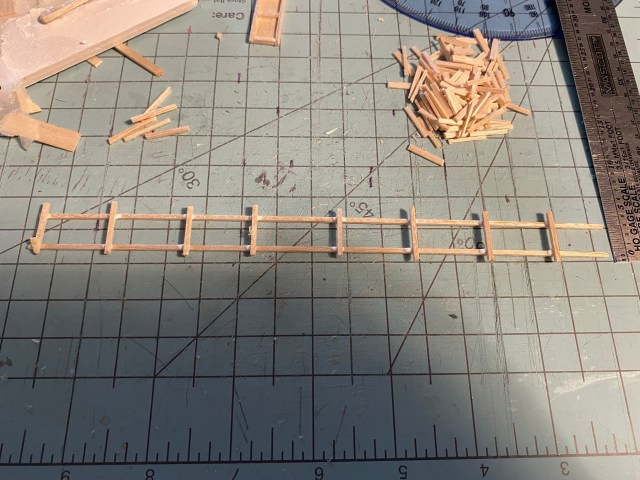
I have always loved the look of old, worn fences with faded posters on them. Scratch-building fences was another fun project I did while sitting in my easy chair, watching TV. A great looking fence is just rails, slats, white glue, and paint.
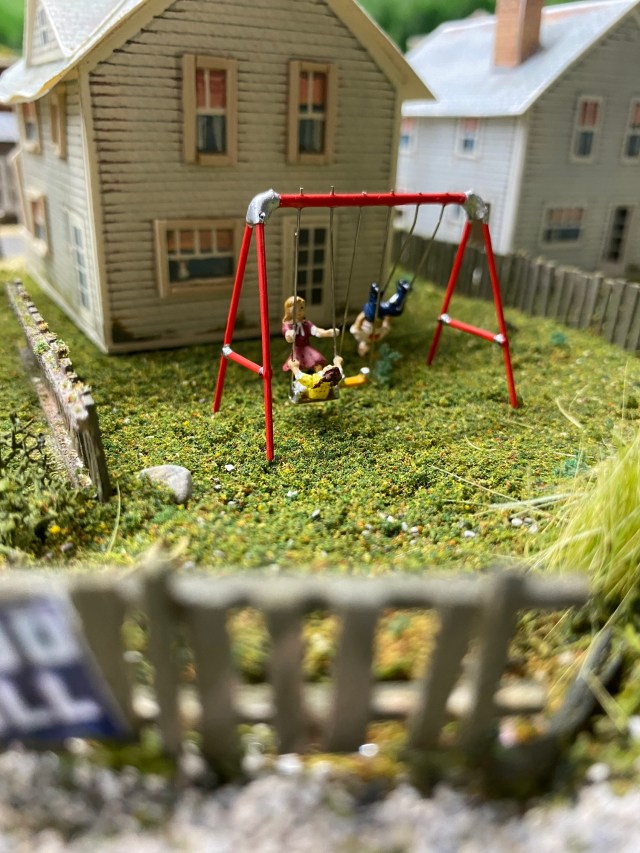
Full-length fences with closed corners aren’t necessary. Fence sections that mark an area accomplish the look I wanted. As a measure of safety near the railroad, I used several long sections of fence along the tracks through the town of Maple Valley. To fix them permanently, I added white glue to the bottom rail and held or propped the fence in place until it was secure.

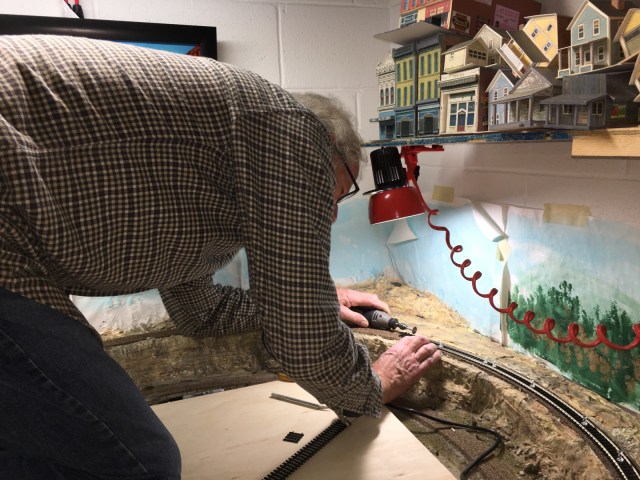
Yes, the benchwork is strong enough to hold me, and I weigh nearly two hundred pounds. Our family always said I look like my Uncle Dick, and in this photo it’s almost hard to tell the difference. I’m working on the upper curve around the town of Maple Valley.
This photo shows the area I was working on in the previous photo. Putting curved flex-track together in such a way that the joints are not kinked is very important, and the end result is worth the work. I wrote an article about creating perfect curves, that I believe is helpful. Click the live link and you will find the post.
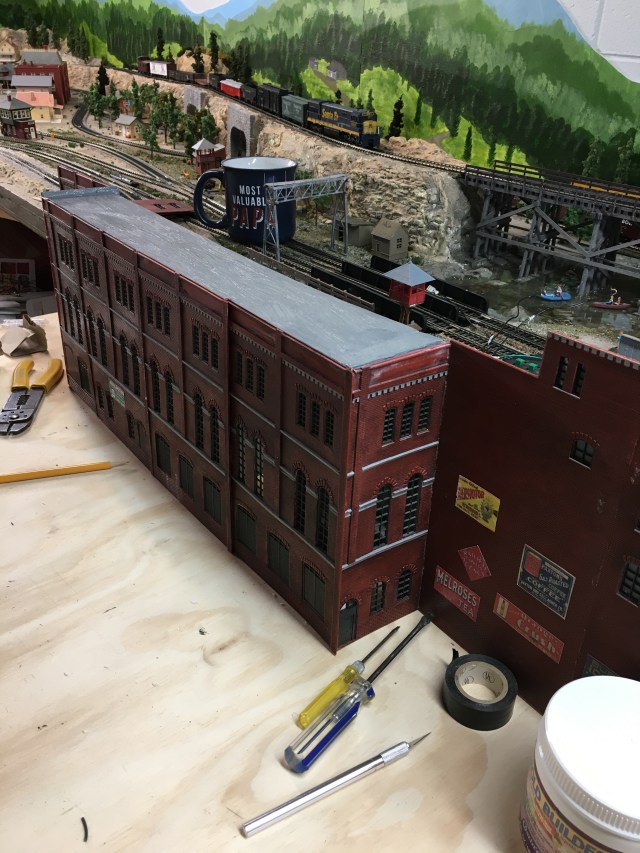
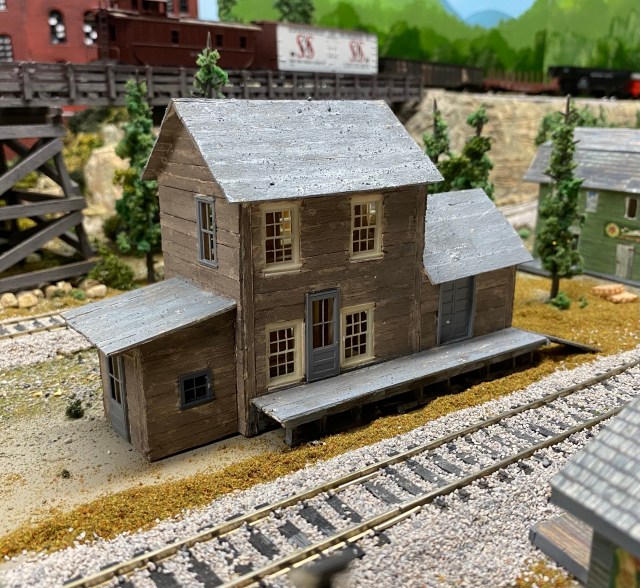
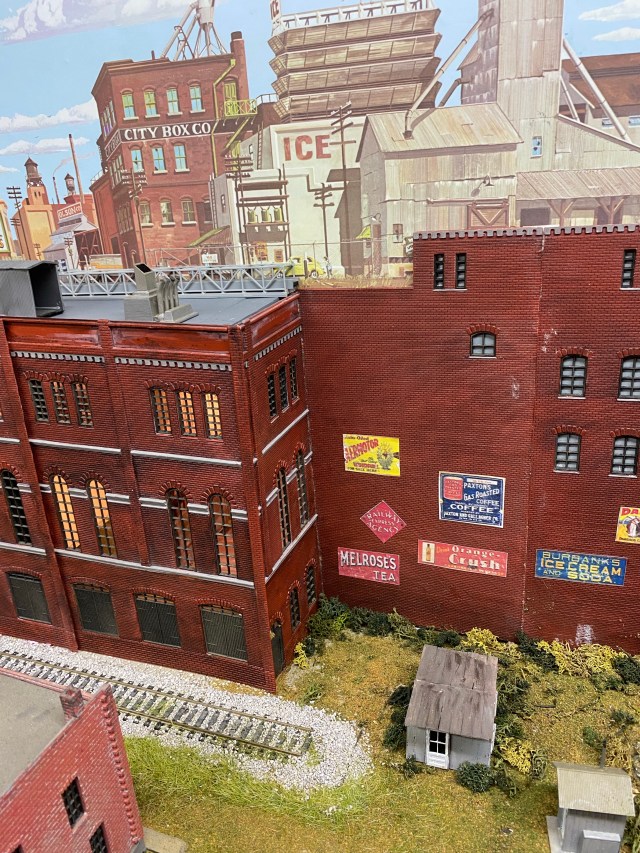
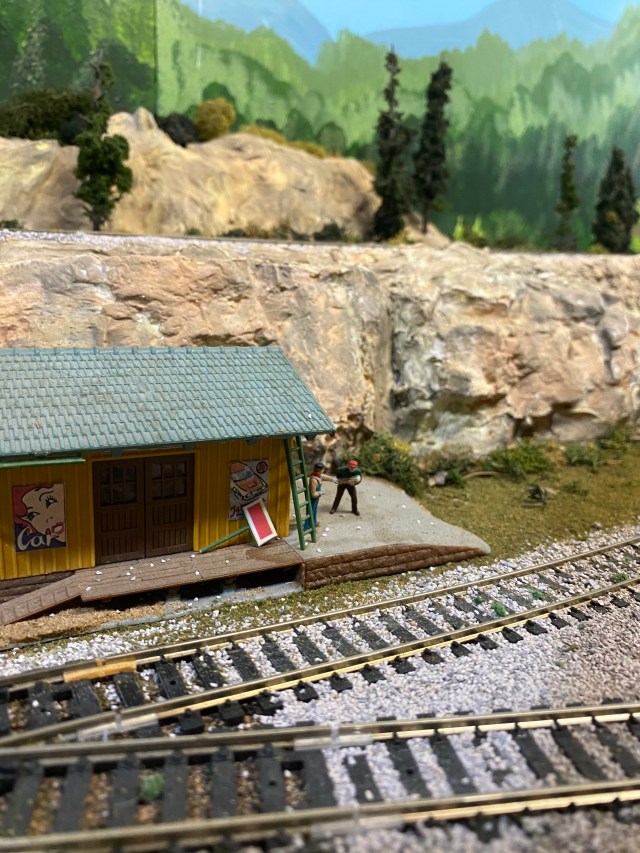
Industry can be an important part of a model railroad. Three years ago, during a trip to visit my uncle, he gave me two big boxes of model railroad treasures. This factory was a free-standing kit, so I cut the sections to fit together as a facade along the back wall of my layout. I made small foamboard boxes and glued color photos of factory interiors in them, then attached them to the back of the factory.
This is Maple Valley Manufacturing. Lights make the interior visible. This is fascinating to me, I love looking through the windows. It’s actually amazing how well this project turned out. The scene behind the factory is a 24 x 36 inch backdrop I purchased at a hobby shop.
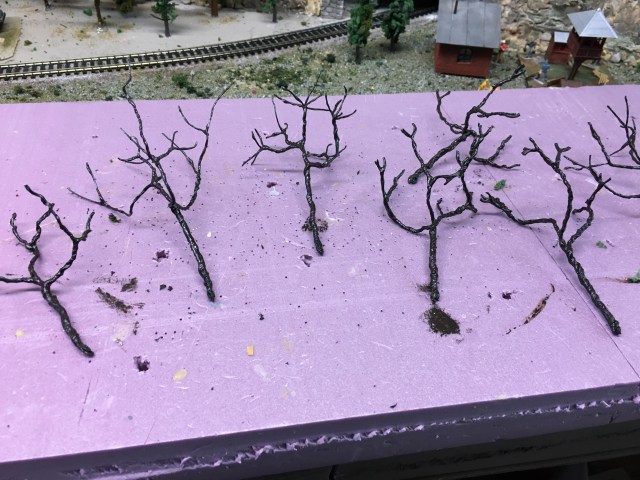
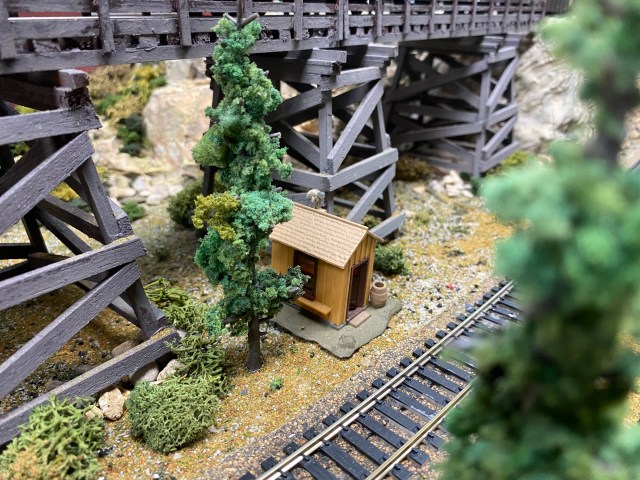
Anyone who has purchased model railroad scenery knows how expensive it is. Good deals can sometimes be found at model railroad swap meets, but prices are often still high. For the Maple Valley Model Railroad, I chose to make my own trees. Once again, I followed Luke Towan’s instructions for making floral wire trees. There is definitely a learning curve, but I’m pleased with the results.
I twisted a clump of floral wire together for the trunk and separated end pieces into branches. The wire tree was then covered with latex mold material, painted, and sprayed with contact cement to add foliage. I don’t have solid forest areas. I prefer spaced and placed trees and brush.
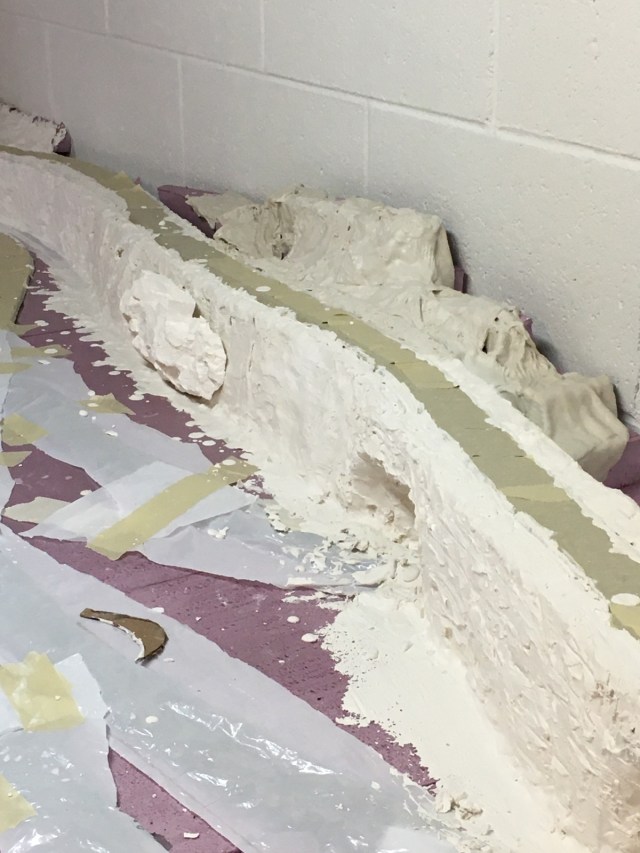
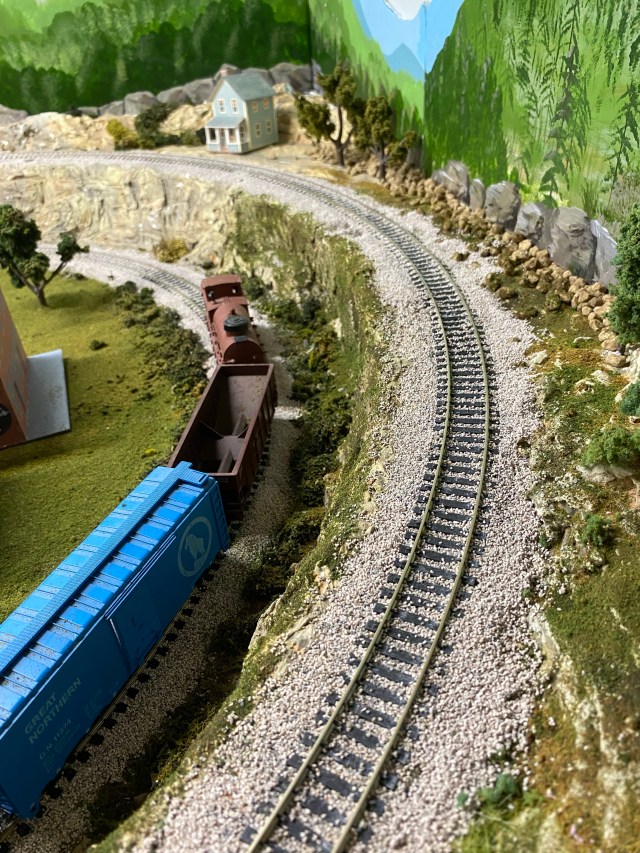
Plaster is a mess. There’s no way around it. The number one key is to mix up only as much plaster as can be used quickly. I prefer to use 2 x 2 inch squares of paper towel to dip in plaster and build scenes. Extruded foam proved to be a great base for the plaster. Working with plaster also has a learning curve. Remember that shaping and adding texture is most easily completed before the plaster hardens. This is my first layout with rocks made with molds, then blended into the plastered areas. Trial and error. Luckily, more plaster can always be added to continue shaping until the scene is acceptable.
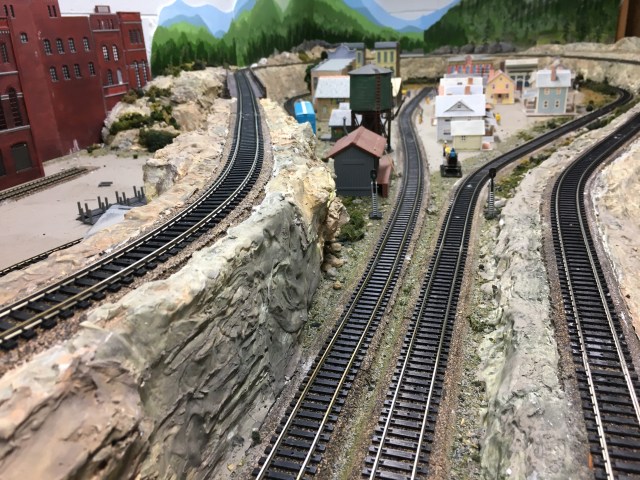
Wow! I look at this picture and am amazed at how good the scenery, my scenery, looks! The rocky areas are all plaster, painted with layers of water-diluted acrylic paint. I started with blotches of yellow, then added light brown, light gray, and touches of darker gray to add depth.
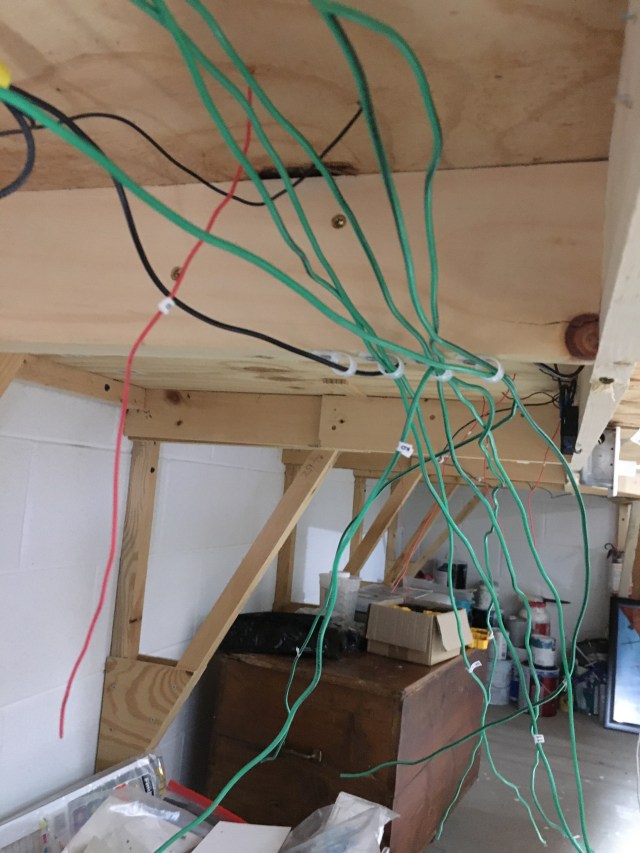
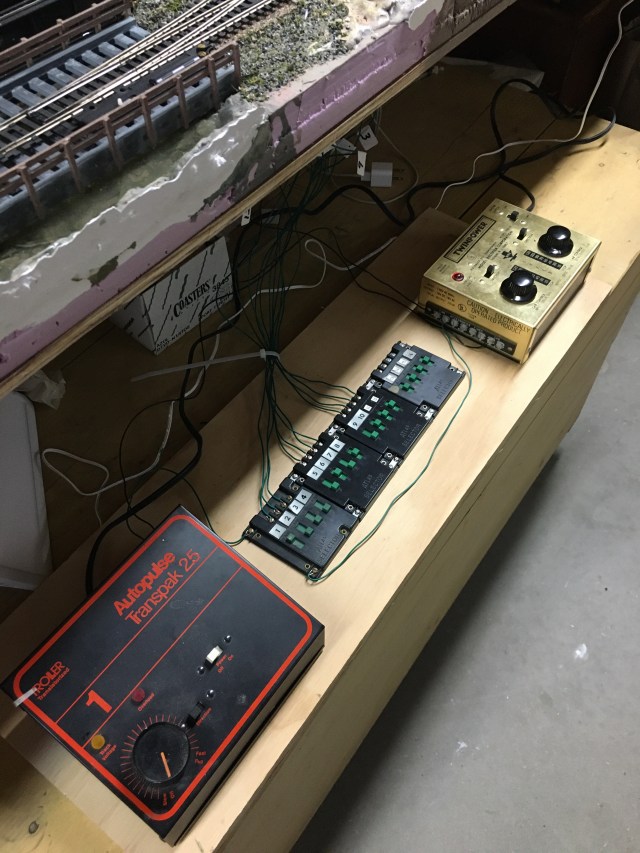
Wiring is another part of the layout I put off as long as I could. My first job was to make something I could sit on under the benchwork so I wouldn’t have to be on my knees the whole time. A small furniture dolly made a perfect scooter. I use an easy wiring scheme on the Maple Valley Model Railroad, with DC common rail, and a single power lead to each block.
I have two cabs, so I use DPDT switches to route power to the blocks. I’m still working on a control panel with lots of LEDs for turnout and block signals.
I hope you’ve enjoyed this before and after walk along the Maple Valley Model Railroad. The best part about model railroading is that there is always something more to do. Imagination keeps dreaming, vision keeps on making it happen.
