I want to be clear that any links or referrals I include to experts in model railroading are an effort to be helpful and not a result of having any kind of sales affiliation with them.
Many helpful skills in model railroading can be learned by watching YouTube videos. Just about any question you have or any project you want to complete on your railroad can be found on YouTube. Such is the case with making trees for your model railroad.
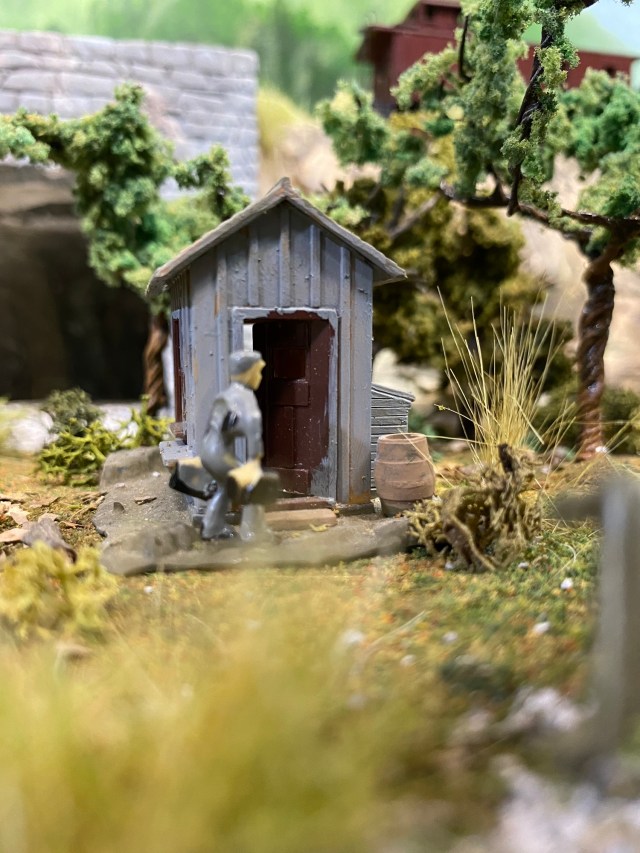
My purpose in watching all kinds of model railroading videos was saving money, which I have been able to do. I do not consider myself an expert in the hobby, but I have been able to complete some pretty impressive scenes on the Maple Valley Short Line Railroad by getting help from other modelers. From placing foam risers, to making plaster rocks, to scratch building an incredible trestle and tower bridge, to building printable houses, to painting backdrops, and finally, to building wire trees, there are videos for all of it!
One of the best examples of expert advice, in my opinion, can be found on Luke Towan’s videos of the Boulder Creek Railroad. This guy is amazing! I followed his examples for building my bridges and digging out the Maple Valley River on my layout.
If you have a large layout, you’re going to need a lot of trees. You can purchase tree kits at your local hobby shop but they’re pretty expensive. I purchased a 250 ft. coil of 22 gauge floral wire at the store for less than $5.00. So far, I’ve made twenty trees and used about half the wire. That’s a huge savings!
You can find Luke Towan’s tutorial on making wire trees at: https://www.youtube.com/watch?v=0FNQTxX_jT4 but I finish my trees a little differently than Luke does in his video.
I have the most success using a smaller gauge wire. Be careful while you are making your trees, the ends of the wire are sharp and will draw blood! A lighter gauge wire is not so dangerous.
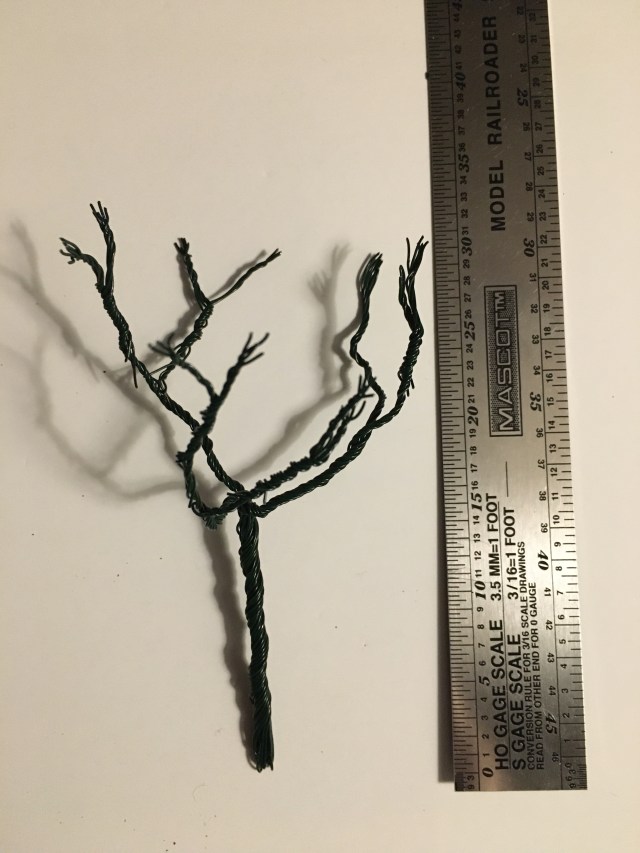
- Start by cutting 7 12-14 inch lengths of wire.
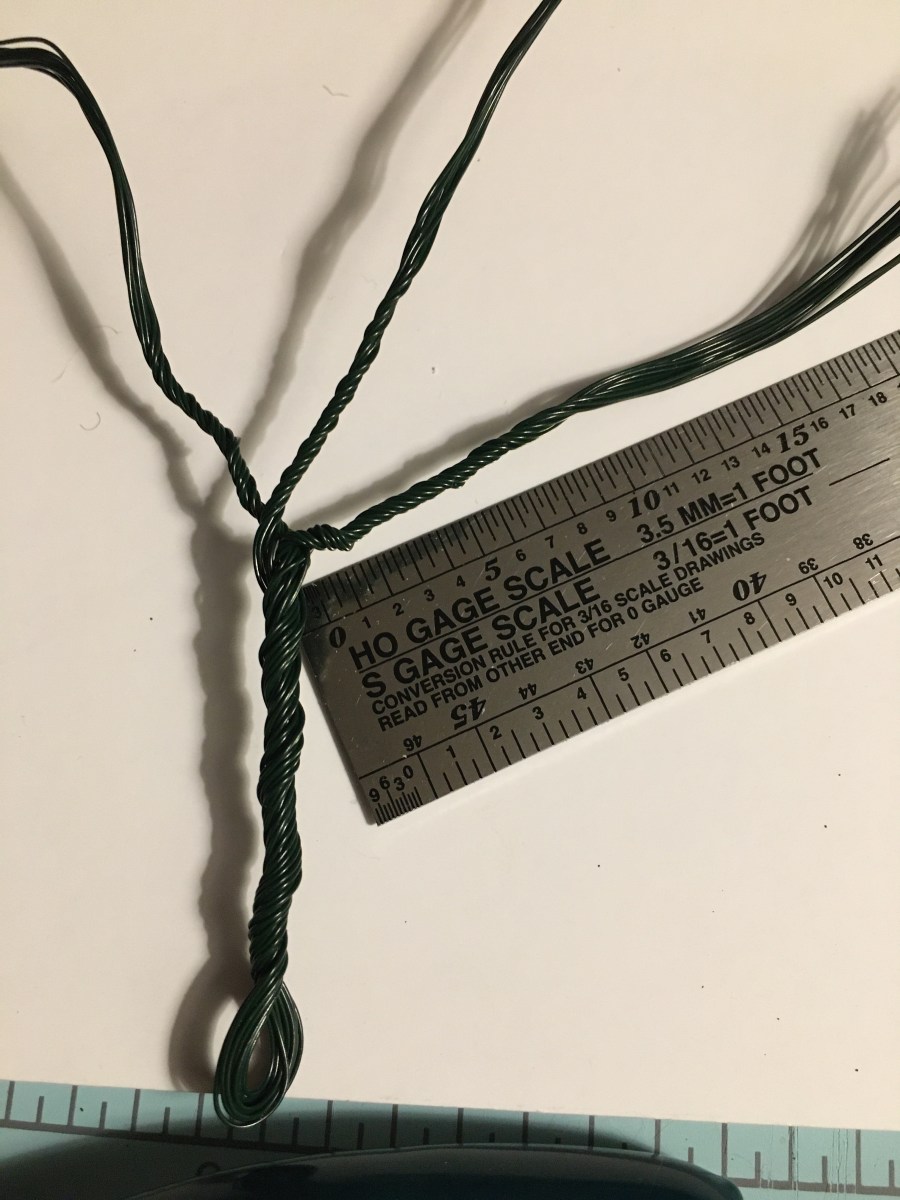
2. After cutting the wire lengths, fold them in half. Holding the folded end of the wires, twist the wires tightly 7-8 turns while keeping the two sections of wire apart. (Use more twists if you want a taller trunk.) Also, the number of wire strands you use will determine the thickness of your tree trunks. You will quickly discover the smaller gauge wire is much easier to twist.
3. Practice will make perfect as you learn to make wire trees. I suggest dividing each of the two bundles of wire in half. Combine the two inner bundles and tightly twist them together 4-5 times. Then tightly twist each of the remaining bundles 4-5 times.
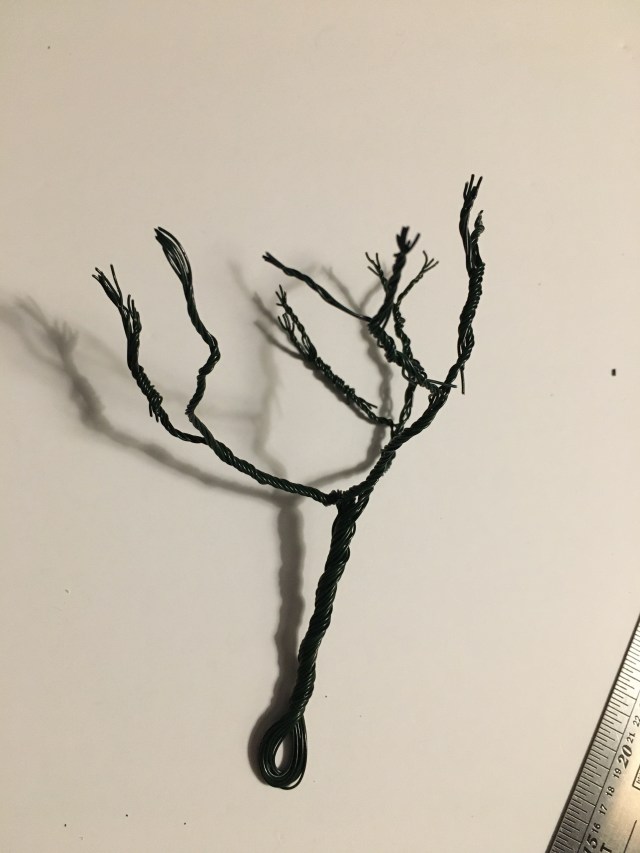
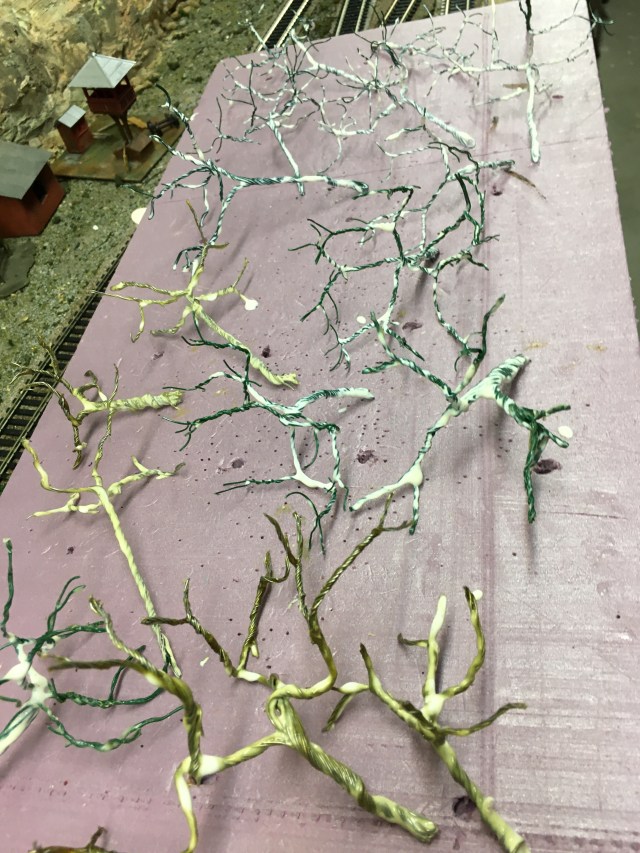
4. Divide each of the bundles in half again and twist 3-4 times. Fold each of the bundles in half and twist them 3-4 times. The result will be a loop of 2-3 wires at the end of each bundle as you see in the photo.
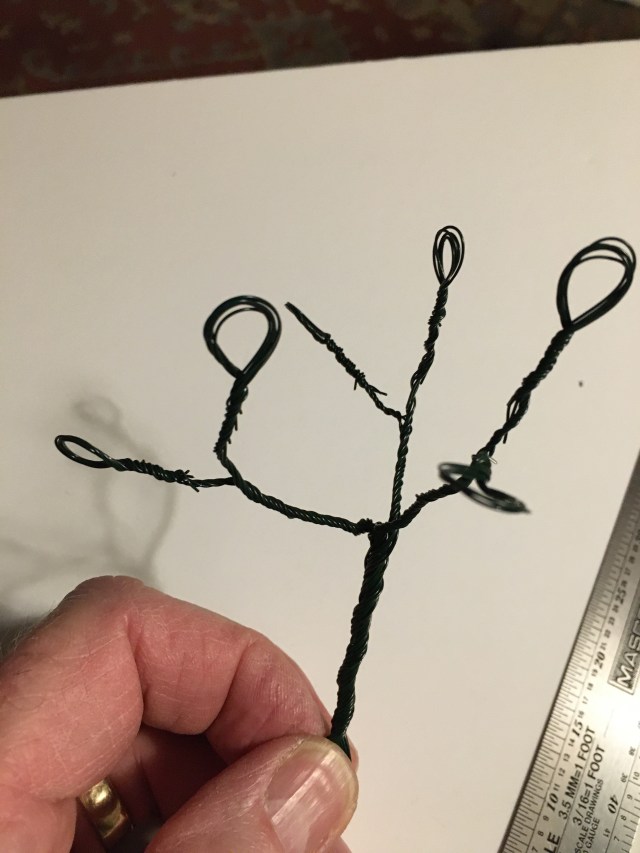
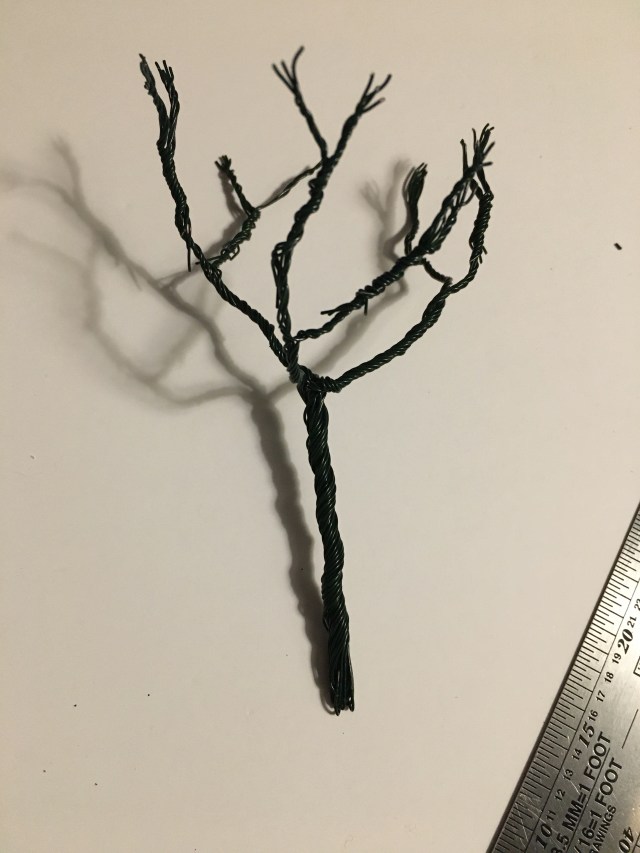
5. This is where I finish the process differently than Luke Towan demonstrates. I clip off the top of the bundle loops so that the remaining “branches” each have 2-3 wires. To me, this is much simpler and provides a nice looking tree.
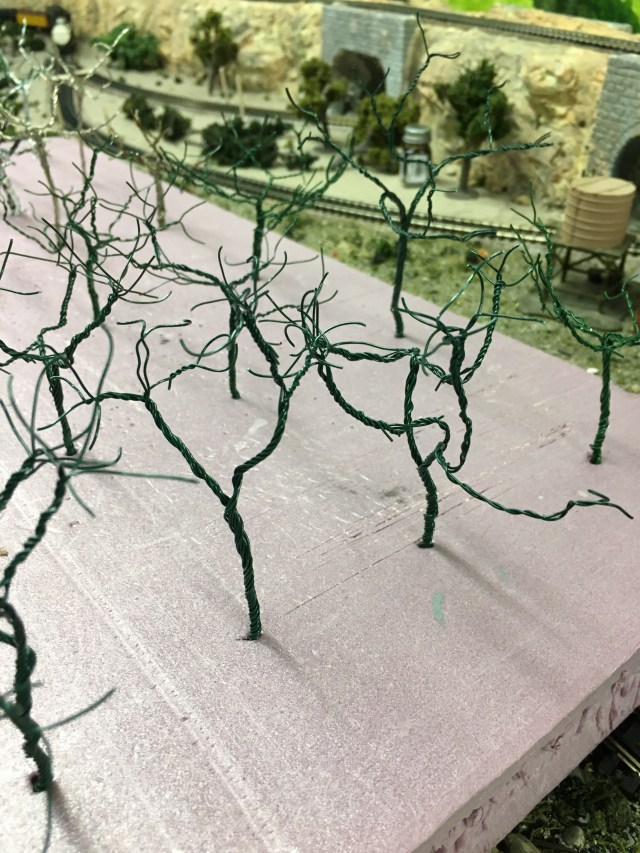
6. I am not going to set the trees in plaster and detail the roots. Rather than separating the loop at the bottom of the tree, I use pliers and twist the loop, then flatten the end. I use a piece of foam to hold the trees for the final steps.
7. Paint the entire tree with latex and allow it to dry. Put another coat of latex on the main trunk and large branches as necessary.
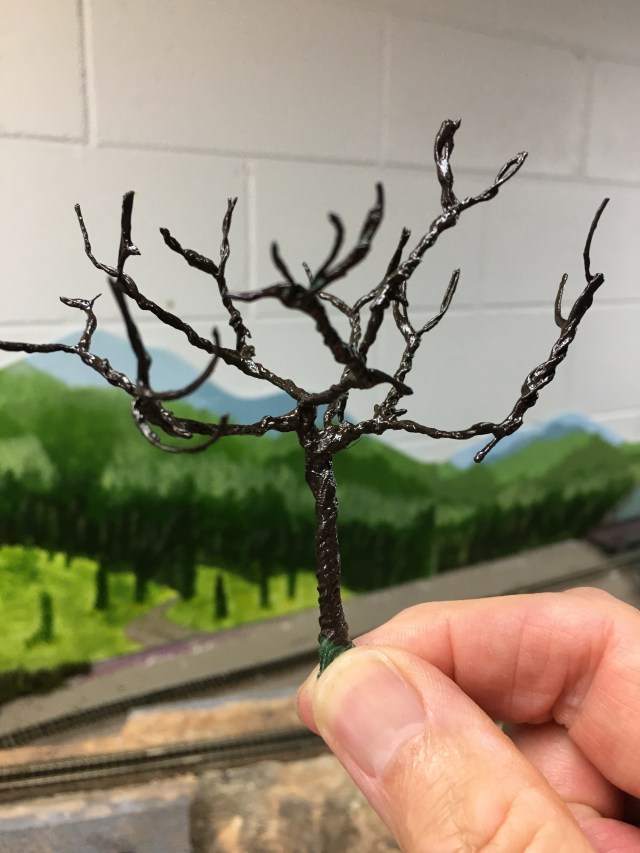
8. When you are happy with the trunk and branch latex covering, paint the entire tree with a brown acrylic paint. (Use a matte finish so you don’t have a glossy finish like this. I will rub a brown turf mixture on the trees to get rid of the shine.)
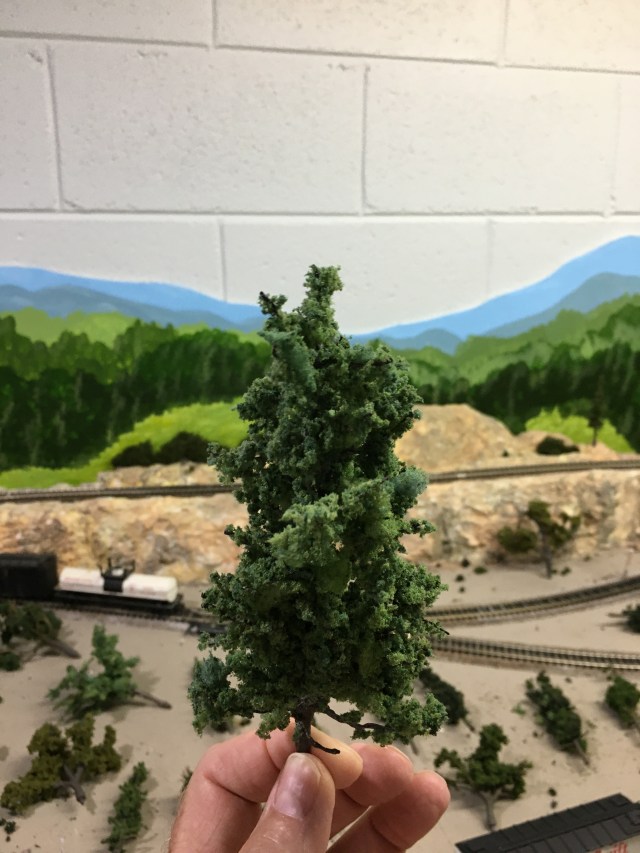
The final step is spraying the branches with adhesive, then rolling the tree in foliage mixture and pressing the material onto the branches. Shake the excess away. Luke Towan suggests sprinkling some turf mixture over the tree.
There you have it. This is the easiest way, in my opinion, to add as many trees as you want to your layout with very little expense.
I would love to read about your layout. Let me know what kind of techniques you’re using. I still have a lot to learn. Happy model railroading!

Great tutorial mate and Luke Towan is brilliant
LikeLiked by 1 person
Thanks so much, I really appreciate that! Yes, Luke is incredible – and such nice music in the background!
LikeLiked by 1 person