

I started working on my backdrop factory two years ago. I don’t have enough space on my layout to use the factory as a free-standing kit. I started by cutting the pieces down so they could be glued together side-by-side. I have four inches of space between the wall and the rail siding.
I was not satisfied with making the factory a totally flat backdrop, so I brought the center portion out three inches for depth and so I could put lights inside the building. Gluing the pieces together was the easy part, especially because of the terrific industrial backdrop painting I purchased to go behind the factory.

Building the backdrop factory included a lot of starts and stops. I stood the pieces up against the wall so I could imagine how the factory should look. The most obvious feature of the factory is windows. I decided to block many of them.

I finally decided to tackle the backdrop factory job once and for all. I glued the remaining pieces together, leaving the factory at a whopping fifty inches long. My decision to include an array of lights meant I had to figure out how to display them from various windows offering separate views. I didn’t want to just put a light bulb behind the facade and hope for the best.
I have lots of wires and lights from my previous layout. I first had to refresh my understanding of wiring lights in series or parallel. I have a few bulbs that are 6v, most are 12v. My accessory power supply is 12v, so I wired 6v bulbs in a series of two, dividing the voltage in half. All the other bulbs are wired parallel.
Here’s an over-simplified explanation. Light fixtures have a positive and negative lead. In series, the fixtures are wired lead to lead, the beginning wire and the last wire are connected to negative and positive leads from the power source. Every light bulb drops the power feed by the voltage of the bulb, saving 6v bulbs from being burned out by a 12v feed.
In parallel, all negative and positive leads from each bulb are connected to the negative and positive feeds from the power source. Hint: That doesn’t mean if you have twelve bulbs you have twenty-four feeds going to the power source. The negative wires can be connected together, and the positive, then connected by two feeds to the power source. This is still parallel wiring. When wired parallel, each of the 12v bulbs will receive the same power from the source.


I love foam board! I pondered ways to make the light sources appear different so the windows don’t all look the same. I decided to make small boxes out of foam board and glue them to the back of the factory backdrop.
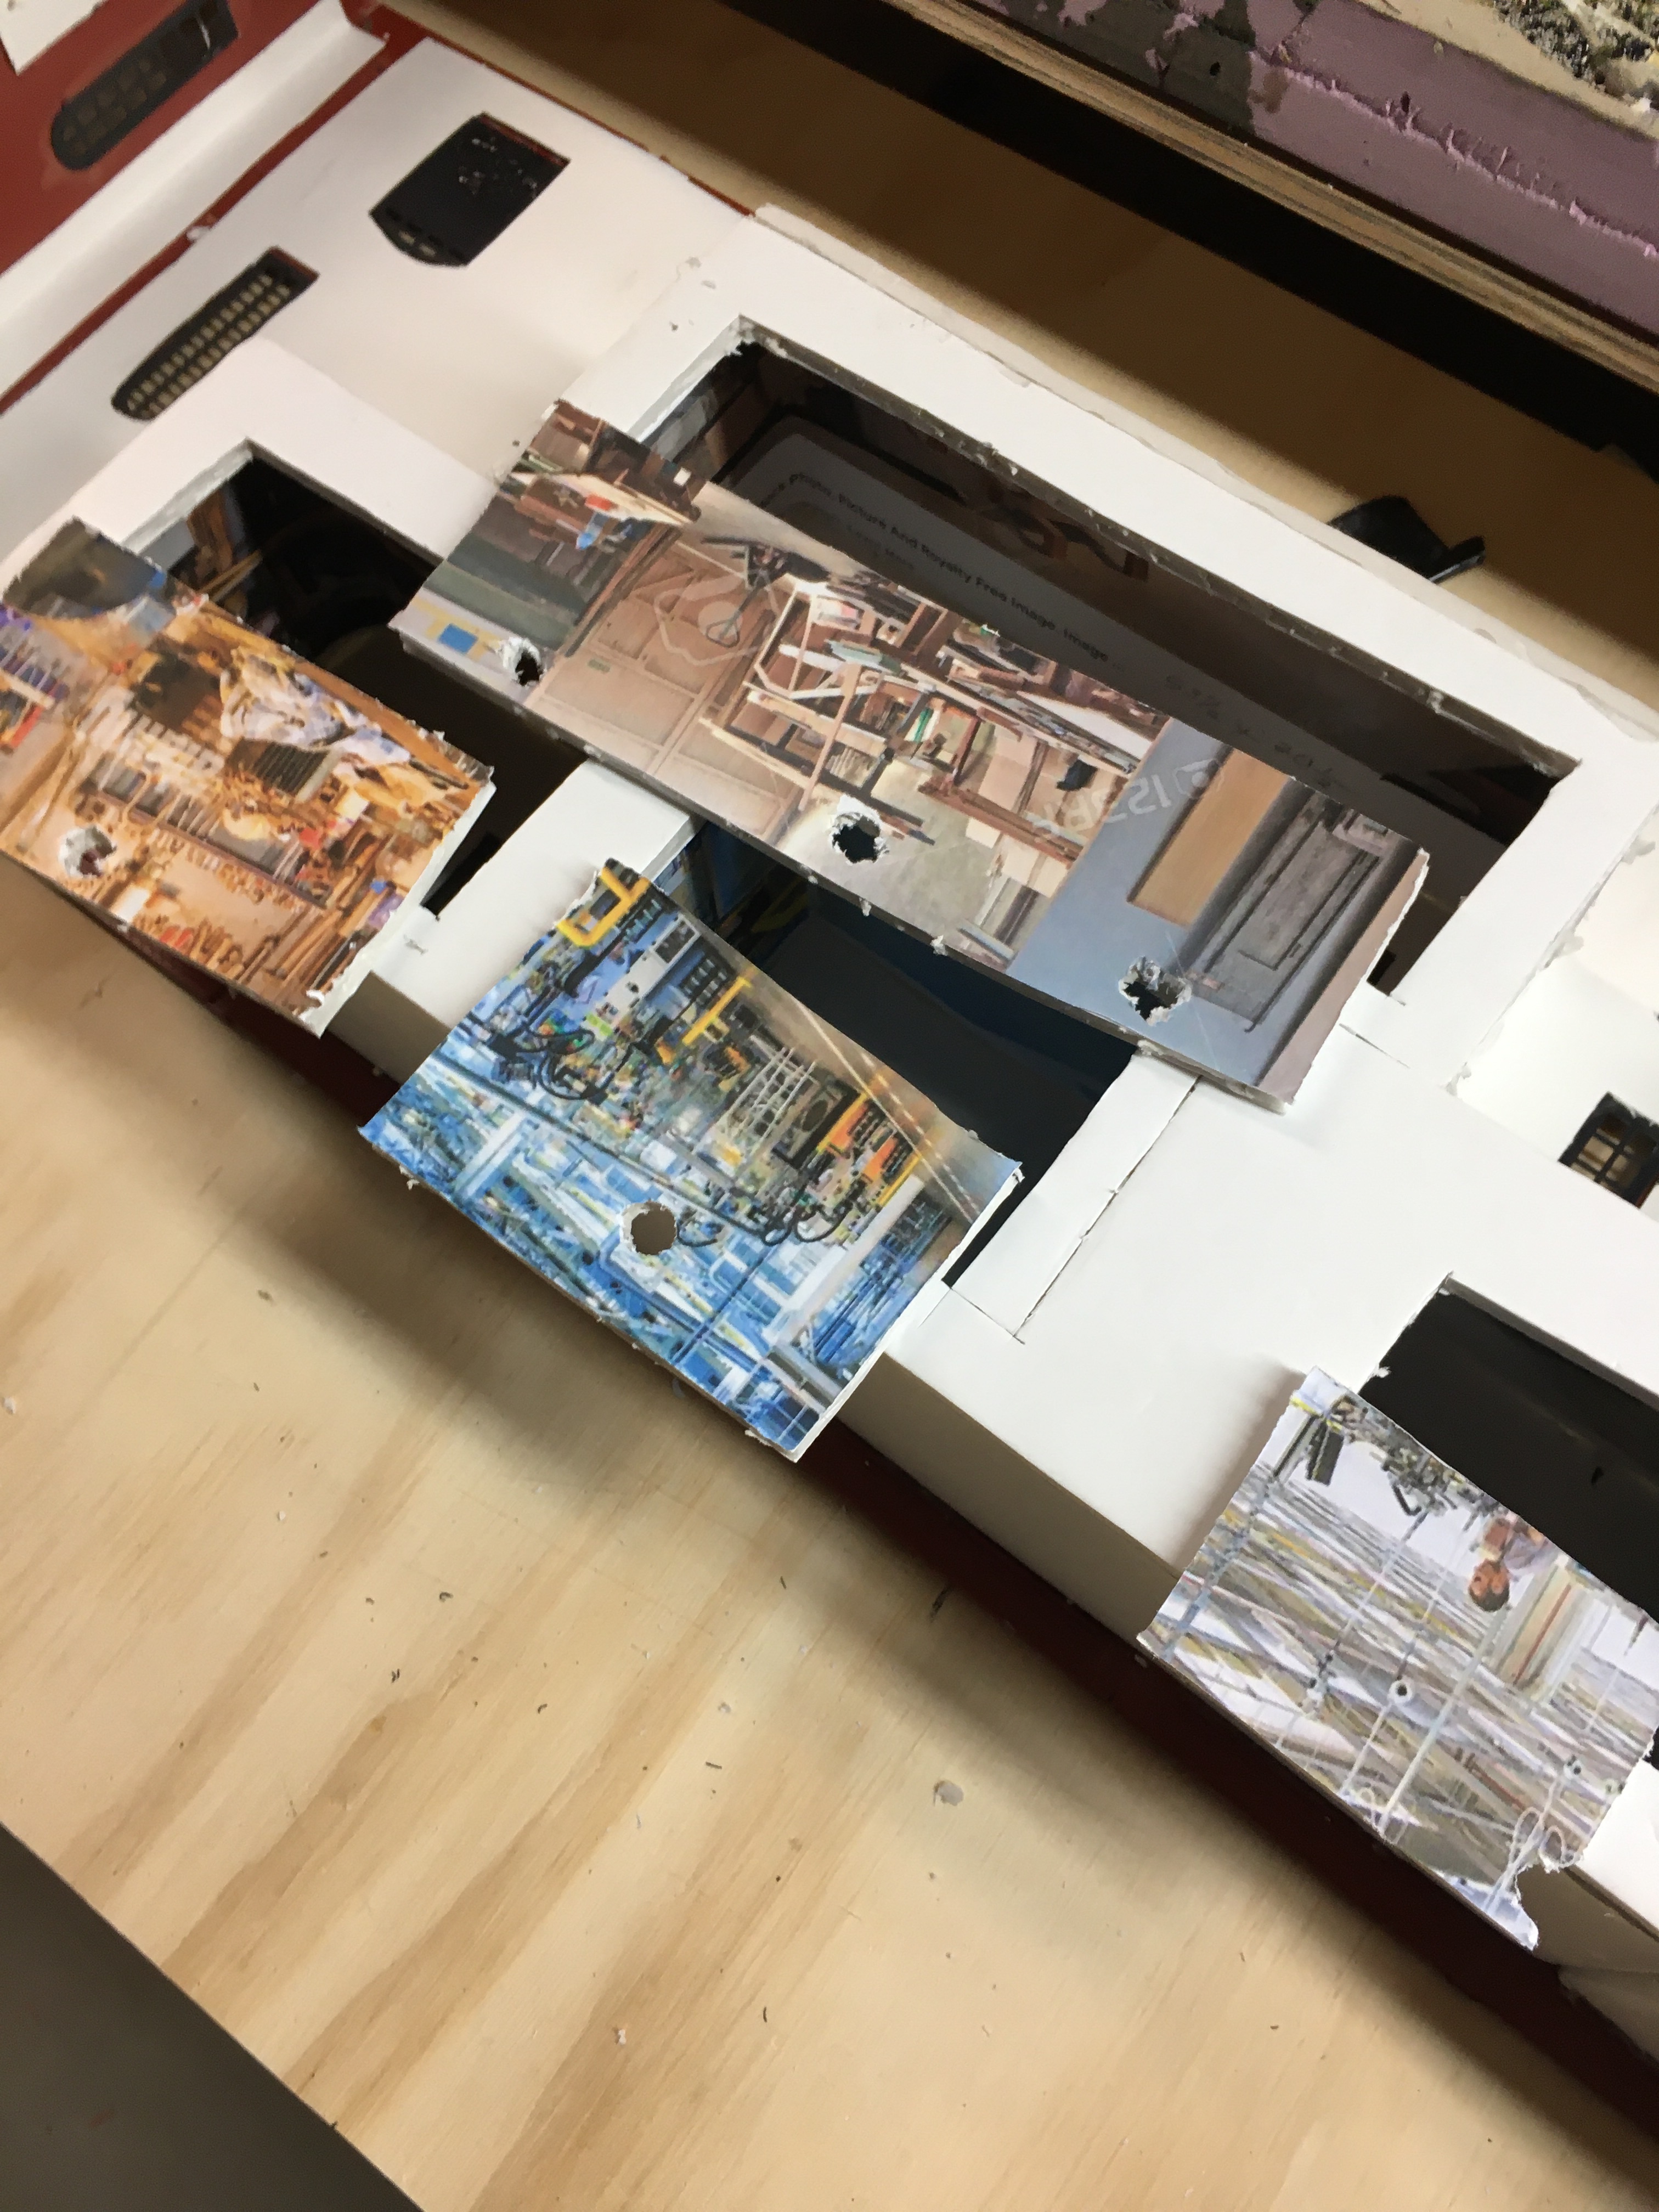
I still was not satisfied with just putting lights in different size white boxes. I thought about painting the inside with varying colors. Nope, not good enough. I decided to print color pictures of factory and workshop interiors and glue them to the inside of the boxes. So, the entire box interior is colorful.
It wasn’t until after I glued the boxes in place that I realized I blocked too many of the windows and it was almost impossible to see the beautiful interiors of the lighted boxes. So, I cut open the boxes from the back and took out some of the material covering the windows.
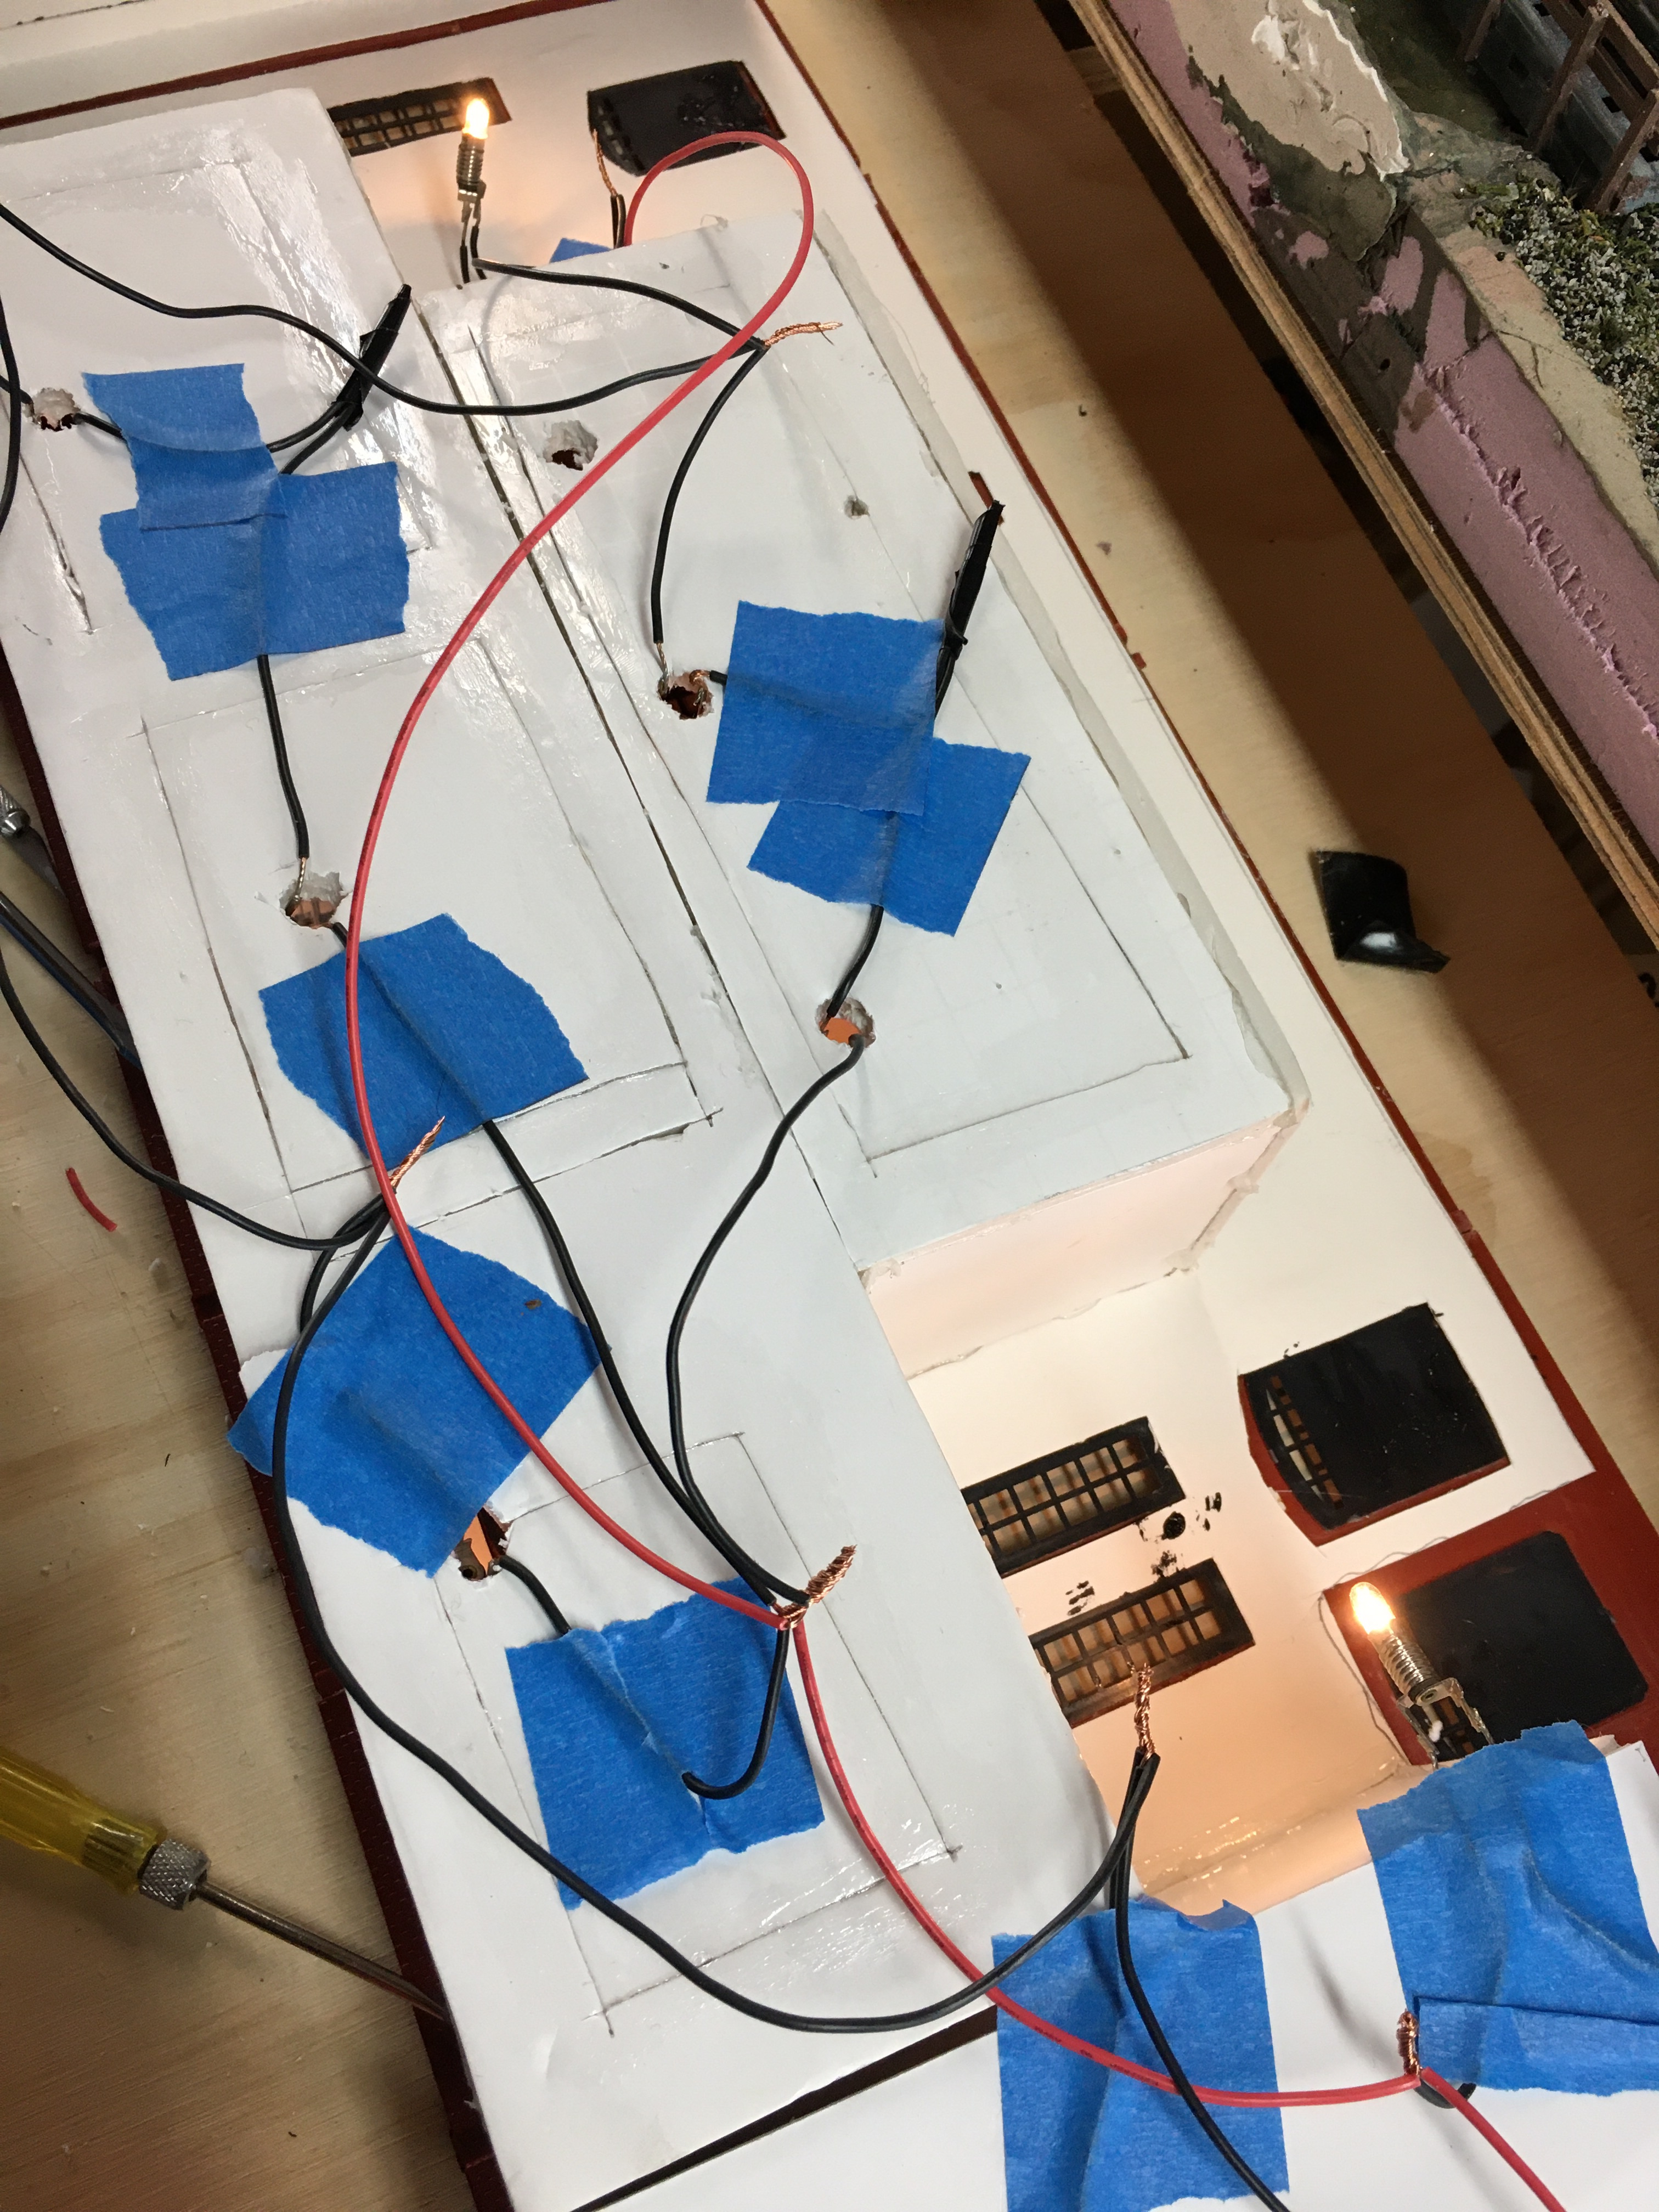

After taping light fixtures and wiring in place on the back of the factory boxes, it was time to test the lights for the first time. I was pleased to see every bulb working perfectly. I stood the backdrop factory up and looked in the windows. Beautiful! Granted, the windows have small panes, and the backdrop factory will stand against the wall on the back of the layout, so it will be difficult to see detail, but I know it’s there.
I securely taped all the wiring connections and also connected two long leads to the positive and negative feeds to the lighting system. I fed the two leads through the layout bench surface to be connected to the power source below.
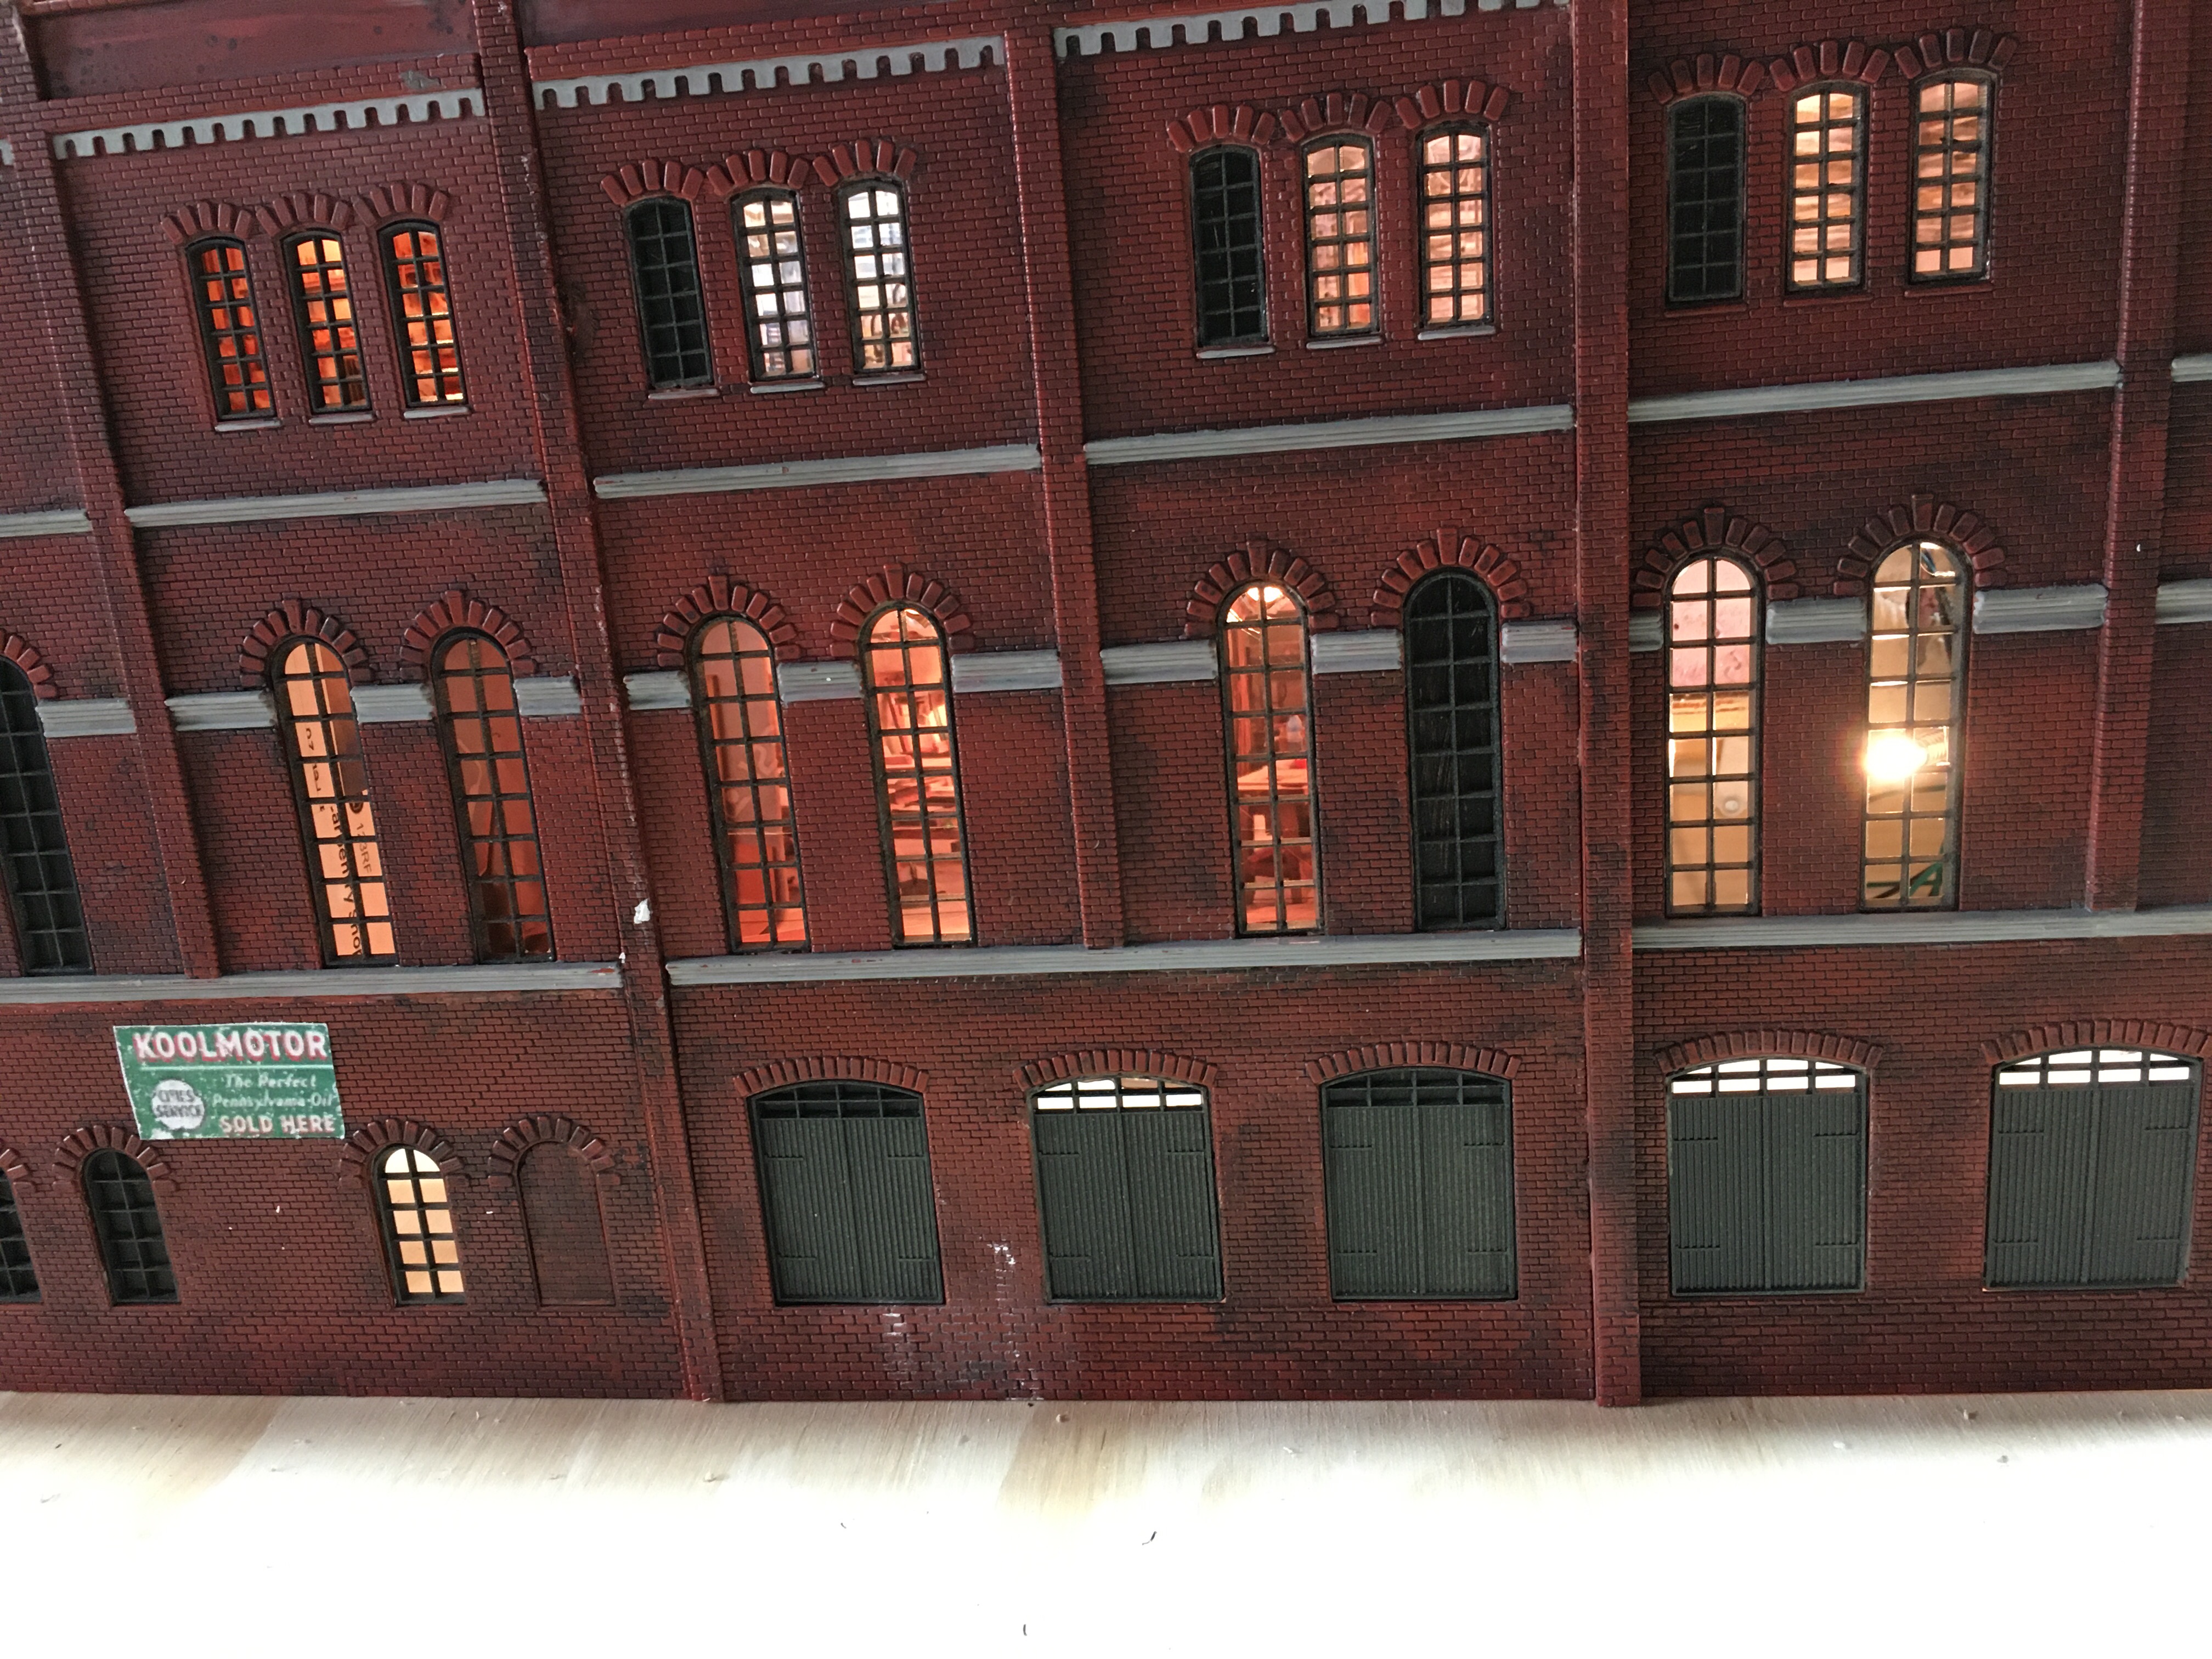

One area of the factory backdrop has a blank brick wall that needed something. I printed some 1:87 scale signs. I rubbed the color print with sand paper to “weather” the signs. I cut several of them out and glued them to the wall.
The top of the boxes glued to the back of the facade provided nice support for the foam board roof that I made for the backdrop factory. I mixed some light gray and black acrylic paint with some matte medium and painted the rooftop. It was now time to permanently place the backdrop factory on the layout.


The Maple Valley Short Line Railroad is coming together. I still have a long way to go, but when I look back at all the photos from the beginning, it’s amazing how good the layout looks. The addition of the backdrop factory is an important accomplishment.

That is how I used that factory when I had it set up on my layout in Michigan. My layout here in Texas is too small to use it. That is why I gave it to you. It really looks good. I think the lighting and putting pictures of machinery behind the windows will add more interest. Good job! D.
LikeLiked by 1 person
Thank you so much! I’m happy you like it. I think it looks pretty awesome.
LikeLike
Pingback: Things I Did Right on my HO Scale Model Railroad – A Coffee State of Mind